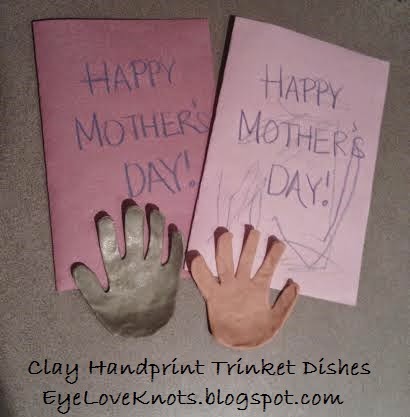
Last week, I found this DIY Clay Hand Jewelry Holder from My Creative Days and I knew it would be the perfect little project to work up with my nephews for my sister-in-law. Having been with them for a few days while my brother and sister-in-law went on a trip, I had the perfect opportunity.
I don’t have many action shots as it was later in the evening, and no natural lighting plus I was very hands on in the making of these with them so I didn’t want to take away it kids to snap shots.
Lindsay has some nice process photos and embellishing ideas.
I started with a clay sampler package I had received for Christmas two years ago. Maddox chose an Orange color, and Nicholas a shiny Gold color. The amount used was about half of a little block you can get at your local craft store. My local Walmart also sells the clay blocks.
I had the kids roll the clay to condition it. It is a little tough to get it going so I started it for them. I also had them working with half of the clay used so it was easier on their hands, and I rolled the other pieces. Then I switched out the pieces.
I had the kids roll out the clay, and then I helped spread out the clay.
I barely had enough clay to make Nicholas’s handprint, so you will want to use a whole block rather than the half that I did. The handprints also came out on the thinner side, so they are more fragile than if I would have used more like Lindsay did.
I used my clay tools to trace around/cut out the handprints. The kids did not like sitting there to have their hands cut around – you may want to just lightly trace around the hands and them go back and cut them out when you have more time.
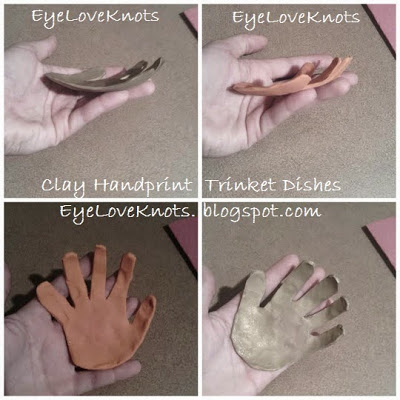
After I cut out the hands, I used my fingers to round my edges so there weren’t any uneven or rough cut edges.

I started with a clay sampler package I had received for Christmas two years ago. Maddox chose an Orange color, and Nicholas a shiny Gold color. The amount used was about half of a little block you can get at your local craft store. My local Walmart also sells the clay blocks.
I had the kids roll the clay to condition it. It is a little tough to get it going so I started it for them. I also had them working with half of the clay used so it was easier on their hands, and I rolled the other pieces. Then I switched out the pieces.
I had the kids roll out the clay, and then I helped spread out the clay.
I barely had enough clay to make Nicholas’s handprint, so you will want to use a whole block rather than the half that I did. The handprints also came out on the thinner side, so they are more fragile than if I would have used more like Lindsay did.
I used my clay tools to trace around/cut out the handprints. The kids did not like sitting there to have their hands cut around – you may want to just lightly trace around the hands and them go back and cut them out when you have more time.
After I cut out the hands, I used my fingers to round my edges so there weren’t any uneven or rough cut edges.
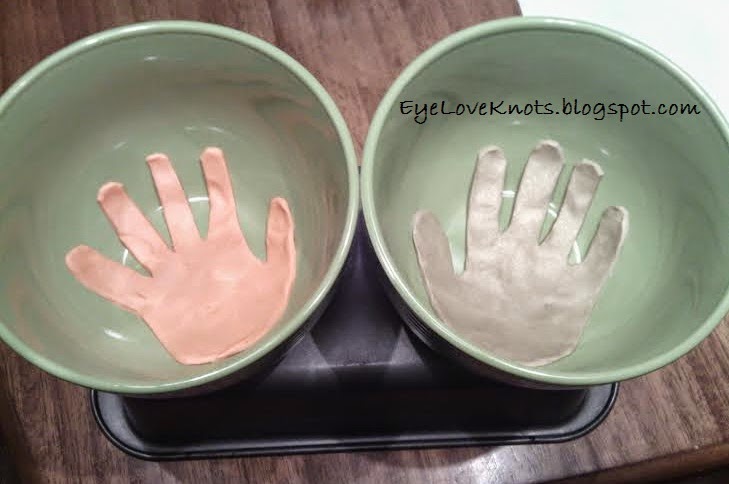
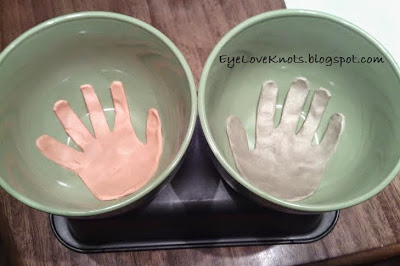
I got these green bowls at my local Dollar Tree. I placed them on top of a bread loaf pan that was flipped upside down and covered the bowls with aluminum foil before sticking these in the oven.
After using tools and bake ware for clay products, they are no longer food safe.
Follow the baking instructions as per the packaging.
I baked my handprints for 15 minutes.

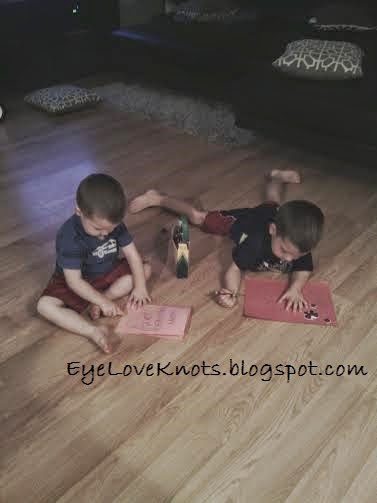
While the handprints baked, the kids colored Mother’s Day cards for my sister in law. They had a blast drawing flowers and such, and loved the cute little butterfly stickers I gave them to embellish their cards. I also got those at my local Dollar Tree.
I hope everyone had a great Mother’s Day! Whether you were visiting your mom, talking to your mom, thinking about your mom, hanging out with your significant other and kids, hanging out with just your kids, expecting a little one, being a Mr. Mom and all others! I know I had a great day with my nephews!
I would attach them to the bottom of the green bowls they look so cute in there!!
Great idea! Thanks a bunch 🙂