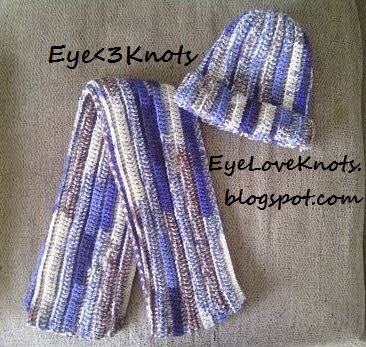
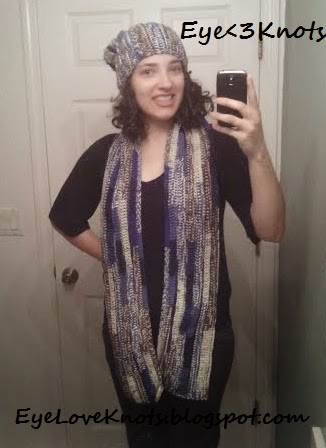
I made this beanie to go along with the Crochet Adult Ribbing Scarf in Blue Camo for my mom’s friend, Rhonda’s, husband, David. Just click the above link to find the FREE pattern for the scarf.
Materials:
1 ball of worsted weight yarn – I used Hobby Lobby‘s I Love This Yarn in Blue Camo Stripe
Size 5.5mm Crochet Hook
Tapestry Needle for Weaving in Ends
**Note about my choice of yarn: it has a lot of stretch to it. More than I was used to! Take this into consideration when measuring out your work, if you’re going to choose different measurements for your finished scarf.
You will have yarn left over!
If you choose to make the scarf to match, I ended up making the scarf first and then the hat and with the remaining yarn from the scarf, I was able to complete 14 rows for a total of 7″ on the hat.
Time Spent:
Each row took me about 3 minutes to complete for a total of approximately 1 hour and 45 minutes.
Abbreviations:
FDC – Foundation Double Crochet
**Tamara of Moogly has a great tutorial on YouTube should you need guidance.
CH – Chain
BLO – Back Loop Only, to create ribbing
DC – Double Crochet
sl st – Slip Stitch
ea – each
Gauge:
2 rows = 1″. (not important)
Measurements:
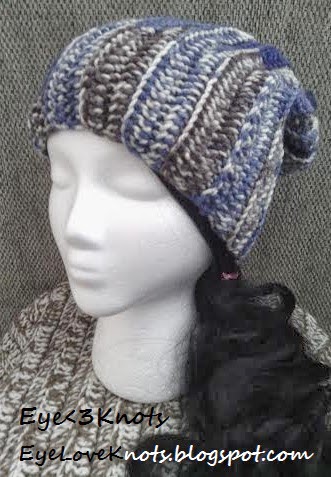
18″ around by 10.5″ in length
*This hat looks great with or without a folded edge!

Pattern:
FDC 40. Ch 2, turn. BLO, DC in 2nd DC from CH and across. Ch 2, turn.
Rows 2 – 34: BLO, DC in 2nd DC from CH and across. Ch 2, turn.
Row 35: BLO, DC in 2nd DC from CH and across. Ch 1, turn.
Row 36: sl st into 2nd DC and across.
Fasten off.
07.19.14 UPDATE: While working this hat up again, I just realized that I did not get this ending correct at all. In my defense, I followed the Blue Camo Stripe Ribbed Scarf outline for this pattern. Oops! As soon as I am off work tomorrow, I will take pictures finishing up this other hat and get this ending corrected.
07.21.14 UPDATE:
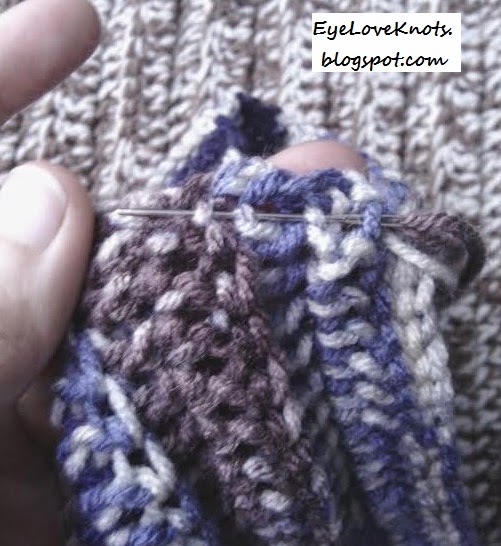
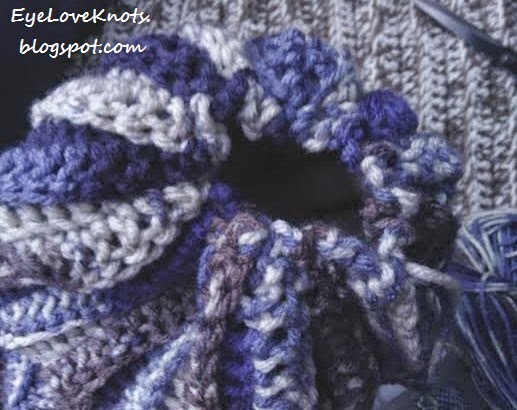
There are two ways your can do this part: 1) Slip Stitch your hat closed; 2) Fasten off your yarn with a long tail and sew up the sides of the hat.
I’m going to be showing you the first method – my preferred method.
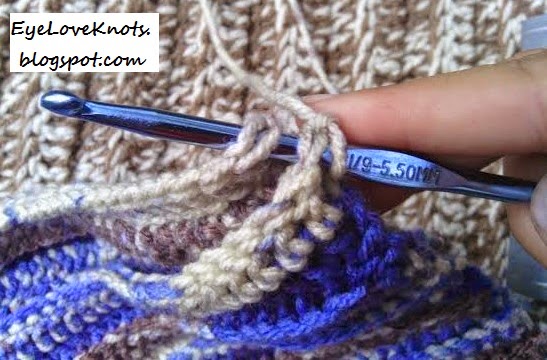
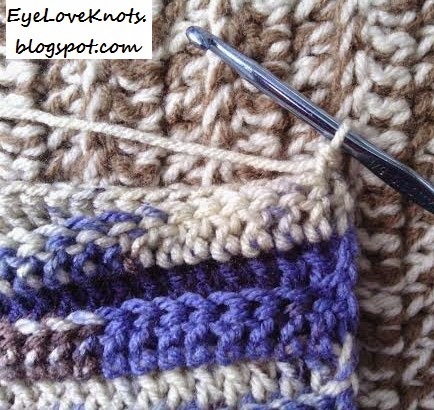
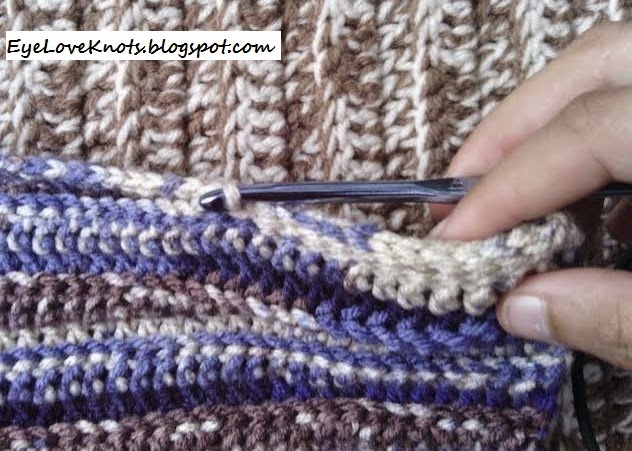
First, Fold your rectangle piece in half. You’ll be working from right to left – right side being where your CH 1 is.
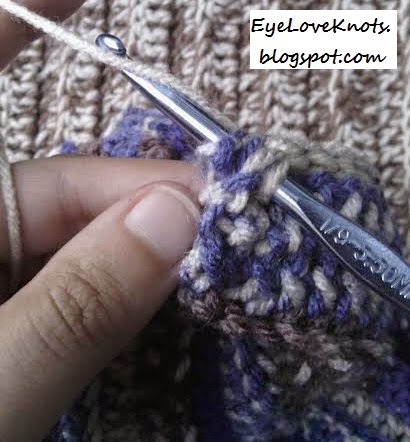
Insert your hook under both loops of your first stitch as well as both loops of the stitch behind – so you’ll have 4 loops on your hook. Complete the slip stitch.
Please feel free to make and sell this scarf, but please DO NOT claim this pattern on your own nor should you sell my pattern, and DO NOT re-publish my photos as your own.
I’m confused on how to start it.where is row 1? I don’t see a starting chain either .
Row 1 comes just before Row 2. Did you read my notes before starting at the actual pattern?
OMG!!! Thank you so much for this pattern. I have looked high and low for a simple easy side to side hat. All the other ones I have seen, always uses sc or some hectic pattern. I also love the fact that you use double crochets for the stitches. Thank you Thank you Thank you! You have made my entire week <3
So glad to have what you’re looking for 🙂 This has been one of my favorite patterns, and my go-to beanie for gifting to men. I plan on revisiting it this year, and adding a few more sizes. And I’m with you – I especially like the double crochets because it works up much quicker, and has good flexibility. I didn’t know side to side hats were really of much interest. I think I’ll ask around – might work on some new ones.