So, before I attempted to make any of the ceramic tile coasters I currently have for sale in my Etsy shop – you can also click here for my recent post on making them – the idea was started from this Santa Coaster tutorial courtesy of Gail from My Repurposed Life. I can’t exactly remember where I originally found it, probably on Pinterest, but I was set on trying to make my own.
However, it was quite a craft fail for me…
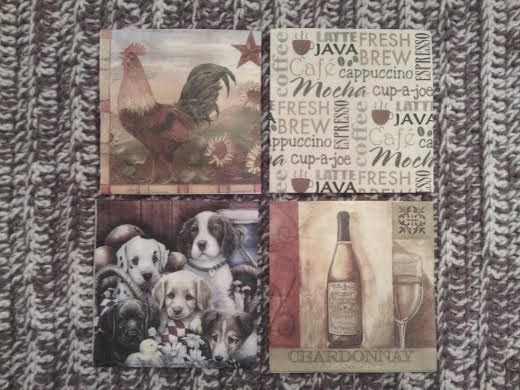
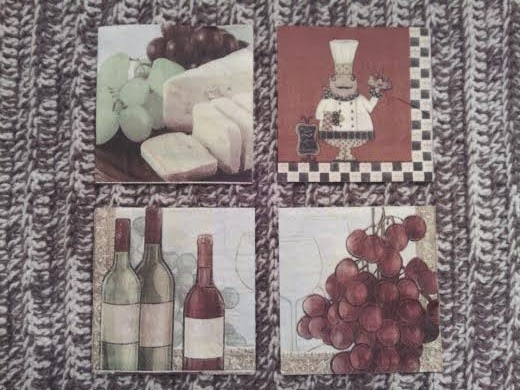
First, I opened all of the napkins and cut them in four’s, and then cut them down to size (4″ x 4″ – since some of the images were too big to just be 3.75″ around), and then removed the backing layer of each square to make them 1-ply.
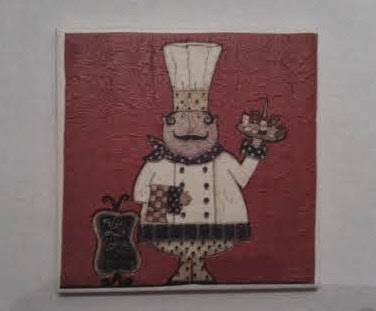
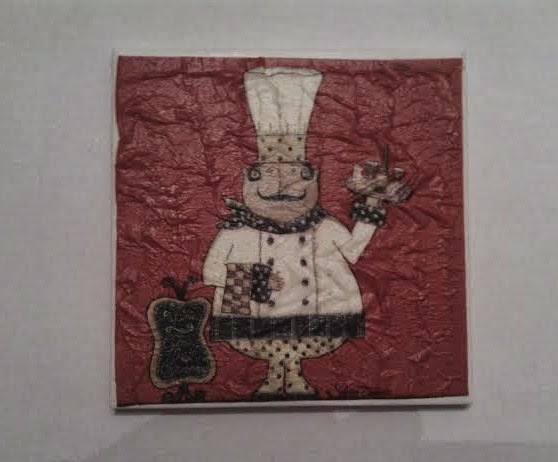
After cutting, I applied mod podge to the ceramic tile, and then placed a napkin square on top and began smoothing it out. I waited a few minutes before applying a coat of mod podge on top, and this is what I got…
Take Two: To lessen the wrinkles, I tried using a glue stick to glue down the napkin square onto a sheet of computer paper. It came out wrinkle free! But, when I applied the coat of mod podge on top, it was WORSE than the first attempt.
I stared for a few minutes with my face in my hands because I found the perfect napkins to make my newest ceramic tile coasters (11 sets to be exact) and can’t even do it. What a disappointment! Better luck to any of you who try this. I highly recommend the use of scrapbook paper instead.
Thank goodness I’m almost finished with my scarf to submit to The Crochet Crowd – because I am going to need the satisfaction! If any are interesting in making a button-up cowl, scarf or small blanket using Red Heart Boutique Treasure yarn to submit as part of the Spring Has Sprung Challenge, the deadline to submit a photo of your completed project is April 15th. You still have plenty of time!


Leave a Reply