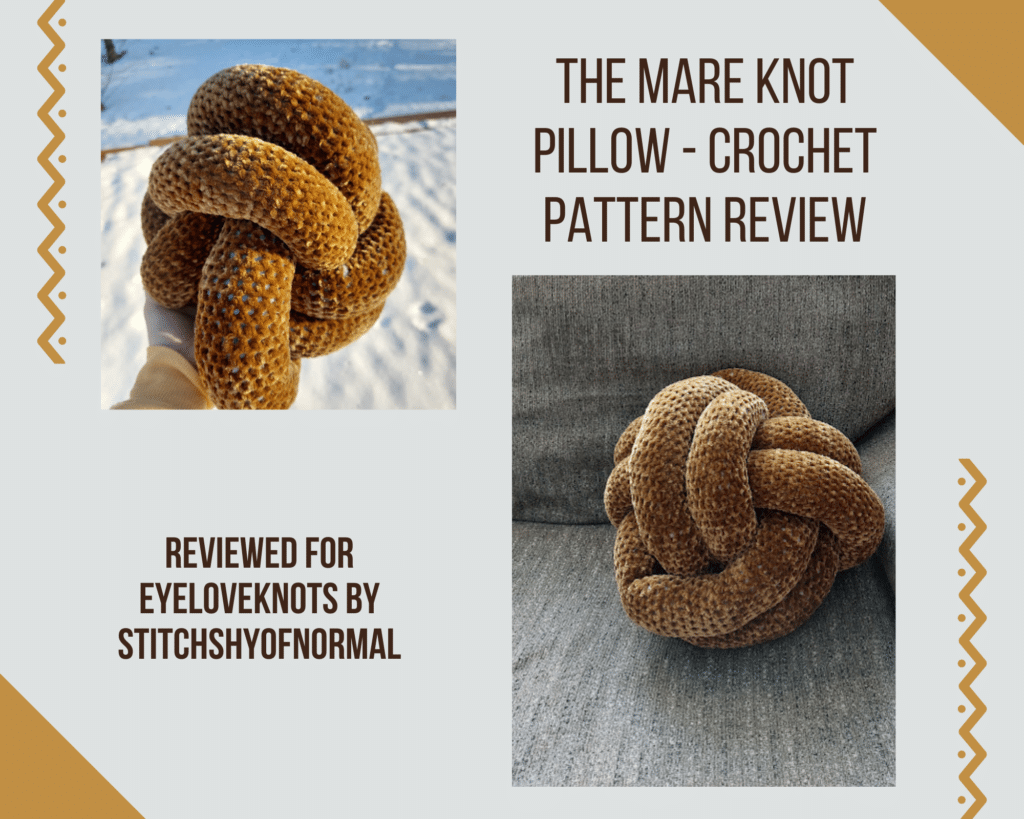
This is a crochet pattern review of the Mare Knot Pillow pattern from designer DeBrosse. Review done by A Stitch Shy of Normal for EyeLoveKnots.
This post contains affiliate links for Etsy, Amazon, and WeCrochet. If you make a purchase by clicking on them, I make a small commission at no extra cost to you. Thanks for your support!
Find the crochet pattern review below, or check out the paid pattern on Etsy right here!
It’s me, Abigail with A Stitch Shy of Normal.
Visit with me on Instagram @astitchshyofnormal for all kinds of awesome crochet makes and inspiration.
I love unique home decorations. I’ve talked about this before, but my couch is full of random mismatched pillows. I don’t “do” the coordinated set and a matching blanket, I love color and chaos. I currently have on my couch…a pink ombre round pillow, a clearance Halloween one from Joann I bought years ago for a couple bucks, a handmade attempt at a bolster pillow that didn’t work great, and now this gorgeous beauty! And I love it that way. So I’ve had this pillow on my Ravelry favorites list for a long time and even tried making one before because it really interested me. It looks very different from a basic square couch pillow, and looks like it would be fun to squish as you sit and watch a movie.
My favorite part, though, is how it also would look lovely on an intentionally decorated couch with fancy store-bought pillows. It’s the best of both worlds, creative and interesting but also chic and classy! Bernat Velvet has so many lovely colors and even some multi-colored varieties now that would make for super gorgeous creations. And that’s even before you get into other yarn types. But personally I really recommend the velvet, it adds that extra touch of class.
Materials I Used to Make the Pillow:
- A little more than one skein of Bernat Velvet, and for full disclosure here I’m only about 90% sure that “Olive” is the color I used. It’s kind of a gold shade but definitely more towards the brownish-green type of gold.
- I9/5.5mm crochet hook – I like Clover Amour Ergonomic Hooks
- Stuffing (I had most of a 32 oz bag and now have less than half, so I would guess I used maybe up to 14 oz)
- Scissors and a needle, all the important assembly stuff
- A wrapping paper tube or some similar long tube for stuffing the pillow
- The Mare Knot Pillow, Paid Crochet Pattern from DeBrosseNYC via Etsy
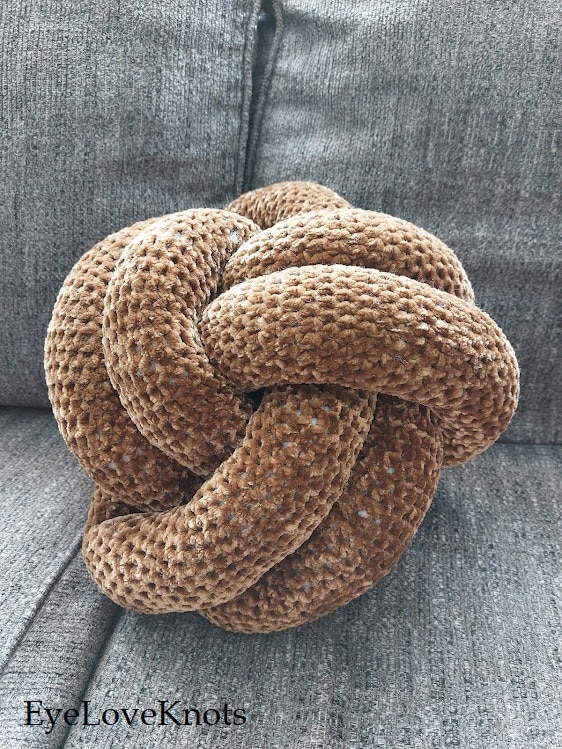
Material Notes:
This yarn worked out wonderfully, but of course it did because that’s what the designer actually recommends! The velvety texture just adds that extra touch of class and gives it a nice squishy finished texture. This would also be gorgeous in a different yarn but the gauge would likely be affected, I’ve found this Velvet line to be its own thing when it comes to yarn substitutions. Also I did not change my hook size as I found it pretty pointless to worry about gauge. If it could be stuffed without gapping, I was happy.
If the wrapping paper tube technique counts as “materials”, then I want to say that I did not have an easy time with this strategy but I’m not really sure what could work better. At the end I was using an odd combination of a duster handle to stuff it further down the tube while I held it between my feet and was shoving stuffing in…it was not a pretty sight. If you have some other type of long tube that would be more sturdy, I could see it working better. The cardboard of my wrapping paper tube got pretty beaten up. I wonder if a PVC pipe might work well? I’ll have to try that next time.
Would I use this yarn again? Definitely, and I plan to do so. But I will change my stuffing approach and see if I can find anything that works better for me.
Time Spent:
A lot. I was taking notes when I was working on this, I would just watch the time I spent stitching and mark down a tally for the hours on my printed pattern page. By that count I took about 14 hours to stitch the tube itself and that’s probably not even that accurate. I doubt I properly tracked each time I spent 20-30 minutes working on it.
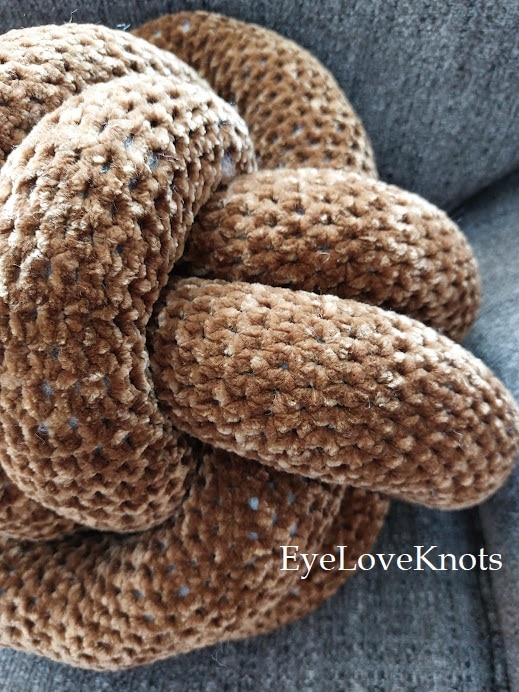
Stuffing took several more hours and I don’t even know how to count that. If you do it right, it might only take 2-3 hours. It probably took me 4 to 6, I gave up several times and got frustrated.
So in total, because the knot takes like a minute, I’ll estimate up to 20 hours on this project.
Gauge:
Pre-stuffing my gauge was pretty close. I didn’t measure it because the pattern just has a length and tells you how wide your tube should be laying flat.
The pattern gives a gauge of 2 inches being 6.5 stitches and 6 rows. I never officially checked this when it was laying flat and empty. Currently when it’s (generously) stuffed, I have 7ish stitches and about 4 rows in that size. So I probably got fairly close.
Measurements:
The tube is supposed to be 138″ long and 2.75″ wide. I swear I measured my empty tube but I’m not sure if it stretched out during stuffing or I’m just not great at tying knots, but my tube had some extra length when I was assembling it. I was following the video exactly and while the designer finished with a few extra inches to tuck away, I initially had like a foot hanging free. Even on my second round it was the same thing. I just ended up pulling each loop a little looser to account for the extra, which is easy to do so I’m not mad about it!
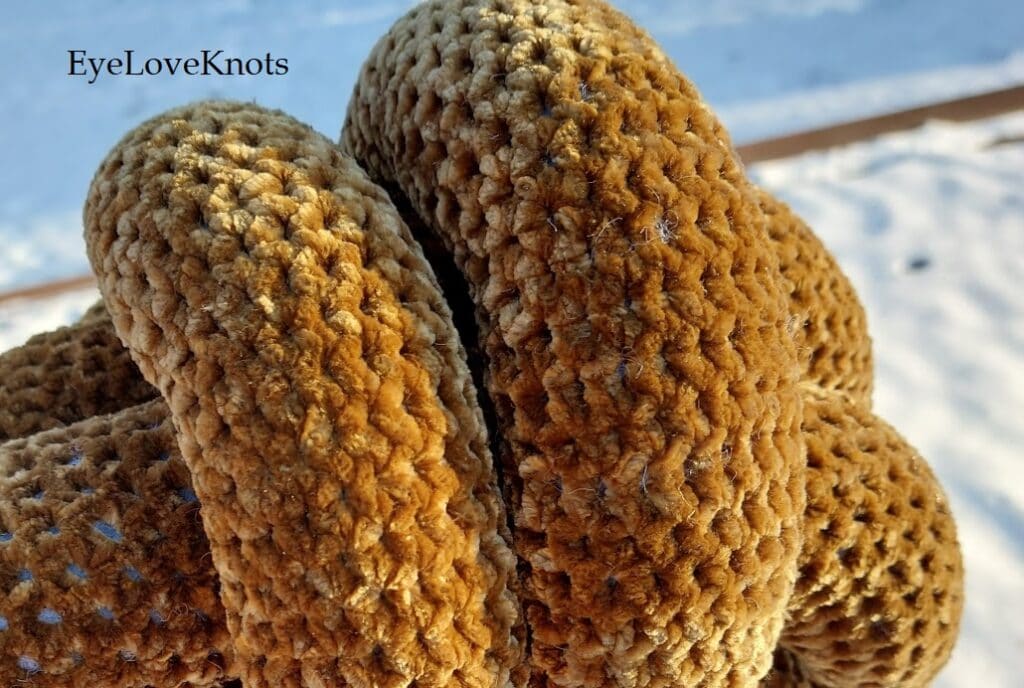
I like the diameter of this tube, it’s nice and big but not huge and awkward. This is a generously-sized pillow that will definitely make an impact on your couch decor! The pattern says it’ll measure 10″ in diameter and mine seems to be right around there. I’m not sure how to measure that correctly but I held up the tape measure next to it and it’s around 9 to 10″ tall from the couch to the top of the pillow.
Pattern Notes:
This is not a quick pillow. But it is sort of perfect if you only get a little time at the end of the day after work, because you don’t really need to count rows. You just stitch and stitch forever until you have a long enough tube. Some days I got another eight or ten inches added on during a movie, and some days I probably added barely half an inch to the length. But all of it was progress and eventually I got there!
The best way I found to keep track was to measure it every now and then, and to put a stitch marker on that current round–and again, I wasn’t counting “rounds” with start and end stitches, I was just stitching onward–and I would write down the current length. Then when I was done next (or had added a good amount of length), I would measure from the stitch marker up to where I was. So my printed pattern is covered with crossed-out numbers but it showed a good progression and was way easier than measuring the whole tube each time! I still would recommend doing that now and then, though, because sometimes I would think I was at, let’s say, 50 inches with my math but then would measure and find I was actually at something like 54! It’s not perfect but it’s much easier.
This is actually a changed version of this pattern, the original one involved crocheting a very long rectangle and then seaming that into a tube. I really prefer this method, it’s much easier to do and you still barely need to count. I would only check my stitch count every now and then, and it’s super easy to just increase or decrease if you ever have the wrong count. It won’t show by the end if you were at 17 or 19 stitches for a while instead of 18. Plus with this tube method there’s no step of sewing a 100+ inch long tube into a (hopefully) neat seam!
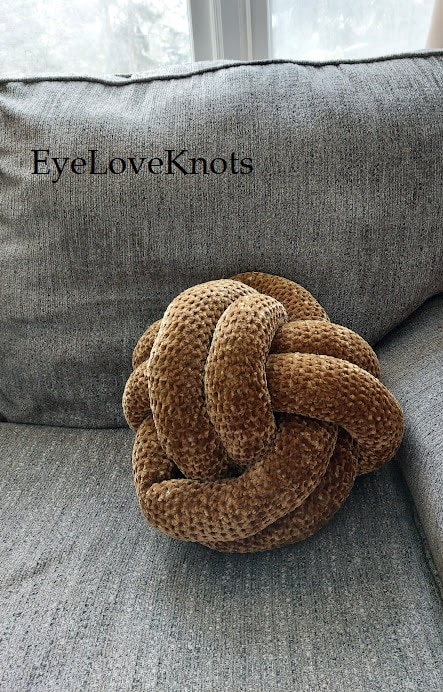
So…This stuffing takes a LONG time. And it’s not easy. Like I said, I don’t know of a better method, but I just want to warn you that for me it took a lot of work and sitting on the floor struggling with a cardboard tube and a bag of stuffing. Then I got it all full but it was spread out poorly, and I had to fight with this enormous tube again to spread the filling out. I mentioned how the stitching took about 14-15 hours, but the stuffing took like another 6. That’s not a joke. If it works better for you, that’s great! This was my first time with something like this and you might have better luck and/or skill. But if you’re a newbie to this sort of stuffing technique, it’s difficult. Go slowly and you’ll probably have a better time because you won’t need to fix it for hours afterwards.
After all of that, though? The process of knotting it up takes about thirty seconds. I mean, it’s easily less than 5 minutes and that’s including untying it once because I wanted to do it better. Then a minute or two of adjusting the loops. It’s the easiest part by far, in my experience. The stitching is simple, the stuffing is torture, and then you immediately just whip it up into a gorgeous knot!
I can also verify that the knot shape hides any mistakes. My tube was lumpy, my stuffing was spread out badly, stuffing was poking through the holes a little bit at places where I had overstuffed it…but my finished pillow looks lovely. It just takes all the hard work and torment and you get a stunning piece to enjoy! This isn’t really a nap pillow, though. My husband immediately tried to do that with it (while I was telling him I hadn’t taken pictures yet), and he informed me it wasn’t “the most comfortable” for that purpose. However, this is when it’s brand new and neatly stuffed. I’m not sure how it holds up long term but I will happily try it out!
All in all, I’m happy I made this but I’m not sure I’m emotionally ready to make another one. The stitching is easy but takes a very long time, and then the stuffing destroyed my sanity (as well as my back and knees from sitting on the floor that long). But then the knot is a very impressive and quick little trick and you have a gorgeous pillow! So once I’ve forgotten how rough the process was, I’ll probably dive right back in for another. I’m having trouble planning a colorway though. I’m thinking the deep blue/navy colorway but I might have to go for something purple! But it’ll end up being whatever catches my eye in the store, because I planned on a silver or gray for this one and this gold jumped into my cart instead.
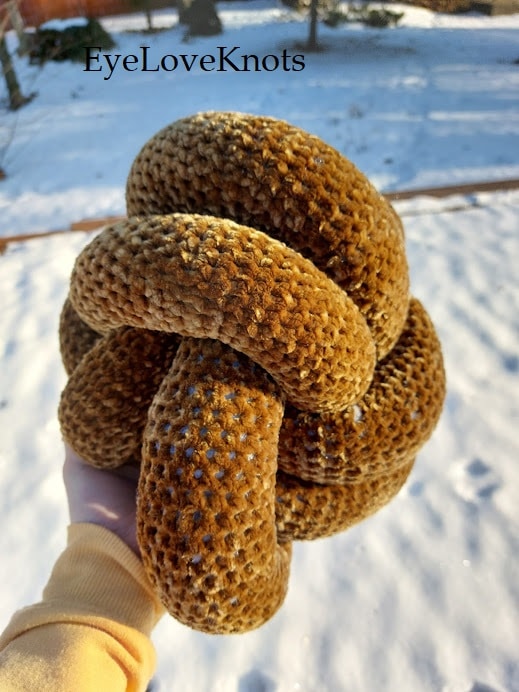
Would you try one of these pillows? What color would you choose?
Don’t forget to visit with me on Instagram @astitchshyofnormal for all kinds of awesome crochet makes and inspiration.
Join one of our awesome Facebook groups to share your creations, and see what others are up to!
– EyeLoveKnots Crochet & DIY Community
– DIY Home On Rockwood Lane
– Alexandra Lane Lifestyle
Linked Up To…
Craftastic Monday Link Party – Sew Can Do
Beautifully Made Link Party 202 – Across the Boulevard
Linky Ladies Party #221 – The Purple Poncho
Team Creative Crafts Link Party #81 – Artsy-Fartsy Mama
Wednesday Link Party 438 – Oombawka Design Crochet
The Loop Scoop #32 – Moogly Blog
{Wow Me} Wednesday #541 – Ginger Snap Crafts
Tuesday Turn About #138 – My Wee Abode
Creatively Crafty Link Party #315 – Try It, Like It, Create It
Fabulous Friday Link Party – Peacock Ridge Farm
Saturday Sparks Link Party 502 – Pieced Pastimes
Handmade Monday #266 – Sum of their Stories
The Really Crafty Link Party #303 – Keeping it Real
Link-Up Potpourri #31 – My Bijou Life
Happiness is Homemade Link Party #414 – Decor Craft Design
You’re the Star Blog Hop – Decor Craft Design
Craft Schooling Sunday – Creative Jewish Mom
Sundays on Silverado #80 – The House on Silverado
Hello Monday – Pink Lady
Anything Goes Linky 319 – My Random Musings
Share the Wealth Linky #13 – Big Fat Menopausal Life
Talent-Sharing Tuesdays Link-Up 7 – Scribbling Boomer
The Happy Now Blog Link-Up #308 – JENerally Informed
626th Inspire Me Tuesday – A Stroll Thru Life
Fabulous Party 411 – Lou Lou Girls
Spread the Kindness Link Up #262 – Shelbee on the Edge
All About Home #131 – Common Ground
Wonderful Wednesday Blog Hop – My Life Abundant
Wow on Wednesday – Is This Mutton
Wonderful Wednesday – Oh My Heartsie Girl
Karins Kottage Linky Party – Karins Kottage
Grace at Home No. 456 – Imparting Grace
Encouraging Hearts and Home Blog Hop – My Slices of Life
Thursday Favorite Things #528 – An Artful Mom
Funtastic Friday Link Party #372 – Simply Beautiful by Angela
Create, Bake, Grow & Gather Party #507 – Shabby Art Boutique
Home Matters Linky Party #367 – Modern on Monticello
Traffic Jam Weekend Link Party #312 – My Bijou Life
A Morning Cup of Joe – The Cottage Market
Good for you for sticking with the tubes. I’m not a fan of tube type projects because they are such a challenge to stuff. Glad you got it finished and you like how it looks in your home.
Although the project required lots of time and effort, the finished pillow looks great. It looks like it would be squishy and comfortable for napping on the couch. Thank you for linking up at Talent-Sharing Tuesdays Link-Up 7.
Carol
http://www.scribblingboomer.com
It certainly did, but I think it was worth it! My husband has already had a couple good naps with it, so I can attest to it being great for that purpose!
Looks amazing, and so elegant! thanks for sharing on craft schooling sunday!
Glad you enjoy it! Elegant is a great description, that’s what this color says to me as well.
This is awesome. Thank you so much for sharing on Fabulous Friday Link Party. We sure appreciate you. Hugs and blessings to you.
Oh my, you are the most persistent person ever. A whooping 20 hours for a pillow! I would have given up early on this project!
That being said, I’ve been keen to sew this up ever since I saw this trend popping here and there a few months ago. However, I KNEW stuffing it would be a nightmare and it’s just sitting at the bottom of my to-do list. Lol
Enjoy your new pillow, my friend
Lol it was a labor of love, I knew the finished pillow would be so worth it! (And I’ve totally attempted this before and given up!) It’s so gorgeous and while it is definitely a lot of work, it’s a wonderful project. If I make another one, it’ll be like a year-long couch project that I just pick up and stitch a few rows on each day!
I’ve always wanted a pillow like this, but wasn’t willing to spend too much on it.. I haven’t seen the pattern, but from your blog I understand that it’s made flat and sewn into a tube? If this is correct, wouldn’t it be easier to crochet in the round and stuff as you go? I will give this a try. I appreciate your dedication and perseverance:)
The original version of this pattern was indeed a flat rectangle that you sewed up at the end, but this version involves working it in the round as a giant tube. I didn’t consider stuffing as I went, but thinking about it now I can’t see why that wouldn’t work! You’d just need to be careful to keep it the same thickness throughout.