A week or two ago, a simple yarn trip to Hobby Lobby turned into a much bigger purchase of mostly buttons – I LOVE buttons! Some for Fall, some for Halloween and some for Christmas!
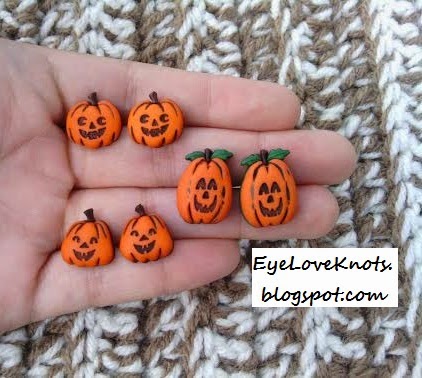
Included in those were these really cute Jack O’Lanterns.
If you’d like to make yourself a pair of Jack O’Lantern studs, just read on!
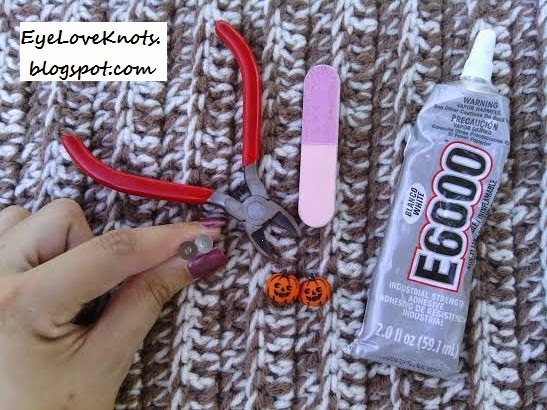
Materials:
 – Shank Buttons or Flatback Embellishments – I used Jack O’Lantern Buttons from the Dress It Up Collection
– Jewelry Wire Cutters or a Button Shank Remover – I have both and they both work the same. The wire cutters seem to work better and feel more comfortable to hold. Wire cutters can be found in the floral or jewelry making departments of your craft stores. The button shank remover can be found in the button area.
– E6000 Glue
– Super Glue Optional
– Earring Posts – I used a 6mm Surgical Steel Earring Posts from Ali C’s Supply Shop on Etsy
*I was going to use 8mm posts but I wanted the posts to be up higher on the buttons so the smaller pad made all the difference for me.
– Emery Board/Nail File – light sand paper, or side walk will also work
– Toothpick Optional
Time Spent:
I was able to work the set of three in about fifteen minutes. One set would take even less!
Measurements:
The tallest pumpkin is 3/4″ tall.
Tutorial:
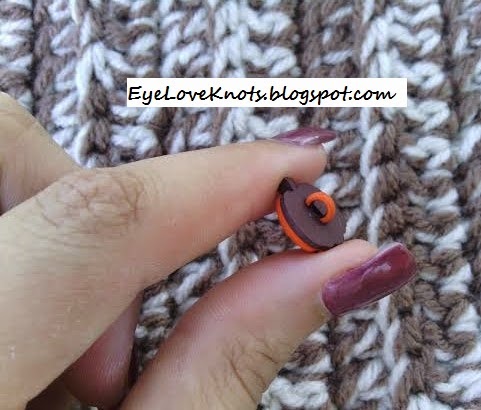 |
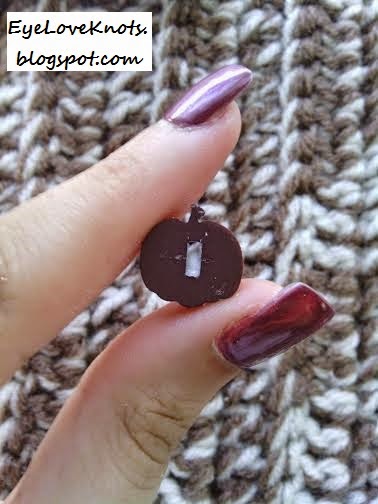
| The shank is located on the back of the buttons. This is the loop you’d use to sew the button onto your piece. |
 |
| Cut the shank as far down as you can. |
 |
| After you cut off the loop, you will have two pieces. |
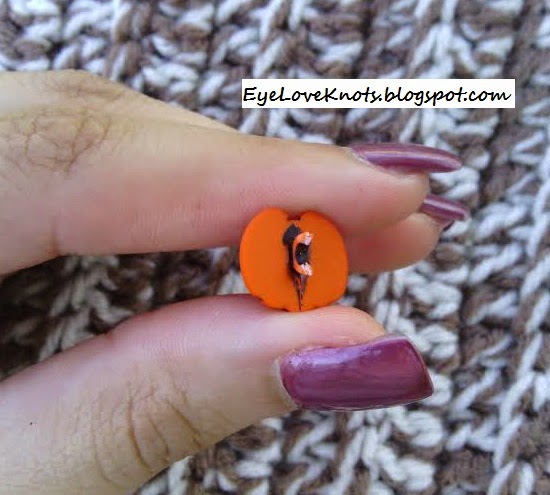 |
| This piece of the shank is the piece that was hidden under that second layer. Continuing cutting it down as best as you can. |
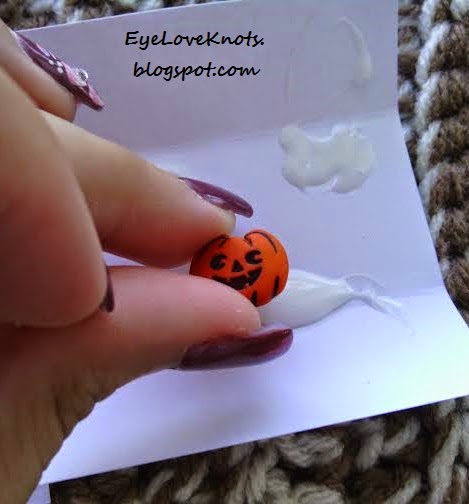 |
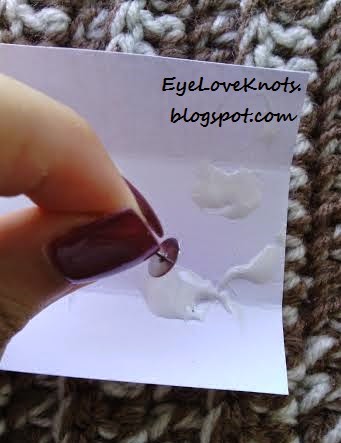
| Add some glue to the back of your button. For re-attaching the layers, super glue also works great. I made a mess doing the button this way – you may want to use a toothpick to apply a small amount of glue. |
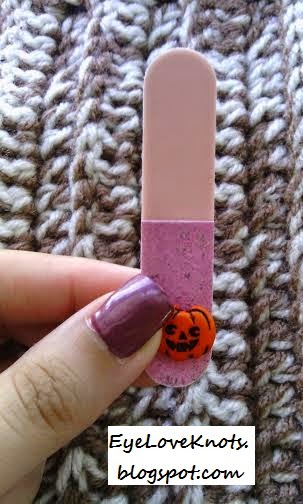 |
| Take your nail file and rub off the remaining shank stubble. You want your surface to be flat. *Sand paper or your side walk outside will also work for this part! |
 |
| This is too much glue! It will ooze out the sides. Good thing is, it’s similar to Elmer’s Glue so you have time to remove some. Now just lay on the second layer. |
 |
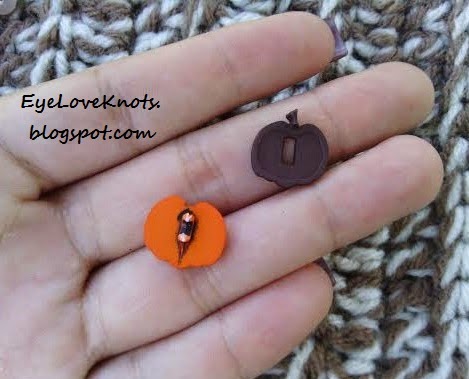
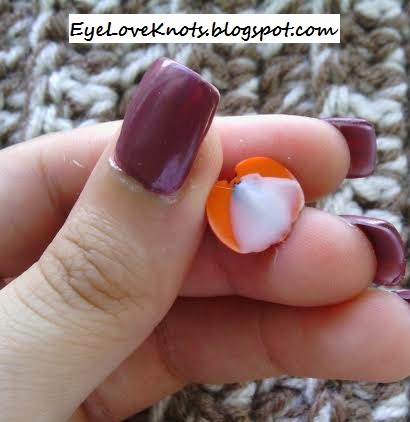
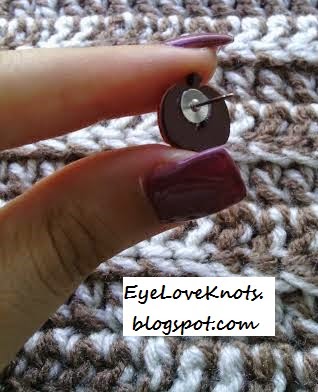
| This is what the back of your button will look like. |
 |
| I like to just dip my post pad in the E6000. You can also use a toothpick to add a touch. |
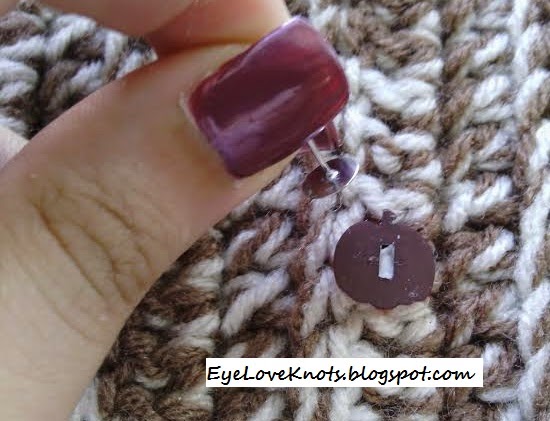 |
| Do not center your post. It will look right on your button, but it will not sit right as an earring. You will want your post to be up closer to the stem. |
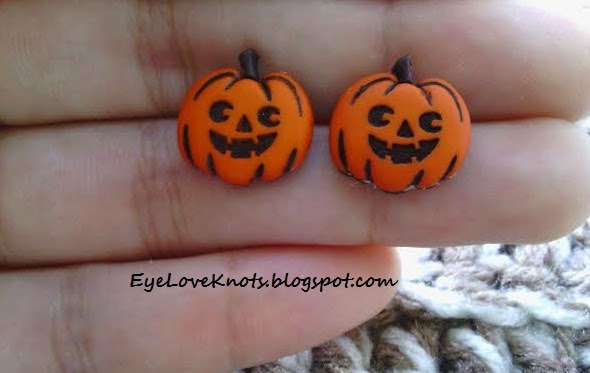 |
| And now you have a cute new set of Jack OLantern earrings! |
This process with work with any buttons with shanks or flatback scrapbook embellishments.
Please feel free to make and sell these button Jack OLantern Studs, but please DO NOT claim this tutorial as your own nor should you sell my tutorial, and DO NOT re-publish my photos as your own. DO NOT copy and paste my tutorial anywhere, link to it instead.
Linked Up To…
Creative Collection Link Party – The Cards We Drew / Blooming Homestead
Kitchen Fun and Crafty Friday #136 – Kitchen Fun with my 3 Sons
Craft Schooling Sunday – Creative Jewish Mom
Your Whims Wednesday #184 – My Girlish Whims
Think Pink Sunday #187 – Flamingo Toes
Creative Pumpkin Crafts I’m Lovin’ It – Tidy Mom
The Handmade Hangout #18 – Too Much Time on my Hands
Super cute! I'm sure I have some fun novelty buttons I can transform. If you're looking for another place to share your projects, I would love to have you stop by Etcetorize and join our Make it Monday party. It's open now 🙂
Thanks for the invite! You have a new fan from EyeLoveKnots 🙂
these are just adorable!
Agreed. Thank you 🙂
Those turned out nice. Thanks so much for linking up with me at #AThemedLinkup 30 for All Things Halloween.