Back in the beginning of February, I shared an Easy Jewelry DIY for Floating Hearts Hot Air Balloon Dangle Earrings. I did say I was going to post this current one just “new week” but I ran into some motivation issues and have left it sitting in my inbox since. Shame on me. Today, that changes!
You can expect to see a new Jewelry DIY from me every Thursday! Barring any unforeseen circumstances.
Onto the tutorial!
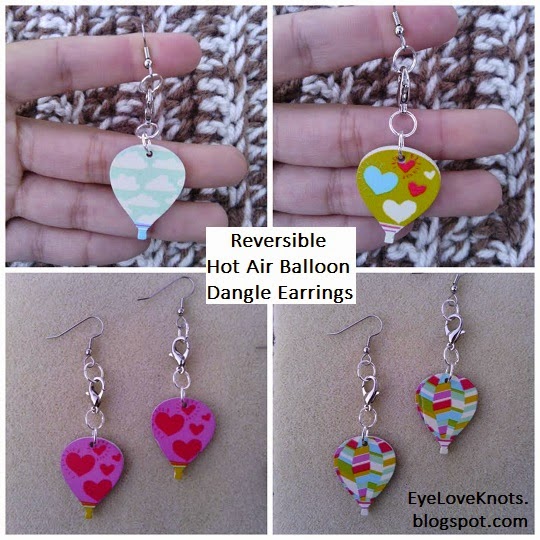
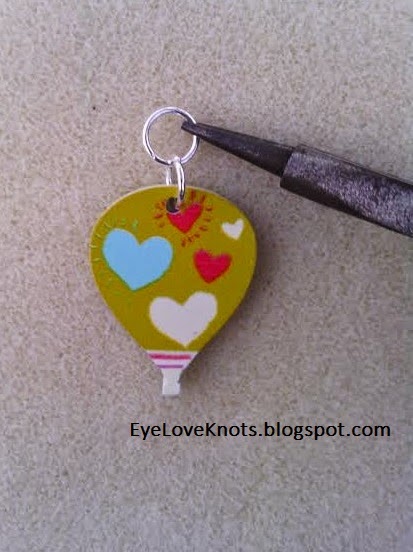
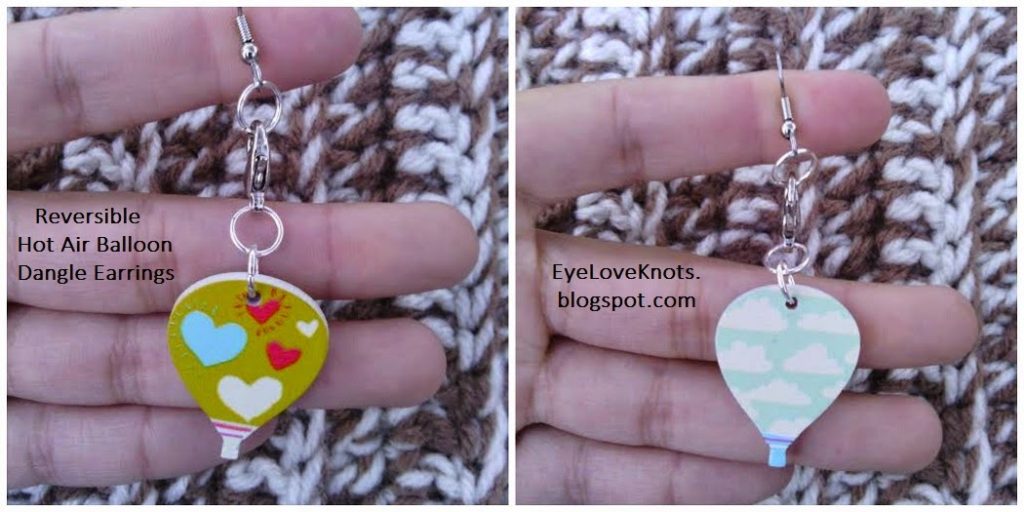
While shopping around my local Hobby Lobby, I found the most adorable Hot Air Balloon Charm! Cool thing about them – they are reversible! Today, I will be showing you how to make earrings that take advantage of the reversible-ness of these charms.
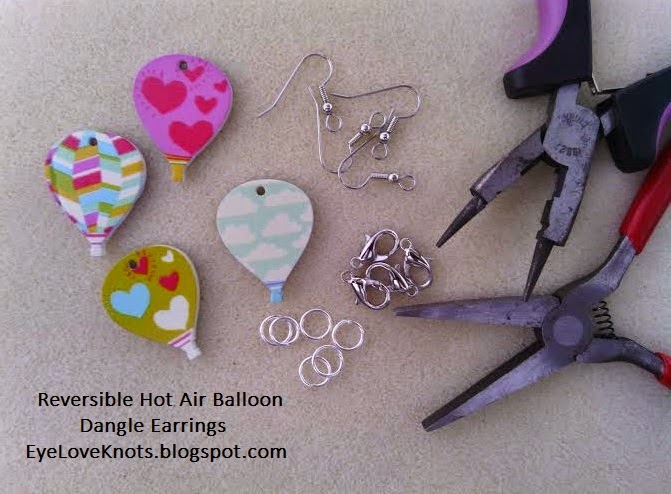
Materials I Used:
– Hearts & Stripes Hot Air Balloon Charms by Pop Age Timeline
– Hearts and Clouds Hot Air Balloon Charms by Pop Age Time
– 12 (6 each pair) Antique Silver 8mm 18 Gauge Open Jump Rings from CanterburyLane
– 4 (2 each pair) Surgical Steel Ear Wires Ball and Coil – AliCsSupplyShop
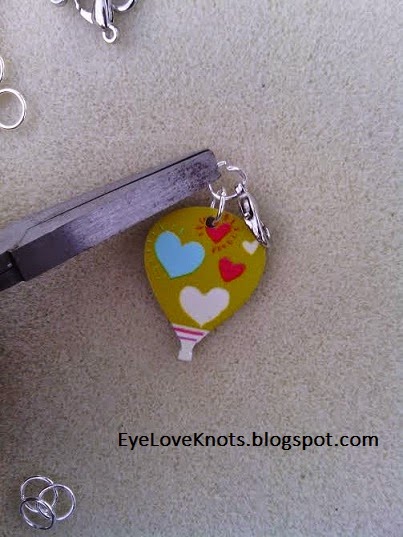
– 4 (2 each pair) 12mm Silver Plated Lobster Clasps – AliCsSupplyShop
– Round Nose Pliers – I use this pair. I also have a second pair that is more generic from a kit as I like to use two pairs, one in each hand but it’s up to you.
Material Notes:
I use and recommend the jump rings from CanterburyLane on Etsy because they are strong and professional grade. You cannot pry them open with your fingers so with pressure, they will not go anywhere.
I have found that using the jumps rings purchased at our local craft store, that they are extremely soft and with pressure will open on their own resulting in the loss of bead/charm/pendant/etc. I do, however, have a large stash of them left from before I made that realization. In a pinch, they do work, just use them with caution. I suggest using two together, if you are using these instead of the professional grade – just for added security.
I would also suggest using the Antique Silver jump rings, instead of the regular silver plated that I used so it fits in better with the lobster clasp and surgical steel earring wires. I just didn’t have any on hand. OR, if you don’t have ear sensitivities, just use a silver plated lobster clasp and earring wire and your jump rings will fit in just fine.
Time Spent:
You can have the two pairs of earrings ready to wear in less than 30 minutes.
Measurements:
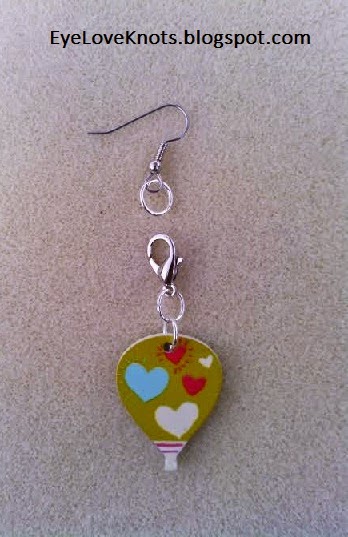
Your earrings will dangle down about 2.5″.
Tutorial Notes:
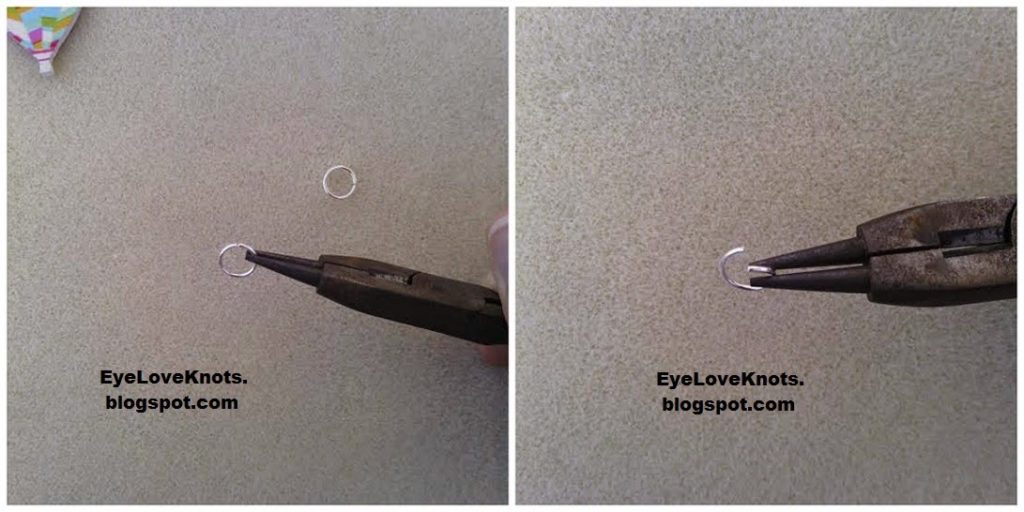
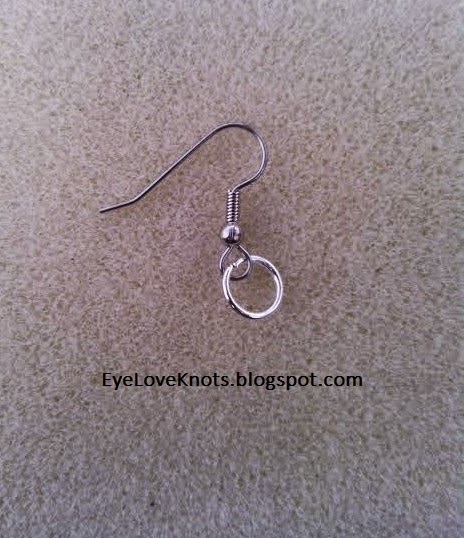
Jewelry DIY:
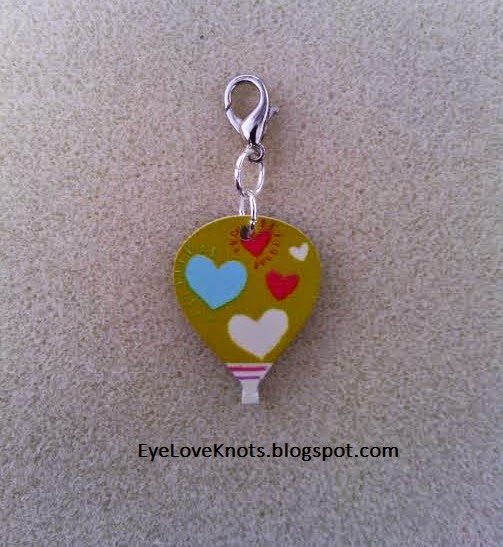
Though you’ve only assembled one pair of earrings, with these charms being reversible, you now have two in one!
Linked Up To…
Worthwhile Wednesdays #69 – Crafty Allie
Your Whims Wednesday #212 – My Girlish Whims
{wow me} wednesday #206 – Ginger Snap Crafts
From Dream to Reality #168 – The DIY Dreamer
Link Your Stuff Link Party – Lunamon Design
Link Your Stuff – Annemarie’s Haakblog
Submarine Sunday #119 – USS Crafty
Bowdabra Saturday Crafty Showcase {May 30} – Bowdabra Blog
Share it One More Time #13 – Vintage, Paint and More…
May 2015 Sharing Time, Week 5 – Raising Memories
Hello Summer, Share Your Creativity Link Party No. 163 – It’s Overflowing
Nice hot air ballones. Remember my link up this week 😉
🙂
Versatile – my favorite! I love the thought that you could have multiple different colored charms ready to change or reverse to match your outfit. These are so cute and a great idea!
-Jenny from crochetistheway.blogspot.com
Thanks Jenny !
Thank you for sharing at my link up.
You are welcome to join us this week too.
Thank you Monica!