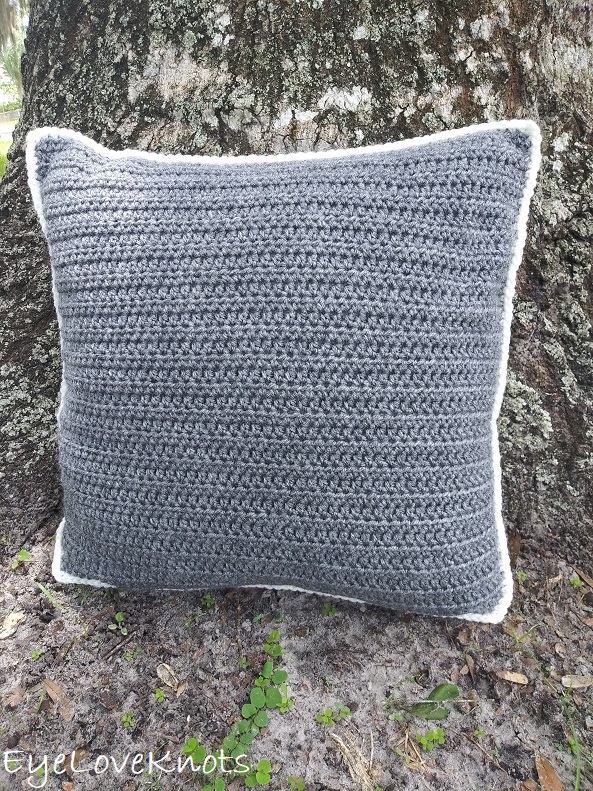
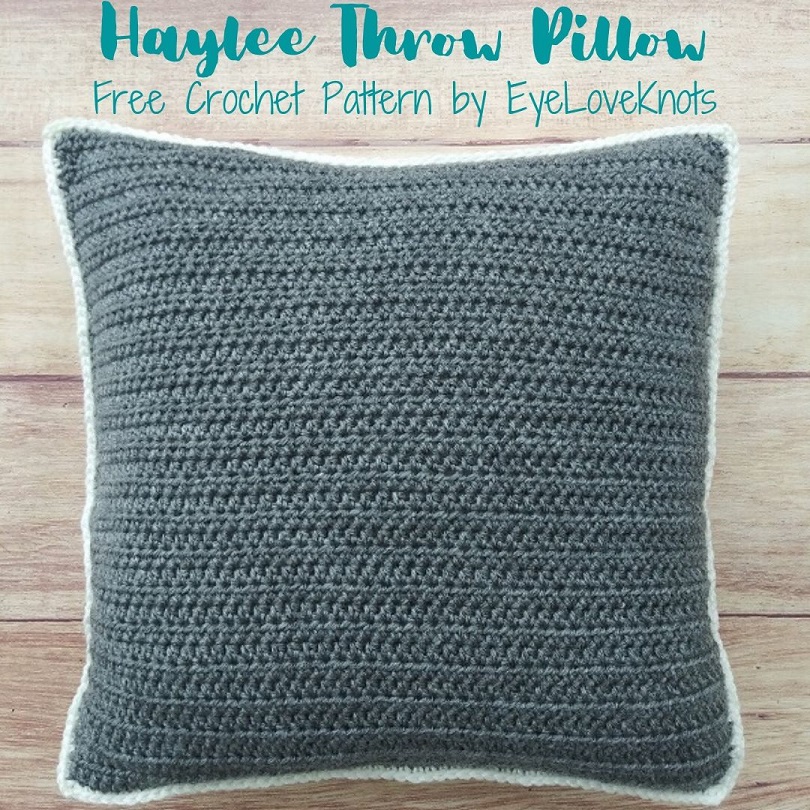
This is a free crochet pattern for how to crochet a basic half double crochet throw pillow that is envelope style with 8 sizes available.
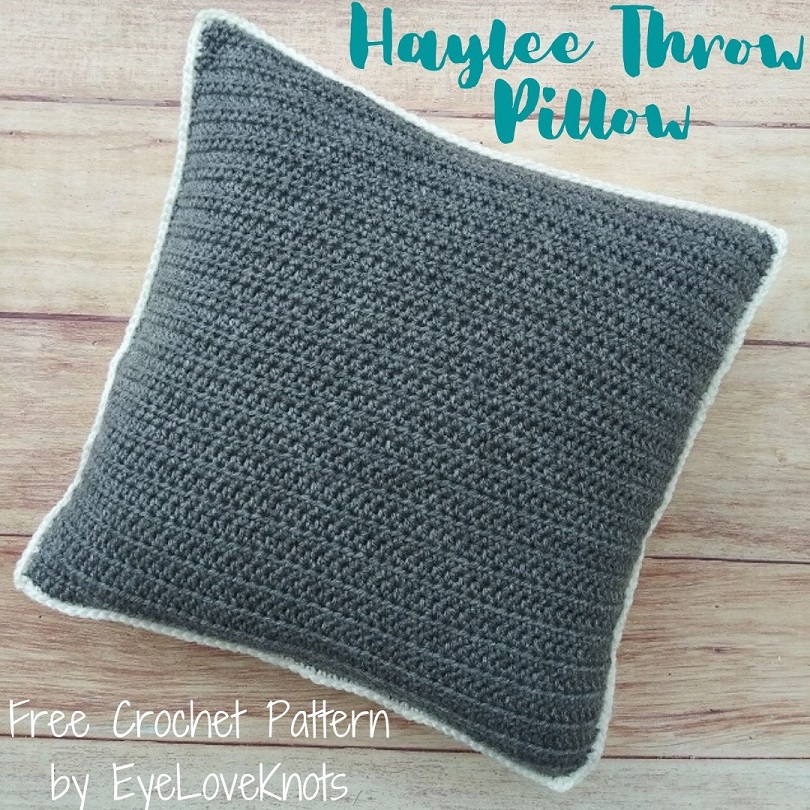
I am working on a patriotic throw pillow for my 4th of July series this year, and I thought before sharing it, I would share a basic pattern and tutorial for how to crochet a simple half double crochet throw pillow, envelope style. Patriotic throw pillow is coming tomorrow morning!
If you would like a PDF version of this post, you may get one through either my EyeLoveKnots Etsy Shop, Ravelry or LoveCrochet Shop for a small fee. This fee is to compensate for the views lost when you no longer need to return to the blog to for the information, as you will have your own copy. Plus! It helps fund supplies for new projects to share with you!
Shop EyeLoveKnots Etsy: Haylee Throw Pillow.
Shop EyeLoveKnots LoveCrochet: Haylee Throw Pillow.
Are you a Raveler? Share your version of this project on Ravelry – Haylee Throw Pillow.
Save this to your Favorites: AllFreeCrochet, FaveCrafts, Cheap Thrifty Living and Crochet Pattern Bonanza.
Materials:
- 315 (425, 550, 670, 820, 965, 1145, 1535) Yards of Worsted Weight Yarn – I used Red Heart Super Saver in Soft White and Grey Heather
- H8/5mm Crochet Hook
- Tapestry Needle
- Optional, Sewing Pins for Assembly
Yarn Alternatives:
Caron One Pound, Bernat Super Value, Hobby Lobby Crafters Secret
Time Spent:
I worked the 14″ size, and it took about 5 hours to complete.
Sizes Included:
12″ (14″, 16″, 18″, 20″, 22″, 24″, 27″)
Gauge:
11 HDC = 3″ Wide; 9 Rows = 3 1/8″ Tall
Abbreviations:
- HDC – Half Double Crochet
- SC – Single Crochet
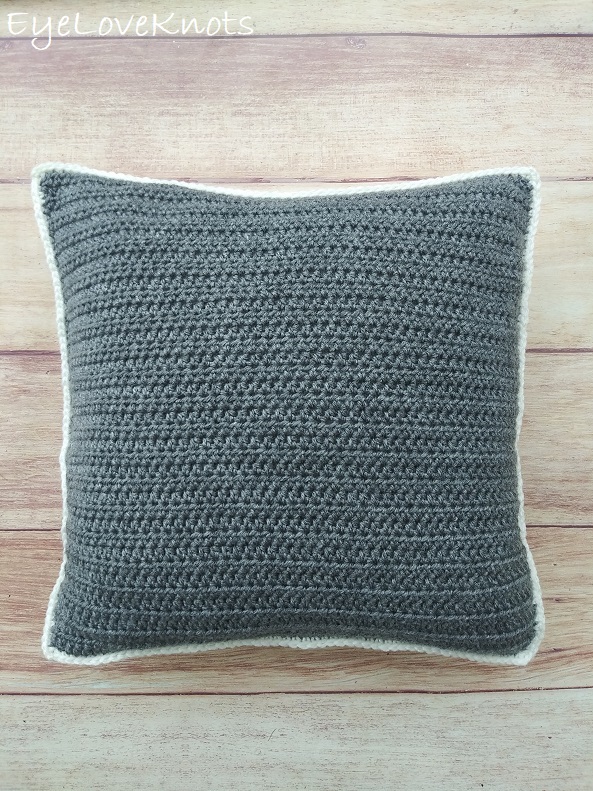
Front Panel – Should be about the same size as your pillow:
Chain 47 (55, 63, 71, 79, 85, 93, 113), HDC into the 3rd chain (skipped 1st and 2nd chains count as a HDC), and into each chain across. [46 (54, 62, 70, 78, 84, 92, 112) HDC]
R2 – 34 (42, 47, 51, 57, 63, 69, 77): Chain 1, turn. HDC into the 1st HDC, and into each HDC across. [46 (54, 62, 70, 78, 84, 92, 112) HDC]
Fasten off.
Back Bottom Panel:
Chain 47 (55, 63, 71, 79, 85, 93, 113), HDC into the 3rd chain (skipped 1st and 2nd chains count as a HDC), and into each chain across. [46 (54, 62, 70, 78, 84, 92, 112) HDC]
R2 – 17 (19, 23, 26, 29, 32, 35, 39): Chain 1, turn. HDC into the 1st HDC, and into each HDC across. [46 (54, 62, 70, 78, 84, 92, 112) HDC]
Fasten off.
Back Top Panel:
Chain 47 (55, 63, 71, 79, 85, 93, 113), HDC into the 3rd chain (skipped 1st and 2nd chains count as a HDC), and into each chain across. [46 (54, 62, 70, 78, 84, 92, 112) HDC]
R2 – 29 (32, 35, 37, 40, 43, 46, 50): Chain 1, turn. HDC into the 1st HDC, and into each HDC across. [46 (54, 62, 70, 78, 84, 92, 112) HDC]
Fasten off. Weave in ends.
Assembly:
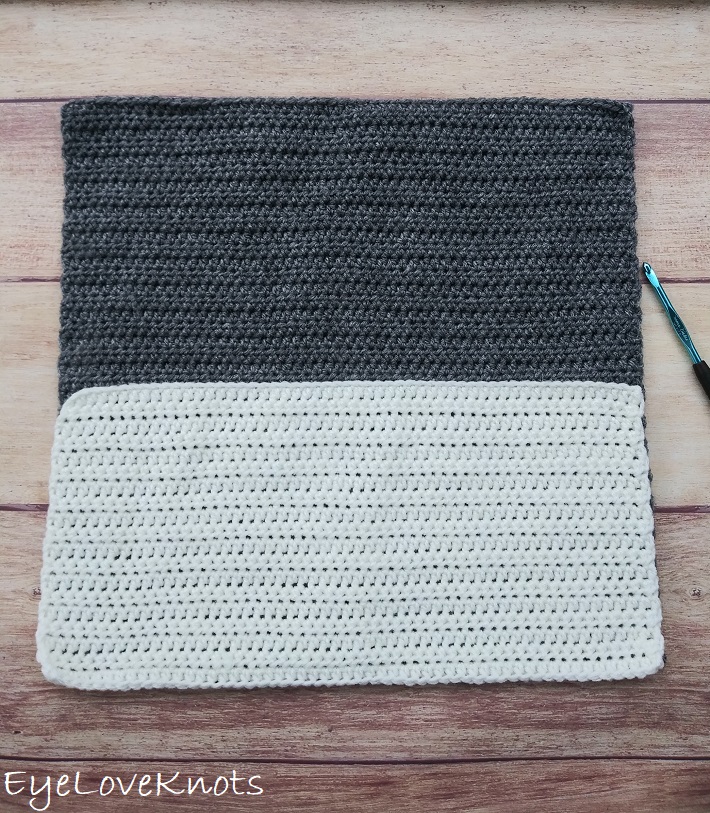
Turn front panel to the wrong side, and place the smaller back panel with the edge lining up with the bottom of the square – I like to have the foundation chain side on the top as it has more of a finished edge.
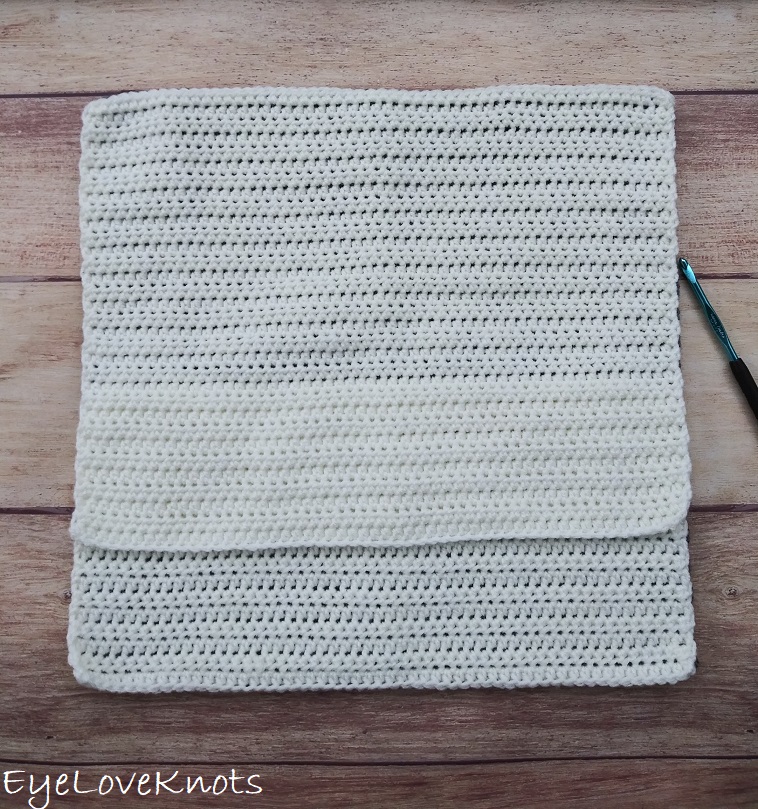
Then, add the other back panel piece lining the edge up with the top edge of the square – I like to have the foundation chain side on the bottom as it has more of a finished edge, which is visible along the opening.
At this point, you may want to use sewing pins to hold everything in place.
Carefully, turn the work over so the border is worked from the front side of the pillow (so the right side of the border stitches are worked on the side that is most visible).
Border:
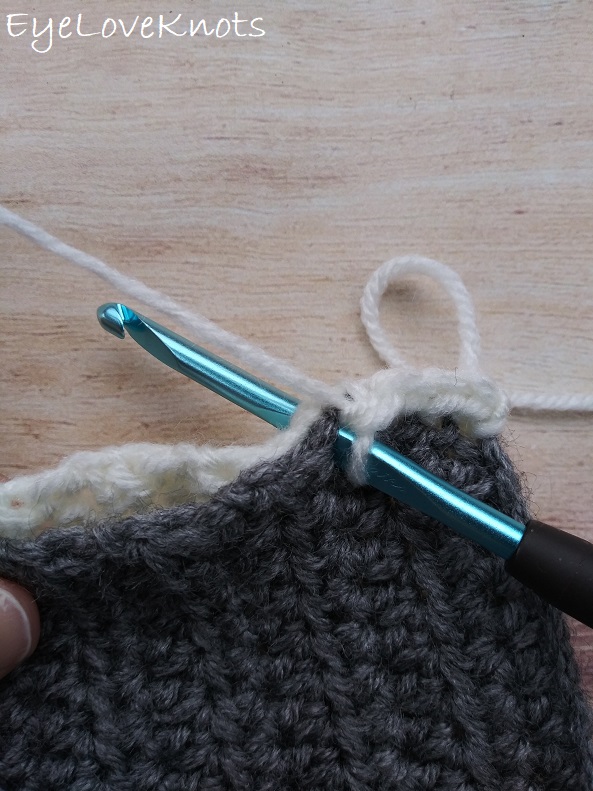
With the front side of the pillow facing you, attach yarn in any stitch through both layers, and chain 1.
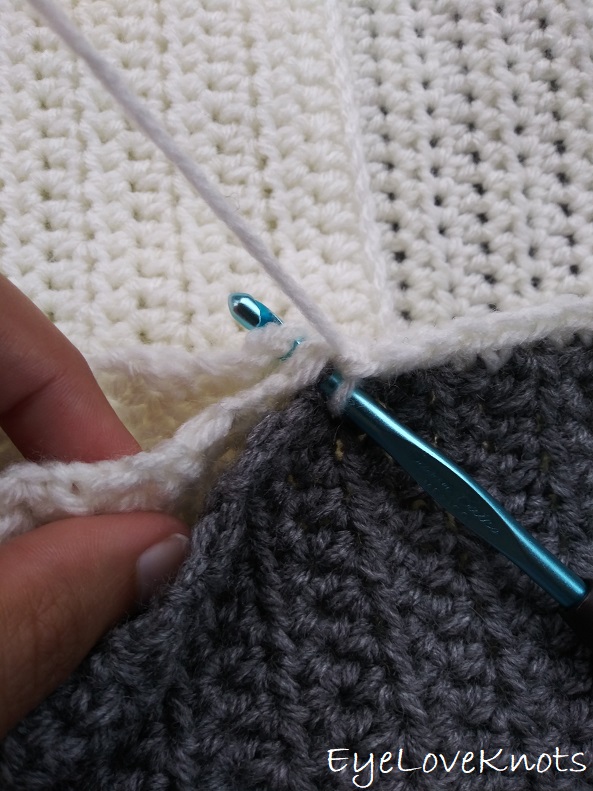
Evenly SC through all given layers (mostly two layers, but will be three layers in the center where the two back panels overlap), and work a “SC, chain 1, SC” in each corner. When worked evenly into the side of HDC stitches, it’s 3 SC per 2 rows. Once back to the beginning, slip stitch join to the 1st SC, and fasten off.
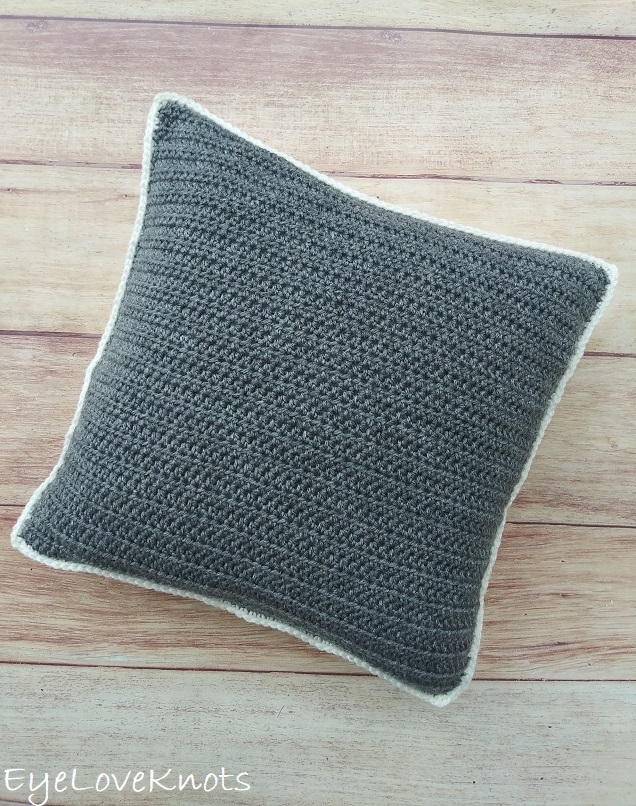
Weave in any remaining ends you have, and you’re ready to add in a pillow form.
Please feel free to make and sell your own Haylee Throw Pillows using this pattern, but please DO NOT claim this pattern as your own nor should you sell my pattern, and DO NOT re-publish my photos as your own. DO NOT copy and paste my pattern anywhere, link to it instead.
Join the EyeLoveKnots Crafting Community on Facebook to share your creations, and see what others are up to!
Linked Up To…
Craft Schooling Sunday – Creative Jewish Mom
Unlimited Monthly Link Party 13 – Grammy’s Grid
Happiness is Homemade Link Party #327 – Create with Cynthia
The Really Crafty Link Party #222 – Keeping it Real
Handmade Monday #180 – Sum of their Stories
Craftastic Monday Link Party – Sew Can Do
Little Cottage Link Party #55 – Love my Little Cottage
Fabulous Party #324 – Lou Lou Girls
Ginx Woolly Linx Party June – Ginx Craft
551st Inspire Me Tuesday – A Stroll Thru Life
Linky Ladies Party #187 – The Purple Poncho
All About Home #44 – Common Ground
Tuesday Turn About #53 – My Wee Abode
Hookin on Hump Day #217 – Moogly Blog
{Wow Me} Wednesday #459 – Ginger Snap Crafts
Your Whims Wednesday #464 – My Girlish Whims
To Grandma’s House We Go Link Party 197 – Chas’ Crazy Creations
The Wednesday Link Party #352 – The Stitchin Mommy
Thursday Favorite Things #444 – An Artful Mom
Creatively Crafty Link Party #228 – Life Beyond the Kitchen
Traffic Jam Linky Party #238 – My Bijou Life
Charming Homes and Gardens Wednesday Link Party 10 – Dabbling and Decorating
Pin Party #373 – The Pin Junkie
Best of the Month June 2020 – Calypso in the Country
Home Matters Linky Party #287 – Modern on Monticello
Create, bake, Grow & Gather Party #424 – Shabby Art Boutique
Creative Compulsions Linky Party #64 – My Bijou Life
Snickerdoodle Create Bake Make Link Party 340 – EyeLoveKnots
Lovely!
Thank you for sharing with Creative Compulsions!
Michelle
https://mybijoulifeonline.com