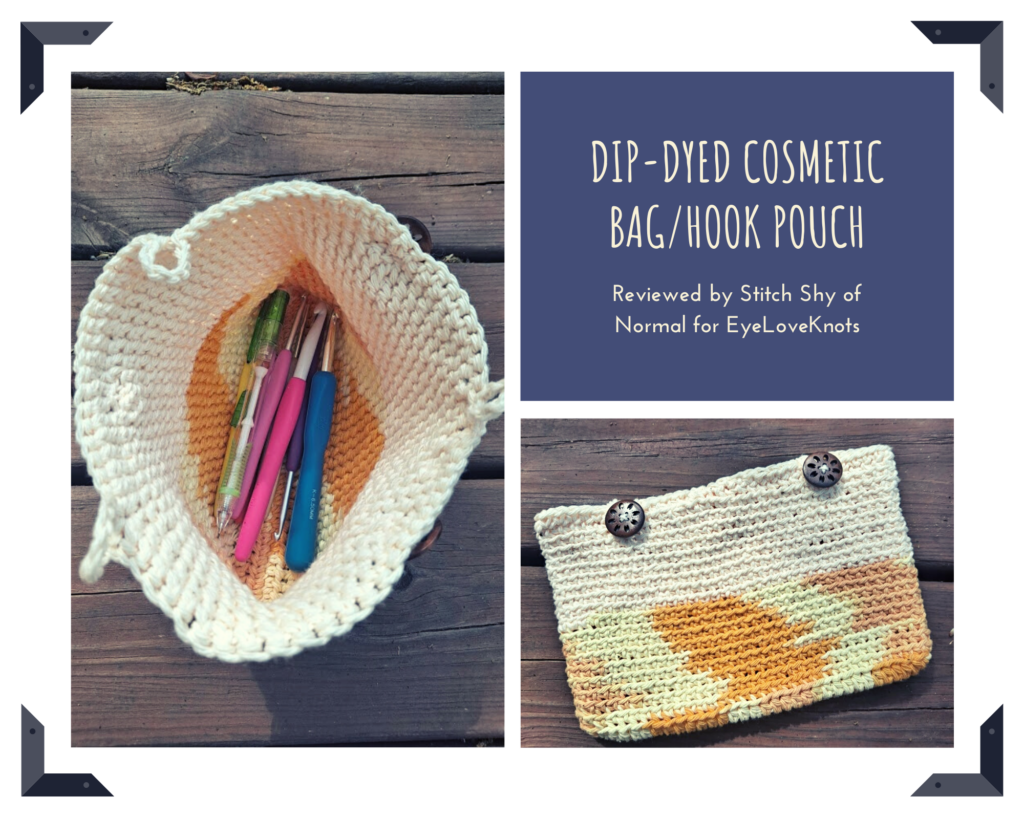
This is a crochet pattern review of the Dip-Dyed Cosmetic/Hook Bag from designer EyeLoveKnots. Review done by A Stitch Shy of Normal for EyeLoveKnots.
This post contains affiliate links for LoveCrafts and WeCrochet. If you make a purchase by clicking on them, I make a small commission at no extra cost to you. Thanks for your support!
Find the crochet pattern review below, or click here to find the free crochet pattern here on the EyeLoveKnots blog!

It’s me, Abigail with A Stitch Shy of Normal.
Visit with me on Instagram @astitchshyofnormal for all kinds of awesome crochet makes and inspiration.
I thought my yarn stash was crazy, until I started to really look at my hooks and tools. Am I the only one who will have 3 or 4 of the same size of hook, but can never find it when I need it? I always look back through my pictures and Instagram posts to figure out what I last made with that hook to find the WiP it’s stored with! This is probably why I enjoy making things like bags and baskets so much, it’s my need for organization coming through.
I also bring projects in my purse quite often, and it’s very common for a collection of hooks to start at the bottom. So to solve both of these problems at the same time, I decided to try out the Dip-Dyed Cosmetic Bag pattern from EyeLoveKnots, because it also makes for a perfect hook bag! That way I could use it for storage in my living room (because it’s also gorgeous), and toss it in my bag with a WiP when I need it on the go.
Materials I Used to Make my Bag:
- Lily Sugar’n Cream Cotton in “Cream” and “Soleil Ombre”: maybe 40-50 yards of each (the pattern calls for 95 yards total so I would suggest having at least 50-60 available in each color).
- H8/5mm crochet hook – I prefer Clover Amour Ergonomic Hooks
- Yarn needle/scissors for weaving in ends
- Three 1″ buttons (not in the original pattern but my own addition)
- The free “Dip Dyed Cosmetic Bag/Hook Pouch” pattern right here on EyeLoveKnots
Material Notes:
This yarn worked wonderfully for this pattern! I chose to use it for stash-busting purposes. I picked this pattern knowing I had plenty of full or partial skeins of cotton in my stash, with no thoughts on color. I then got lucky because I had the exact same yarn that the pattern wanted! I love Lily Sugar’n Cream for home projects like dishcloths, so I was certain I had several colors to choose from.
When I went “stash-shopping”, I first grabbed the cream because I wanted to try the original color combo of neutral + bright, rather than two brighter colors. None of my other solid colors looked quite right with the cream, until I found this variegated yellow! I wasn’t sure how a striped one would work in this pattern, but I thought it might add even more interest to the fairly simple stitches. I was right, the color pooling ended up totally gorgeous!
I chose not to measure gauge before starting this one, because it was the exact yarn called for in the pattern. So even if my tension was slightly different, it should only vary the size within half an inch or so, and that works perfectly fine for a pouch like this. The result actually worked out just fine, as you’ll see in my gauge info later on.
Would I use this same yarn again? Absolutely, and I’d love to see how other cottons work up too! I’m sure you could get gorgeous stitch definition with some of them, like Lion Brand’s 24/7 Cotton. I’d definitely recommend sticking with something like cotton, as the pattern also mentions. This pouch will likely be tossed around in a purse or suitcase between its potential uses, so you’d want something that can hold up.
Time Spent:
A couple hours, and that’s with my own additions that required a little basic sewing.
Measurements:
Mine measures about 8.75″ across and about 5.5″ tall laying flat. My width ended up exactly as written, while my bag is a little shorter than the original. This bag does vary slightly depending on where you measure, but mine still never goes above 5.75″ tall.
Gauge:
Pattern gauge is 4″= 15 SC (in BLO). My bag actually has exactly the same gauge, which makes sense considering my bag width is exactly as written. Where I vary, as I mentioned, is my stitch height. However, the pattern does not list a row gauge.
Pattern Notes:
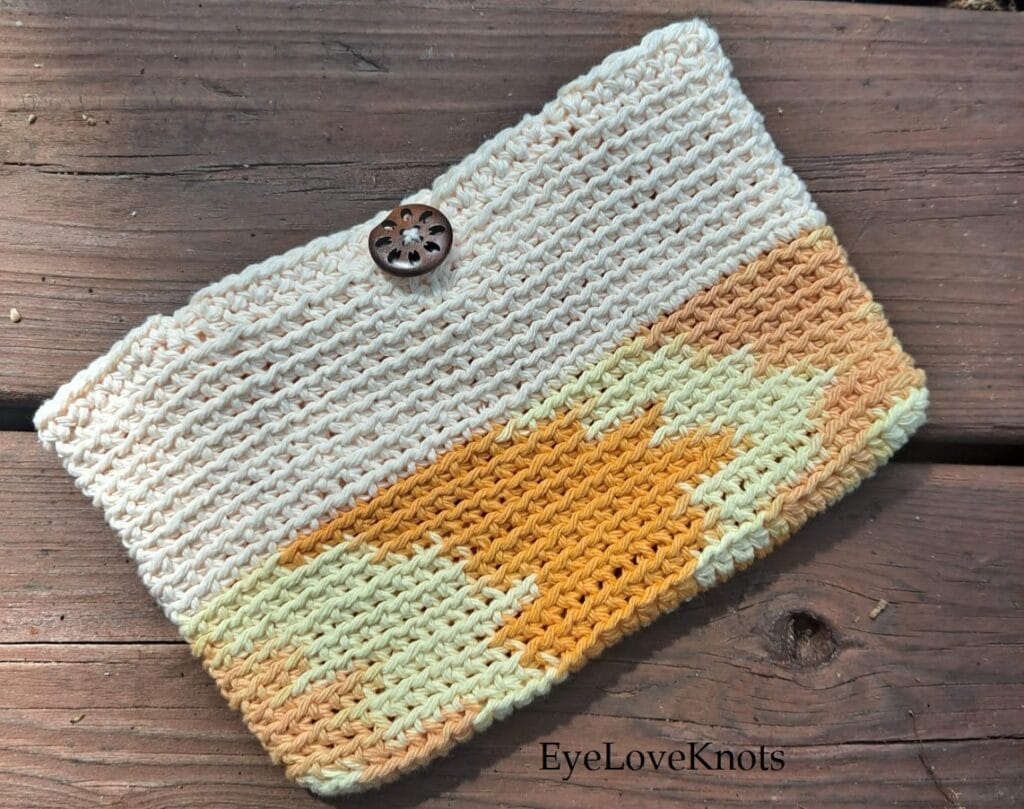
This pattern is very simple and I really enjoyed it! The back-loop stitches add some interest without losing the sturdiness of single crochet. Simple color-blocking adds even more visual pop. I love how my colors ended up pooling to give a sort of camo effect to my bag!

The pattern originally calls for lining this pattern and adding a zipper (or sewing this onto a pre-made pouch), but I didn’t have those supplies and I wanted to avoid spending anything on this project if possible. I decided to make it up as I went, and I chose to secure the top with buttons instead. Obviously this will not be quite as secure, and that’s why I would still recommend an actual lining and zipper if you’re intending this to be a cosmetic bag for traveling. I won’t be using it for small notions like stitch markers, so my closure method should be fine for just my hooks.
This pattern didn’t really cause me any trouble, once you get the first round down with the correct stitch count, the rest should be smooth sailing! All you have to do is count your rows and change colors one time. The back-loop stitching added an interesting texture with no additional effort, and it makes the lines look so clean! I also appreciated that this is worked in continuous rounds to avoid a seam.
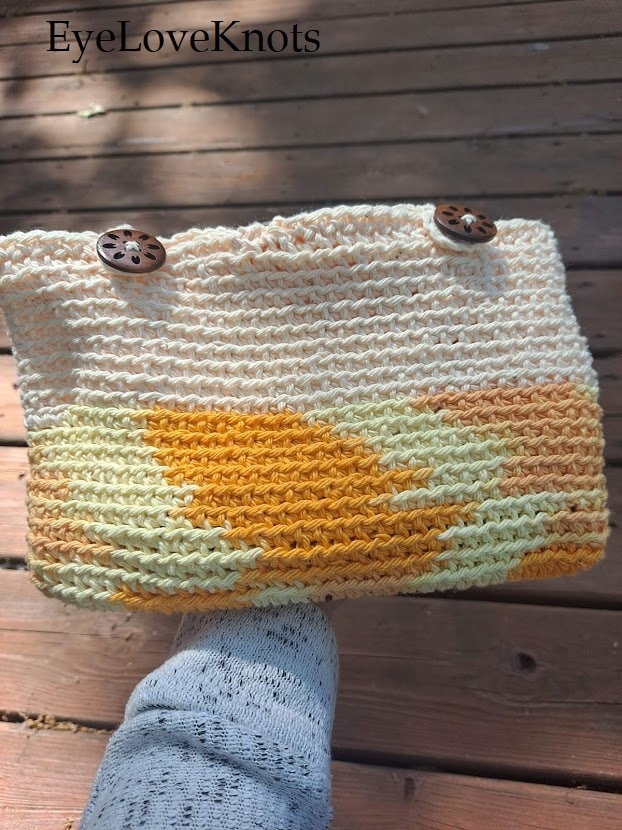
I did the pattern as written, but in the final round (round 21), I did 16 single crochet stitches, then chained 8 and joined back into that same spot with a slip stitch. I did this again at stitch 33 and then 58, after which I finished the round and joined as normal. If you want to repeat what I did, your stitch counts might be different. My goal was to place them approximately evenly across the top, with one being on the opposite side (for visual effect and I thought it might help it stay closed better). I then sewed matching buttons across from these loops!
I am very pleased with the results of my experiment. I was originally planning on three buttons all on the same side, but I was making it up as I went and decided to try one the opposite way to see what would happen. After all, since it was being built into the final round, if I didn’t like it I could just start that round over. I was happy with the look of the loops so I fastened off my yarn and attached my buttons, and it was a success! The alternate directions of the buttons may not actually add any extra security, but it looks like it would, and that’s good enough for me. It gives an interesting look on either side, with one or two buttons visible. And when I filled it with hooks and shook it around, and then tossed it into my purse, everything stayed inside! Like I said earlier, if you do a method like mine with no zipper, I would only use it for larger items like pens/pencils, lip gloss, or hooks. Smaller things like stitch markers or needles, or things like single eyeshadows if you use it for cosmetics, may not stay securely with buttons.
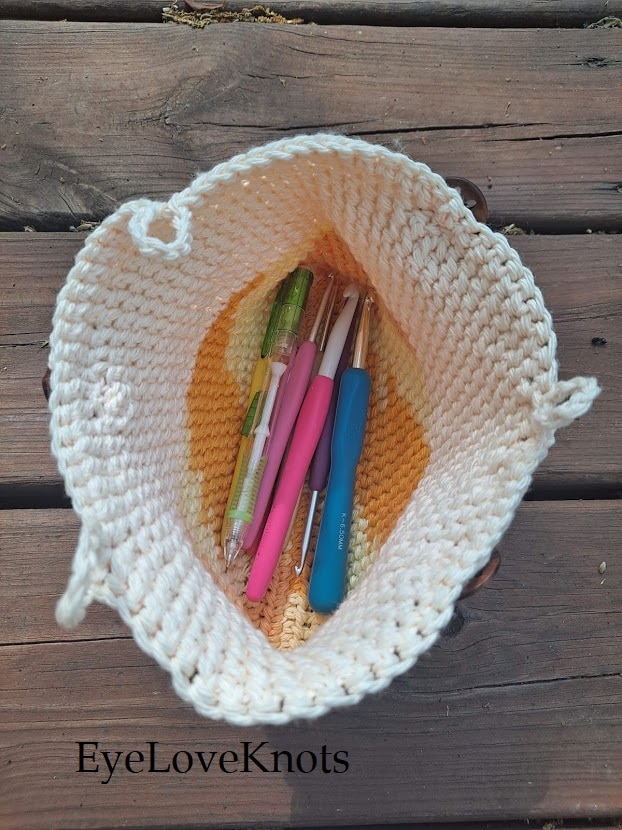
As you can see here, this bag offers plenty of room. I went around my living room collecting a handful of things I might toss in here, and I was pleasantly surprised to find how much more it could fit! I could actually use this for storing pretty much all of my hooks if I wanted.
My mind is full of all the potential for this pattern, especially given how quickly it works up. You could make one the night before going on a trip, if you realize you don’t have a bag for your makeup essentials. Or can you imagine how cute this would be as a gift for a friend? Stop by a Target or something for a few cute beauty products, some candy or a small accessory, and then toss it all into a pouch you made yourself! It would be a perfect handmade gift that you could throw together for twenty bucks and an afternoon of effort.
What would you store in this cute little pouch? I’m sure there are dozens of other uses I haven’t even considered! Let me know, and maybe you’ll inspire others to try out this pattern!
Don’t forget to visit with me on Instagram @astitchshyofnormal for all kinds of awesome crochet makes and inspiration.
Join one of our awesome Facebook groups to share your creations, and see what others are up to!
– EyeLoveKnots Crochet & DIY Community
– DIY Home On Rockwood Lane
– Alexandra Lane Lifestyle
Linked Up To…
Linky Ladies Party #213 – The Purple Poncho
Ginx Woolly Linx Party June – Ginx Craft
The Loop Scoop #16 – Moogly Blog
Unlimited Link Party 28 – Grammy’s Grid
You’re the Star Blog Hop – Decor Craft Design
Happiness is Homemade #380 – Decor Craft Design
Craftastic Monday Link Party – Sew Can Do
The Really Crafty Link Party #272 – Keeping it Real
Handmade Monday #233 – Sum of their Stories
The Hearth and Soul Link Party – April, the 21st Century Housewife
594th Inspire Me Tuesday – A Stroll Thru Life
Fabulous Party 377 – Lou Lou Girls
Party in Your PJs #364 – The Apple Street Cottage
{Wow Me} Wednesday #510 – Ginger Snap Crafts
Your Whims Wednesday #517 – My Girlish Whims
The Wednesday Link Party 404 – Oombawka Design Crochet
Creative Crafts Linky Party #47 – Creatively Beth
Wonderful Wednesday – Oh My Heartsie Girl
Thursday Favorite Things #495 – An Artful Mom
Creatively Crafty Link Party #281 – Life Beyond the Kitchen
Artsy-Fartsy Party #350 – Artsy-Fartsy Mama
Encouraging Hearts and Home Blog Hop – Scratch Made Food
Grace at Home No. 428 – Imparting Grace
Friday Favorites – Busy Being Jennifer
Create, Bake, Grow & Gather Party #474 – Shabby Art Boutique
Funtastic Friday Link Party #338 – Simply Beautiful by Angela
Saturday Sparks Link Party 428 – Pieced Pastimes
Pouch is beautiful.
Thank you! I love the simplicity of this pattern and the color combo.
This is just beautiful is just the color of the Soleil Ombre just used as is how you got the lovely bottom? I need to check the other pattern too but guessing when you switch for the color to the cream is the same in both ….
this is just stunning and I love the idea of the buttons
thank you
Kay
Thank you for the lovely words! Yes, the Soleil Ombre just worked with the pattern stitching is how the bottom came out like that. Because it’s worked in continuous rounds there’s no seam to mess with the pooling and it can get those gorgeous wavy shapes in the colors! I just got lucky that the Soleil colorway matched so well with the solid cream I had, too. I’m glad you enjoyed my version!