In conjunction with my post on the Supplies Needed for making your own ceramic tile coasters, this will be on the process of making them.
Before I start, I would like to state that this is just my way of making these ceramic tile coasters. There are several tutorials available, and many directions in which you could follow. I’ve learned this method works best for me. When you start, you will find little things vary for you too.
Step 1 – Choosing Your Paper
*I tend to buy WAY TO MANY scrapbook papers when I go to the craft store. I have to limit myself to only go down the scrapbook aisles when I know there is a sale – perhaps that is my issue. Ha! Because of my overstock of paper, I tend to buy my tiles by the box.
*First thing I do after opening the box is pull out four (4) tiles and set them aside as my back-up tiles (in case there are any that are chipped, or have blemishes or stains that I can’t hide with the paper). I then pull out the number of sheets of scrapbook paper needed to make the remaining sets.
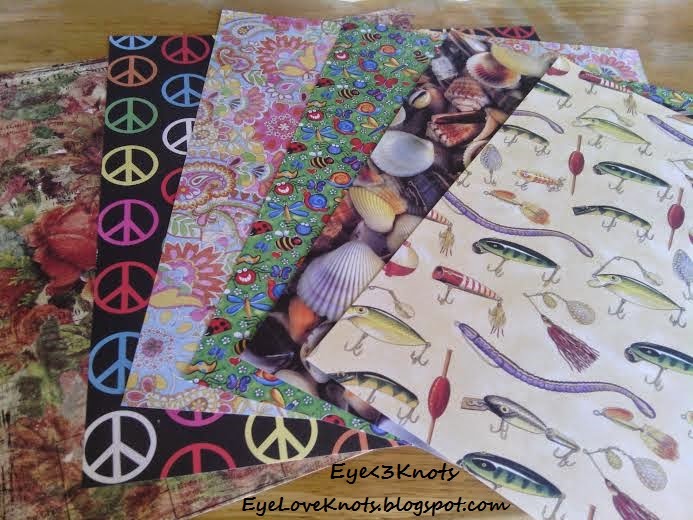 +The Math: Lowe’s boxes come with 100 tiles minus the 4 you set aside is 96 tiles left divided by four (the number in a coaster set) means you will need 24 sheets of scrapbook paper; Home Depot boxes come with 80 tiles minus the 4 you set aside is 76 tiles left divided by four means you will need 19 sheets of scrapbook paper.
Of course, if you are only doing a few, your numbers will definitely vary. The above numbers will just reflect the maximum per box of ceramic tiles.
Step 2 – Pre-Cutting the Squares
*Because my paper cutter is so small, I have to cut my squares a funny way so my tracing is also a little funny. If you have a larger paper cutter – lucky! – it will be much easier for you.
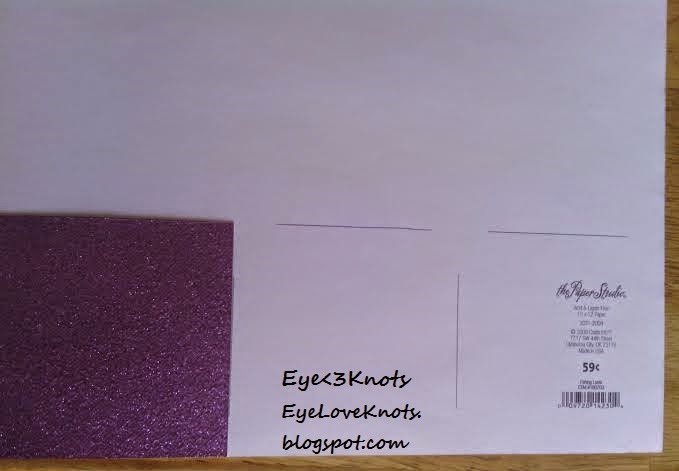
*Starting with your paper backside facing up, I place my pre-cut 3.75″ x 3.75″ square (made out of heavy duty cardstock) down to roughly trace my edges.
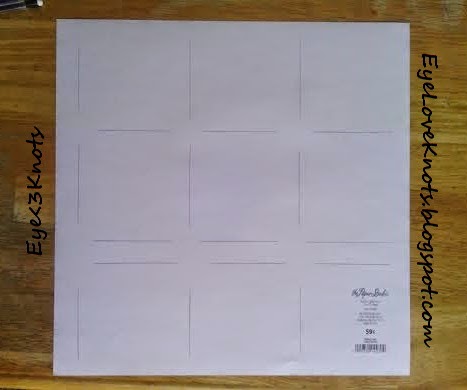 *I do this around the whole sheet to make a grid-like image. Hard to explain my placement – thank goodness for pictures! To the right here you’ll see I have a block of 6 squares on the top, and a space between the 3 on the bottom. I do this to aid in the cutting process.
Step 3 – Cutting the Squares
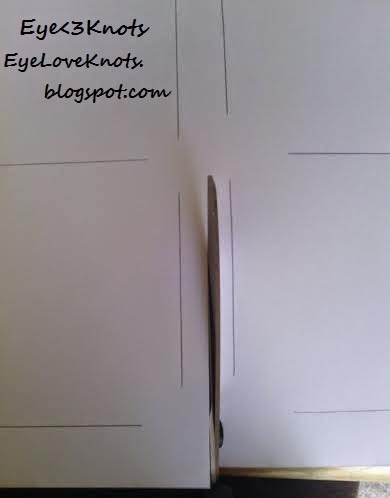
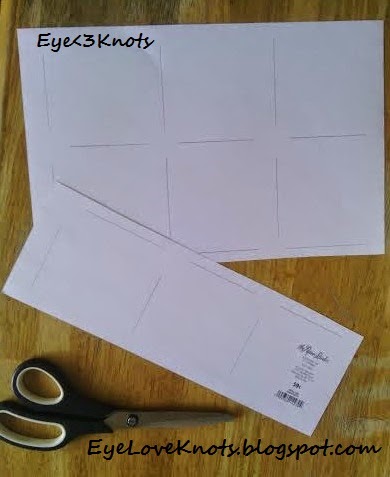 *First, I take my scissors and cut through the center of the space separating the group of 6 and group of 3. Cutting through the center instead of along side one of the straight lines allows for easier and straighter cuts when I use my paper cutter.
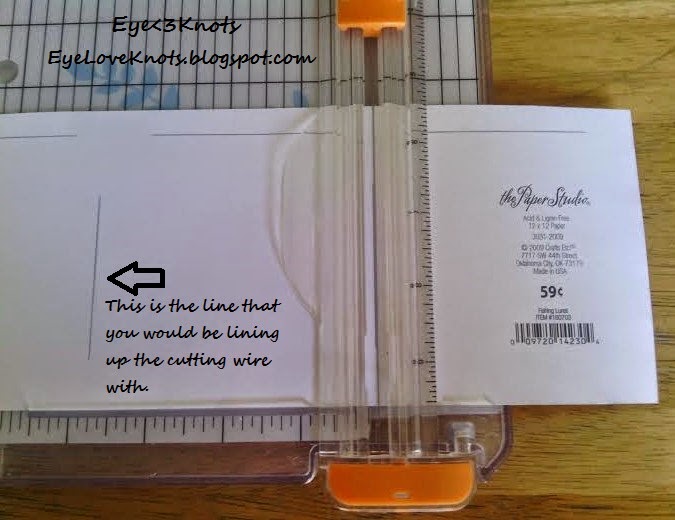
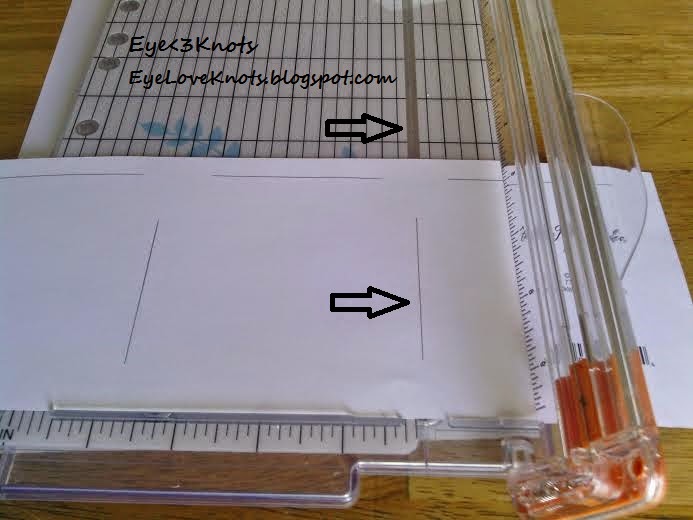 *I then take one of the
pieces and line up my hand drawn lines with the line of the cutting wire.
Even if your line isn’t completely straight – it’s okay! It helps it you start by placing the already straight side (either the top, bottom or sides of the paper) against the lip on the paper cutter. You may be able to see the lip on the picture to the left. It’s just to the left of the orange piece.
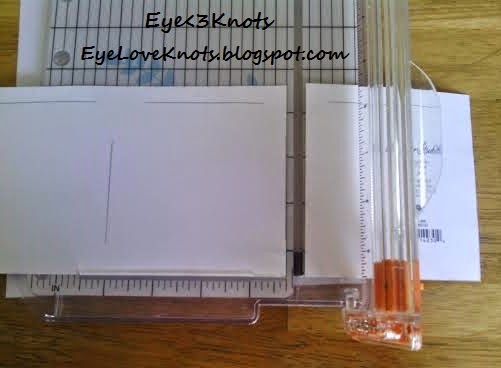
*Yay! You have officially made your first cut with the paper cutter! (Unless you have a bigger paper cutter than I do). Now just trim it up and finish your cutting. It will only take a few minutes per sheet.
Step 4 – Using Mod Podge to Glue Down Your Squares
*Before you can start using the mod podge, you will need to get your coasters out and ready. I usually pull 4-8 tiles out of the box at a time. As I pull them out, I dust them off just using my hand. You can also use a dry paper towel or washcloth if you’d like. IF you don’t dust them off, then you will seal in the dust when you brush over your first coat of Mod Podge and then it will stick to the brush and you will spread it onto each tile after.
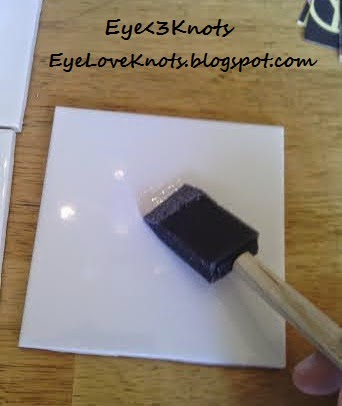 *Now, unscrew your container of Mod Podge and whip out your foam brush. Dip it (just a bit!) into the container of Mod Podge and brush it onto your ceramic tile. You do not need a lot of Mod Podge on your brush.
*You won’t have much time to place your square onto the tile before it begins to dry so keep them close!
*After I place and center the paper onto the tile, I use my index finger to outline the edges of the square and do a little zip zag motion across the center of the paper.
It’s important at this step to move the paper around to center it if it’s needed. As soon as you take the credit card to it, it will be stuck down in place.
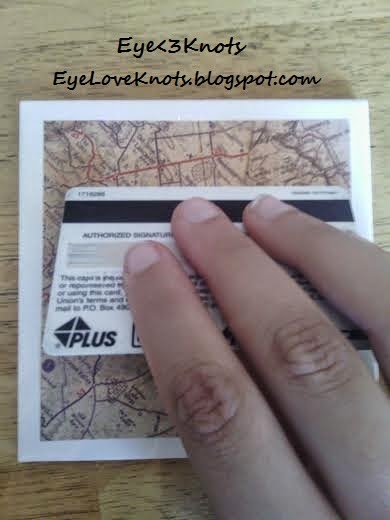 *AND THEN pull out my credit card to smooth out the paper, working from the center outward. This will push out excess Mod Podge to the edge so you will need to have your brush handy to brush this away (OTHERWISE you will have blobs of dried Mod Podge afterwards).
It’s important to smooth out your paper before allowing it to dry so you don’t end up with any bubbles in your paper or loose edges.
*Set aside this tile to dry and start on your next one.
Step 5 – Second Coat of Mod Podge
*After about 20 minutes, you can apply a top coat of Mod Podge to your tiles. With about a quarter of Mod Podge on the tip, you should be able to coat it nicely.
*TIP 1: With your hand, lightly brush off the tile before applying your coat of Mod Podge to ensure you do not have any loose particles, dust, dirt, or hairs hanging out on top of the paper. OTHERWISE, you will seal them in when you apply your next coat of Mod Podge. I recommend dusting off the tiles in between EVERY coat, AND while coating keep an eye out for hairs, foam pieces from your brush and and other particles. While the coat is wet, you can gently wipe them away. Your foam brush will hold onto them so you may need to rinse off your brush from time to time.
*TIP 2: Outline the edges of the paper first going horizontally across the top and bottom and vertically across the sides. Then, go back and brush the Mod Podge onto the whole tile. This will help to ensure your paper is down and stays down.
Step 6 and 7 – Another Coat of Mod Podge
*With 20 minutes in between each coat, you will need to apply additional coats of Mod Podge to your tiles. With approximately half an inch of Mod Podge on the tip, you should be able to coat two tiles. I like to swipe one side of my brush on one tile, then coat the other and come back to the first.
Step 8 – Sealing Your Tiles
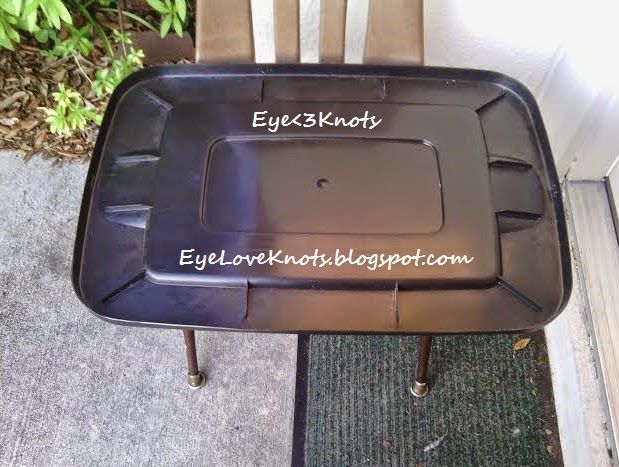
*I like to use the top of a plastic tote – it is easy to carry/move around, small enough to fit in many places including through the doorways and strong enough not to bend or fold on you.
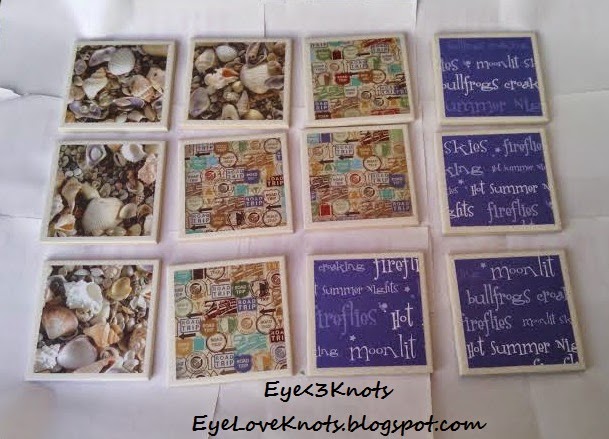
*You can also just move your tiles to another table/surface such as an outdoor patio table or the ground – somewhere well ventilated.
REMEMBER to place some scratch/scrap paper down to cover and protect your surface first!
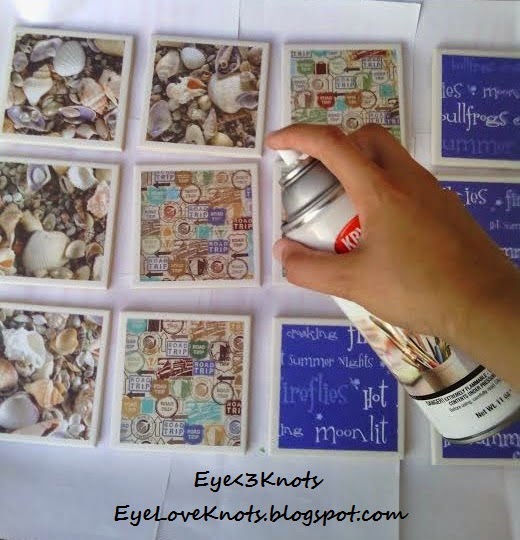
*Spray one light coat across your tiles and allow them to dry for about 20-30 minutes.
Step 9 – Second Coat of Sealer
*Now you’re ready for a second coat of your sealer. Spray another light coat across your tiles and allow them to dry for about 20-30 minutes before moving.
*Move them to a spot to completely dry for 24 hours before handling.
*AFTER this last coat is completely dried, the coasters will be water resistant meaning you can take a damp cloth and wipe them down. They will NOT be water proof meaning they are not dishwasher safe and cannot be submerged in water.
Step 10 – Adding Your Felt (or Cork) to the Underside of Your Coasters
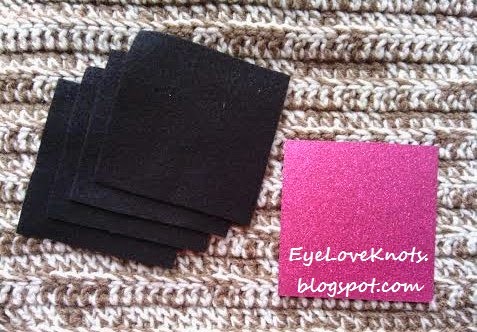 *The felt (or cork – your choice) is going to protect your surfaces. You may op to use a square piece or the small circles, one in each corner.
*I have another square of cardstock cut 4″ x 4″ to use as a stencil to cut my felt.
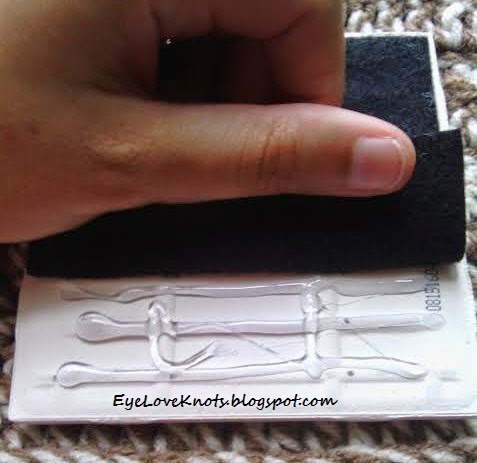
*After I cut my felt, I pull out my glue gun and make a line across the top line of the pattern on the underside of the tile. I then work my way up and down and across the pattern on the underside of the tile.
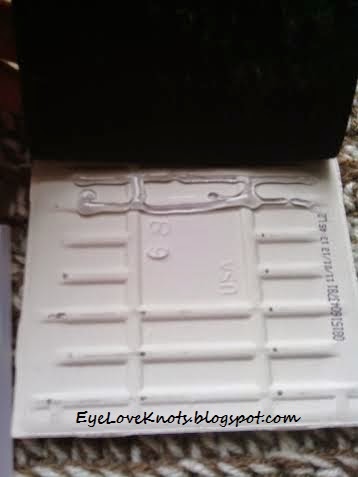 |
| First, I add glue only to the very first line of the tile and stick down my felt. Then I add to 2 or 3 rows at a time. |
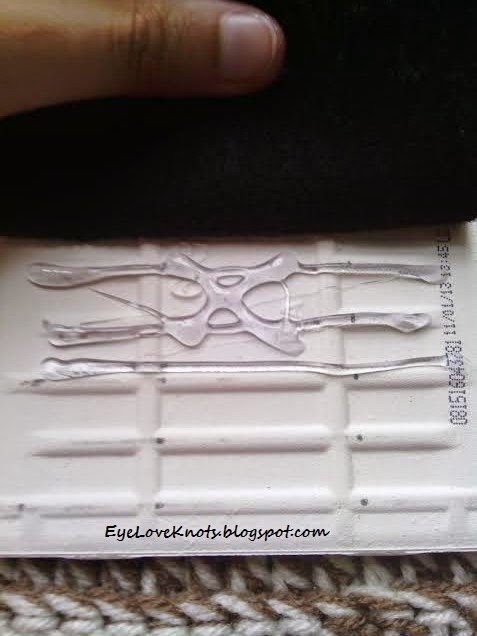 |
| In the center where the blank square is on the tile, I add an “X” with my glue. |
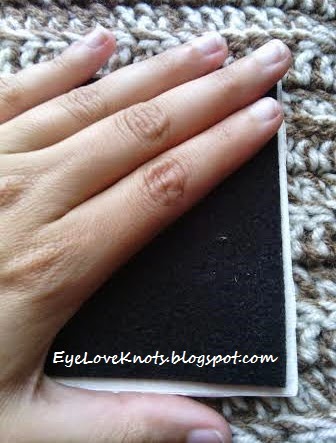 |
| Make sure you smooth out/press down on the felt as you go. The hot glue dries quickly so stretch your felt as you need and press down to ensure it’s secured. |
*Once I’m done, I go back and glue any pieces along the edge that I missed the first time around.
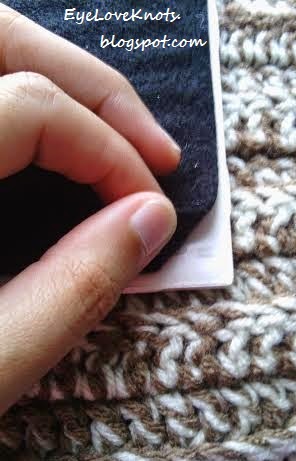 |
| Check all corners. Apply glue sparingly to avoid blobs of glue escaping. |
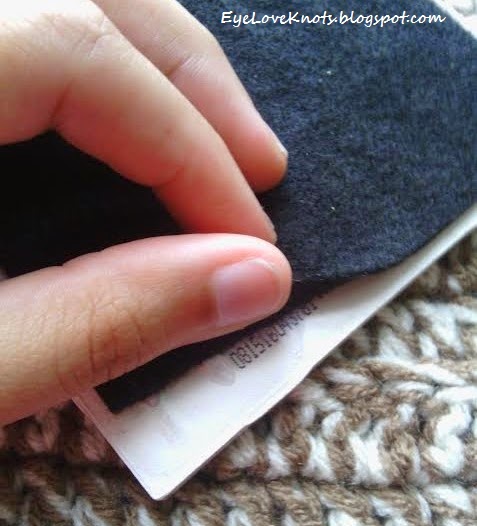 |
| Check all edges around. Also apply glue sparingly. |
YAY! You are now the proud owner of a new set of coasters.
While it seems like it takes a while, it actually took much more time typing up/putting together this tutorial than it was to complete multiple sets of coasters. Keep in mind, most of the project time is spent waiting for the tiles to dry.
Have fun! Experiment with different paper types and patterns.
*My recommendation for using heavier paper such as vellum or cardstock is to apply an additional coating of Mod Podge before sealing.
These coasters make great housewarming gifts or quick seasonal things to add to your home decor. You can even place them on small plate holders to display.
Leave a Reply