EyeLoveKnots

  • Home
  • Crochet
    • Free Crochet Patterns
    • Crochet Pattern Reviews
    • Crochet 101
  • Knitting
  • Crafting
    • Plastic Canvas DIYs
    • Jewelry DIYs
    • Sewing
    • Cross Stitching
    • Upcycling
    • Other DIYs
  • Seasonal DIYs
    • 4th of July DIYs
    • Back to School DIYs
    • Christmas DIYs
    • Easter DIYs
    • Fall DIYs
    • Halloween DIYs
    • Spring DIYs
    • St. Patrick’s Day DIYs
    • Summer DIYs
    • Thanksgiving DIYs
  • Holidays/Seasonal
    • Valentine’s Day
    • St. Patrick’s Day
    • Spring
    • Easter
    • Summer
    • 4th of July
    • Fall
    • Halloween
    • Thanksgiving
    • Christmas
    • Winter
  • Home DIY & Decor
    • In the Bathroom
    • In the Bedroom
    • In the Dining Room
    • In the Kitchen
    • In the Living Room
    • Kids Room
  • Fashion
    • Nail Art
  • Recipes
  • Living the Dream
  • Fun Finds Around the Web
  • Linking Up To…
  • Latest News & Links
  • Privacy and Sharing Policies
  • About Our GREAT Team!
  • Latest News & Links

Donating Blemished Coasters

June 11, 2014

Today, I sat down and went through the ceramic tile coasters I had stored. Most of them Spring and Easter ones. I had a spare box at home so I boxed up the Spring and Easter coasters and put a note on top so I would remember which ones were in there. This box will make them easier to store and move – which is great when my space is limited.


As I was going through the coasters, I was double checking that I had added them to my Etsy shop. 
*All of the Spring and Easter coasters left in stock have been marked down 10%.


I was also examining the images for blemishes and/or stray hairs. I set these aside.


I went through the set aside coasters and split them into 1.) sellable ones – which I marked down 25% and labeled as “Oops!” (hehe), 2.) donations – not sellable but no need to toss, and 3.) toss.


For the donation ones I packaged them up neatly and included a note for finishing them up (as I did not add the felt to the back of them) and caring for them. Find below my way of doing this. You can also use this method for gift wrapping!

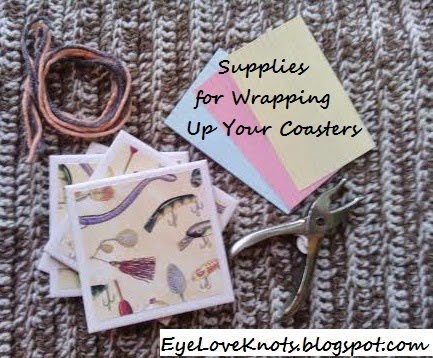
I used:
A single hole punch for attaching the note
Colored Index Cards (I got mine at the Dollar Tree)
40″ of two strands of worsted weight (4) yarn (adjust length if using other)
A set of coasters for wrapping

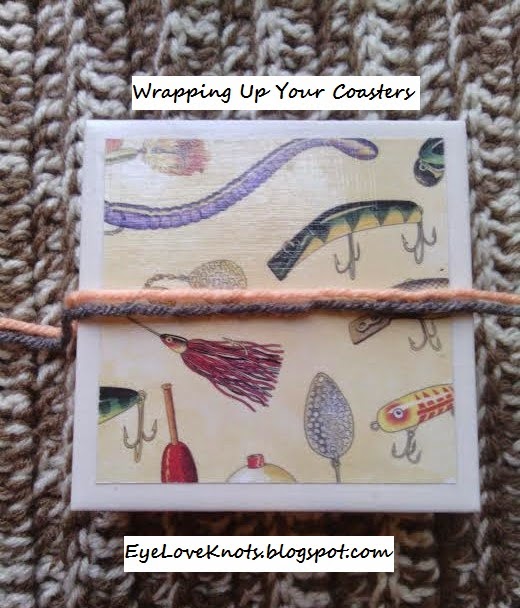
Fold your yarn in half. Center it on the coaster.

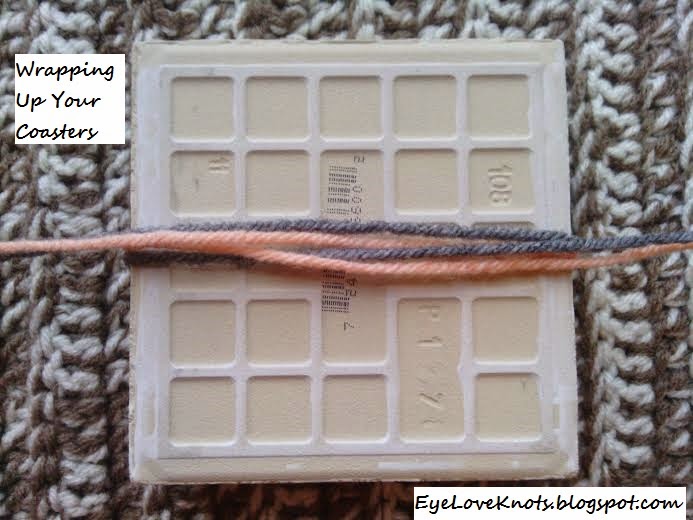
Flip your coaster over.
Cross the two strands on the back.

While holding the two strands, turn the coaster 90 degrees
 clockwise to twist the yarn strands.

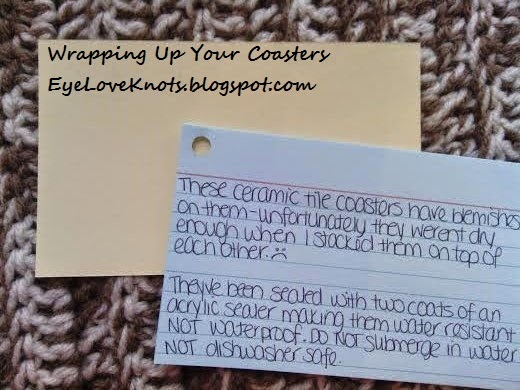
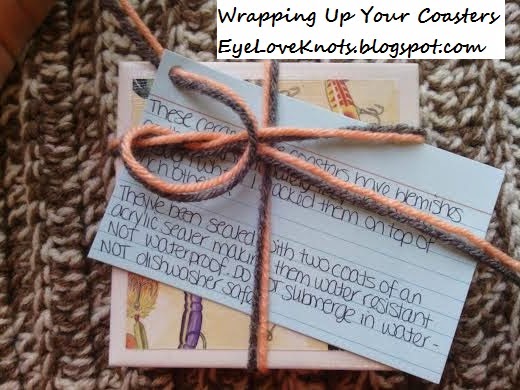
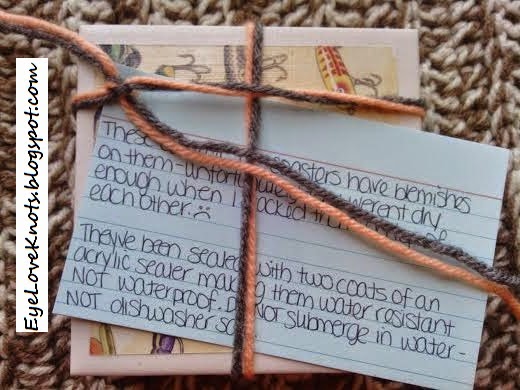
At this point if you haven’t hole punched your index card, do so.
Write your message – mine says,
“These ceramic tile coasters have blemishes on them – unfortunately
they weren’t dry enough when I stacked them on top of each other.
They’ve been sealed with two coats of an acrylic sealer making them
water resistant NOT waterproof. DO NOT submerge in water. NOT
dishwasher safe.
To Care For: simply wipe with a damp cloth.
To Finish: Hot glue felt or cork to bottom of tiles.
Alexandra
EyeLoveKnots.blogspot.com”
*I include similar notes with each purchase. It’s nice to receive
personalized, hand written notes. It’s important to include care
instructions and other pertinent info.
**When donating handmade items, include your contact/store
information. Who knows? Someone may want to make
another purchase! Or see what else you have to offer.

Place your index card underneath your yarn strands.
Adjust the strands to accommodate the index card.
Prepare to tie.
*I’m not sure why I put my finger on the cross part here
since I still needed to string the yarn through the hole…
After the next step, you may need to use a finger to
help you with the tying.

String your yarn through the hole you made earlier.

Tie a simple overhand knot to secure your yarn.

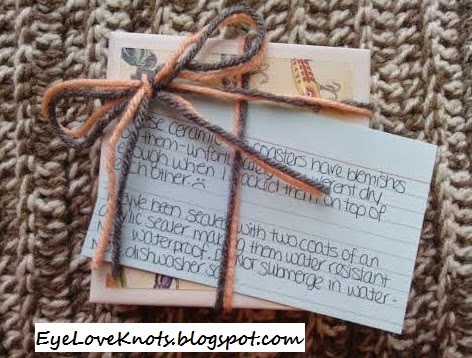
Tie a bow.
Straighten your loose ends out & trim.

Now you’re finished! This is a great way to give your coasters as a gift (or to wrap a gift box). Your note can be much smaller than mine and may not need to go as placed – of course these are all up to interpretation.


Before I placed my coasters in a box for donation, I took a single sheet of bubble wrap and wrapped them – just in case the box gets tossed around a little after I hand them off.

Filed Under: Other DIYs, Uncategorized Tagged With: Bow, Coasters, Donate, Gift Wrap

❮ PREVIOUS POST

DIY Ceramic Tile Coasters – The Process

NEXT POST ❯

Lacy Market Bag – Pattern Review and June 2014 Challenge

Leave a Reply Cancel reply

Your email address will not be published. Required fields are marked *

This site uses Akismet to reduce spam. Learn how your comment data is processed.

Welcome!

Welcome!

Hey! I'm Alexandra, the blogger and creator behind EyeLoveKnots and On Rockwood Lane! My passion is being creative. My favorite thing to do is crochet, and you will almost always find me having a cup of coffee and working on a new crochet project, but when I'm not doing that, you might find me out at a local park rollerblading, baking some fresh cookies, picking veggies in the garden or re-decorating for a new season or holiday. My two cats are great supervisors for all my adventures (minus the being outside because they think it's too hot in Florida to be anywhere but inside), and make sure I take plenty of breaks.

Meet the Team!

Meet the Team!

On the left, Abby is the maker behind A Stitch Shy of Normal, and on the right Jessica is the maker behind Nice and Knotty and Candace is the maker behind TandC Crafters.

Together, they help me bring awesome crochet projects to you! Click the image to learn more about them, and get their Instagram links, where they are constantly sharing tons of crochet inspiration.

Don’t Miss Out

Crochet! Magazine Spring 2023

Crochet! Magazine Spring 2023

(Affiliate Link) Click this image to get this issue now. These 22 designs are the perfect way to welcome in Spring with easy to wear layers, sweet styles amplified with striking stitch patterns, and some fun whimsical projects too.

Crochet World April 2023

Crochet World April 2023

(Affiliate Link) Click this image to get this issue now. These 21 designs are the perfect way to welcome in Spring with fun pops of color, sweet crochet thread projects, and fresh takes on the classic granny stitch pattern.

Gnome Caddy Pattern

Gnome Caddy Pattern

(Affiliate Link) Click this image to get a copy of this pattern! This adorable little Spring Gnome Caddy has a place for all of your crochet supplies. It's worked in a lightweight #3 yarn, but work in a worsted weight #4 yarn for even more space!

Archives

Copyright © 2023 EyeLoveKnots · Custom site by Moonsteam Design