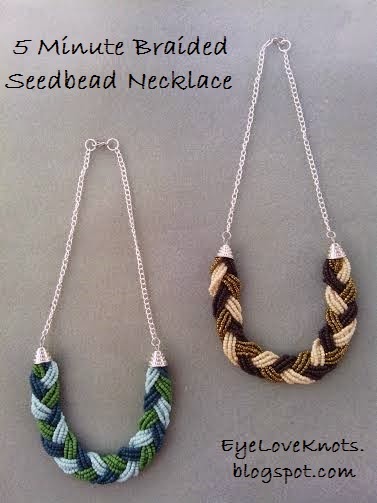
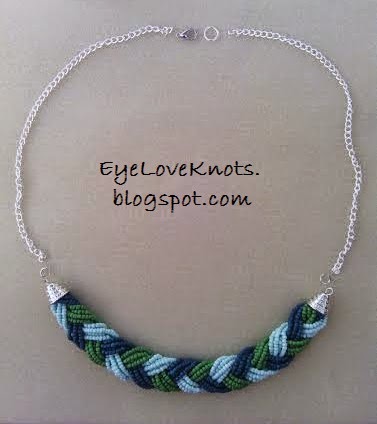
This necklace is gorgeous and sure to be the perfect accent piece to any outfit, as these are available in assorted colors! And no one has to know that it only took you five minutes to put together!
My inspiration for this piece? Really, I didn’t have any! I went to meet my boyfriend, Chad, for dinner and had a few minutes to kill so I walked into the Michaels store that was next to his job. Almost right in front of me as I walked in was the jewelry supplies and such and the Glass Seed Bead Bracelet by Bead Gallery in a White, Turquoise and Coral color popped out to me. As I walked down further, I found the braided seedbead bracelet available in array of colors! I picked the two that would best match what I wear – the Green and Amber.
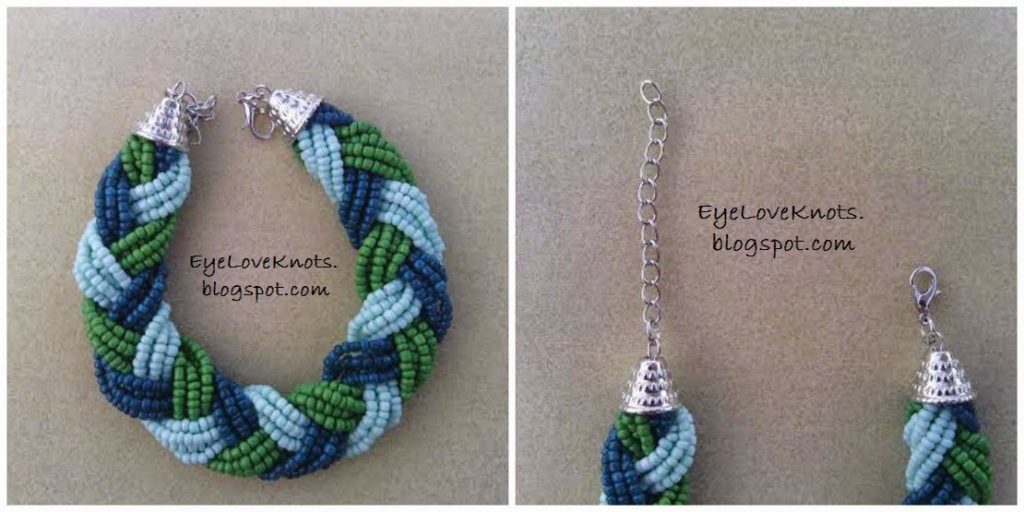
I knew right away I wanted them to be necklaces so I walked over and picked out a chain to put them on, and proceeded to the check out line before Chad started asking where I was.
I do also plan on learning how to make some of these so I can use whatever colored seedbeads tickles my fancy, but haven’t gotten that far yet. For now – this works great!
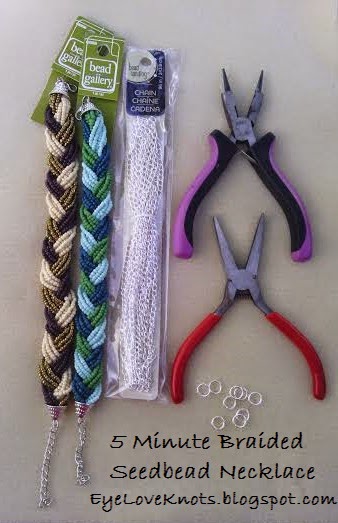
Materials I Used:
– Glass Seed Bead Bracelet by Bead Gallery in Green and Amber (Michaels)
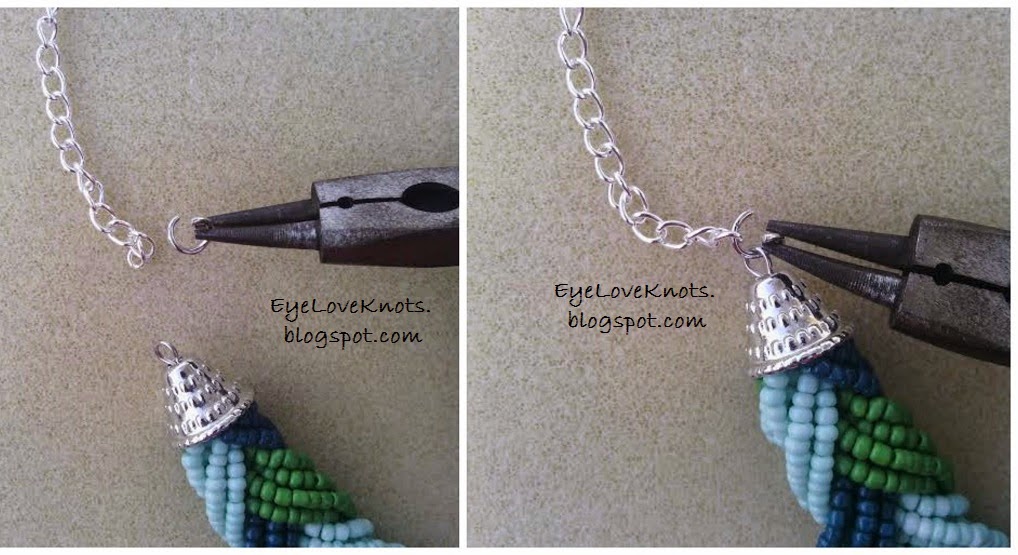
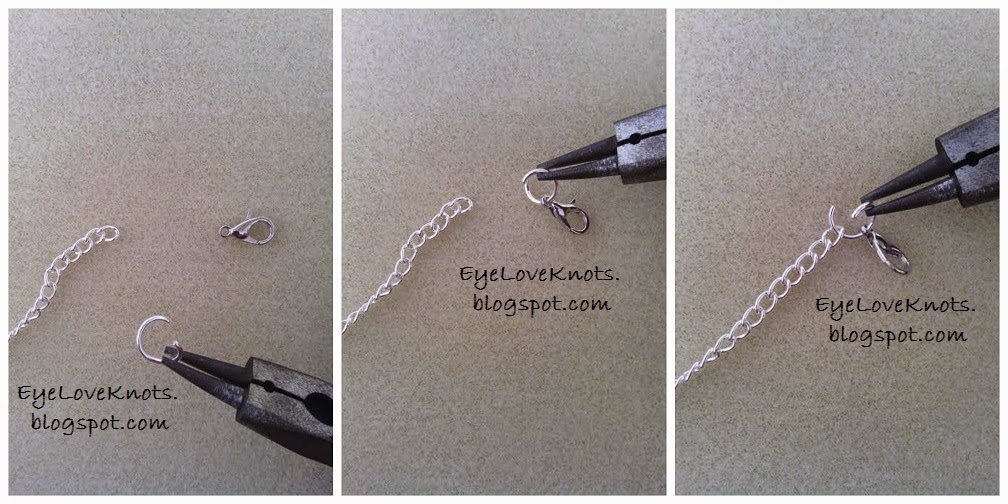
– 4 (2 each) Silver 8mm 18 Gauge Open Jump Rings from CanterburyLane
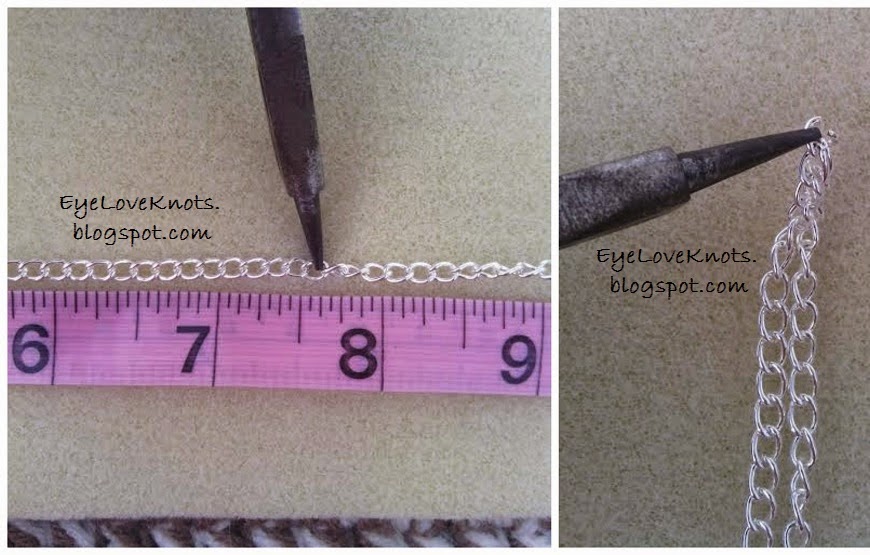
– 20″ (10″ each) worth of Silver color Open Curb Chain by Bead Landing (Michaels)
Time Spent:
Seriously – 5 minutes!
Measurement:
20″ around
Tutorial Notes:
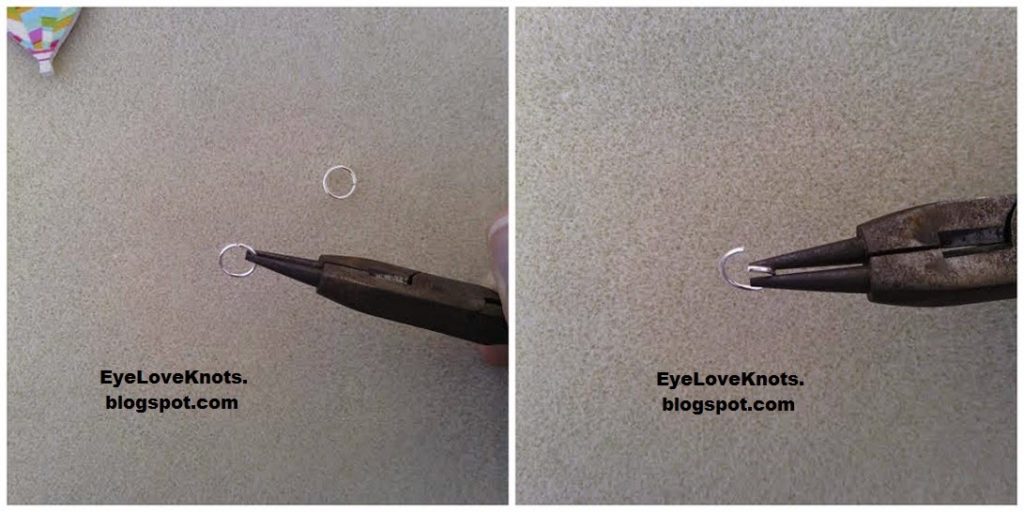
Tutorial:

Super cute! You look beautiful! I think I'm going to have to try this . . . although I might have to make my own braid with some of the billion seed beds in my stash. 😉
I want to try it out too! I would really like to learn how to crochet them into necklaces and bracelets. On the list, hehe. Thanks Rachel!