
I had a couple last minute Halloween Candy Stud Earring orders from my EyeLoveKnots Etsy shop recently, and decided to send them inside of jewelry boxes – usually I charge extra for the boxes. I got this really fun idea to decoupage the jewelry boxes with fun Halloween scrapbook paper, so I set out to my local Hobby Lobby (and Walmart) and picked up some supplies.
Materials:
– Jewelry Box/es – I used small 3 x 2-1/8 x 1 in, and medium 3.5 x 3.5 x 7/8 in white boxes from Darice (found at my local Walmart)
– Small Amounts of Scrapbook Paper – I used #185421 Spooky Spiders, #288969 Textured Halloween Polka and #286757 Halloween Chevrons from the Paper Studio, and #ENC002 Spellbound-Spiderweb from Authentique Paper (all found at Hobby Lobby)
– Mod Podge – I use Mod Podge Matte Finish (found at lots of places, but I buy mine at Hobby Lobby because I can use my 40% off coupon)
– Foam Brush – I use a 1″ Foam Brush
– Old Gift Card or similar to smooth out surface
– Scissors
– Opt. Hard Cardstock to create template with
– Opt. Pencil to trace template onto scrapbook paper
– Opt. An Acrylic Sealer – I like to use UV-Resistant Clear Acrylic Coating in Gloss
Material Notes:
Paper: The easiest paper to work with is printed paper. This is available at your local arts and craft stores in the scrapbooking aisle. They sell for about $0.49 to $0.69 an individual sheet or $5.00 to $20.00 per book. Check in the ads for sales! Joann’s frequently puts the scrapbook items on sale 30% off or 3-5 sheets for $1, and Hobby Lobby often puts their scrapbook items on sale 50% off. You can also use card stock or vellum, however, the thinner paper works better. The thicker papers will require 1-2 more coats of Mod Podge. Another great and fun option is to print anything onto regular computer paper and use that. This is a great option with the growing supply of digital papers and clip art available online. Check out my Easter Bunny Ceramic Tile Coasters for an example of this.
Foam Brushes: To make your brushes last longer, I recommend immediately cleaning them off after applying the Mod Podge to your last item. I find that the hose on my kitchen sink and warm water work the best – make sure there aren’t any dishes sitting around because even though the Mod Podge is non-toxic, you really don’t want all that on your dishes.
Time Spent:
All steps included, but not including drying time, I was able to finish the boxes in less than 15 minutes.
Measurements:
Size varies depending on your boxes.
DIY Notes:
Though I created scrapbook strips for the sides of my lid top, you could very easily paint the lid box or leave the sides as they are. I found my boxes to be a little dirty looking though, and wanted to use the paper to hide the spots.
One thing I didn’t even think about while creating my boxes is the direction of the paper. If you want the direction of the sides to match the top, make sure you rotate your template pieces.
DIY Tutorial:
First thing I did was create a template using some very stiff scrapbook paper. I did it the hard way by tracing the top of the box, and cutting it down to size. Do yourself a favor and start by tracing the bottom of the box! Remember to create a template not only for the top side of the lid, but also for the lid top sides.
Cut inside of your tracing lines, and test out the template on your box before cutting out of your nice scrapbook paper.
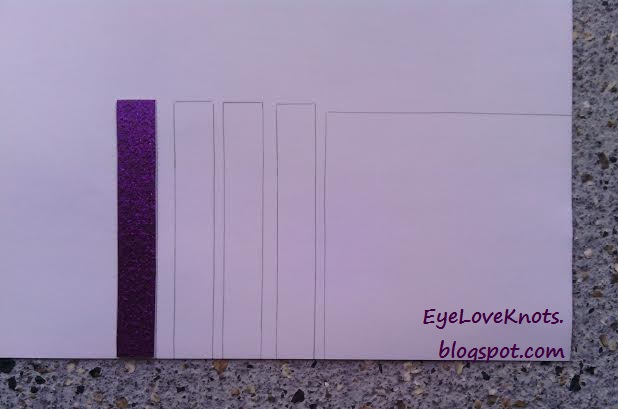
I then traced my templates onto my scrapbook paper, and cut all of the pieces out. Remember to cut inside your tracing lines, or the pieces will be too big. Another thing not to forget – trace and cut out as many pieces needed for the box, not just the template pieces you cut. For example, the medium sized box I used had four equal sides so I only created one strip for template but cut out four stripes for the box.
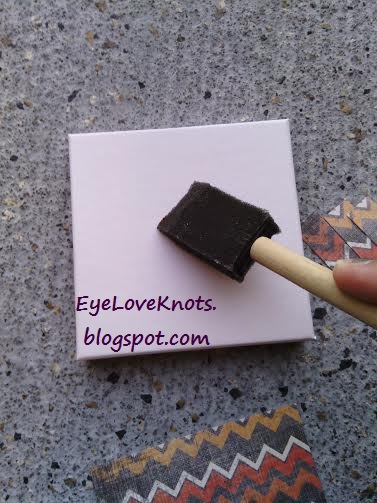
Grab your foam brush, dip it into the Mod Podge getting a good amount on there and then paint it across the top of your box.
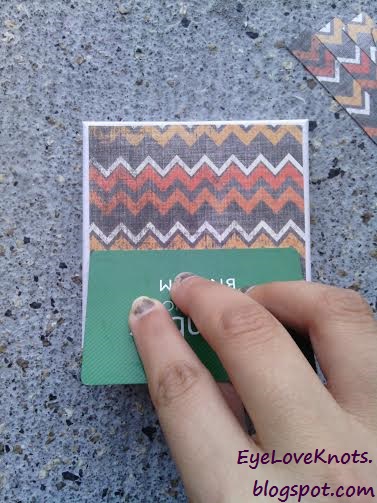
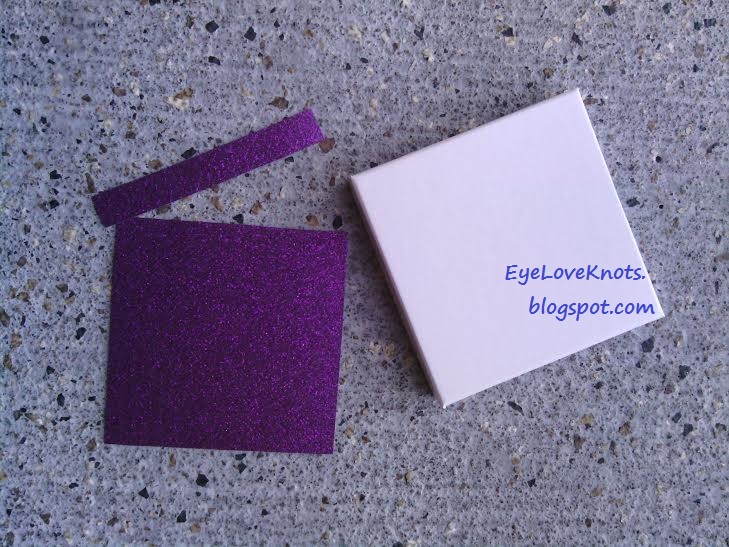
Lay down the scrapbook paper (quickly!), adjust if needed (quickly!) and then smooth out the paper using an old gift card. Smoothing out the paper is a necessary step in this process or you can/will get bubbles in your paper and/or parts of the paper that don’t sit.
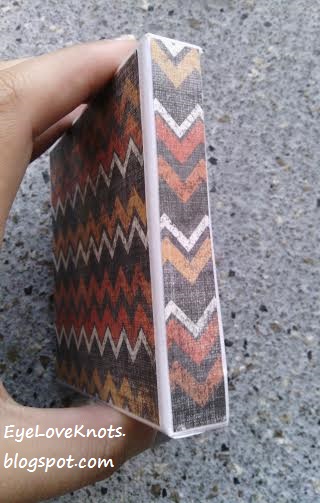
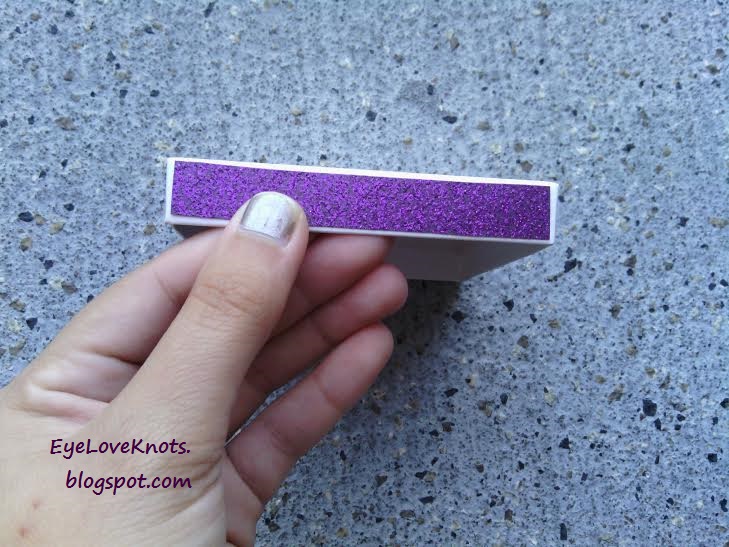
Repeat process for box lid sides.
Allow box to dry for about 15 minutes, and then reapply a coating of Mod Podge to the top and lid sides.
Allow box lid to dry for about 30 minutes, and the reapply one more coating of Mod Podge to the lid – sides should be okay.
After 30 minutes of drying, you can add one light coating of acrylic coating to help preserve and protect the scrapbook paper and jewelry box, or you can just leave it as is – I left it as is because I think the Mod Podge worked just fine!
Wash your brush out.
If you are using the acrylic coating, allow the box to sit for at least two hours before handling (though I suggest overnight); If you aren’t using the acrylic coating, allow the box to sit for at least 30 minutes before handling.

Once dry, fill your box with goodies and enjoy 🙂
Please feel free to make and sell your own Decoupaged Jewelry Boxes using this tutorial, but please DO NOT claim this tutorial as your own nor should you sell my tutorial, and DO NOT re-publish my photos as your own. DO NOT copy and paste my tutorial anywhere, link to it instead.
*If you would like a PDF version of this post, you may get one through my EyeLoveKnots Etsy Shop or EyeLoveKnots Craftsy Shop for a small fee. This fee is to compensate for the view/s lost once you no longer need to return to the blog for the information, as you will have your own copy. Plus! It helps fund supplies for new projects to share with you!
Shop EyeLoveKnots Etsy – Decoupaged Jewelry Boxes;
or EyeLoveKnots Craftsy – Decoupaged Jewelry Boxes.
With so many size color options, I would love to see them! Please share your photos on my EyeLoveKnots Facebook page!
Don’t miss out on new crochet patterns, reviews, jewelry tutorials and more! Subscribe to EyeLoveKnots by using the box on the right side toolbar, or follow me via Bloglovin
Leave a Reply