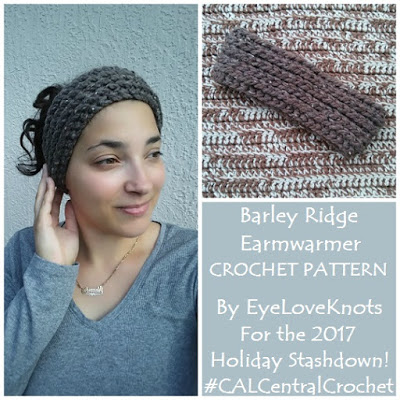
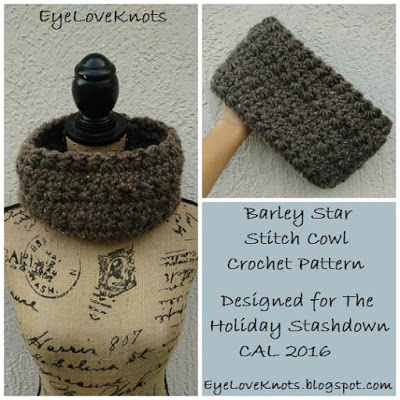
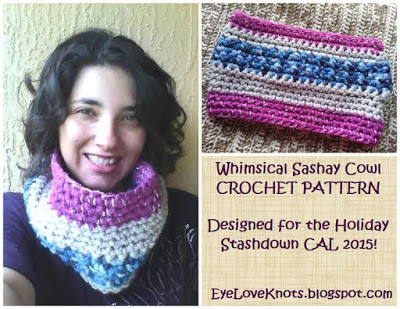
This is my third time participating in the Holiday Stashdown #CALCentralCrochet. I just love being able to go through yarn in my stash, and get some holiday gifts done up. This year there are 16 free crochet patterns being shared, and a great giveaway. Visit my Time for the Holiday Stashdown CAL 2017 page for more information!
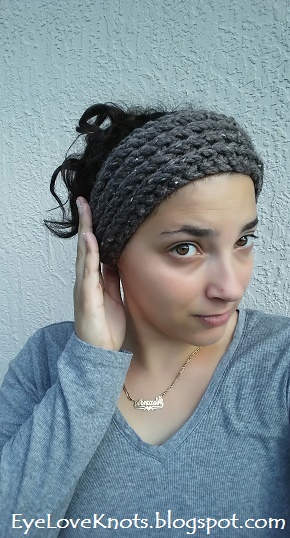
This year, I wanted to change up my design. In previous stashdown’s I worked up cowls, but this year, I wanted to make something I could actually wear here in Florida when it gets cold out. Typically, it’s only cold out in the mornings and evenings, and hot during the day – too hot really for a cowl. This earwarmer is easy to stash in a purse or even pocket of large jacket when it gets too warm out, or going inside.
Materials:
– 50 – 65 Yards of Super Bulky Yarn – I used Wool Ease Thick & Quick Yarn (affiliate link) in the Barley colorway
– N15/10mm Crochet Hook
– M13/9mm Crochet Hook for Gauge
– Yarn Eyed Tapestry Needle OR a Small Crochet Hook (I used a G6/4.25mm hook) for Weaving in Ends
Material Notes:
Yarn Alternatives: Lion Brand’s Hometown Yarn, Red Heart’s Grande Yarn. You can also try two or three strands of worsted weight yarn held together – this will vary depending on yarn chosen.
Measurements:
The Toddler Size is 8.75″ wide to equal a circumference of 17.5″ to fit a head size of 18-20″, and is 3.25″ in length.
The Child Size – Teen/Adult Small Size is 9.75″ wide to equal a circumference of 19.5″ to fit a head size of 20-22″, and is 3.25″ in length.
The Adult Large Size is 10.25″ wide to equal a circumference of 20.5″ to fit a head size of 22-23″, and is 3.25″ in length.
Gauge:
With an M13/9mm Crochet Hook: 8 SC by 8 Rows = 4″ by 4 1/8″
Abbreviations:
– FHDC – Foundation Half Double Crochet
– HDC – Half Double Crochet
– SC – Single Crochet
– yo – Yarn Over
Special Stitches:
Working Into the 3rd Loop: In this pattern, I state to work into the 3rd loop. Where is the 3rd loop? I don’t have a photo tutorial at the moment, but look at the two loops that you normally work into, then rotate just a little so you can see the wrong side of the earmwarmer. See that other loop just behind the back loop of the two loops that you normally work into? That is the 3rd loop! By working into this stitch, it will pull two other two loops forward to create the ridge pattern.
FHDC: Foundation stitches are worked sideways and include the foundation chain and respective stitch. This is a great technique to use if: 1.) You are working something in the round that needs some added flexibility within the beginning chain, such as a hat worked bottom up, wrist warmers, shirts, pants, etc; 2.) You are working a project like a scarf, but don’t know how many stitches you need. You can work the foundation stitch up until it’s long enough.
Pattern:
Chain 2. FHDC 37 (41, 43). Do NOT join. (38, 42, 44 HDC)
R3 – 5: Working into the 3rd loop: HDC into the next HDC, and into each of the next 37 (41, 43) HDC. Do NOT join. (38, 42, 44 HDC)
R6: Working into the 3rd loop, SC into the next 2 HDC, skip the next stitch, and then slip stitch into the back loop (not 3rd loop) of the next stitch.
Fasten Off, and Weave in Ends.
Please feel free to make and sell your own Ridge Earwarmer using this pattern, but please DO NOT claim this pattern as your own nor should you sell my pattern, and DO NOT re-publish my photos as your own. DO NOT copy and paste my pattern anywhere, link to it instead.
*If you would like a PDF version of this post, you may get one through my EyeLoveKnots Etsy Shop or EyeLoveKnots Craftsy Shop for a small fee. This fee is to compensate for the view/s lost once you no longer need to return to the blog for the information, as you will have your own copy. Plus! It helps fund supplies for new projects to share with you!
Shop EyeLoveKnots Etsy – Barley Ridge Earwarmer;
or EyeLoveKnots Craftsy – Barley Ridge Earwarmer.
Join the EyeLoveKnots Crafting Community to share your creations, and see what other’s are up to!
Share your version of this project on Ravelry – Barley Ridge Earwarmer. Check out the EyeLoveKnots Ravelry page to keep track of all your EyeLoveKnots favorites in your que, and share your WIPS and finished projects!
Don’t miss out on new crochet patterns, reviews, jewelry tutorials and more! Subscribe to EyeLoveKnots by using the box on the right side toolbar, or follow me via Bloglovin! You can also find me sharing on the EyeLoveKnots Facebook page, and @EyeLoveKnots on Twitter!


Hi. I have a question about row 6
As written we only work in the first 4 stitches of the previous row and the fasten off.
Is this correct or do repeat some stitch pattern across the whole row?
Just two half double crochets, and the slip stitch. This is to even out the piece from working in the continous round.
Okay. It says that we’ll be working in continuous rounds but at the end of every row you say not to join. That doesn’t make sense to me because when working in the round you join after every round so now I’m really confused. Are we working in the round or turning it and seaming it together when finished?
Whenever it says “continuous round” it basically means a spiral. Continously working with no seam [seams are made by joining].
I see where it seems I could use some clarification. After the foundation chain, bring your chain together as if to join it to make a ring, but don’t join, instead, begin working into the 3rd loop. Later, you will use the beginning tail to sewn up the small gap at the beginning.