This post contains affiliate links for LoveCrochet. If you make a purchase by clicking on them, I make a small commission at no extra cost to you. Thanks for your support!
I have another photo tutorial to share with you later next week (or maybe this Saturday, not sure yet), that I borrowed these photos from, but I have been wanting to share a tutorial with how to make a slip knot for a while now, so it worked out perfectly.
For this tutorial, I am using Lion Brand’s Wool Ease Thick & Quick in the Marble colorway, but this technique works with any weight yarn. The technique is also the same for crochet or knit projects. You [almost] always start with a slip knot on your hook/needle, and then begin chaining/casting on. I say “almost” because sometimes when I am rejoining yarn to a crochet project, I tie it on. We can talk about this at a later time though.
I am not creating anything new here, but I did take the time to take the photos, edit them, and put this tutorial together, so please respect my work. Do not pin or share any of the tutorial images – just the main photos. Provide the link for others to find my page (help out me and my blog with the traffic). Do not copy and paste my work anywhere. Thank you!
Photo Tutorial:
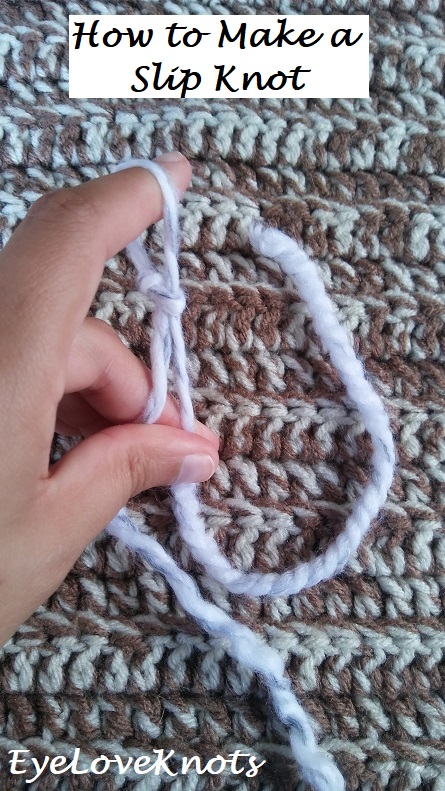
First thing we are going to do is start with a tail. I like to start with a longer tail than most because I would rather have more than I need, than not enough when it comes down to weaving in my beginning tail end. It’s also easier to work with.
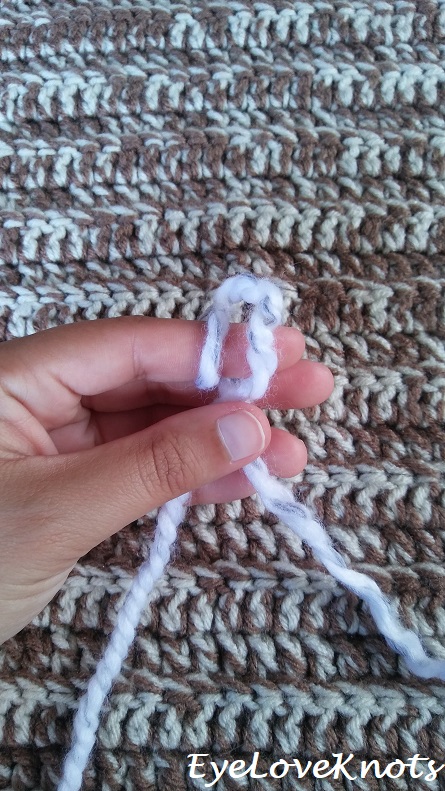
Hold your hand out palm facing you, and lay a loop at your index finger – this is where your knot will start, so make sure the beginning tail is good enough for you. The yarn coming from the skein will be your working yarn, meaning you will use this, and not your beginning tail, for working the slip knot.
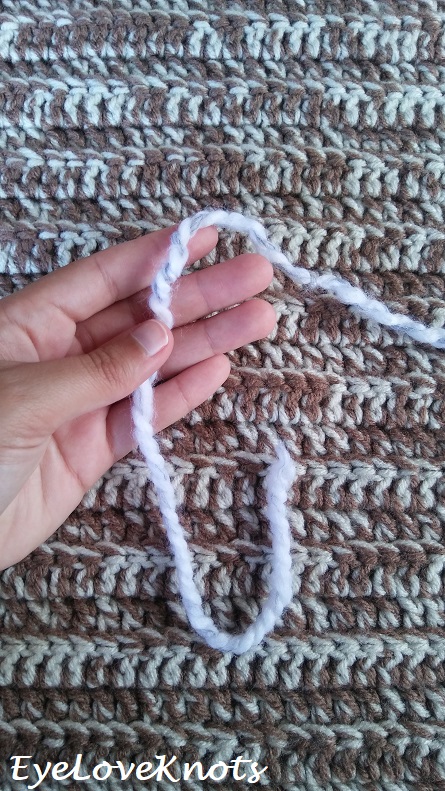
Loop the yarn around your index finger twice, and hold with your thumb so it doesn’t come loose.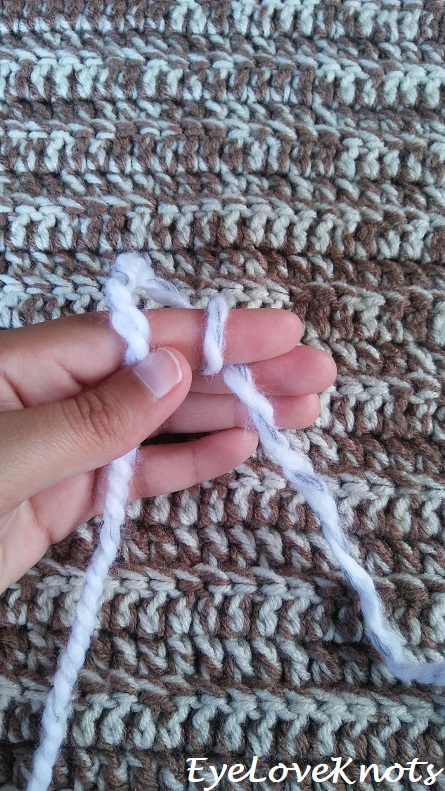
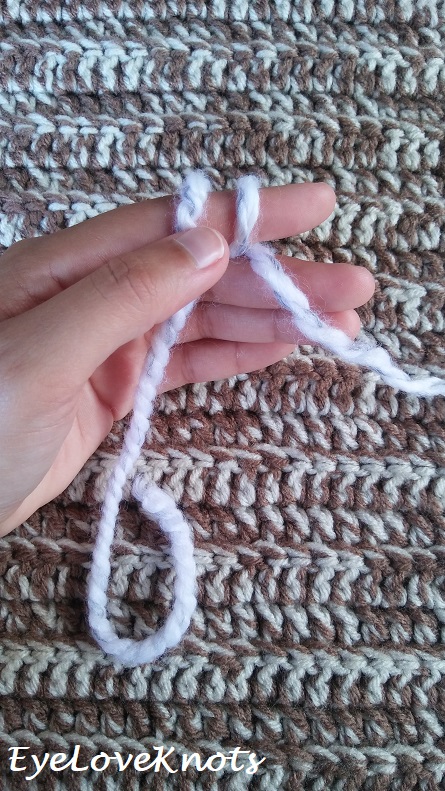
Keeping tension on the yarn that is wrapped around your finger, take the first half of the yarn strand that is on the left side…
…And pull it over the other loop that is on your finger, but not off your finger.
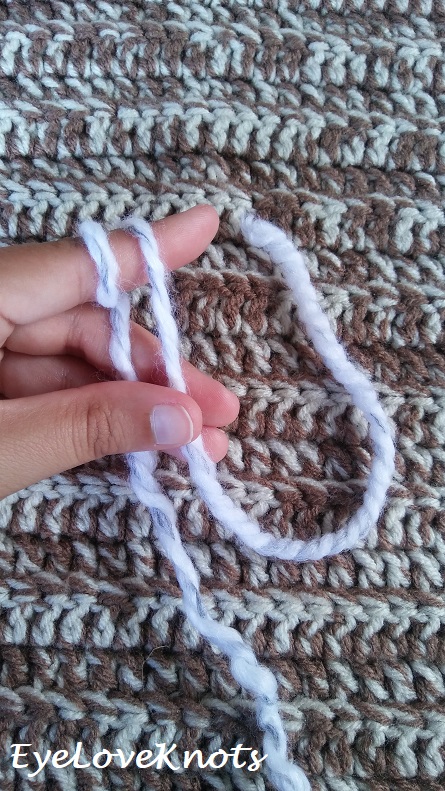
Keep the tension on the yarn so it doesn’t come loose, or off your finger.

Now, we are going to repeat here. Take the first half of the yarn strand that is on the left side…
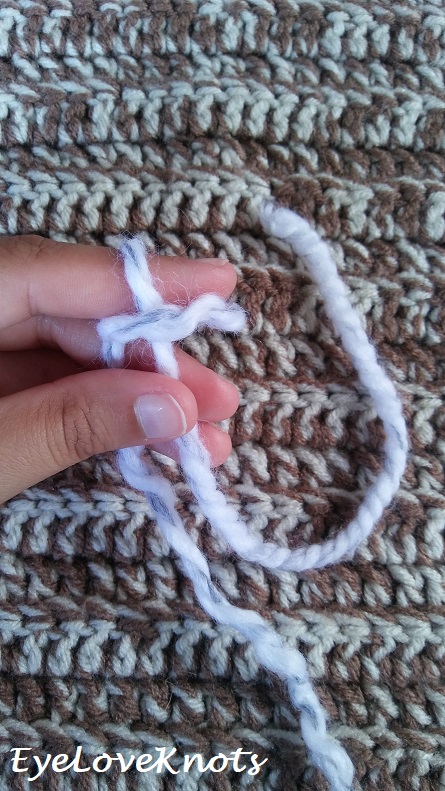
…And pull it over the other loop that is on your finger, AND off of your finger.
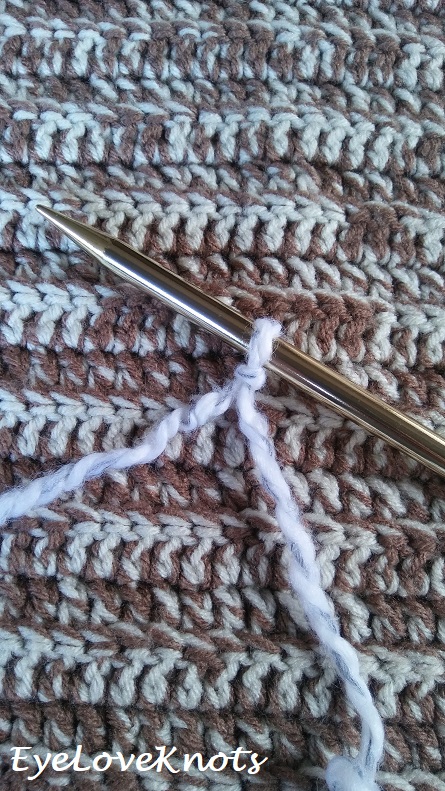
Insert your crochet hook, or knitting needle, into the loop that was left on your finger, and pull the tail end to tighten around your tool, and now you are ready to begin working!
Here I have shared a photo of the slip knot on a knitting needle.
This is where I will begin from in my next photo tutorial 😉
DO NOT re-publish my photos as your own. DO NOT copy and paste my pattern anywhere, link to it instead.
Join the EyeLoveKnots Crafting Community on Facebook to share your creations, and see what others are up to!
Linked Up To…
Craft Schooling Sunday, 06/10/18 – Creative Jewish Mom
Nifty Thrifty Sunday #338 – Meet Our Life
Tutorials & Tips Link Party #356 – Home Stories A to Z
Creative Mondays Blog Hop – Claire Justine
Merry Monday Link Party #208 – A Wonderful Thought
Handmade Monday #79 – Sum of their Stories
The Scoop Link Party #330 – Worthing Court Blog
The Really Crafty Link Party #123 – Keeping it Real
You’re the Star Linky Party Week 89 – Let it Shine
Craftastic Monday Link Party – Sew Can Do
Lou Lou Girls Fabulous Party #219 – Lou Lou Girls
Talk of the Town 127 – My Repurposed Life
Sew It Cook It Craft It Link Party #58 – Sew Historically
Your Whims Wednesday #359 – My Girlish Whims
{wow me} wednesday #355 – Ginger Snap Crafts
I’m Lovin’ It Linky Party – Tidy Mom
Pin Junkie Pin Party #269 – The Pin Junkie
Funtastic Friday 183 Link Party – Olives & Okra
Sweet Inspiration Link Party #111 – The Boondocks Blog
Friday Frenzy Link Party – 06/15/18 – Kelly Lynn’s Sweets and Treats
Snickerdoodle Create Bake Make Party #236 – Across the Boulevard
Sundays at Home #210 – Celebrating Everyday Life
My mom taught me to crochet and knit at an early age, so this sort of comes so naturally for me that I never stop to think what I’m really doing – it’s so automatic that I sometimes struggle to explain it to my daughter. It helps seeing things done step by step.
Thank you for sharing the tutorial at The Really Crafty Link Party. Pinned.
I can understand how it can be a struggle when things come so naturally. I enjoy the teaching though, and I like having the resources to point beginner’s in the right direction.
This post shows a neat Hint
Responding to your neat Giveaway: Like to see more Baby Clothes!
Love your Site! Thanks for sharing!
I love making baby clothes – only downside is I don’t have a baby to model them, and test my designs out on :'( Nonetheless, I have a pair of baby pants that have been in the works since last year. Will pull it out, and finish sizing so I can get on the blog soon, and work on some other designs. Thanks for your feedback!
So informative! Thanks for sharing at Friday Frenzy Link Party! PINNED 🙂
Thank you for pinning! I really appreciate it.