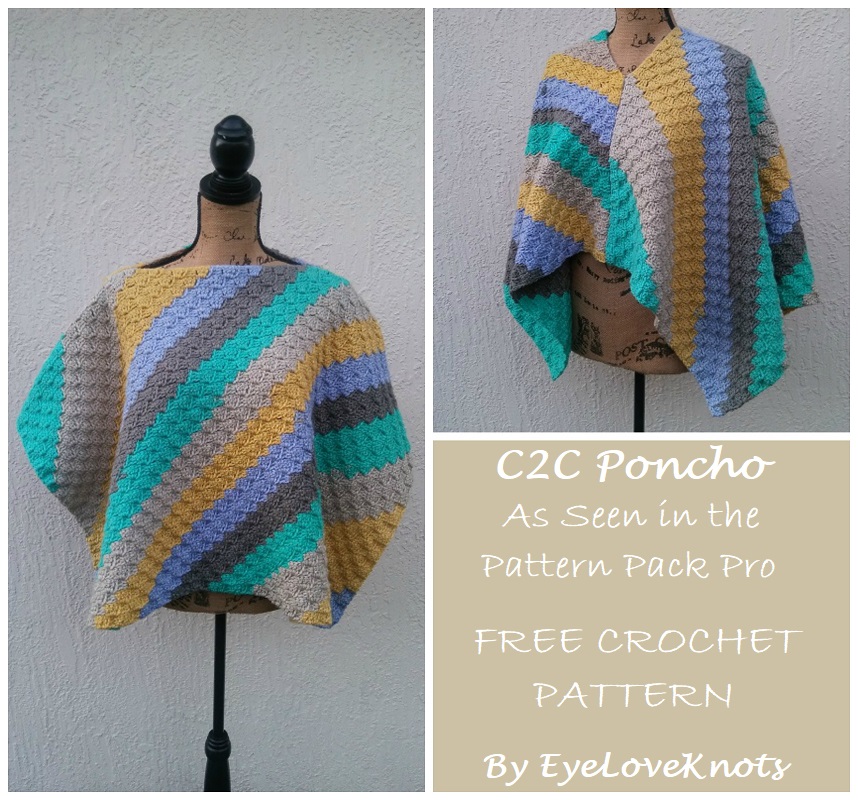
This poncho was originally designed for submission consideration to Happily Hooked Magazine, which had an issue that featured Cake Yarn. Upon completing the poncho, the editor asked if it could be used in the March’s Issue 42 of the Pattern Pack Pro Magazine, which featured Ponchos!
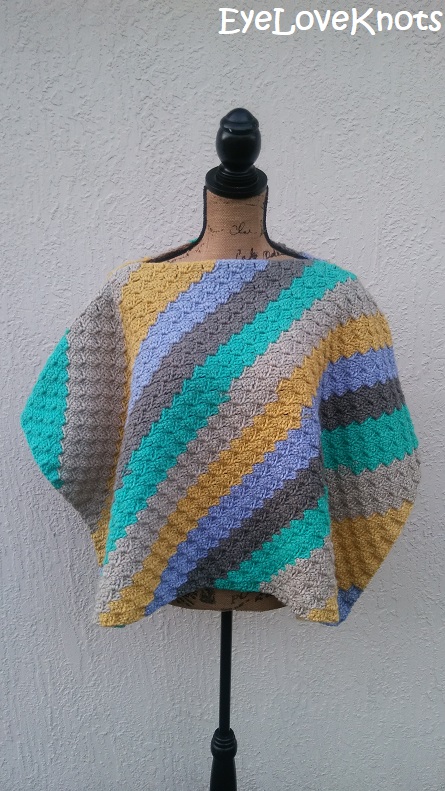
Originally with the theme of Cake Yarn, I wanted to pair it with the corner to corner technique, but I wanted to design something that wasn’t the very popular blanket and scarf you see everywhere. My out of the box thinking led me to this one size fits all poncho.
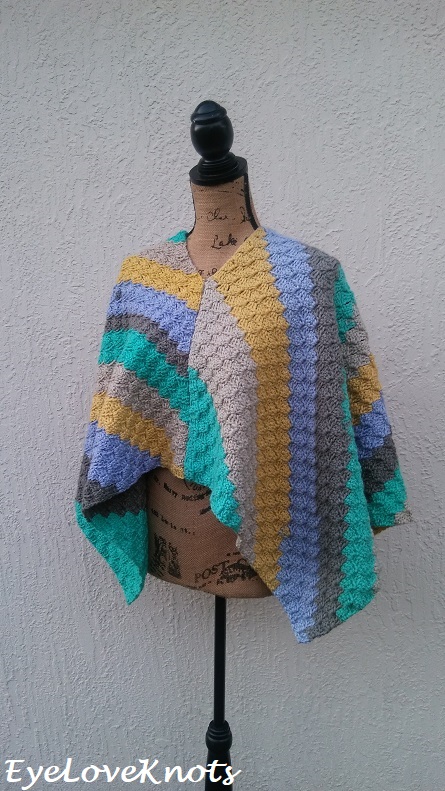
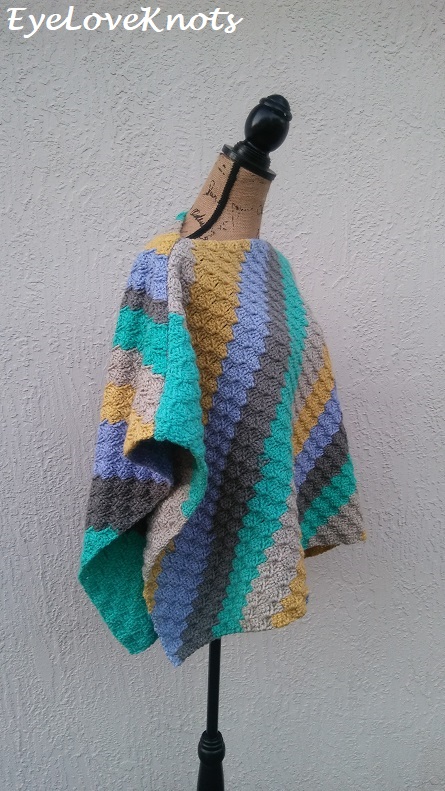
Now, using Caron Cakes, the colors are quite loud, and the panels don’t really add up, but picture this with your favorite pair of blue jeans, or styled like a v-neck with a solid color, like black shirt and pants.
I left my sides open, but you can add buttons along the inside sides, and use the space in between the boxes as button holes, or you can leave armholes, and stitch the rest closed for an oversized top.
If you would like a PDF version of this post, you may get one through either my EyeLoveKnots Etsy Shop or EyeLoveKnots Craftsy Shop for a small fee. This fee is to compensate for the views lost when you no longer need to return to the blog to for the information, as you will have your own copy. Plus! It helps fund supplies for new projects to share with you!
Shop EyeLoveKnots Etsy: C2C Poncho.
Shop EyeLoveKnots Craftsy: C2C Poncho.
Shop EyeLoveKnots LoveCrochet: C2C Poncho.
Are you a Raveler? Share your version of this project on Ravelry – C2C Poncho.
Materials:
- 1,532 Yards of Worsted Weight Yarn – I used Caron’s Cakes in the Banana Bread colorway from Michaels
- I9/5.5mm Crochet Hook
- Tapestry Needle for Weaving and Sewing
Time Spent:
Each panel takes just under 5 hours. I worked my poncho in several seatings for a total of about 10 and a half hours.
Measurements:
One Size – 36″ by 21.25″ Tall
Gauge:
14.5 DC by 8 Rows = 4.5″ OR In Pattern, 5 Increase Rows and 4 Decrease Rows = 3.75″ Square
Abbreviations:
DC – Double Crochet
Pattern Notes:
Beginning chain counts as a double crochet.
A box is comprised of four double crochet’s.
The “space under the same chain joined to” is defined as the space between the last two double crochets of the previous rows box.
Working the final double crochet into the top of the chain from the previous row helps to keep the edge more even. After completing the first box, you may also need to lightly tug on it to keep it even as well.
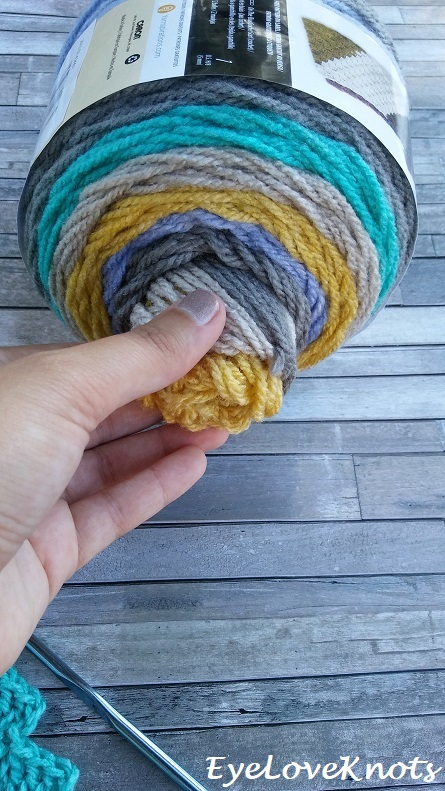
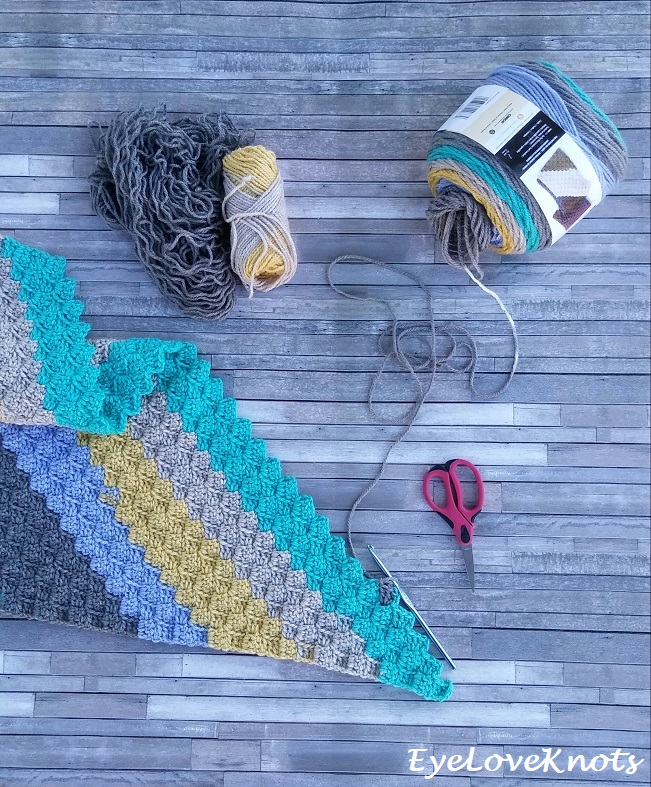
When you reach the last color in the first ball of each side, you will change to the new ball of yarn as the last one isn’t a complete color section. Sit it aside. Find the same color in the second ball of yarn, cut yarn right before color change, join in as close to the new color as you can, and continue working, sitting the first color/s (if applicable) aside as well in case you need later. Once you reach the end of the second ball, work with the yarn colors you have sitting aside if needed. It takes a little playing to get the colors right. Keep in mind, you have two panels, and the yarn cut and set aside may be different, though will all come in handy in the last stretch of the poncho.
Pattern – Make 2:
Chain 6. DC into the 4th chain, and into each of the next 2. (1 Box)
R2: Chain 6, and turn. DC into the 4th chain, and into each of the next 2, slip stitch into the top of the next chain 2. Chain 2, work 2 DC into the space under the same chain joined to, DC into the top of the last stitch. (2 Boxes)
R3: (I) Chain 6, and turn. DC into the 4th chain, and into each of the next 2, slip stitch into the top of the next chain 2;
(II) Chain 2, work 3 DC into the space under the same chain joined to, skip the next 3 DC, slip stitch into the top of the next chain;
(III) Chain 2, work 2 DC into the space under the same chain joined to, DC into the top of the last stitch. (3 Boxes)
R4 – 30: Using Row 3 as a base, you will continue working in the same manner repeating (II) one extra time each row to increase the number of boxes by one each row. At the end of Row 30, you will have 30 Boxes.
R31: Turn. Slip stitch into the 2nd stitch, and each of the next 2. Chain 2, work 3 DC into the space under the same chain joined to, skip the next 3 DC, slip stitch into the top of the next chain;
(chain 2, work 3 DC into the space under the same chain joined to, skip the next 3 DC, slip stitch into the top of the next chain) 28x;
Chain 2, work 2 DC into the space under the same chain joined to, skip the next 3 DC, DC into the top of the last stitch. (30 Boxes)
R32: Chain 6, and turn. DC into the 4th chain, and into each of the next 2, slip stitch into the top of the next chain 2;
(chain 2, work 3 DC into the space under the same chain joined to, skip the next 3 DC, slip stitch into the top of the next chain) 28x;
Chain 2, work 3 DC into the space under the same chain joined to, skip the next 3 DC, slip stitch into the top of the last stitch. (30 Boxes)
R33 – 51: Repeat Row 31 + 32.
R52: Turn. Slip stitch into the 2nd stitch, and each of the next 2. Chain 2, work 3 DC into the space under the same chain joined to, skip the next 3 DC, slip stitch into the top of the next chain:
(IV) (chain 2, work 3 DC into the space under the same chain joined to, skip the next 3 DC, slip stitch into the top of the next chain) 27x;
Chain 2, work 2 DC into the space under the same chain joined to, skip the next 3 DC, slip stitch into the top of the last stitch. (29 Boxes)
R53 – 78: Using Row 52 as a base, you will continue working in the same manner repeating (IV) one less time each row to decrease the number of boxes by one each row. At the end of Row 78, you will have 3 boxes.
R79: Turn. Slip stitch into the 2nd stitch, and each of the next 2. Chain 2, work 3 DC into the space under the same chain joined to, skip the next 3 DC, slip stitch into the top of the next chain, chain 2, work 2 DC into the space under the same chain joined to, skip the next 3 DC, slip stitch into the top of the last stitch. (2 Boxes)
R80: Turn. Slip stitch into the 2nd stitch, and each of the next 2. Chain 2, work 3 DC into the space under the same chain joined to. Skip the next 3 DC, slip stitch into the top of the last stitch. (1 Box)
Fasten Off, and Weave in Ends.
Finishing:
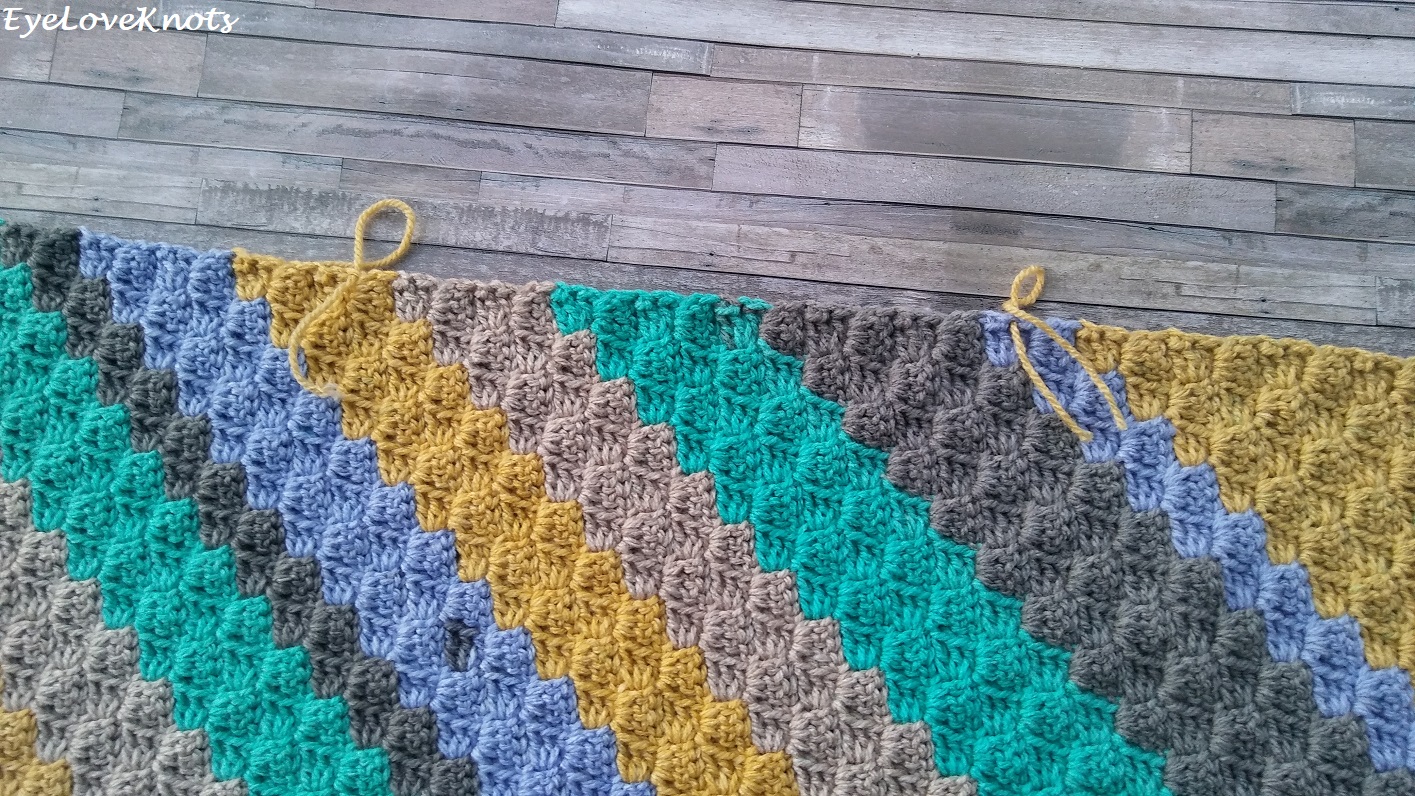
Cut a long piece of yarn, and thread into tapestry needle. With the turning at the end of each row, there is no right or wrong side to the pieces, until after creating the seam. Lay the two panels together, measure inward 12.5” on each side, and mark. The center 11” will be the neck opening.
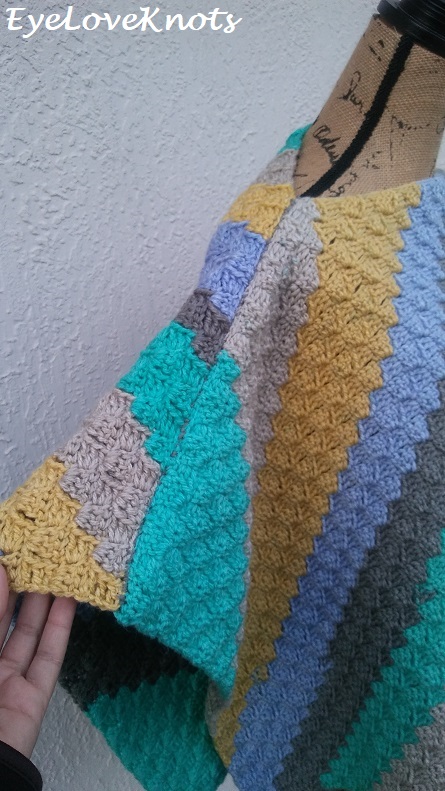
With your choice of joining, work across the shoulders to seam up the two panels. Whipstitch was used in the original piece – if this method is chosen, keep in mind that the seam will probably show through a little from the right side of the poncho. This was the idea in the original design process. Alternatively, you can work a mattress seam, or slip stitch through both layers of the panels. Make sure to work into the stitches, not the space underneath them.
Weave in final end/s.
Please feel free to make and sell your own C2C Poncho using this pattern, but please DO NOT claim this pattern as your own nor should you sell my pattern, and DO NOT re-publish my photos as your own. DO NOT copy and paste my pattern anywhere, link to it instead.
Join the EyeLoveKnots Crafting Community on Facebook to share your creations, and see what others are up to!
Linked Up To…
Inspiration Monday – I Should be Mopping the Floor
Tutorials & Tips Link Party 373 – Home Stories A to Z
Creative Mondays Linkup – Claire Justine
Handmade Monday #100 – Sum of their Stories
Merry Monday Link Party #229 – A Wonderful Thought
The Scoop Link Party #351 – Worthing Court Blog
The Really Crafty Link Party #142 – Keeping it Real
Craftastic Monday Link Party – Sew Can Do
446th Inspire Me Tuesday – A Stroll Thru Life
Fabulous Party #240 – Lou Lou Girls
Sew It Cook It Craft It Link Party #78 – Sew Historically
Turning Heads Linkup – Elegantly Dressed and Stylish
Confident Twosday Linkup – I do deClaire
Ginx Woolly Linx Party November – Ginx Craft
The Linky Ladies Party #145 – The Purple Poncho
Crafty Love Link Party #39 – Jessie at Home
Scrappy Stitchers Link Party #47 – Stitches n Scraps
Pin Party #290 – The Pin Junkie
Best of the Weekend – Hello Little Home
Sweet Inspiration Party 132 – Purple Hues and Me
Friday Frenzy Link Party – 11/09/18 – Kelly Lynn’s Sweets and Treats
Pretty Pintastic Party #234 – Sparkle Living
Weekend Wear Linkup – Mom with Style
Friday Favorites Linkup – Lizzie in Lace
Fashion Files Link Up #186 – Curly Crafty Mom
Trendy Thursday Link Up – Thirty Minus One
{Wow Me} Wednesday #376 – Ginger Snap Crafts
Your Whims Wednesday #380 – My Girlish Whims
The Wednesday Link Party #270 – The Stitchin’ Mommy
Wall to Wall DIY Wednesday Link Up Party Week 22 – Dabbling and Decorating
Hookin’ on Hump Day #178 – Petals to Picots
Snickerdoodle Create Bake Make Link Party #257 – Across the Boulevard
I truly am hoping that this pattern isn’t to hard for a c2c beginner. It look like a great starter!
It’s nice and easy. Basically, it’s just two rectangles sewn together along the shoulders.
i love c2c technique! so beautiful and useful!
I love it too! So fun.
It’s beautiful, I love the colors. Thank you for sharing at The Really Crafty Link Party. Pinned.
What a beautiful job! I love the colors – especially worn with a pair of grey trousers or jeans. I am a fan of ponchos too, Love to see you style it sometime 🙂
thanks for linking!
jess xx
http://www.elegantlydressedandstylish.com
I would like to work on a slightly different version in a solid color to see how the fit is, then perhaps I will show it off 😉
Hi Alexandra.
I wondered, did you make the different version in a solid colour? I have malabrigo washted in Diana and desperate to find a poncho pattern to suit it. Any ideas?
Many thanks.
Joanne
I still want to, but I haven’t had a chance to yet. The change I would make to this pattern is adding a short row or two at the shoulders – I don’t particularly like the boat-neck style, I like a little more room around my neck. So when I do get a chance to rework this, I will add this in as an option.
Depending on your personal preference, you could also change the width of the panel for more coverage of your arms. For this, you’d just keep increasing until the panel width was your desired length.
I hadn’t heard of “Washted” before, but I just looked it up, and it sounds lovely! I already enjoy Malabrigo Yarns – being washable makes it that much better.
A cocoon style would be nice in the variegated yarn too. Here’s one I found from Make and Do Crew: https://makeanddocrew.com/lightweight-easy-crochet-shrug-free-pattern/
Christmas gifts almost done, then I will try this thank you! I want to learn C2to2c
Welcome! Looking forward to your feedback 🙂
love this colorful poncho, makes me want to learn thi tecnique now!