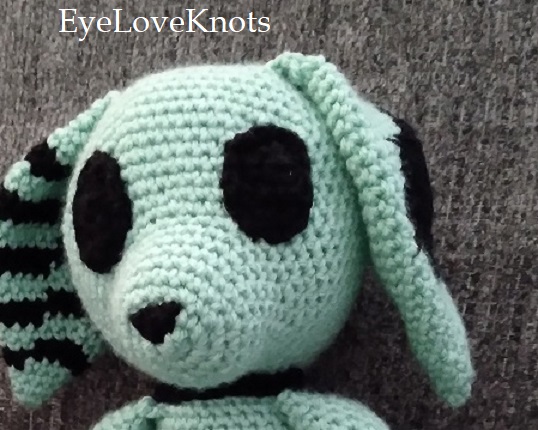
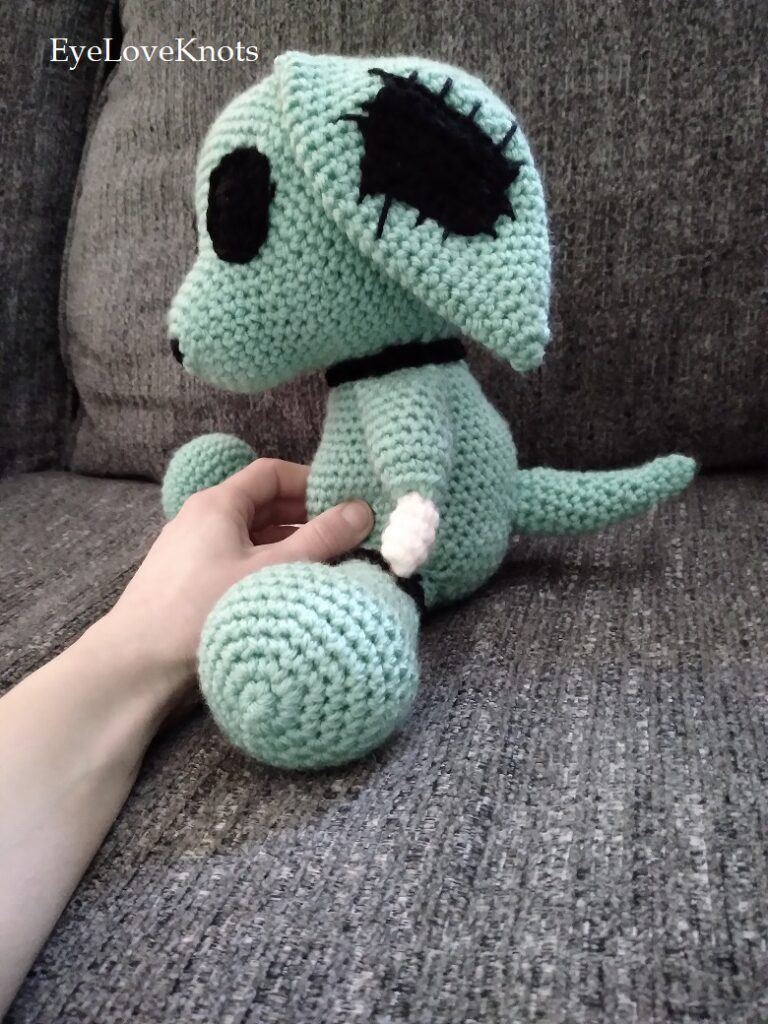
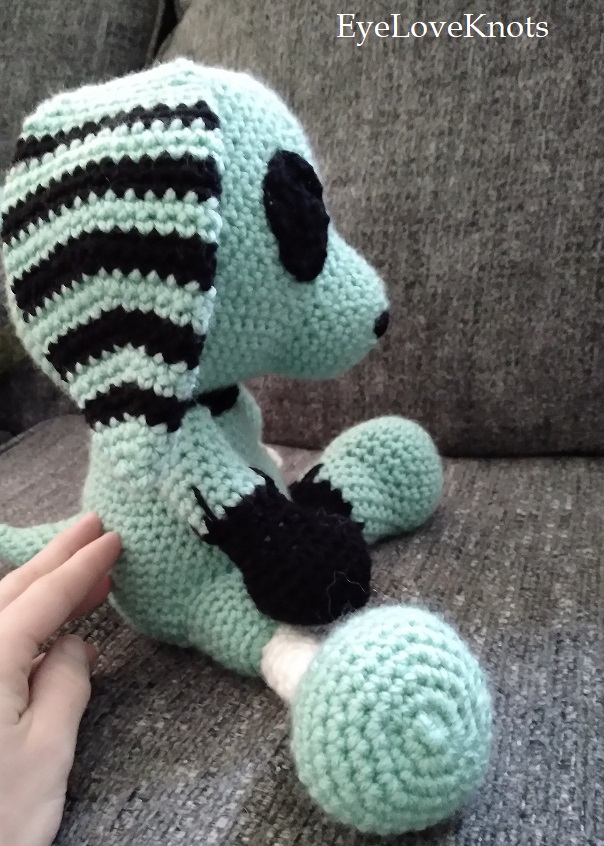
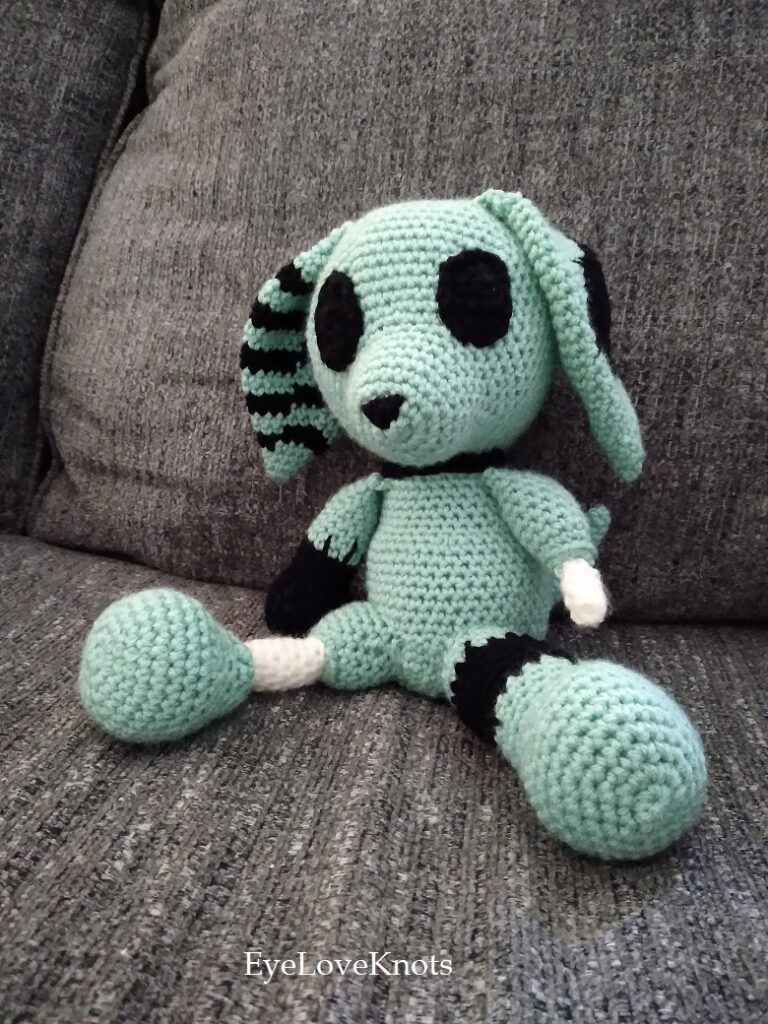
This is a crochet pattern review of the Zombie Dog amigurumi pattern by the designer Bianca Berthelet, known as Flowconcrochet T&B. Review done by A Stitch Shy of Normal for EyeLoveKnots.
This post contains affiliate links for WeCrochet and Amazon. If you make a purchase by clicking on them, I make a small commission at no extra cost to you. Thanks for your support!

It’s me, Abigail with A Stitch Shy of Normal.
Visit with me on Instagram @astitchshyofnormal for all kinds of awesome crochet makes and inspiration.
This pattern is definitely on the more unique side, and that’s why it stood out to me so much that I chose it for this review! I was browsing through Ravelry a few weeks ago, and I really have fun clicking on the category of patterns that are brand new to the site. It sorts submissions by whatever was most recently posted, and I enjoy finding fun new things to try there from designers I might not know of!
This time, I stumbled across something I wasn’t expecting. It was a stuffed toy, but not just any stuffed toy. It was a blue dog with accents to look like a zombie–“bones” sticking out of the limbs, big black eyes, and the designer even added fun accents with eyeliner like “stitches” on his head and chest.
It definitely caught my attention. It’s not really my aesthetic, but for some reason I found it so compelling that I had to make one! Then I remembered a coworker who is often into that sort of thing, she loves bugs and monsters and I just knew she’d enjoy it. She’s also really fun to talk to and very sweet, so she deserved a surprise gift!
I dug through my stash and got to work!
Materials I Used:
- Stash yarns, probably no more than 200 yards of my main color (Hobby Lobby “I Love This Yarn” in Ocean) and small scrap amounts of the black and white, maybe 50 yards of each. These were unlabeled, unfortunately.
- F5/3.75mm hook – I like Clover Amour Ergonomic Hooks
- Stuffing
- Yarn needle for assembly
- Zombie Dog, Paid Crochet Pattern by FlowconCrochet T&B via Ravelry
Material Notes:
I have used I Love This Yarn for many toys, and it’s a decently reliable choice. It’s not scratchy or stiff, so your hands don’t hurt working it up. It’s also sturdy and probably will hold up to the toy being squished and held fairly well! And who could resist squishing these little cheeks?

As I mentioned in my list, I’m not sure what my stash yarns were, but there’s a good chance that they were also ILTY, or possibly Red Heart Super Saver. Either of these yarns would be a great choice for the whole pattern, both are interchangeable in my opinion in terms of durability and quality for projects like toys. I just used what I already had in my stash because I knew I had all kinds of fun colors for a zombie dog!
I used a larger hook than the designer calls for, not because of gauge but because of my own preferences. I just really don’t like super tiny hooks. The smallest I’ll really go is 3.5mm, and that’s for toys like this. In this case, I happened to grab my 3.75mm hook first, so that’s what I used. I’ve learned from experience that as long as the fabric is still pretty solid, the only difference should be a slightly larger toy!
If you change the hook size yourself, however, just be aware of the holes in the toy as well as your tension. If this were for a small child who would be more rough on the toy, I would have likely used a smaller hook to prevent stuffing from possibly coming out. The recipient in this case was an adult who will just hug him and probably have him displayed in her home, so I wasn’t as worried.
The designer also used supplies that I did not, like eyeliner and eyeshadow to draw accents, as well as black embroidery floss for the “stitches”. I chose to leave these out not for looks, but because I was intending for this to be a stash-busting project as well as a gift, so I was trying to avoid spending any money on supplies and I did not already have these things. I would definitely recommend adding these accents, though, and if (when) I make another one, I will do so.
Time Spent:
Probably no more than 6-7 hours. If it were only a basic dog it would have gone faster, but with the color changes and the different pieces, it adds a little more time.

Measurements:
The pattern suggests the dog being roughly 8 inches tall with the suggested materials. I used a larger hook, as I mentioned, which made him a little taller. I think mine is closer to 9 inches if not a little taller, but this is an estimate because it was hard to measure a toy exactly!
Gauge Info:
I did not measure gauge in this case, because it was a toy and did not need an exact fit. I simply paid attention to the rough size at the beginning of the project (the snout/head) to see if it was coming out comically large. I was happy with the size, so I continued on.
Pattern Notes:
I’ve made a lot of toys over the 8 years I’ve been crocheting. A few patterns have stuck with me as favorites, often small simple toys that I like to make in different colors for craft markets. This Zombie Dog is going on my favorites list for sure!
For one thing, it was very interesting. Of course parts like the body are going to get boring, as you do row after row of a solid color. But the smaller body parts stayed exciting the whole time! One ear is solid, but then the other has stripes. One leg is relatively normal but the other side gets a bone sticking out instead of a foot! You can’t really get tired of this pattern, it keeps things interesting the whole time.

The instructions are intense, I won’t deny that. You make a lot of little pieces, but the designer helps with that at every stage and gives clear instructions on what goes together in what way. My one small “complaint” was that I was a little confused on how to orient the nose. It seems like there’s a top and bottom side to the snout, and I struggled a little to figure that out. But I guessed the best I could, and from there I just decided the rest of the face to line up with the nose! If it’s imperfect, I certainly didn’t notice and my friend didn’t either. It might have just made him cuter!
That was the only bit I remember being confused on, though. The limbs are self-explanatory on how to line up the different pieces, and if it’s not spelled out directly how to do something that’s often because it’s up to a style choice–like how to add various accents! She includes a ton of pictures on how the pieces fit together as well. I mentioned that I didn’t add the other accents like the fake stitches or the eyeliner, but the pictures address how to add these if you want.
When I brought this toy to work to give to my friend, it was definitely a conversation starter! I had to hide it behind my back to avoid everyone squealing and wanting to hold it before the actual recipient got a chance! When she saw it, she was speechless and immediately hugged the dog to her with joy, which is exactly the kind of reaction this sort of pattern deserves! She named him Mort, and I found that name absolutely hilarious.
Like I said at the beginning, this sort of thing with the bones sticking out isn’t really my jam. And it’s not going to be something everyone enjoys. But everyone who saw this toy at work that day loved it! They all mentioned how it was adorable, or the cutest thing they’d ever seen. So I think cuteness overcomes the slight (intentional) creepy factor in this pattern! And it still remains just weird enough that people like my coworker who love weird and creepy will adore it even more.

This pattern surprised me in many ways with how much fun it was to make and how cute the result came out! I hope you have a chance to check out this pattern or some of the designer’s other fun twists on toys! She has a very creative spirit and I want to try them all.
Don’t forget to visit with me on Instagram @astitchshyofnormal for all kinds of awesome crochet makes and inspiration.
If you love to DIY: Join the EyeLoveKnots Crochet & DIY Community on Facebook to share your creations, and see what others are up to!
Linked Up To…
Ginx Woolly Linx February – Ginx Craft
Handmade Monday #215 – Sum of their Stories
Craftastic Monday Link Party – Sew Can Do
Linky Ladies Party #204 – The Purple Poncho
{Wow Me} Wednesday #492 – Ginger Snap Crafts
The Loop Scoop #8 – Moogly Blog
The Wednesday Link Party 386 – Oombawka Design Crochet
Creative Crafts Linky Party #29 – Creatively Beth
Craft Schooling Sunday – Creative Jewish Mom
Happiness is Homemade Link Party #362 – Decor Craft Design
Unlimited Monthly Link Party 21 – Grammys Grid
The Hearth and Soul Link Party – April, the 21st Century Housewife
Over the Moon 262 – Marilyn’s Treats
The Really Crafty Link Party #254 – Keeping it Real
You’re the Star Blog Hop – Decor Craft Design
579th Inspire Me Tuesday – A Stroll Thru Life
Fabulous Party #359 – Lou Lou Girls
Party in Your PJs #346 – The Apple Street Cottage
Your Whims Wednesday #498 – My Girlish Whims
Waste Not Wednesday 242 – Pretty DIY Home
Thursday Favorite Things #477 – An Artful Mom
Creatively Crafty Link Party #263 – Life Beyond the Kitchen
Artsy-Fartsy Link Party #242 – Artsy Fartsy Mama
Encouraging Hearts & Home Blog Hop – Scratch Made Food! & DIY Homemade Household
Traffic Jam Weekend Linky Party #270 – My Bijou Life
Friday Favorites – Busy Being Jennifer
Create, Bake, Grow & Gather Party #458 – Shabby Art Boutique
A Morning Cup of Joe – The Cottage Market
Link Your Stuff – Annemarie’s Haakblog
Snickerdoodle Create Bake Make Link Party 373 – EyeLoveKnots
That is a pretty color, almost a minty hue. The little details on it are perfect, too! 🙂 Fun project!
Carrie
curlycraftymom.com
Isn’t the color fun? I liked the designer’s original blue but when I saw this minty green in my stash I knew it was perfect! Cute AND slightly unnverving, lol!
Yours is SOOOOOOOOO much cuter than the original. So glad you omitted some of the freakier features. I don’t care for the original at all, but I want to hug the one you made. Love that color! And that sweet little face!
I’m glad you enjoy it! Everyone has their own tastes as far as the features go, so I’m glad this pattern can be customized to add or leave out some of the details.