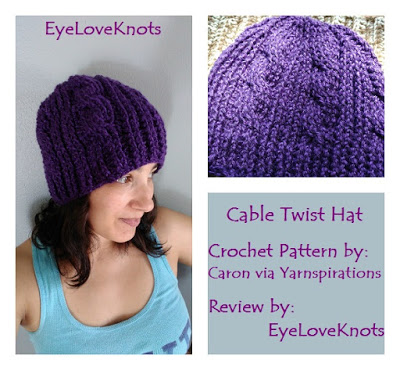
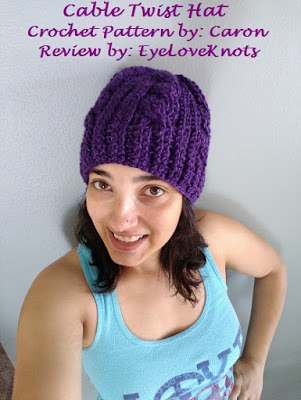
While browsing through the Yarnspirations site for some inspiration, I found this Cable Twist Hat and knew I just had to try it!
Materials I Used:
– 1 Skein of Heartland Yarn in the Hot Springs colorway (Medium Purple)
– K10.5/6.5mm Crochet Hook (larger than suggested)
– #18 Tapestry Needle for Weaving in Ends & Sewing Top
– Cable Twist Hat, Free Crochet Pattern
Material Notes:
Caron’s Simply Soft used in original, but any worsted weight will work well for this pattern as long as gauge is met.
I used just under a full skein.
Time Spent:
I had this hat ready to wear in just over three hours.
Measurements:
My finished hat had an 18.5″ circumference (with lots of stretch), by 9″ tall.
Pattern Notes:
Overall, I fell in love with this hat pattern and am looking forward to wearing my hat in the cooler weather, and gifting some this upcoming holiday season.
I chose the Heartland Yarn because I wanted to use a lightweight worsted weight yarn similar to the Simply Soft used in the original pattern. I love the soft, cushy feel of the Heartland, and the beautiful color blends available. I have found that it machine washes and dries even more beautifully, and is a durable yarn.
After working the gauge, and seeing the need to jump hook sizes, I am confident that any worsted weight yarn will work great for this project. I would like to work one in Hobby Lobby’s I Love This Yarn.
I had never worked cables before, so the pattern proved to be a challenge at first, but I found the matching Cable Twist Hat video on YouTube by Mikey of The Crochet Crowd and it helped clear up all of my confusion on how to work the cables. One thing that had me ripping my work out was the round following the cable foundation. My tip is, go slow and make sure you’re working into the post, not the stitch as the stitch is stretched a bit.
I did get really frustrated with this pattern, and considered frogging the piece because of the cable foundation and following round, but I decided to leave them as is and continue on with the pattern and once I got a little further into it, the whole piece came together nicely. Don’t give up! Just push on!
I’ve since started a few different projects inspired by this hat using the fun and beautiful cable pattern.
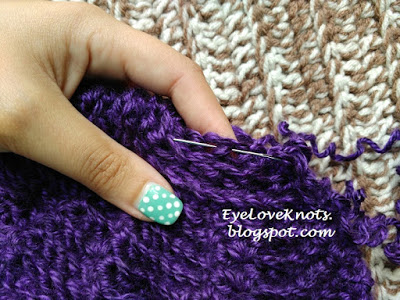
To close my hat, I turned my hat inside out, threaded my needle and ran it in and out of every other stitch along the last round. At the end, I pulled on the tail to pull the top closed, and secured with a few stitches.
I did not add a pom pom to my hat as I like to be able to machine wash my hats, but had I, it would have taken a full skein of yarn.
Size wise, the hat is a little big for my head – next time I will use a J10/6mm hook and work the pattern as is.
With so many size, yarn type and color options, I would love to see them! Please share your photos on my EyeLoveKnots Facebook page, or our latest Yarn Fanatic Party Link Up!
Don’t miss out on new crochet patterns, reviews, jewelry tutorials and more! Subscribe to EyeLoveKnots by using the box on the right side toolbar, or follow me via Bloglovin


I love this design in the hat! I need to practice more so mine will look like yours lol
Just keep trying! I definitely wanted to frog mine a few times, and am glad I kept working at it. Would love to see yours!
I also finished a cabled hat recently and loved the look. This one is next on my list now. Thanks for the tips and link to help video 🙂
Glad I could help! Would love to see your finished hat/s 🙂