
When my Aunt Patti got married two years ago, My Aunt Debbie went as a hippie – everyone dressed up as something!
I wanted to give her a few options on a bunch of things (just in case she didn’t like one or two).
I crocheted a Hippie Style Headband in a few different colors. I wanted to put add a flower or two to the headband but then I thought, what if she wanted to wear the headband but not the flower? Or wanted a different flower on that colored headband?
So… I decided to try my hand at using artificial flower to make some removable hair clips.
These hair clips are great to add to any hat or headband, for infant up to adult. They are also great solo clips!
**This tutorial and photos were put together two years ago! I do things a little differently now, but it’s all still good stuff 🙂
Material Notes:
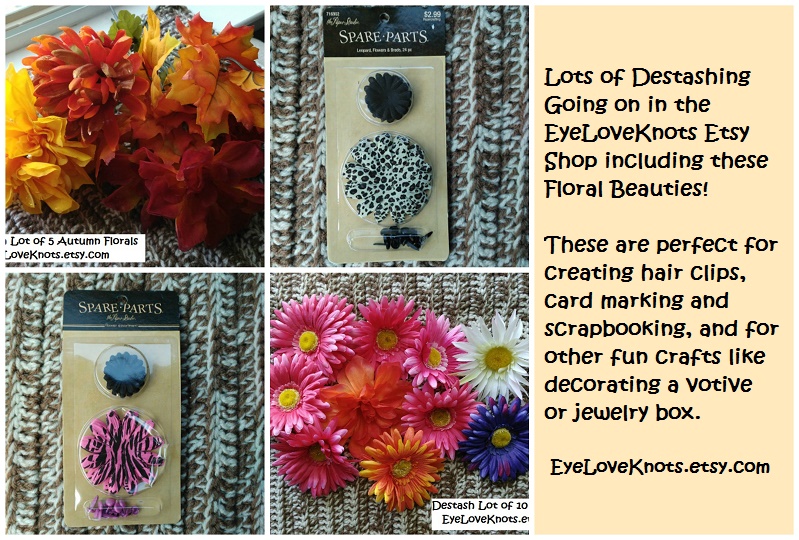
– You will need some artificial flowers to take apart – I am destashing some in my EyeLoveKnots Etsy Shop!
– Some clips – alligator, single or double prong
– about 5″ of 3/8″ grosgrain ribbon each clip (or felt)
– Hot Glue Gun & Sticks
– about 1″ Circle of Felt per flower
– Side/Wire Cutters – You can find these in the jewelry and floral departments
– Opt, my How to Partially Line Alligator Clip tutorial
Material Notes:
FLOWERS: You can find these in so many places like the dollar store (got mine at Dollar Tree), your local arts and craft store (Joann‘s, Michaels, Hobby Lobby, AC Moore), online (Etsy, The Ribbon Retreat), etc…
You can purchase the kind with the stems – like you’d put in a vase – or you can purchase some that stemless from your craft supply source.
CLIPS: I would recommend purchasing some clips that are CPSIA Compliant, meaning they are safe for children 12 and under because they do not have harmful levels of lead. In this example, I am using Double Prong Alligator Clips from Hobby Lobby. They do not specify whether or not they are CPSIA Compliant – but I am carefully with the jewelry charms and such that I buy from Hobby Lobby because they list on the back that they may contain lead.
I have been looking to make a purchase of the Double Prong Clips from the Ribbon Retreat. They are sturdy, CPSIA Compliant, and fairly priced.
Time Spent:
You can have a set of these worked up and ready to wear in under half an hour.
Tutorial:
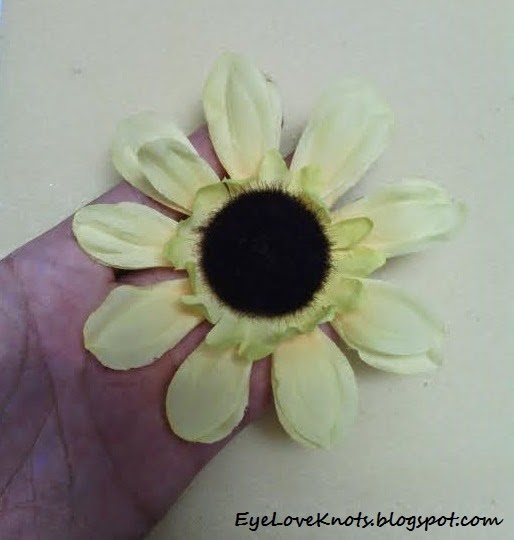
After you choose your flowers and hair clips, you will need to pull of the stems. (If you have stemless flowers, skip this step). They pop off really easily. I like to hold the stem in between my ring and middle finger as I cup the flower, then gently pull apart.
Notice, you now have a plastic, leafy part left under the flower from the stem. DO NOT take this off yet! It will help keep your petals secure.
Flip your flower over and look at it. Arrange the petals as you’d like them to be, then flip them back over.

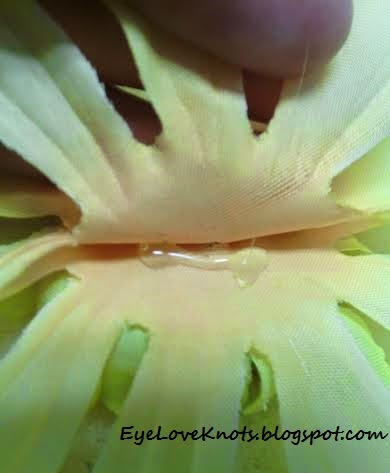
Gently lift the petals, layer by layer. In between each layer, I recommend placing a drop of hot glue to keep all the petals where they need to be.
Yes, in my photos I used a lot of glue. It will seep through onto other layers. No worries, any glue marks will be covered up soon.
**BE CAREFUL! The fabric of the flowers on top of and below the hot glue will be hot!

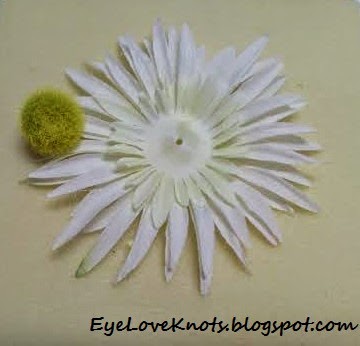
If you choose to keep the centerpiece of the flower, you will need to glue that down as well. Otherwise, when you cut the stem, it will just fall off.
Some of them are not flat so you will need to be a little creative with your glue placement.
You can also choose to replace this piece with a button, gem, cabochon, some beads, etc.

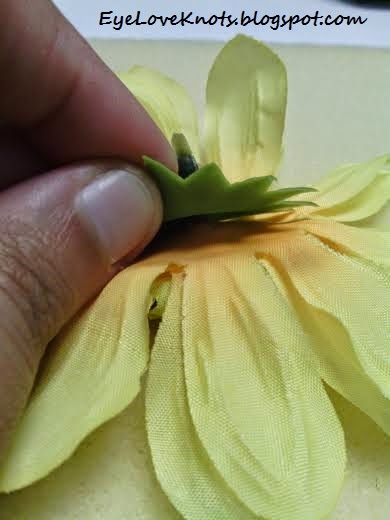
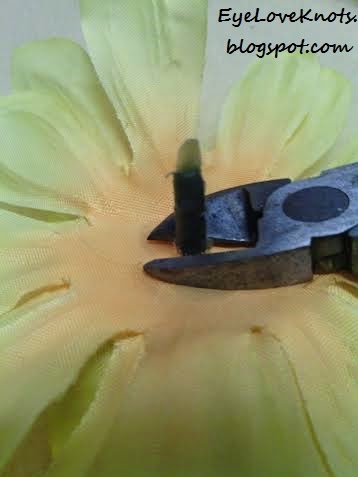
Now, flip your flower back over and pull out your side cutters. You will need to first remove the plastic, leafy part. It pulls off easily but may be a little tight.
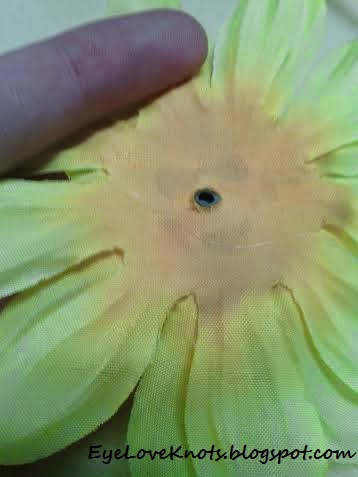
Place the flat side of your cutters against the flower and cut the stem as far down as possible.
If there is any left poking out, it will interfere with the placement of your clip.


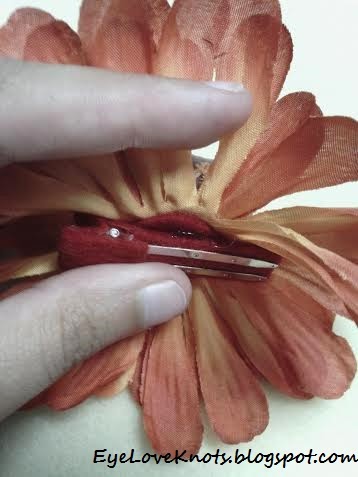
Hot glue the flat part of your lined hair clip to the felt.
*If you aren’t sure how to line your hair clip, check out my How to Partially Line Alligator Clip tutorial.
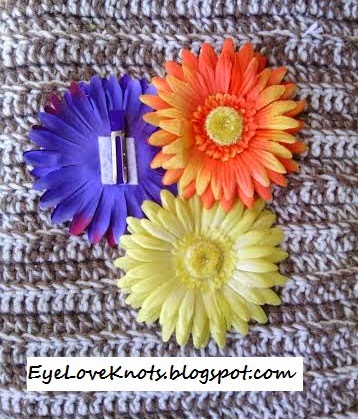
Tada! Beautiful new hair accessories. These are easy, inexpensive and quick gifts perfect for giving with a new hat, on their own, with a [few] headband[s], at a baby shower or baby/child’s birthday or to wear yourself! Depending on the size and shape, they may also work nicely for a brooch or on some bobby pins.
Please feel free to make and sell your own Hair Clips using this tutorial, but please DO NOT claim this tutorial as your own nor should you sell my tutorial, and DO NOT re-publish my photos as your own. DO NOT copy and paste my tutorial anywhere, link to it instead.
With so many size, flower types and color options, I would love to see them! Please share your photos on my EyeLoveKnots Facebook page.
Don’t miss out on new crochet patterns, reviews, jewelry tutorials and more! Subscribe to EyeLoveKnots by using the box on the right side toolbar, or follow me via Bloglovin!
I am destashing supplies & have flowers up in there perfect for this project! I am open to shipping internationally, and will combine shipping.
Leave a Reply