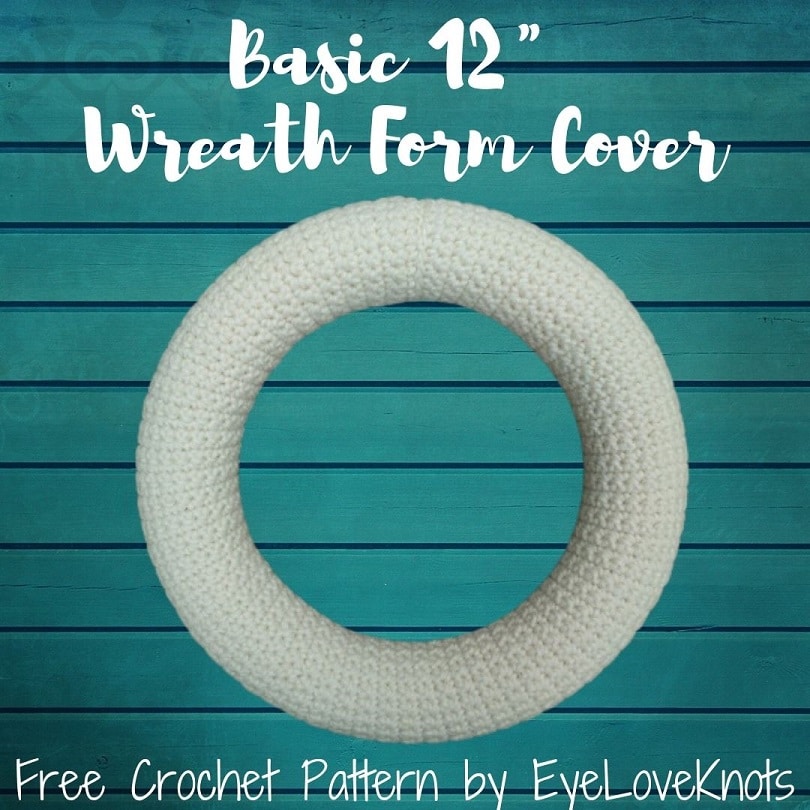
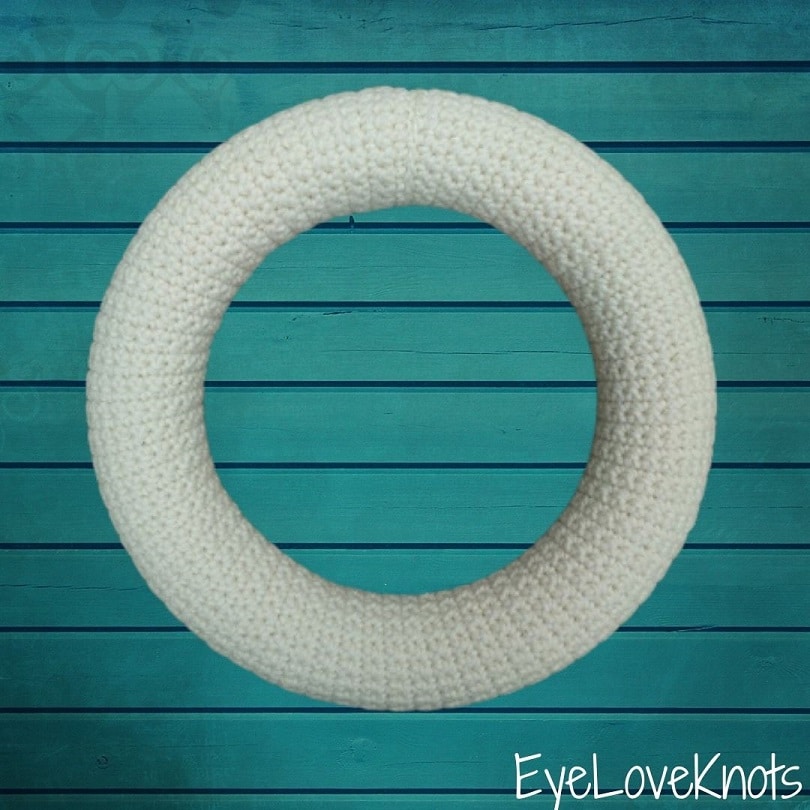
This is a free crochet pattern for how to crochet a Basic 12″ Wreath Form Cover that is beginner friendly, and so easy to customize!
Find the free crochet pattern instructions below, or purchase a printer-friendly, ad-free PDF on Ravelry by clicking here.
My mom goes to a friend’s house for Halloween every year, and each year, I make her a different home decor piece to take over as a gift. This year, she asked for a Halloween themed wreath, but because it was on Halloween, we went with a Fall Wreath instead. Here is the base so you can make your own wreath for whichever holiday or season.
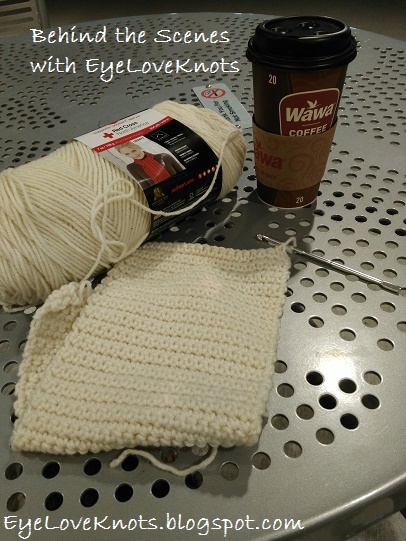
Behind the Scenes… Working away at one of my offices – my local Wawa. Hehe. In case you were wondering what the background is in the photos below.
AD-FREE, PRINTER FRIENDLY PDF:
If you would like a PDF version of this post, you may get one through either my EyeLoveKnots Etsy, LoveCrafts or Ravelry Shops for a small fee. This fee is to compensate for the views lost when you no longer need to return to the blog to for the information, as you will have your own copy. Plus! It helps fund supplies for new projects to share with you!
Shop EyeLoveKnots Etsy: Basic 12″ Wreath Form Cover.
Shop EyeLoveKnots LoveCrochet: Basic 12″ Wreath Form Cover.
Share your version of this project on Ravelry – Basic 12″ Wreath Form Cover.
Save this to Your Favorites on AllFreeCrochet – submitted 03.26.20
See How to Make This Cover on YouTube!
Materials:
- 185 yards + Small Amount for Hanger of Worsted Weight Yarn – I used about half a skein of Red Heart’s Super Saver in Aran
- H8/5mm Crochet Hook
- #18 Tapestry Needle for Sewing and Weaving
- 12″ Styrofoam Form Wreath Form – I used a white Floracraft brand found at my local JoAnn’s
Material Notes:
Yarn Alternatives: Bernat’s Super Value Yarn, Caron’s One Pound.
Time Spent:
I had my form cover ready in just over two hours.
Measurements:
This cover will fit a 12″ foam wreath form.
Gauge:
20 SC by 14 Rows = 6 1/8″ wide by 3 7/8″ tall
Abbreviations (US Term):
- SC – Single Crochet (Photo Tutorial)
Pattern:
Chain 21. SC into the 2nd chain from the hook. (20 SC)
R2 – 130: Chain 1, turn. SC into the 1st SC, and each SC across. (20 SC)
Finishing: Cut a long tail (I cut 60″ worth) for sewing.
Weave in beginning tail, then re-thread needle with ending tail.
Optional Wreath Hanger:
Chain 43. SC into the 2nd chain, and each chain across. (42 SC)
R2: Chain 1, turn. SC into the 1st 4 SCs, chain 4, skip the next 4 SC, SC into the next 26 SC, chain 4, skip the next 4 SC, SC into the last 4 SC. (34 SC)
R3: Chain 1, turn. SC into the 1st 4 SCs, work 4 SC into the chain space, SC into the next 26 SC, work 4 SC into the next chain space, SC into the last 4 SC. (42 SC)
R4: Chain 1, turn. SC into the 1st SC, and each across. (42 SC)
Border: Chain 1, but don’t turn. SC into the side of Row 3 (this is the same stitch as the last), and into the side of Row 2, and then Row 1, work 3 SC into the next stitch – corner, working into the opposite side of the foundation chain, SC into the next 40 stitches, work 3 SC into the next stitch – corner, SC 3 into the next side, work 3 SC into the next stitch – corner, SC across into the next 40 stitches, work 3 SC into the next stitch – corner. Join to the first SC. (92 SC)
Assembly:
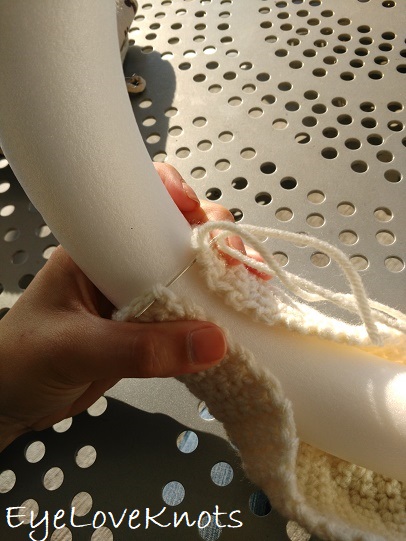
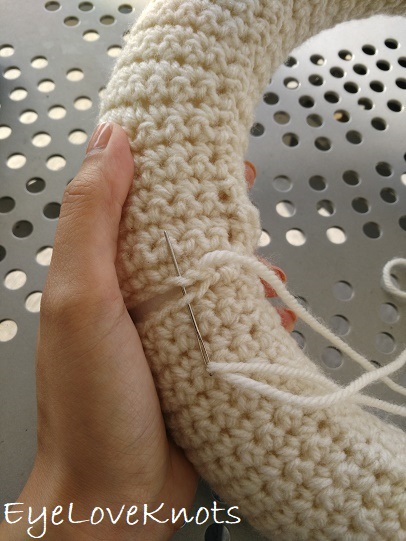
Wrap the piece around the form…

…line up the stitches, and sew the two layers together.
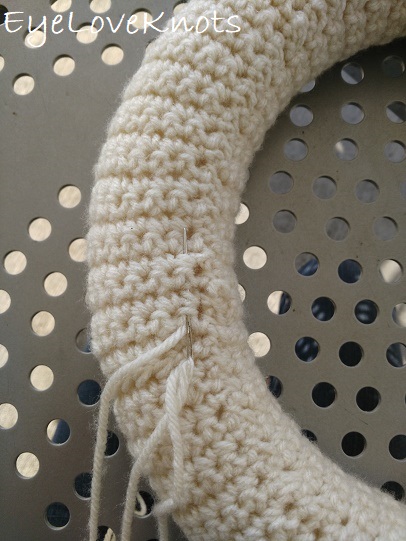
Once towards the end, it will look like it isn’t long enough to connect, but it will with a little stretching.
Finish sewing the sides together, then sew the beginning foundation chain stitches to the stitches from the final row.
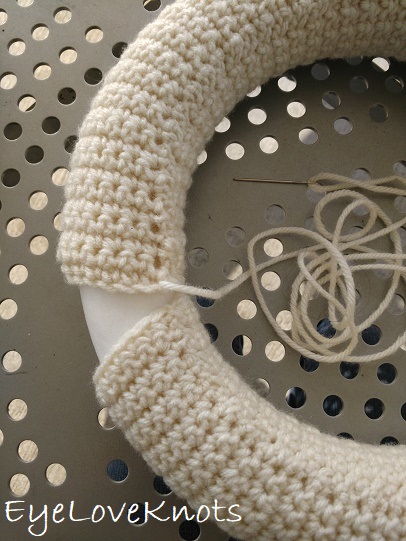
Weave in your tail, and your wreath form cover is complete!
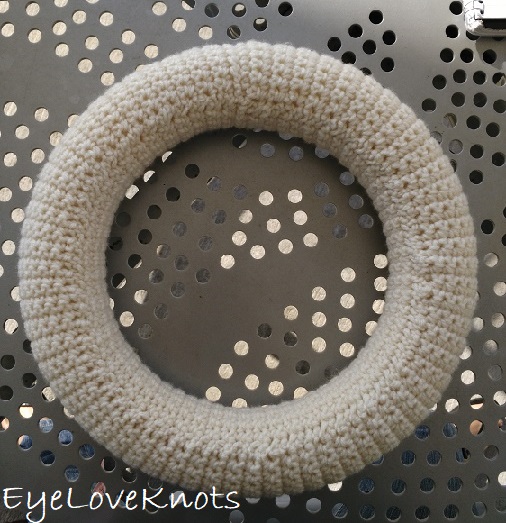
This is what the back of it looks like. You will see that the seam falls to the back. If it doesn’t, just twist your piece a little to make it so.
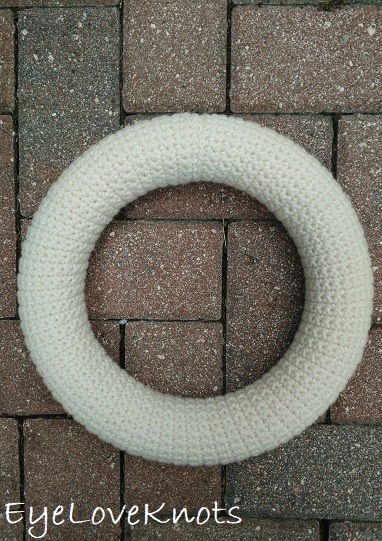
What kind of wreath will you make with yours?
Please feel free to make and sell your own Wreaths made using this Basic 12″ Wreath Form Cover, but please DO NOT claim this pattern as your own nor should you sell my pattern, and DO NOT re-publish my photos as your own. DO NOT copy and paste my pattern anywhere, link to it instead.
Join one of our awesome Facebook groups to share your creations, and see what others are up to!
– EyeLoveKnots Crochet & DIY Community
– DIY Home On Rockwood Lane
– Alexandra Lane Lifestyle
Ooh, that's pretty. I can't wait to see what you did for the fall wreath. This base wreath is really nice though. I can see all kinds of possibilities for it! Thanks for sharing 🙂
That is really great! I would never have thought of doing a wreath. thank you for the pattern!
Thanks! Enjoy 🙂
Ciao la ghirlanda è bellissima ma non so come mai mi sono rimaste 2/3 pieghe…potresti dirmi com’è possibile?grazie
Hi Lory, my translator did not work very well so I don’t fully understand the question, I apologize! It is translating “2/3 folds” and I’m not sure what that means.
How long in inches is the completed piece before it is stitched onto the wreath? I’m worried I’ll lose count of the rows so then I could just measure the length at the end.
I don’t have the measurements written down, but you could use the gauge as a guide. I might also suggest some stitch markers.
Thanks for the reply! I figured it out to be approx 37″, just in case anyone else has the same question.
Hi. I love this wreath. I made the optional wreath hanger. Once I loop it around the wreath does it only get sewn together at the ends, or along the sides as well? Thank you.
So glad you like it! I don’t seam the hanger. I just loop it around and pop it right onto my door hanger. I re-use the same color crocheted hangers for a few of my wreaths so I just change the wreath out.
I cannot find a 12″ wreath form. I can only find slightly larger or smaller. I assume I could still use the pattern but make less rows?
Yes, absolutely! The yarn has some stretch to it so I’d recommend making it around 1.5″ shorter than needed, and as you sew it closed over the wreath form, you will be able to stretch it to close up the tube.
Very easy directions. Thank you.
So happy to hear that! Very welcome 🙂
Thank you so much for the pattern, Alexandra. Seasons Greetings to you and yours from me and mine. See you sometime in 2023……xx
And to you! So glad you like this pattern ☺️