How to Single Crochet (US term) with Photo Tutorial – a very easy, beginner crochet tutorial for a versatile stitch pattern that can be used for many projects!
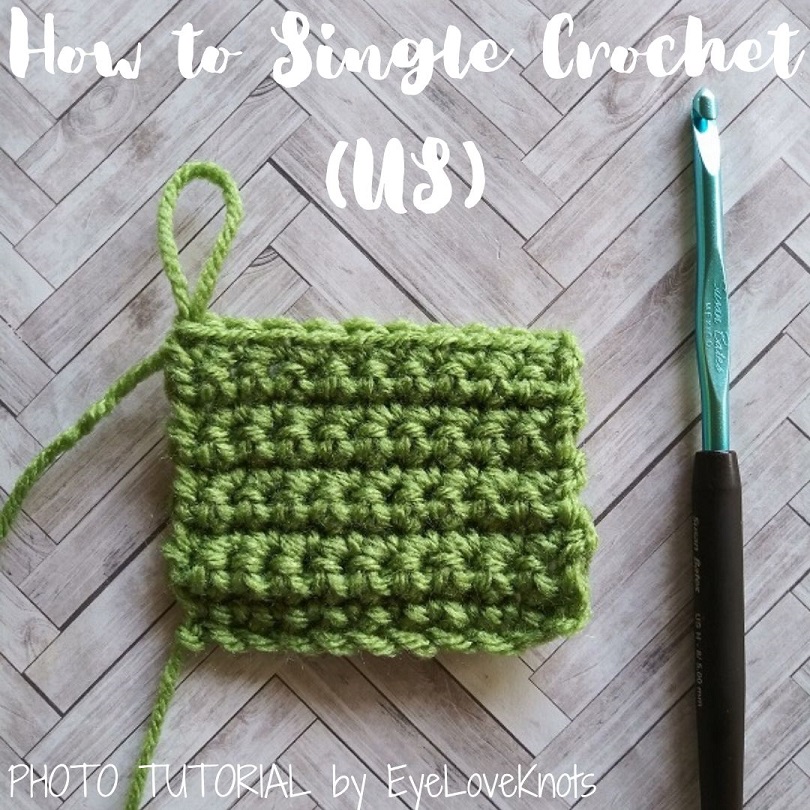
I remember learning to crochet. The first stitch pattern I learned was how to single crochet. I think it’s pretty standard for crochet books to teach this as the first crochet stitch, though I think double crochet is a much better stitch pattern for beginners (How to Double Crochet, Photo Tutorial).
My first project was a beanie that I worked in Red Heart Super Saver in Black (not recommended for beginners because it’s hard to see the stitches), and my stitches were so tight, but I wore that beanie around with pride.
My advice when learning and working with the single crochet is to be patient, and cautious not to pull your stitches because by nature, the stitch pattern is more stiff, and you do not want to add to that as it can restrict the fabric from stretching properly. Just go slow, and work on a nice, even tension.
For this tutorial, I am using Red Heart Super Saver in Tea Leaf [Green], and an H8/5mm hook.
My nails are Color Street in Mermaid Brigade., and Holy Teal-edo.
I am not creating anything new here, but I did take the time to take the photos, edit them, and put this tutorial together, so please respect my work. Do not pin or share any of the tutorial images – just the main photo. Provide the link for others to find my page (help out me and my blog with the traffic). Do not copy and paste my work anywhere. Thank you!
What is a Single Crochet?
A single crochet (abbreviated as SC) is a simple crochet stitch that involves only a two step process of “pulling through”. It’s the simplest of all stitches (I suppose second to a slip stitch), and is equal in height to one double crochet. Being that this stitch is short, it can make projects take longer, and produce a fabric that is more stiff, but in some cases, this is exactly what is needed. I should also caution that working this stitch too tight can limit the stretch of a project.
This stitch is especially great for use in amigurumi, as you want the stitches tight and close together, and also as a base for cross stitching on crocheted fabric. It’s also one of my go-to’s for a simple border around a finished project.
I also want to add that this single crochet tutorial is in US terms. What does that mean? There is also a single crochet in UK terms, which is a different stitch! Usually, the patterns specify which one it is – my blog is in all US terms.
What is the Right Side and Wrong Side?
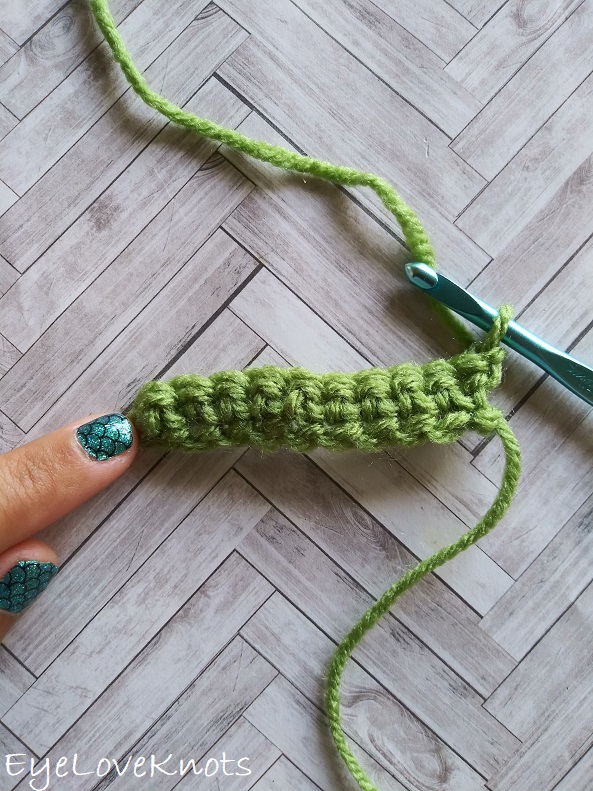
The right side is the front side of the fabric, which may look prettier than the wrong side, and the wrong side is the back of the fabric. I think they’re both pretty, but after you turn your work to begin on Row 3, you will see the difference in appearance from Row 1 and Row 2. Row 1 is considered the right side, and Row 2 is considered the wrong side. In the photo above, we are just about to begin Row 2, and this is showing the wrong side of Row 1.
What Can I Make with a Single Crochet?
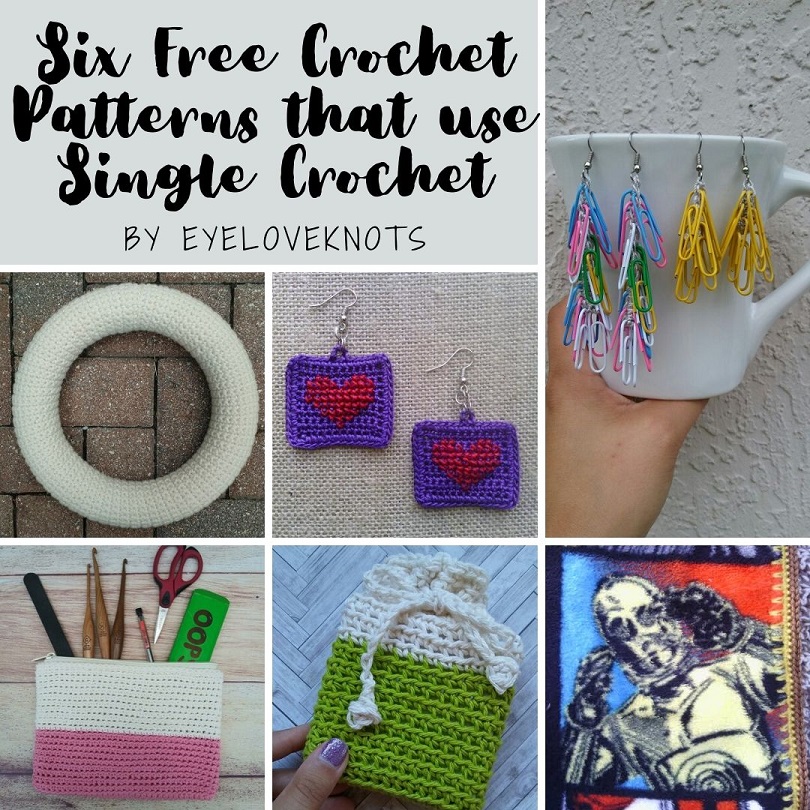
These are all free EyeLoveKnots crochet patterns that use single crochet suitable for a confident beginner:
- Top Left: Basic 12″ Wreath Form Cover
- Next: Cross Stitch Heart Earrings
- Top Right: Thread & Paper Clip Earrings
- Bottom Left: Dip-Dyed Cosmetic Bag
- Next: Dip-Dyed Soap Cozy or Small Gift Bag
- Bottom Right: Crochet Edging for Fleece
How To Single Crochet Row 1
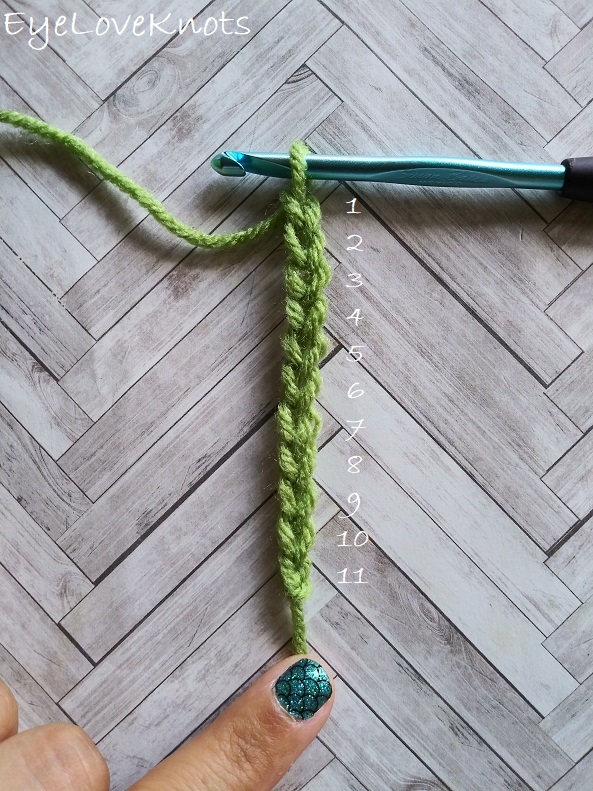
If you’ve haven’t yet, make a slip knot (photo tutorial), then work a foundation chain (photo tutorial) of 11.
If this was an actual pattern, you would see it written like this: “Chain 11” OR “Ch 11”
It most likely will not tell you to make the slip knot, but you always start with one.
Next, we will single crochet across the chain. Together, this will read in one of these ways:
- Chain 11, SC into the 2nd chain from the hook, and each chain across.
- Ch 11, SC into the 2nd ch from the hk, and ea ch across.
- Ch 11, SC into the 2nd ch, and across.
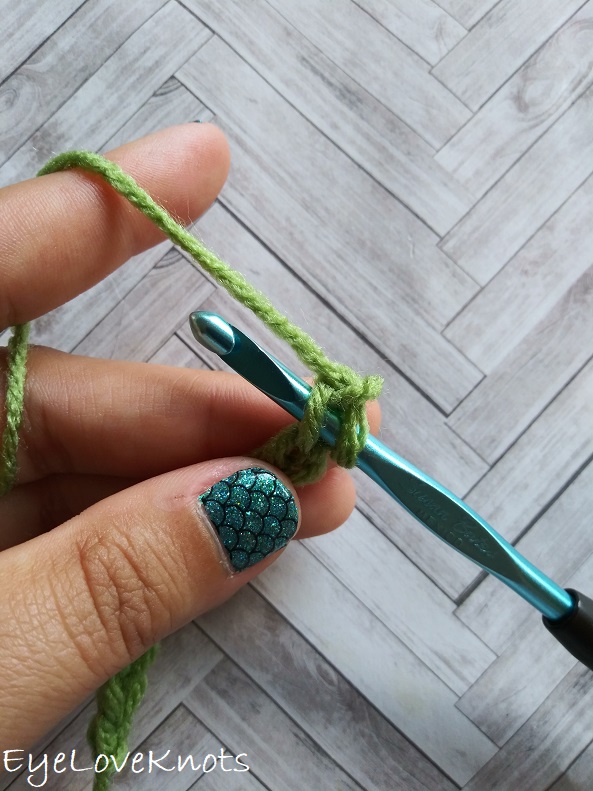
Skip the first chain on your hook, and insert hook into the 2nd chain.
This is standard. Any time you are working in single crochet across a chain, you will always skip the first chain, and work into the second. The skipped chain counts as a turning chain, and does not count as a stitch in your final stitch count.
*In case you needed a refresher on How to Work into the Foundation Chain (Photo Tutorial).
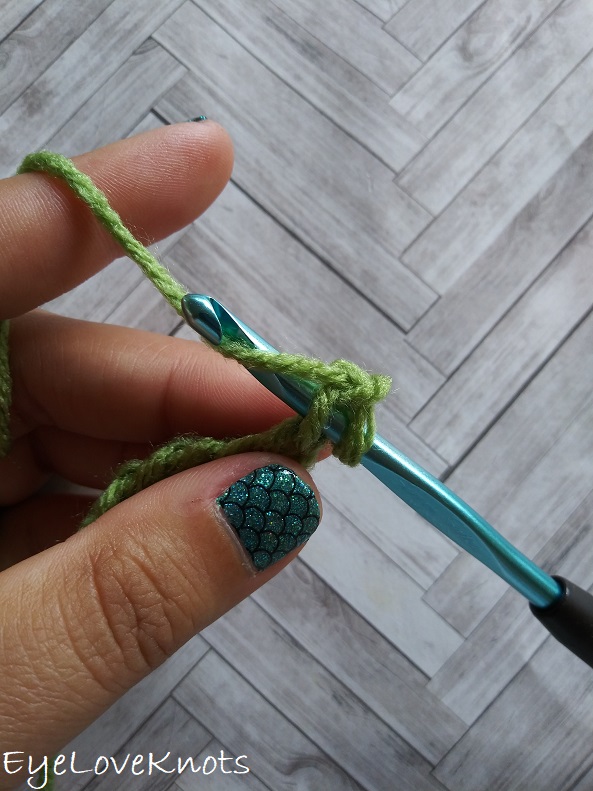
… yarn over…
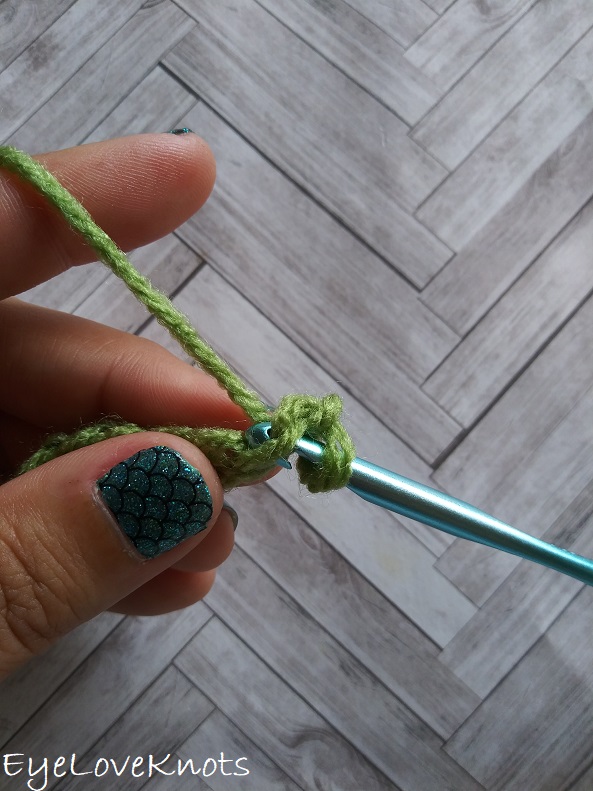
… and pull your hook towards you through the foundation chain.
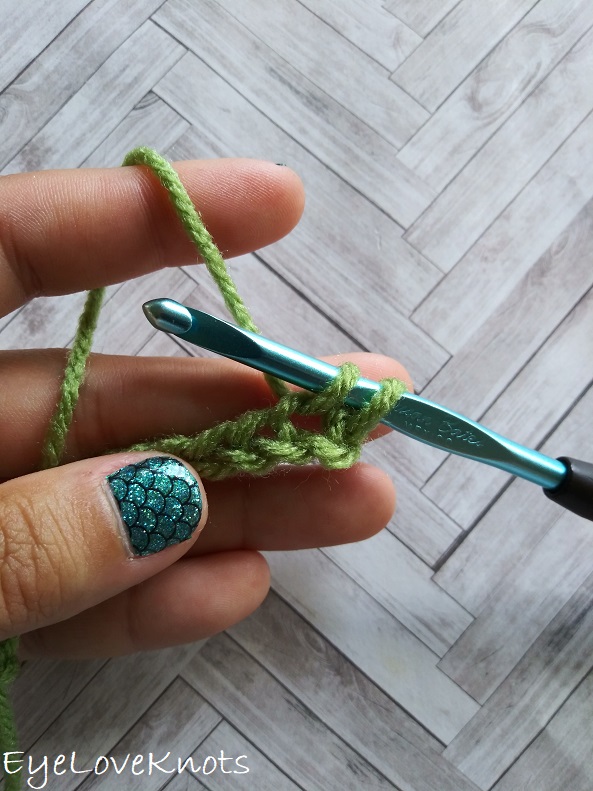
You now have two loops on your hook.
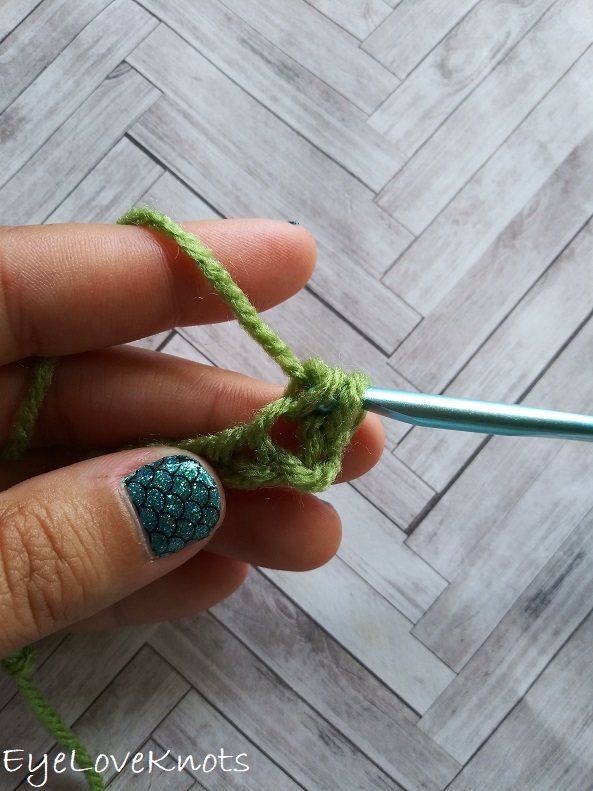
Yarn over, and pull through both loops on your hook.
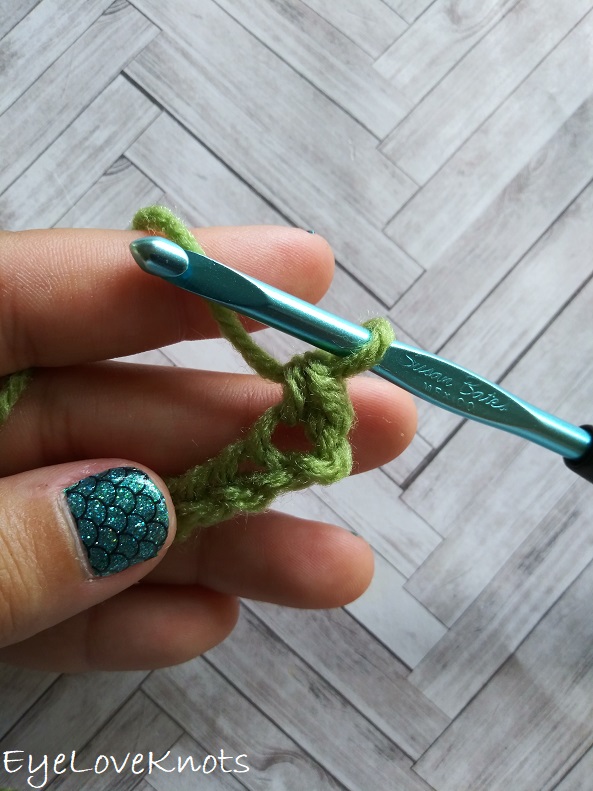
You have completed one single crochet!
For the next stitch, insert hook into the next chain, yarn over and pull through (2 loops on hook), yarn over and pull through both loops.
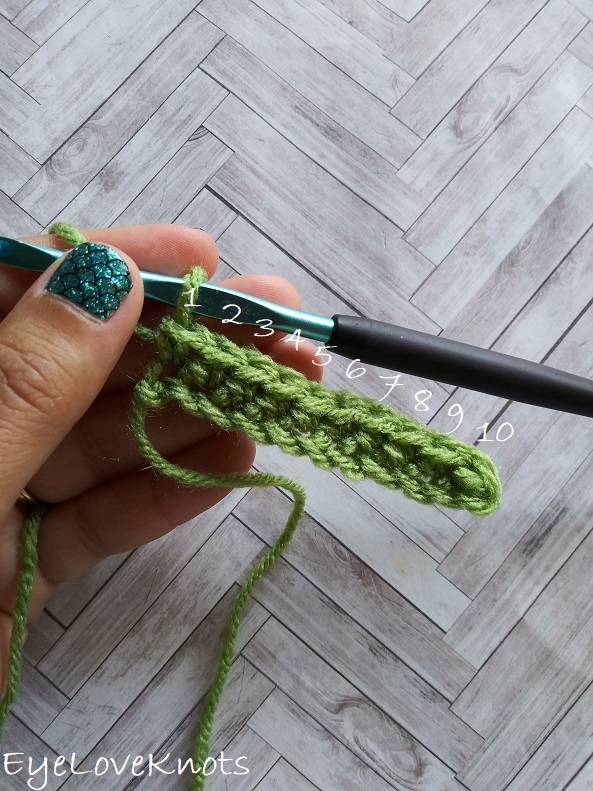
Continue working in this manner all the way to the end, and it will look like this. In total, we have 10 single crochets.
When you work in single crochet across, you will always have one less stitch than chains from your initial foundation chain. We started with 11 chains, and we now have 10 single crochets.
How to Single Crochet Row 2 & Remaining Rows
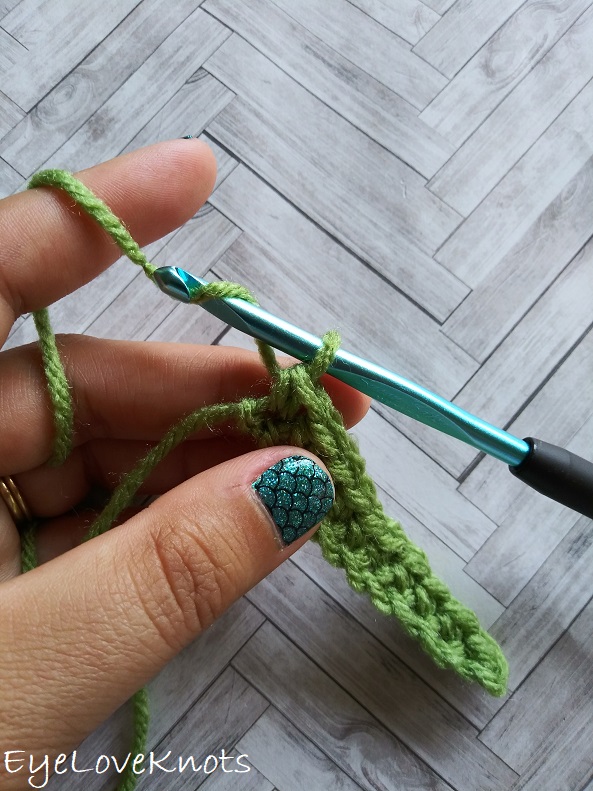
To begin each new row of single crochet, we will begin with a chain 1 – this is called a turning chain. The turning chain gives us the slack we need to work in the other direction, and does not count as a stitch.
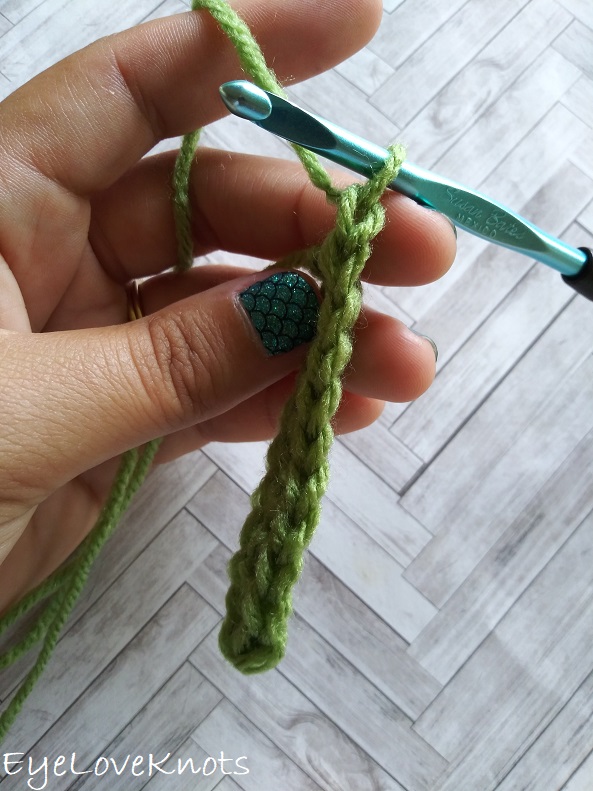
After the chain 1, begin turning the work towards you…

…And completely around so it’s mirrored.
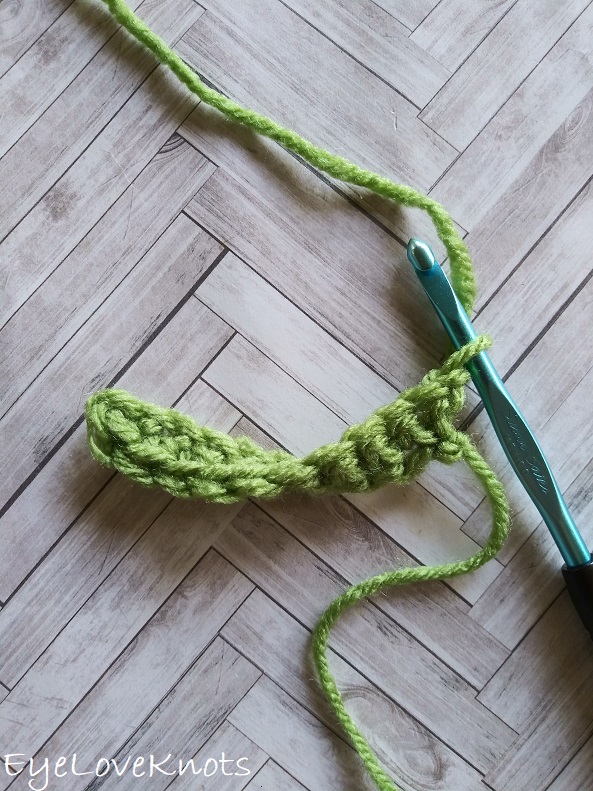
If your piece is curling, it’s okay! By nature of this stitch pattern, your work may curl. It will correct itself when you work more rows.
So for rows 2 and above, it’s written as one of these (all mean the same):
- Chain 1, turn. SC into the 1st stitch, and each stitch across.
- Ch 1, turn. SC in 1st st, and ea st across.
- Ch 1, turn. SC across.
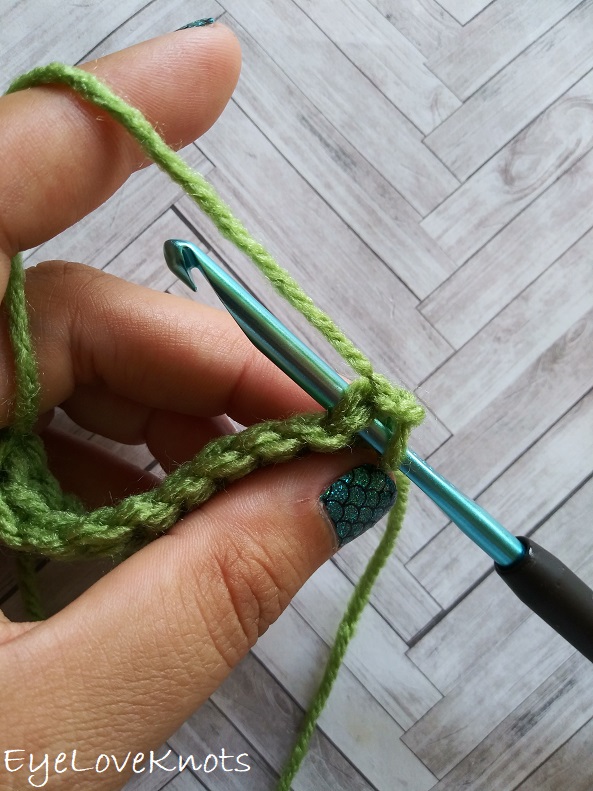
Insert your hook into the first stitch (underneath both loops of the “V” you see)…
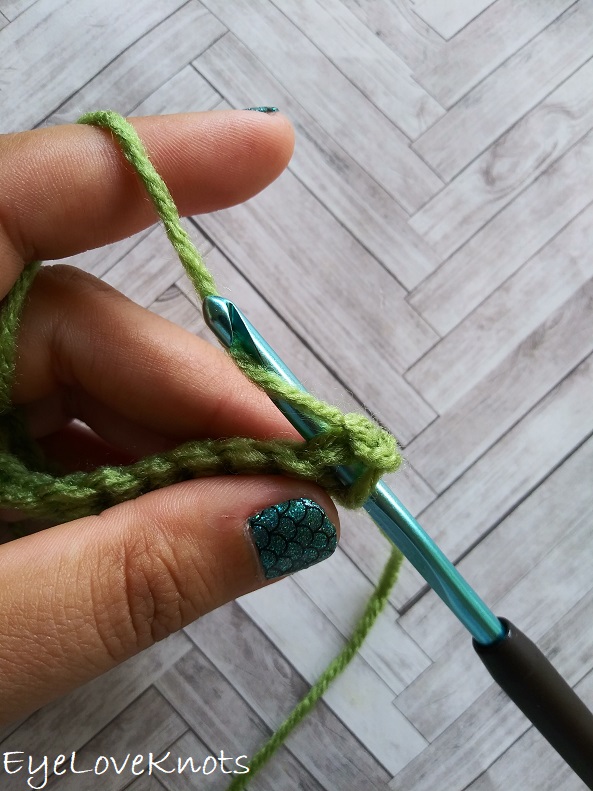
… Yarn over…
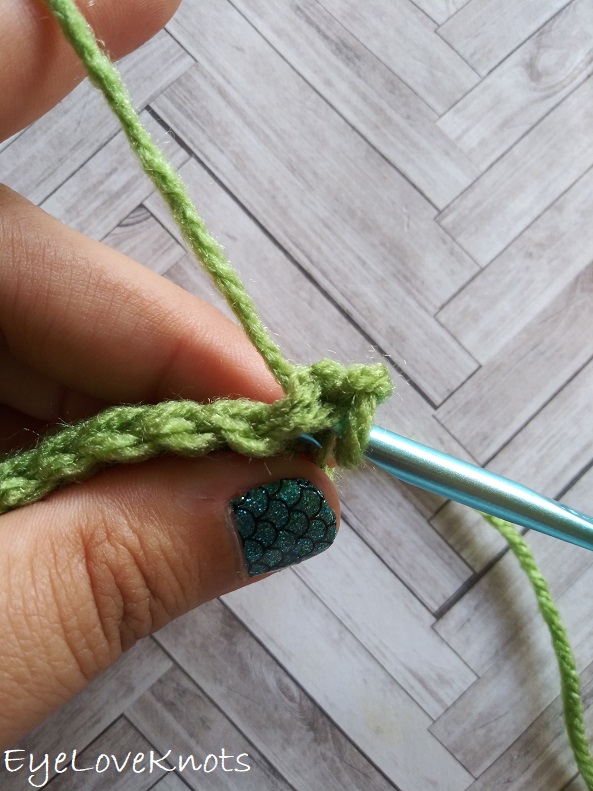
… pull through.
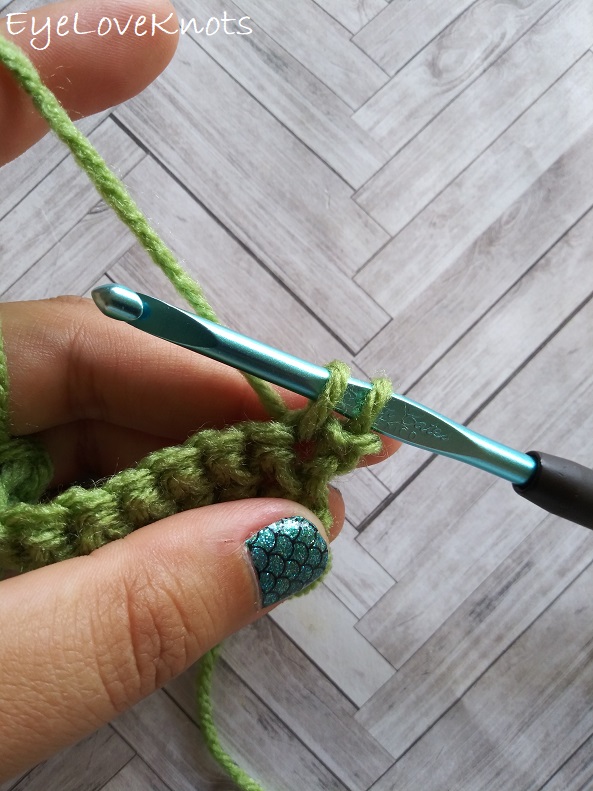
You have two loops on your hook.
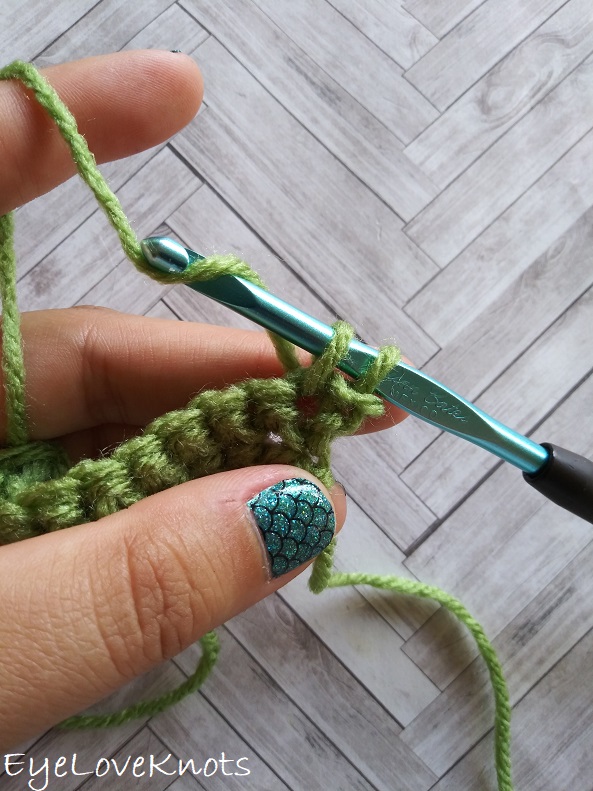
Yarn over, and pull through both loops. Continue across.
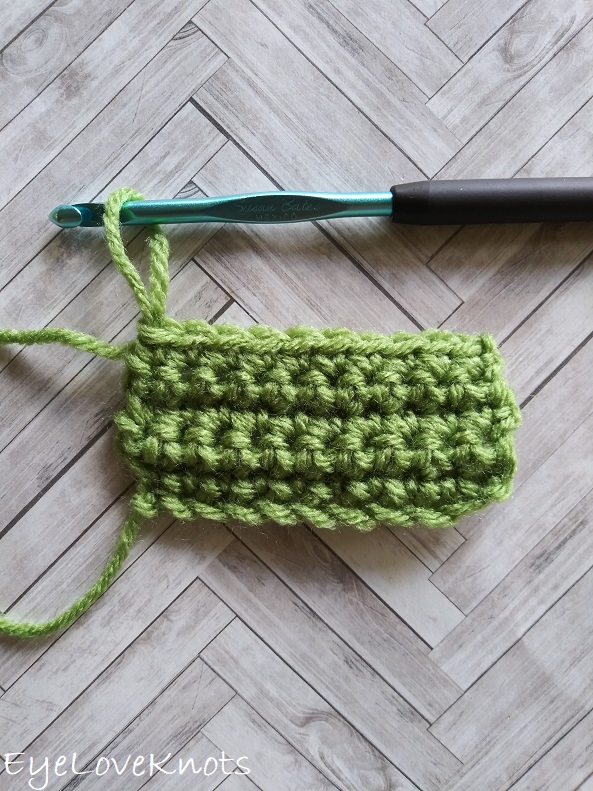
After 5 rows…
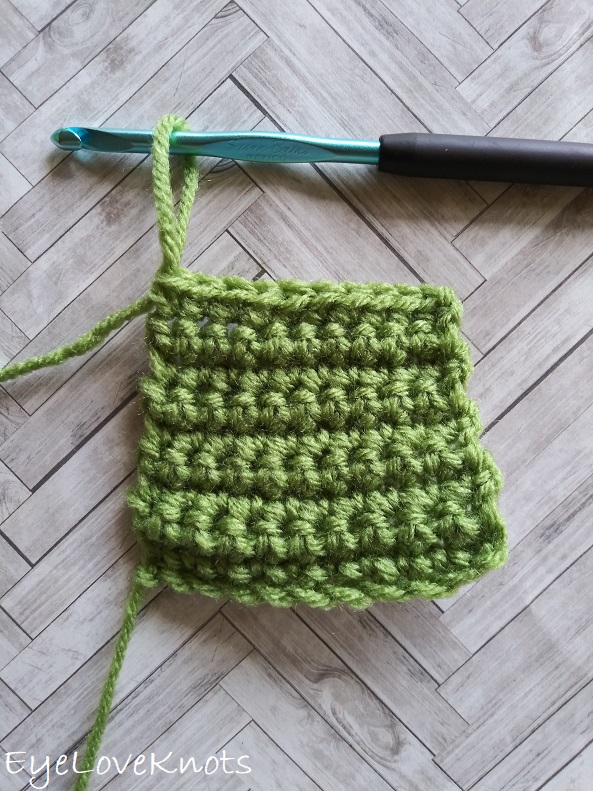
If at any point, your fabric begins to looks like this, don’t panic! Count your stitches, and if you still have the same number of stitches (in this case, 10), gently pull horizontally and it will take the proper shape.
If you have less stitches, you will need to pull out the stitches (also called frogging) for this row, and count the stitches for the previous row. Continue frogging until you have reached a point where the stitches are equal again.
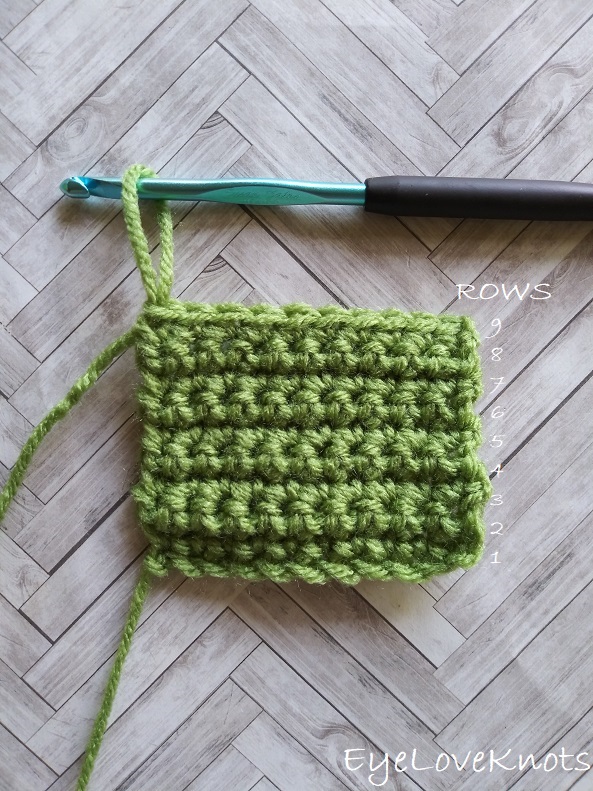
Here we have nine rows completed.
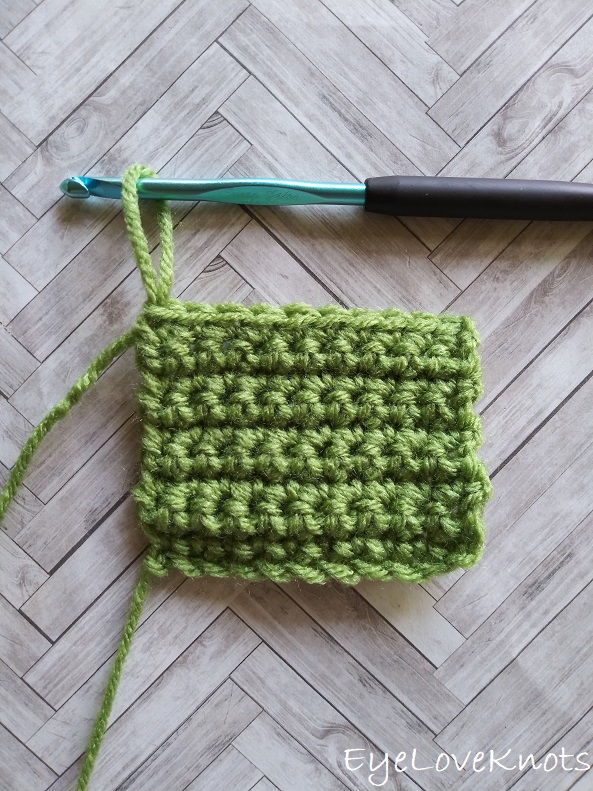
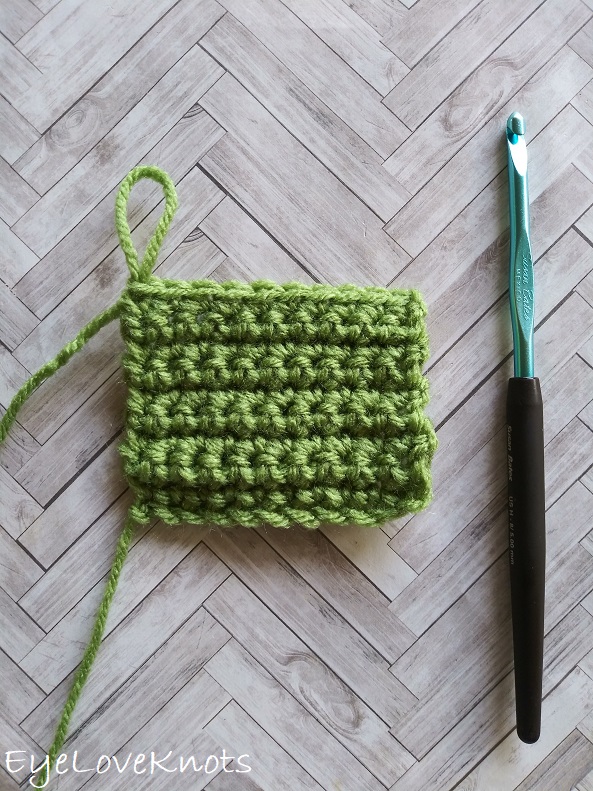
I find it easiest to count single crochet rows by twos. You can kind of see above that there are four blocks above the foundation row – there are two rows here, one worked from the right side, and one from the wrong side. I like to use these “blocks” to count my rows.
Join the EyeLoveKnots Crafting Community on Facebook to share your creations, and see what others are up to!
Linked Up To…
Craft Schooling Sunday – Creative Jewish Mom
Happiness is Homemade Link Party #330 – Create with Cynthia
Unlimited Monthly Link Party 14 – Grammy’s Grid
Ginx Woolly Linx Party July – Ginx Craft
Scrapality Saturdays Party 295 – Scrapality
Friday Favorites – Busy Being Jennifer
The Hearth and Soul Link Party – April, the 21st Century Housewife
Handmade Monday #183 – Sum of their Stories
The Really Crafty Link Party #225 – Keeping it Real
Craftastic Monday Link Party – Sew Can Do
Little Cottage Link Party #58 – Love my Little Cottage
554th Inspire Me Tuesday – A Stroll Thru Life
Fabulous Party #327 – Lou Lou Girls
Party in Your PJs #316 – The Apple Street Cottage
{Wow Me} Wednesday #462 – Ginger Snap Crafts
Hookin on Hump Day #218 – Moogly Blog
Your Whims Wednesday #467 – My Girlish Whims
The Wednesday Link Party 355 – The Stitchin’ Mommy
To Grandma’s House We Go Link Party 200 – Chas’ Crazy Creations
Waste Not Wednesday Link Party 213 – Pretty DIY Home
Creatively Crafty Link Party #231 – Life Beyond the Kitchen
Artsy-Fartsy Party #300 – Artsy Fartsy Mama
Pin Party #376 – The Pin Junkie
Creative Compulsions Linky Party #67 – My Bijou Life
Traffic Jam Weekend Linky Party #241 – My Bijou Life
Friday Favorites – Busy Being Jennifer
Home Matters Linky Party #290 – Modern on Monticello
Create, Bake, Grow & Gather Party #427 – Shabby Art Boutique
Encouraging Hearts & Home Blog Hop – Apron Strings and Other Things
Thursday Favorite Things #447 – An Artful Mom
Link Your Stuff – Annemarie’s Haakblog
A Morning Cup of Joe Linky Party – The Cottage Market
Snickerdoodle Create Bake Make Link Party 343 – EyeLoveKnots
I’ve mastered single, half double, and double, yay me! Now to learn how to read patterns. Thanks so much for linking up with me at my #UnlimitedMonthlyLinkParty 14, open until July 26. All party entries shared if social media buttons installed.
Reading patterns can be tough. I couldn’t figure it out for a while, and then I bought a kid’s crochet kit, and it wrote out the instructions in sentences, and then everything clicked. I try my best to write my patterns like this because it just makes it so easy to follow.
Cool tutorial, Alexandra!
Thank you for sharing with Creative Compulsions!
Michelle
https://mybijoulifeonline.com
Thank YOU, Michelle!
Hello, this is one of my favorites from Encouraging Hearts and Home, this week! Stop by and say hello, pinned!
The party is new to me, but I love the time I get to spend going around, and visiting. Thanks, Melynda!
This is exactly the kind of tutorial I need for beginners. I am going to come back and visit it again. Thanks so much for sharing. #HomeMattersParty
Glad I could help 🙂
Thanks for your tutorial. So useful for someone like me who struggles with crochet.
I appreciate that! I try my best to make it easy for everyone who wants to crochet.