How to crochet an easy, simple and beginner friendly lacy women’s top perfect for Summer!
This post contains affiliate links for Lion Brand Yarns and LoveCrafts. If you make a purchase by clicking on them, I make a small commission at no extra cost to you. Thanks for your support!
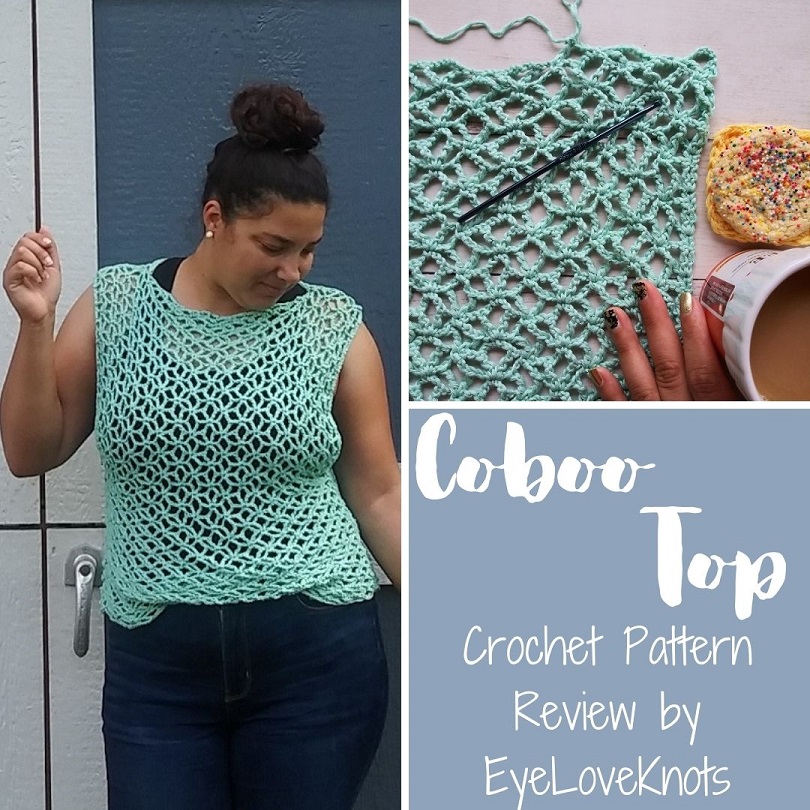
Today is Day 3! I will be sharing a crochet pattern review each day through Friday of my favorite made for me garments from Salena Baca’s new crochet book, Build Your Skills Crochet Tops: 26 Simple Patterns for First-Time Sweaters, Shrugs, Ponchos & More. On Saturday, I’ll review the whole book, and we’ll do a giveaway!
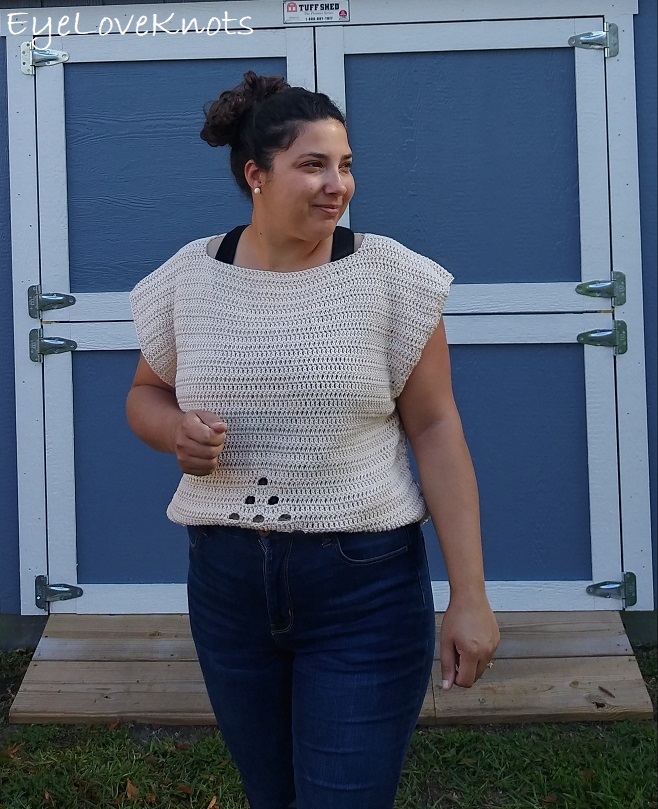
First up was the Vanessa Tee, shown above. Check out my crochet pattern review for the Vanessa Tee.

Second was the Woodbury Poncho. Check out my crochet pattern review for the Woodbury Poncho.
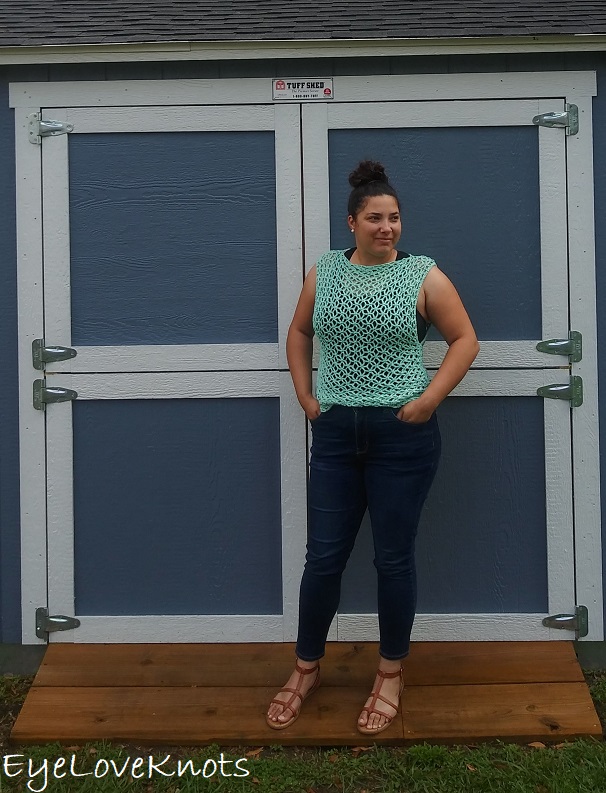
Next up, the Coboo Top! What first caught my attention was the gorgeous lacy stitch pattern, but I also really liked that it is a top that is made in two pieces and sewn together, which makes for a very easy piece.
This top was designed in Lion Brand Coboo Yarn, a yarn I’m familiar with and have enjoyed working with for a few Summer tops – I just haven’t worn them out so I am not sure how they wear or wash, but I’m really looking forward to testing them out. This top will be a great versatile Summer top that can be dressed up or dressed down. With highs here in Florida in the 70s, I got to wear this beauty out a few days ago while running errands.
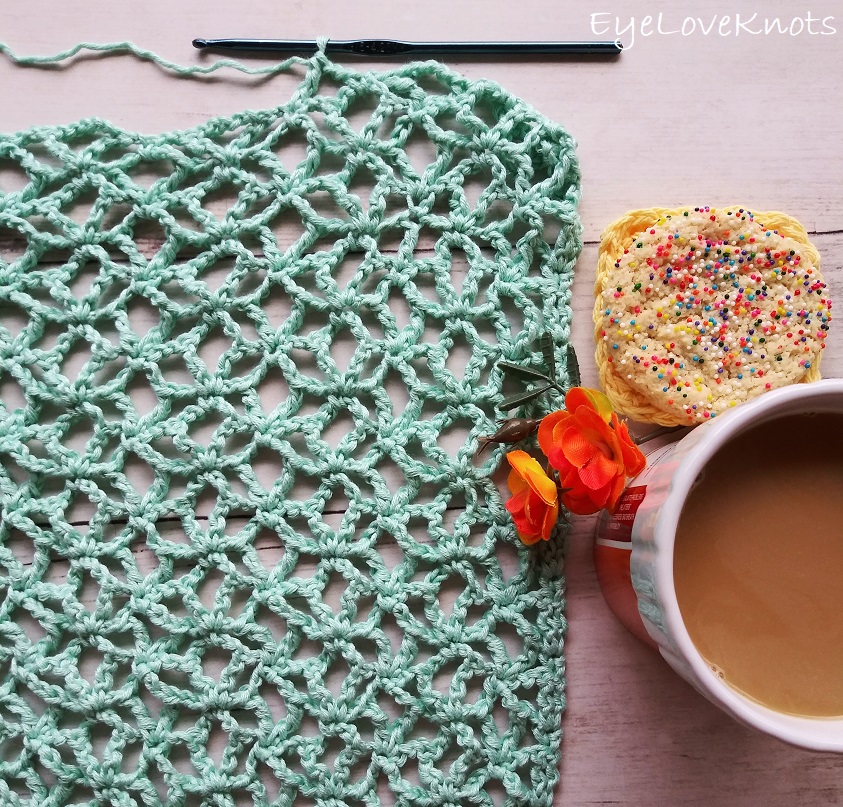
This pattern was very easy to follow. Don’t let the pattern scare you at all because it’s worked in just simple chains, single crochets and treble crochets. If you can work a double crochet, a treble crochet is just one extra yarn over in the beginning, and one extra yarn over and pull through in the end. It also mentions blocking, but it’s not necessary. I did not block my top, and the fit and stitch pattern is still great. All these things make this a great project for a confident beginner.
Materials I Used:
- 474 Yards of Lion Brand’s Coboo Yarn in Lichen
- G6/4.25mm Crochet Hook
- Tapestry Needle
- Coboo Top, Paid Crochet Pattern in Build Your Skills Crochet Tops: 26 Simple Patterns for First-Time Sweaters, Shrugs, Ponchos & More
Material Notes:
Original pattern uses Lion Brand’s Coboo Yarn, and I can happily recommend it! It’s soft, lightweight and has great drape. As an alternative, I recommend Berroco’s Modern Cotton DK.
Time Spent:
The Small size took me just over 9 hours to complete.
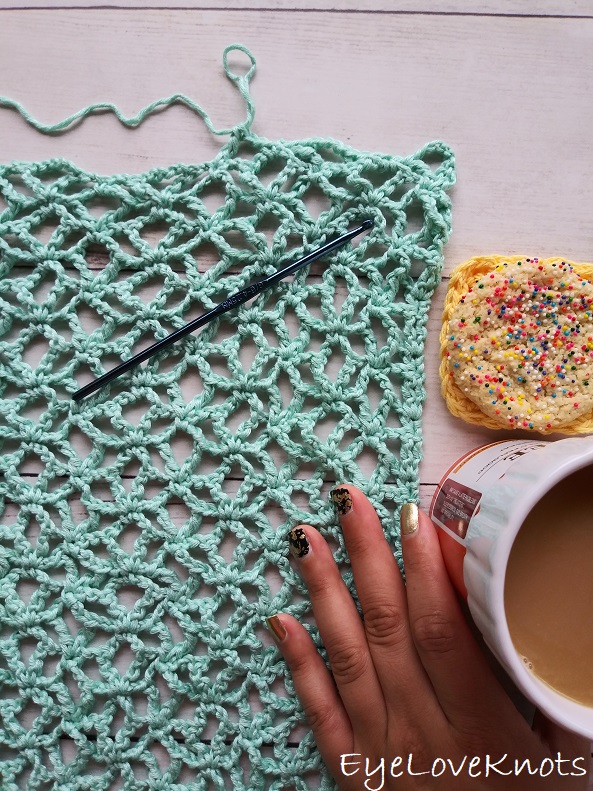
Measurements:
When deciding the size I wanted to work up, I took three things into consideration: my gauge, the amount of stretch in my yarn and my desired fit.
I like fitted tops. I know that this yarn will stretch 6+ inches. My bust size is 42″ so I want panels that are roughly 18″ wide (that’s 42″ circumference minus 6″ divided by 2). Knowing my bust is 42″, I picked the closest size listed on the pattern, which was the Small size, and I decided on 24″ long as I am comfortable with that length. I skipped gauging (which I’ve talk about below), but I did measure my panel after a few rows, and it came to be 17.75″ wide, which is right where I wanted it to be, so I continued.
Before sewing my fabric measured 17.75″ wide by 24″ long.
Gauge:
The gauge on the pattern is taken after blocking, so to check your gauge, you would need to work up a swatch that is at least 30 stitches wide by 8 rows tall, block it, and take gauge. Personally, I knew I had no intentions of blocking my finished garment, so I did not gauge swatch. Instead, I worked up several rows of the Small size using my Coboo Yarn and G6/4.25mm hook, and measured the width. It was 17.75″, which was exactly where I wanted it to be, so I went ahead and continued with the pattern.
You can check how it will fit at any time by holding it up to your bust stretching in position thinking “half” as it’s only one panel.
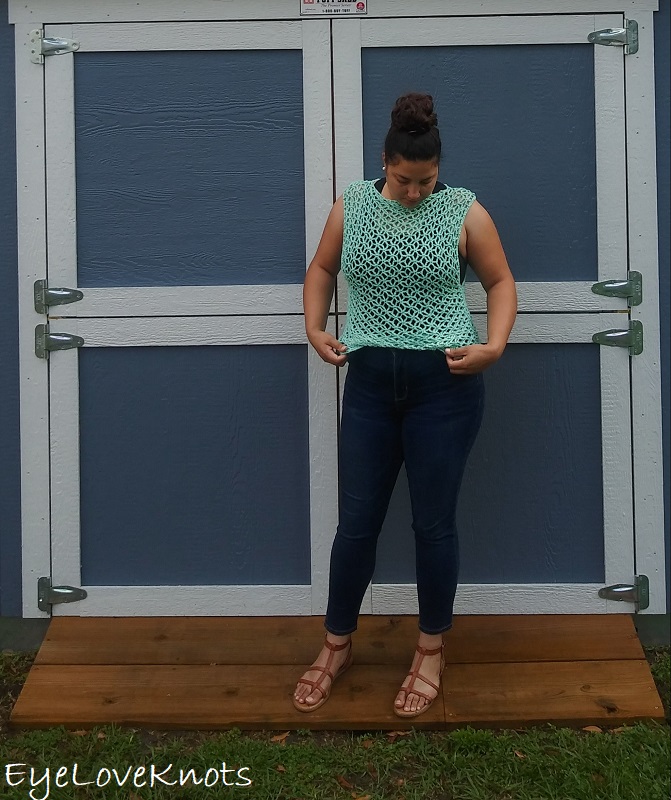
Overall Thoughts:
This pattern was very easy to follow, and I really like the open lace pattern – it was so easy to work up too! It is a two row repeat, so this pattern is perfect for a road trip, or mindlessly crocheting in front of the TV. The construction is super simple. It’s made from two identical panels, and sewn at the shoulders and sides so nothing too fancy, but it looks fancy.
This top is worked in simple chains, single crochets and treble crochets. Don’t let the idea of a treble crochet scare you. If you can work a double crochet, a treble crochet is just one extra yarn over in the beginning, and one extra yarn over and pull through in the end making this a great project for a confident beginner.
My recommendation is going to be to “try it on” before you get too far into it to make sure it is going to fit the way you like. You can check how it will fit at any time by holding it up to your bust stretching in position thinking “half” as it’s only one panel, or you can work a little of one panel and a little of the second panel and slip stitch join at the sides making a tube top, and trying that on. If you think it’s too big, remove chains from the foundation in multiples of 11. If you think it’s too small, add chains to the foundation in multiples of 11.
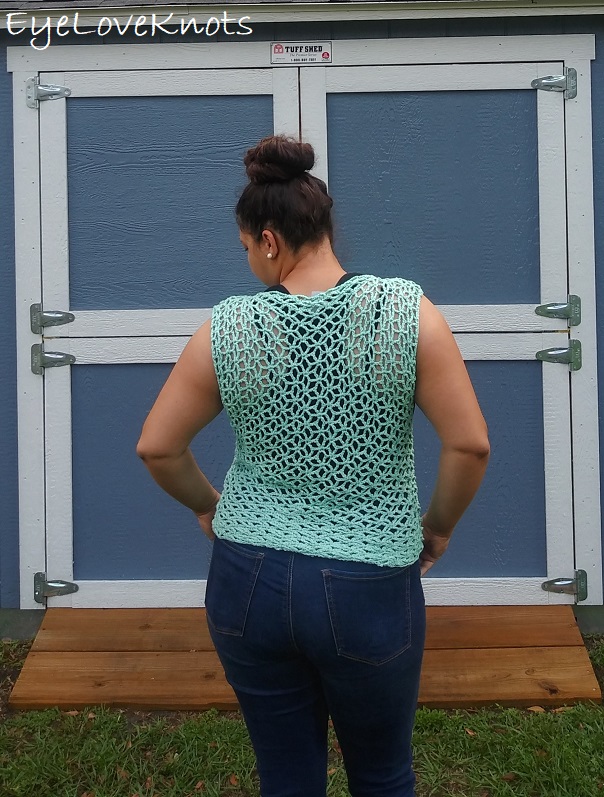
Pattern Notes:
The written pattern was excellent, and I didn’t make any changes to the stitch pattern, but I did work my panels just a little longer so it was 24″ in length, which is what I decided I wanted my top to be.
After I finished my two panels, I began seaming the shoulders.
Tip! Stitch markers are great for matching up the rows when you are seaming. I hate when I get to the end point, and my fabric isn’t matched up, so I just use my stitch markers to take the guess work out. ALSO! I like to slip stitch my seams closed first so I can try it on to see if I am completely happy with the fit before sewing closed with a needle. Slip stitching seams can make the fabric pucker and prevent stretch which might make the top bunch up and not lay flat and that’s why sewing with a needle is better. For this particular top, I felt it was sufficient enough with the slip stitch seam and not compromised on fitting so I didn’t even take it out to sew closed with the needle.
The original pattern has a neck opening of 12″. I usually don’t like boatnecks but I knew with the open lace pattern that it wouldn’t fit tight like most garments, but drape better. I used my tape measure to measure from one bra strap to the other, and found it was 9″ so I used that figure instead, which left me with 4.25″ wide shoulder seams, but it actually ended up being 4″ when I mapped out the stitches (shoulder seam worked from end to the 1st treble crochet of the 3rd v-stitch).
UPDATE 03.10.21: After working the Sheryl Tee, I discovered that the 13″ and following measurements for the armhole is actually the circumference, rather than the length so you would be aiming for half of the measurement for the length to leave unworked when seaming – in my case, I followed the instructions for the Small size, but I definitely would have needed to leave armholes of at least 8″ because my measurements are actually that of a standard Extra Large.
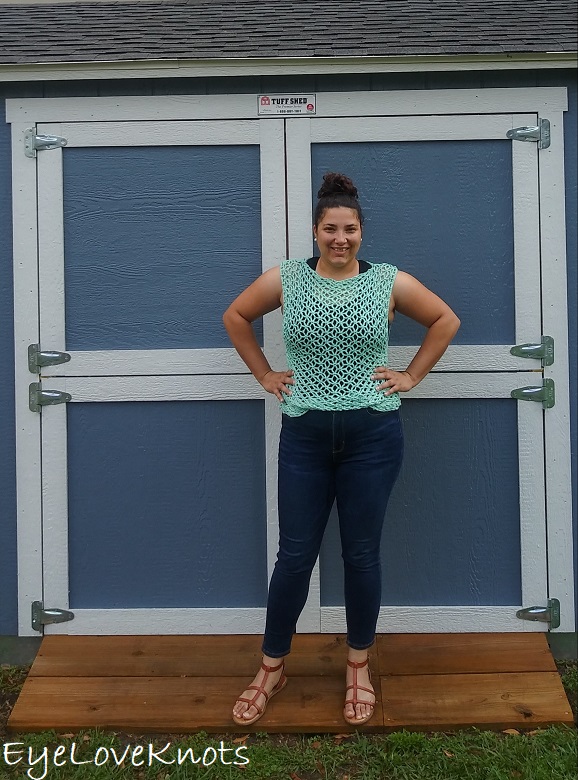
Next, I tried on the top, and checked to see where the side seams would go. The pattern calls for 13″ armholes. Looking at the image of the top being worn, the armholes look much more closed up than the 13″ noted, but I decided to give it shot, and since I would be wearing a tank top underneath it anyway, I was okay with it being open. After wearing the top around, I might go back and seam it up a little more leaving just a 10″ armhole opening only because the fabric shifts sometimes leaving the underarm flab more visible (hehe). Typically though, I would do an 8″ – 8.5″ opening only so it’s very flexible. You can seam up as much or as little at you’d like.
Join one of our awesome Facebook groups to share your creations, and see what others are up to!
– EyeLoveKnots Crochet & DIY Community
– DIY Home On Rockwood Lane
– Alexandra Lane Lifestyle
Linked Up To…
Craft Schooling Sunday – Creative Jewish Mom
Over the Moon 267 – Marilyn’s Treats
Weekly Link-Up #214 – Beauty by Miss L
Weekday Wear Link Up – Away from the Blue
Turning Heads Tuesday – Elegantly Dressed and Stylish
Confident Twosday Linkup – I do deClaire
Style with a Smile Link Up – Style Splash
Style Six Link Up – The Queen in Between
Style on the Daily Link Up – Straight A Style
Thursday Fashion Files Link Up – Curly Crafty Mom
Fancy Friday Linkup – Nancy’s Fashion Style
Style Link Up – Lizzie in Lace
Linky Ladies Party #206 – The Purple Poncho
The Loop Scoop #9 – Moogly
Create, Bake, Grow & Gather Party #461 – Shabby Art Boutique
A Morning Cup of Joe – The Cottage Market
You’re the Star Blog Hop – Decor Craft Design
Happiness is Homemade Link Party 365 – Decor Craft Design
Craftastic Monday Link Party – Sew Can Do
Ginx Woolly Linx Party March – Ginx Craft
The Really Crafty Link Party #257 – Keeping it Real
Handmade Monday #218 – Sum of their Stories
The Wednesday Link Party 389 – The Stitchin’ Mommy
Waste Not Wednesday 245 – Pretty DIY Home
Creative Crafts Linky Party #32 – Creatively Beth
Creatively Crafty Link Party #266 – Creatively Crafty
Link Your Stuff – Annemarie’s Haakblog
Unlimited Monthly Link Party 22 – Grammy’s Grid
The Hearth and Soul Link Party – April, the 21st Century Housewife
Fabulous Party #362 – Lou Lou Girls
Party in Your PJs #349 – The Apple Street Cottage
{Wow Me} Wednesday #495 – Ginger Snap Crafts
Your Whims Wednesday #501 – My Girlish Whims
Thursday Favorite Things #480 – An Artful Mom
Artsy-Fartsy Party #335 – Artsy-Fartsy Mama
Encouraging Hearts and Home Blog Hop – Apron Strings and Other Things
Traffic Jam Weekend Linky Party #273 – My Bijou Life
Friday Favorites – A Day of Small Things…
Snickerdoodle Create Bake Make Link Party 376 – EyeLoveKnots
Great review and you provided a lot of insight to garment making as a whole.
Thanks, Verna! I try my best.
I love the stitch pattern in this top! I’ll be giving this one a try soon. Thanks for sharing!
I highly recommend it! Was a great pattern, and I love my new top!
This is a lovely colour on you and it’s nice it was so easy and relaxing to make! 🙂
Thanks so much for joining the #WeekdayWearLinkup!
Definitely was! And the fit is so great! I feel like I need to make a few more colors now.
These are such pretty pieces and I love the mint green color! The poncho is beaitful too and just perfect for that Spring evening when it is chilly.
thanks for linking!
jess xx
http://www.elegantlydressedandstylish.com
Here in Florida, we have two days in the 90’s already. Not sure how much more use of the ponchos I’ll be getting, but I will definitely be saving them for next Winter. Loving my Summer tops though! The mint color is climbing my chart of favorite colors.