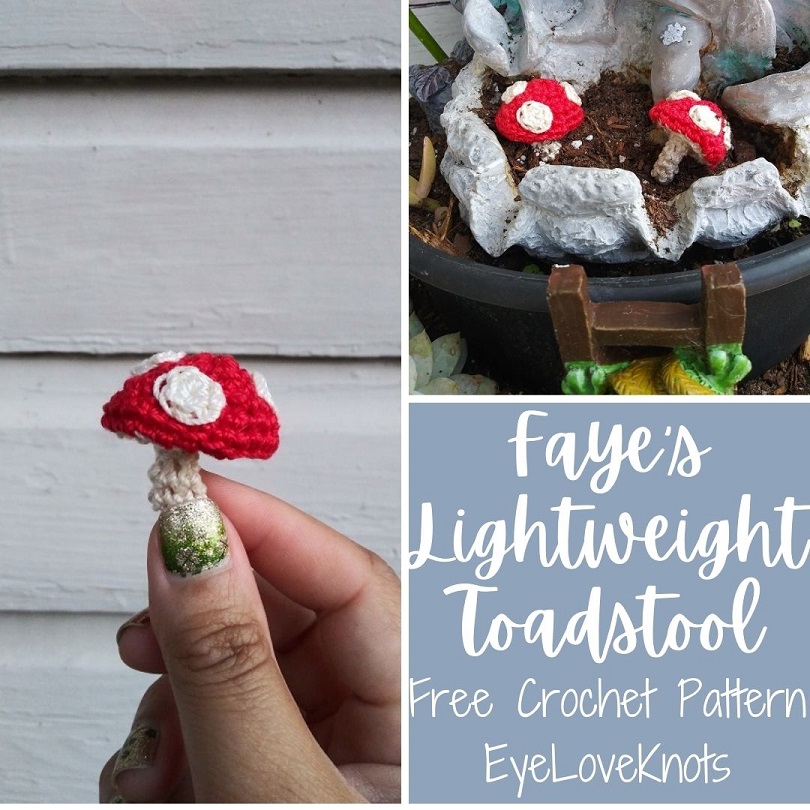
Free crochet pattern how to crochet an adorable toadstool perfect for a fairy garden!
This post contains affiliate links for Amazon. If you make a purchase by clicking on them, I make a small commission at no extra cost to you. Thanks for your support!
Welcome to the March Pinterest Challenge! The purpose of this Pinterest Challenge is to motivate us to not just pin, but to make it happen!
This month’s challenge is Magical.
Magical can be so many things, but to me, I was thinking fairy garden for Spring.
My inspiration for these toadstools came when I was looking for inspiration for Faye’s Succulent Garden. These pins caught my attention Whimsical Fairy Garden, Cozy Cottage Fairy Garden and Tiered Fairy Garden because of the succulents, but I also loved the pop of color from the toadstools.
You can find more Succulent inspiration in my Theme: Succulents board, and more Magical inspiration in my Theme: Every Princess board.
Funny because my original plan was to use the toadstool’s as charms for earrings, but I tested them out in Faye’s Succulent Garden, and I fell in love. Will have to make some more for earrings!
AD-FREE, PRINTER FRIENDLY PDF:
If you would like a PDF version of this post, you may get one through either my EyeLoveKnots Etsy Shop, Ravelry or LoveCrafts Shop for a small fee. This fee is to compensate for the views lost when you no longer need to return to the blog to for the information, as you will have your own copy. Plus! It helps fund supplies for new projects to share with you!
Shop EyeLoveKnots Etsy: Faye’s Lightweight Toadstool.
Shop EyeLoveKnots LoveCrafts: Faye’s Lightweight Toadstool.
Share your version of this project on Ravelry – Faye’s Lightweight Toadstool.
Save this to your Favorites: AllFreeCrochet, FaveCrafts, Cheap Thrifty Living, Crochet Pattern Bonanza
Materials Need to Crochet Your Own Toadstool:
- Small Amount of #3 Crochet Thread – I used Aunt Lydia’s Fashion 3 in Bridal White and Atom Red
- D3/3.5mm Crochet Hook
- J10/6mm Crochet Hook (or anything similar size for shaping)
- Tapestry Needle
- Optional, Stuffing
Material Notes:
I haven’t tested, but I think size 3 crochet thread is equal to sport weight yarn, so you can also try a #2 or #3 yarn. Really, if the size isn’t essential, you can use any yarn weight with respective hook.
Time Spent:
Each one took about 45 minutes.
Measurements:
1.5″ Wide by 1.5″ Tall
Abbreviations – US Terms:
- SC – Single Crochet (Photo Tutorial)
- BLO – Back Loop Only
- HDC – Half Double Crochet (Photo Tutorial)
- FPHDC – Front Post Half Double Crochet
Pattern Notes:
Beginning chain does not count as a stitch.
When instructed to join, do so to the first stitch.
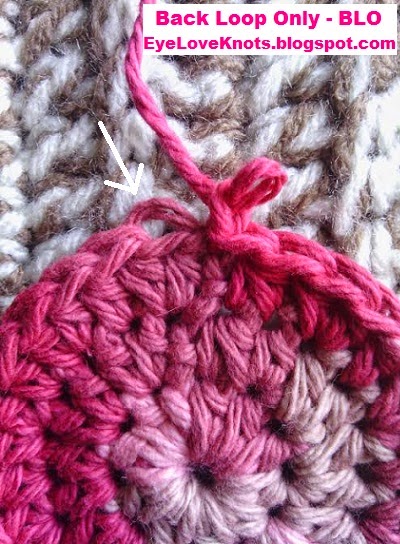
The arrow is pointing to the back loop. You will insert your hook into the center of the stitch, working the stitch around this loop.
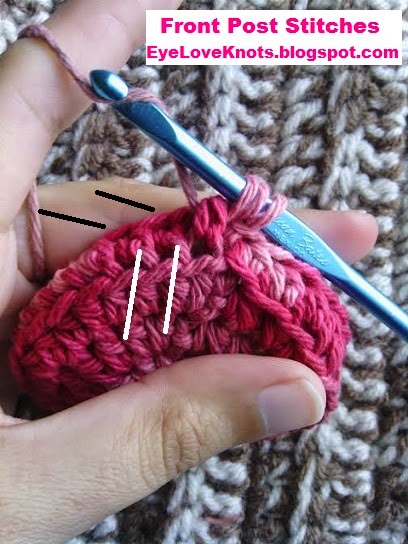
The black lines indicate where the stitch loops are, and the white lines indicate where the posts are. In this pattern, we are working front post half double crochets. In this case, you will yarn over, insert your hook underneath the post, and complete the half double crochet stitch as you normally would.
Toadstool Top – In Red:
Chain 5. Slip stitch join to form a ring. Chain 1. 8 SC into the ring. Join. (8 SC)
R2: Chain 1. SC into each stitch around. Join. (8 SC)
R3: Chain 1. 2 SC into the 1st stitch, and into each stitch around. Join. (16 SC)
*Take time to weave in the initial tail here.
R4: Chain 1. SC into each stitch around. Join. (16 SC)
R5: Chain 1. 2 SC into the 1st stitch, SC into the next stitch (2 SC into the next stitch, SC into the next stitch) 7x. Join. (24 SC)
Fasten off with a long tail for sewing. Set aside.
Toadstool Stem & Underside – In Cream:
The first 4 rounds are continuous without slip stitch joining.
Chain 2. 5 SC into the 1st chain. (5 SC)
*Take time now to weave in the initial tail end, then use a larger crochet hook to help you turn the stem to the right side facing. Feel free to begin stuffing if you want to stuff your mushroom – I didn’t stuff it at all.
R2 – 4: SC into each stitch around. (5 SC)
R5: Slip stitch into the next stitch. Chain 1. In BLO, 2 HDC into the 1st stitch, and into each stitch around. Join. (10 HDC)
R6: Chain 1 (counts as a HDC this round only). FPHDC around the next post, (HDC into the next stitch, FPHDC around the next post) 9x. Join. (20 stitches)
Fasten off, and weave in final tail end.
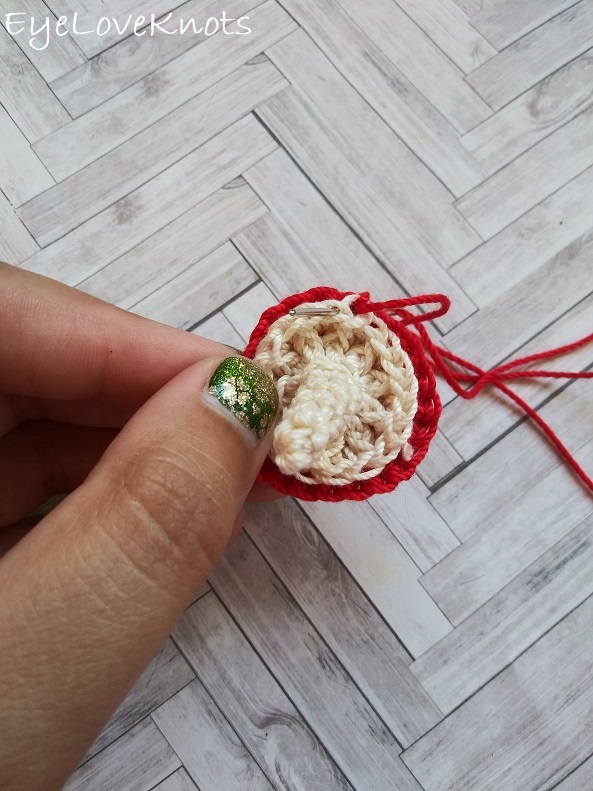
Toadstool Dots – In Cream, Make 4:
Chain 2. 5 SC into the 1st chain. Join. (5 SC)
Fasten off with a long tail for sewing. Weave in the initial tail end.

How to Assemble Faye’s Lightweight Toadstool:
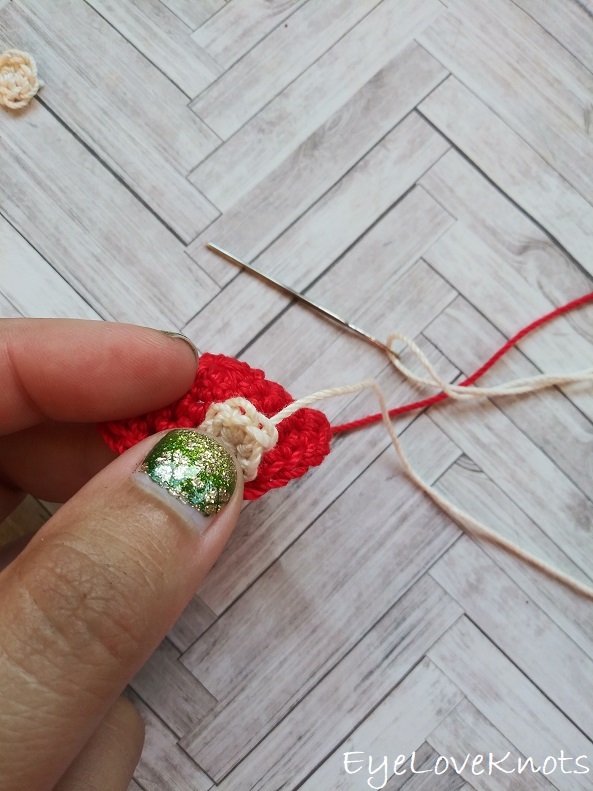
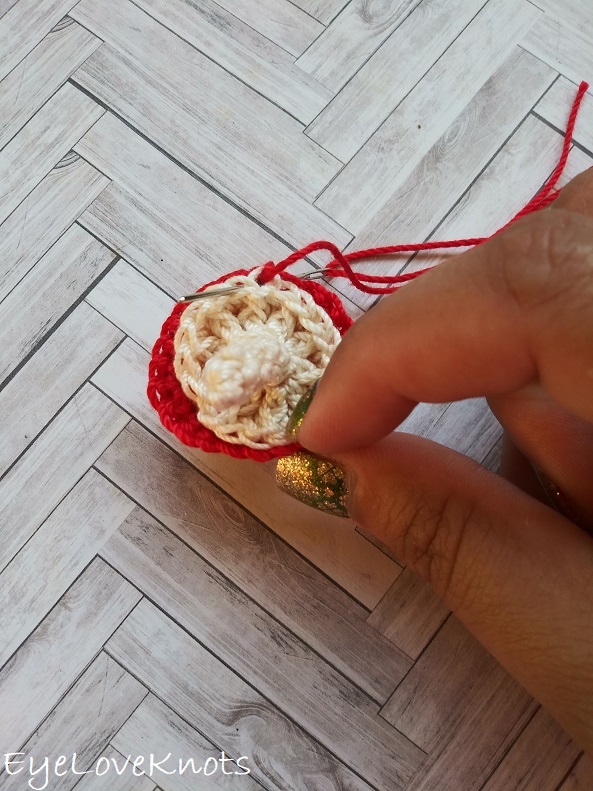
Thread the needle with the tail end from one of the dots. Take the needle down to the wrong side.
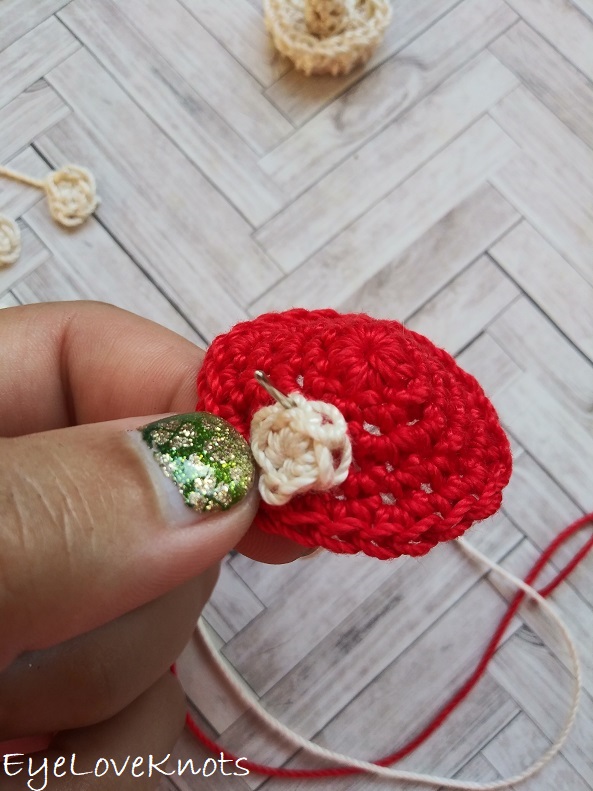
I sew in and out through the center of the “V” from the last round of stitches. When back to the beginning, weave in end.
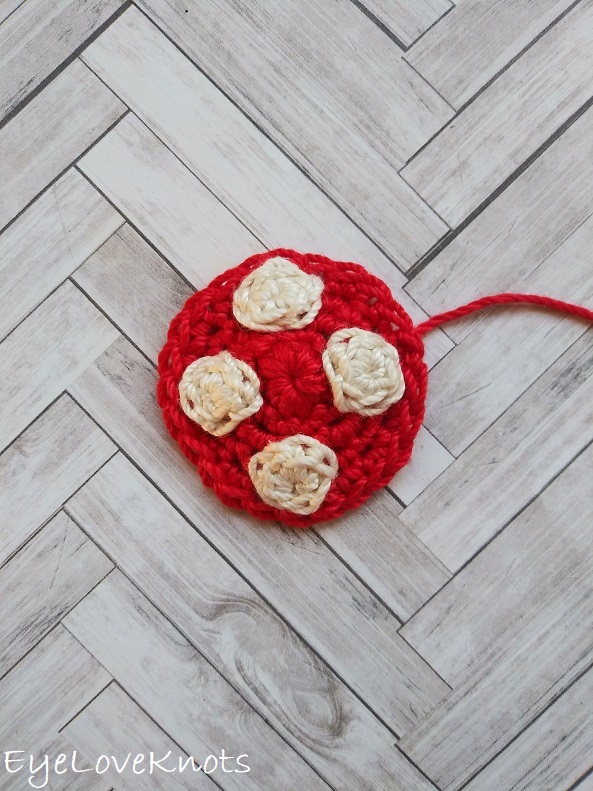
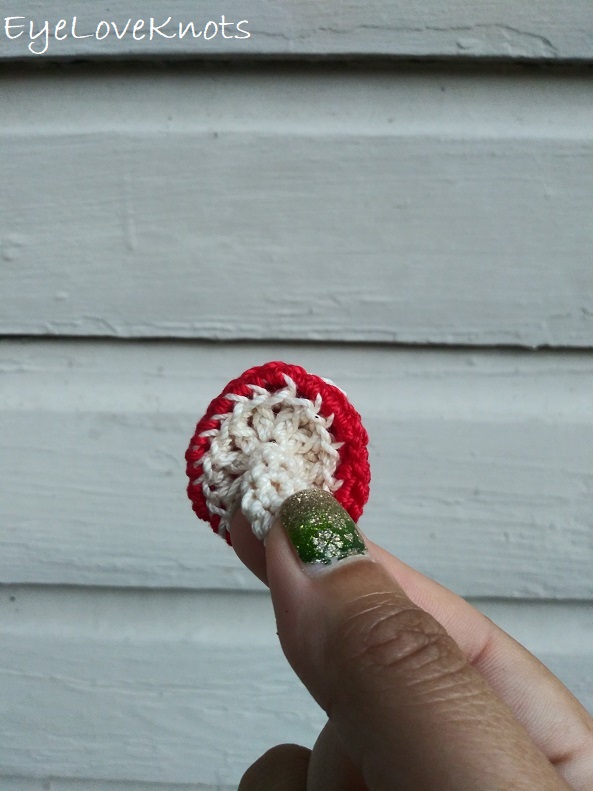
Here’s my finished mushroom top.
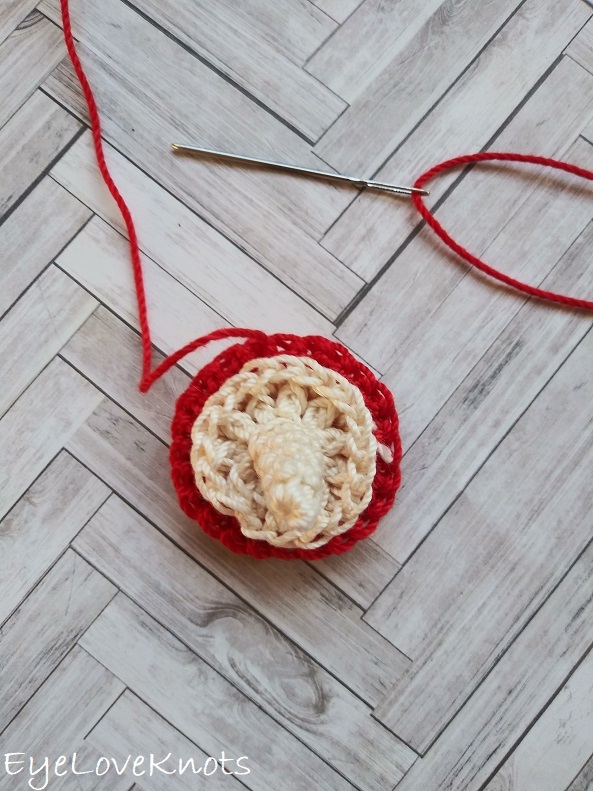
Lay the mushroom top down with the wrong side facing you, then lay the stem on top of that, and thread the tapestry needle with red tail.
Take needle into the closest stitch of the stem…
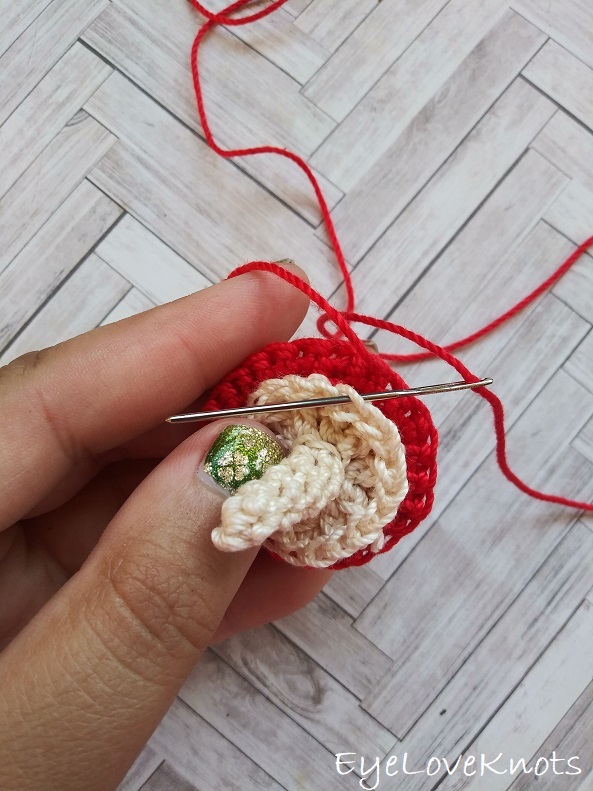
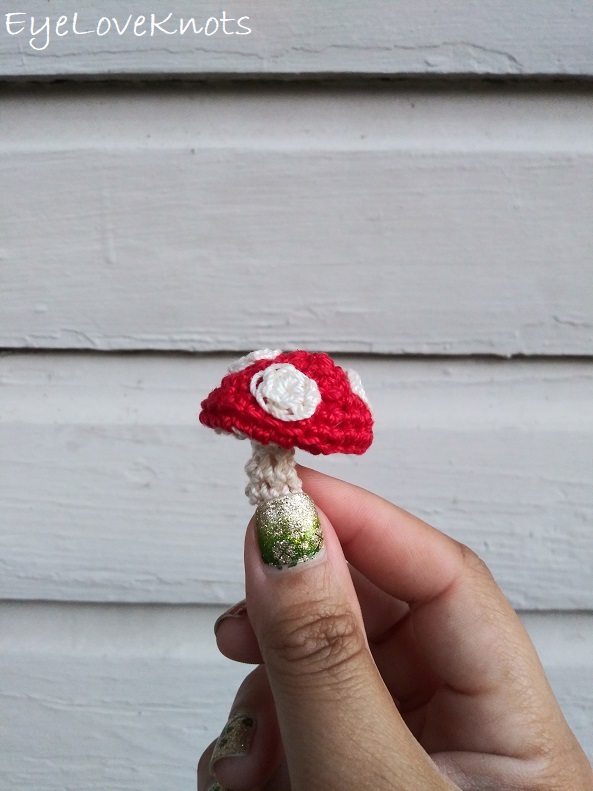
Begin whipstitching the two pieces together – I did so around the inside loops of the stitches so it was more whimsical.
There are 4 more stitches into the mushroom top than the stem so you’ll need to just work around evenly. I broke mine into quarters to help me visualize it better. If you are going to stuff the mushroom, do so before sewing closed completely – I did not stuff my mine.
And here’s what the underside looks like.
Please feel free to make and sell your own of Faye’s Toadstool using this pattern, but please DO NOT claim this pattern as your own nor should you sell my pattern, and DO NOT re-publish my photos as your own. DO NOT copy and paste my pattern anywhere, link to it instead.

Join one of our awesome Facebook groups to share your creations, and see what others are up to!
– EyeLoveKnots Crochet & DIY Community
– DIY Home On Rockwood Lane
– Alexandra Lane Lifestyle
Linked Up To…
Craft Schooling Sunday – Creative Jewish Mom
Happiness is Homemade #367 – Decor Craft Design
You’re the Star Blog Hop – Decor Craft Design
Unlimited Monthly Link Party 22 – Grammy’s Grid
The Hearth and Soul Link Party – April, the 21st Century Housewife
Over the Moon 269 – Marilyn’s Treats
Handmade Monday #220 – Sum of their Stories
The Really Crafty Link Party #259 – Keeping it Real
Grace & Gratitude #11 – A Simple Lovely Life
583rd Inspire Me Tuesday – A Stroll Thru Life
Fabulous Party 364 – Lou Lou Girls
Party in Your PJs #351 – The Apple Street Cottage
Your Whims Wednesday #503 – My Girlish Whims
Creatively Crafty Link Party #268 – Life Beyond the Kitchen
Artsy-Fartsy Party #337 – Artsy-Fartsy Mama
Encouraging Hearts & Home Blog Hop – Apron Strings and Other Things
Traffic Jam Weekend Linky Party #275 – My Bijou Life
Friday Favorites – Busy Being Jennifer
Funtastic Friday – Simply Beautiful by Angela
Create, Bake, Grow & Gather Party #462 – Shabby Art Boutique
Thursday Favorite Things #482 – An Artful Mom
Link Your Stuff – Annemarie’s Haakblog
A Morning Cup of Joe Linky Party – The Cottage Market
Snickerdoodle Create Bake Make Link Party 378 – EyeLoveKnots
Craftastic Monday Link Up – Sew Can Do
Ginx Woolly Linx Party March – Ginx Craft
Linky Ladies Party #207 – The Purple Poncho
{Wow Me} Wednesday #497 – Ginger Snap Crafts
Loop Scoop #10 – Moogly Blog
Wednesday Link Party 391 – Oombawka Design
Creative Crafts Linky Party #34 – Laura Kelly’s Inklings
All About Home #84 – Common Ground
Home Matters Linky Party #324 – Modern on Monticello
Tuesday Turn About #92 – My Wee Abode
Farmhouse Friday Link Party #197 – County Road 407
One More Row Free Pattern Link Party #30 – Loops and Love Crochet
Are you a blogger interested in joining the #pinterestchallenge blog hop? Join the Pinterest Challenge Group on Facebook for all the details.
Let’s see what other things Pinterest Inspired! Head over and visit the other hosts to see what they crafted, cooked, built or tried!

Sew Crafty Crochet | Mom Home Guide | Stone Cottage Adventures
Farm Girl Reformed | Sum of their Stories | Our Good Life
My Slices of Life | EyeLoveKnots | On Rockwood Lane
Little Vintage Cottage | Our Sutton Place
These are so adorable, I only wish I could crochet. Do you sell them anywhere?
Tania
Thanks! I used to, but because of the wear and tear crocheting does to the body, I no longer take custom orders, and just blog. I can recommend a few shops that do if you’re interested though.
Oh my, they are adorable. I love a sweet classic red and white toadstool but I never thought about crocheting one! Too cute!
Thank you! Hehe! I hadn’t thought about it really until now, and now I’m wondering why I hadn’t done it sooner because it turned out so cute, and I have a million ideas of how to use it.
They turned out so cute. Is there anything you can’t make with yarn?! Pinned.
You are too kind, Joanne! I like to challenge myself.
Absolutely adorable!
Thanks so much, Debbee!
I’ve made a doily with thread, but no ami type projects. What a great way to make the project small.
So funny because I don’t really have the patience for projects like doilies, but I’ll make small things in thread. Usually, I experiment with appliques. It’s so fun to test the different sizes you can get. Now I’m curious to do the toadstool in a heavier weight yarn.
These are so cute and will be perfect for the Spring!
Carrie
curlycraftymom.com
Thanks so much, Carrie! I see so many possibilities for them.
What a darling little toadstool! Thank you for the pattern! pinning -Marci @ Stone Cottage Adventures
Thank YOU, Marci 🙂