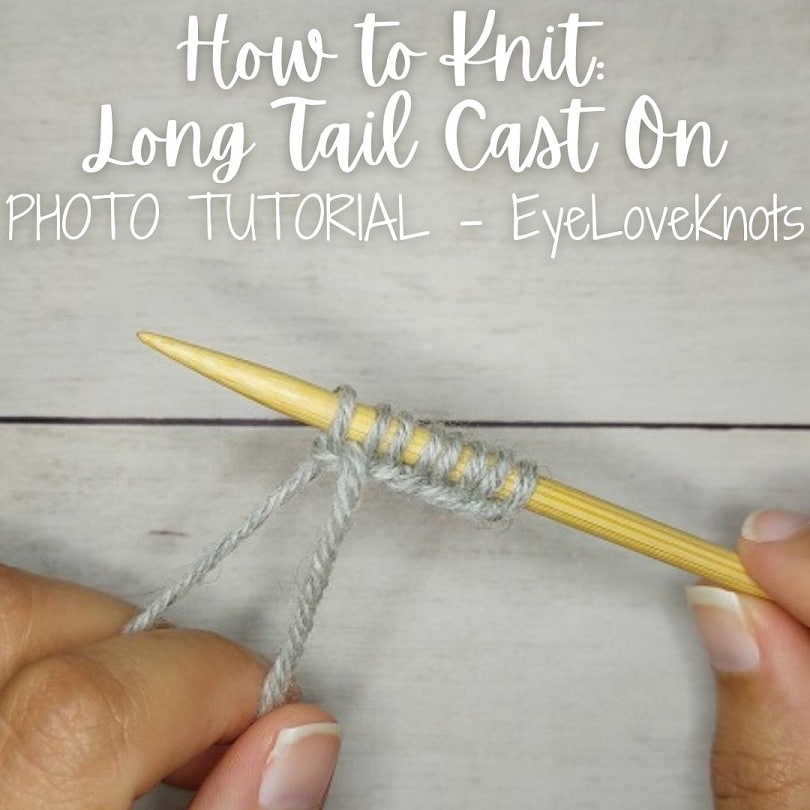
How to Knit a Long Tail Cast On – a very easy, beginner knitting photo and video tutorial. There is also an FAQ section to answer all your questions about the Long Tail Cast On.
This post contains affiliate links for WeCrochet. If you make a purchase by clicking on them, I make a small commission at no extra cost to you. Thanks for your support!
This tutorial has been sitting in my drafts since May of 2019 with the only thing needed at the time – a slip knot tutorial to link to. Oops! Well, I am just glad that I can cross this one off the list. One of my New Year’s Resolutions every year is to finish more projects, and that includes getting drafts completed, and out to you!
You can use any weight yarn with respective needles, but for this tutorial I am using – I am using WeCrochet Swish Yarn in Dove Heather, and a pair of H8/5mm knitting needles. I need to give a big shout out to WeCrochet for supplying me with the yarn to complete this project – it’s leftover yarn from my Haylee Beanie, Free Crochet Pattern. Swish Yarn is 100% superwash merino wool, but it’s so soft, not itchy, and it’s so cozy, it feels like it’s giving you a big hug.
Because I am a crocheter first, I follow the continental style for knitting, which is easier for crocheters to pick up since it’s very similar. I hold my yarn the same way for both crafts, and I will show photos of me working this way. I also hold my yarn in a slightly modified way, and that is to help my aching hands by being able to keep my fingers looser and more open, than closed up – it’s been a game changer for me. I do also have a photo tutorial showing How to Hold Your Yarn.
I am not creating anything new here, but I did take the time to take the photos, edit them, and put this tutorial together, so please respect my work. Do not pin or share any of the tutorial images – just the main photo. Provide the link for others to find my page (help out me and my blog with the traffic). Do not copy and paste my work anywhere. Thank you!
AD-FREE, PRINTER FRIENDLY PDF:
If you would like a PDF version of this post, you may get one through either my EyeLoveKnots Etsy, LoveCrafts or Ravelry Shops for a small fee. This fee is to compensate for the views lost when you no longer need to return to the blog to for the information, as you will have your own copy. Plus! It helps fund supplies for new projects to share with you!
Shop EyeLoveKnots Etsy: How to Knit: Long Tail Cast On.
Save this to Your Favorites on: AllFreeKnitting, FaveCrafts, Cheap Thrifty Living, DIYideaCenter
What is the Long Tail Cast On Method?
A Long Tail Cast On is a type of knitted cast on. When you cast on stitches, you create a base foundation of loops that you use to build on the rest of the project. If you crochet, this is the equivalent to a beginning chain.
When I first learned to knit, this is the cast on I was taught at my local yarn shop, Four Purls. It’s easy to work, quick to add stitches, and gives a nice, flexible edging.
Two differences that stick out to me with this knitted cast on: 1.) it counts as the first row of your project; 2.) you do not begin close to the tail end of the skein.
When Is the Best Time to Use the Long Tail Cast On?
The Long Tail Cast On is so versatile that I use it for almost everything! But it’s especially useful for projects that need more flexibility, like a cowl, hat or garment to name a few.
What is the Abbreviation for a Knitted Cast On?
In all of my knitting and crochet patterns, I spell it out completely as Long Tail Cast On “X” stitches, but you may also see cast on abbreviated as “CO”.
Keep in mind that this Long Tail Cast On does count as the first row of your project also so you may need to take that into consideration.
Why Do You Need a Long Tail for the Long Tail Cast On?
The way the Long Tail Cast On is worked is that you leave a long tail, and then make a slip knot, and then use the long tail to create the cast on stitches with so you need a tail that is long enough to work all the stitches you need for your project.
What Do You Do With the Extra Tail After Cast On?
If you end up with a long tail end left after you finish working the Long Tail Cast On, leave a bit to weave in at the end of your project, and then you can fasten off the rest.
How Do You Estimate How Much Yarn You’ll Need for a Long Tail Cast On?
There are a few more involved ways to estimate how much yarn you’ll need to leave for a long tail cast on, but one easy way I like to do it (when I’m not just winging it) is to wrap the yarn around one of my knitting needles for the same number of stitches I’ll be working – ie, wrap around 15 times for 15 stitches, then add a few more on for good measure. If you’re still concerned about not having enough, you can hold both knitting needles together, and wrap the same amount but around both needles. In all seriousness though, I usually just eye it, and rework if I don’t have enough – it just seems faster and easier to me than really trying to plan.
How Do You Count the Stitches You’re Casting On?
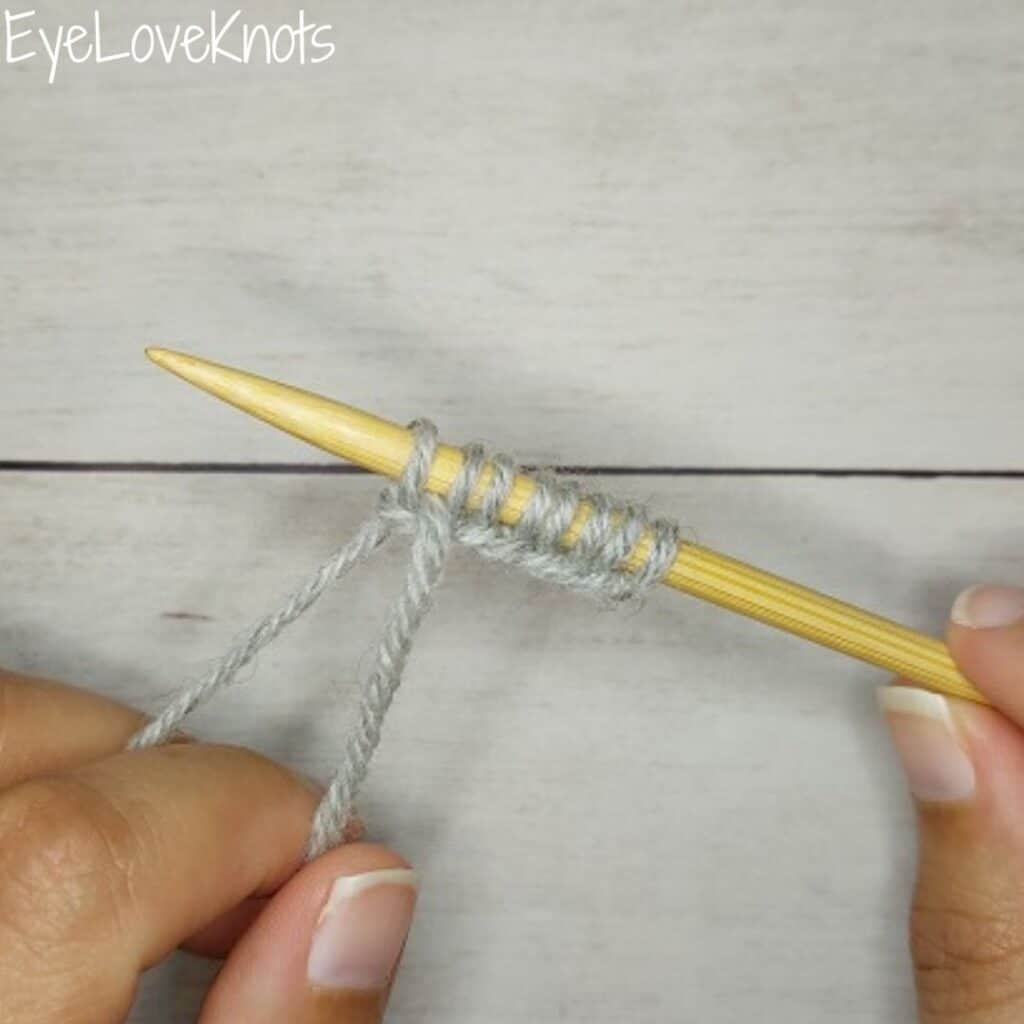
Each loop on your needle counts as a stitch, including the slip knot. In my sample, I have 8 stitches.
How to Knit a Long Tail Cast On Video Tutorial:
How to Knit a Long Tail Cast On Photo Tutorial:
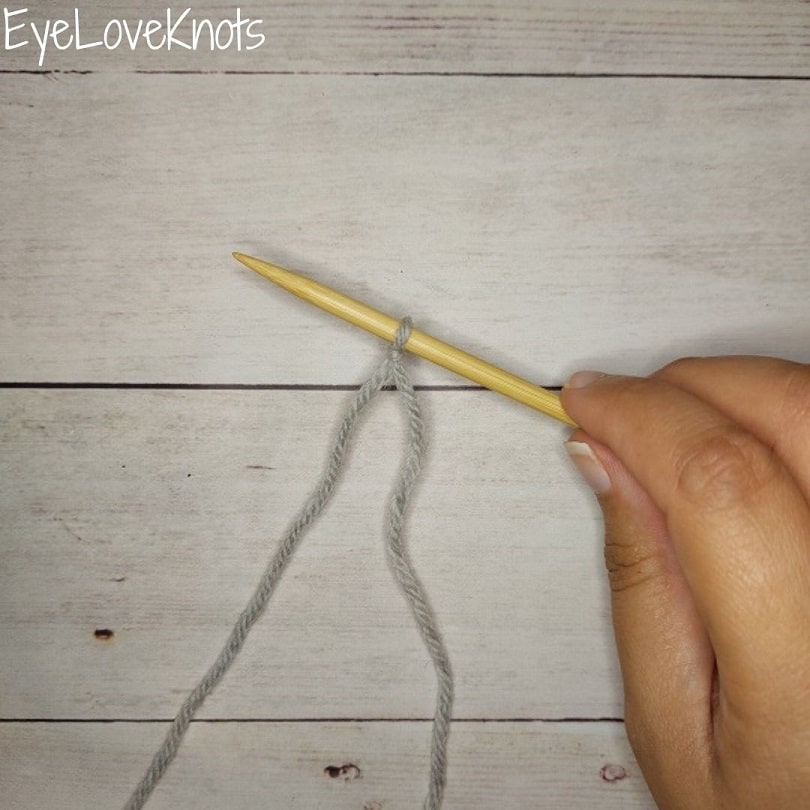
After you have set aside the long tail, you will add a slip knot to your needle, which will count as the first stitch. Check out my How to Make a Slip Knot (Photo Tutorial).
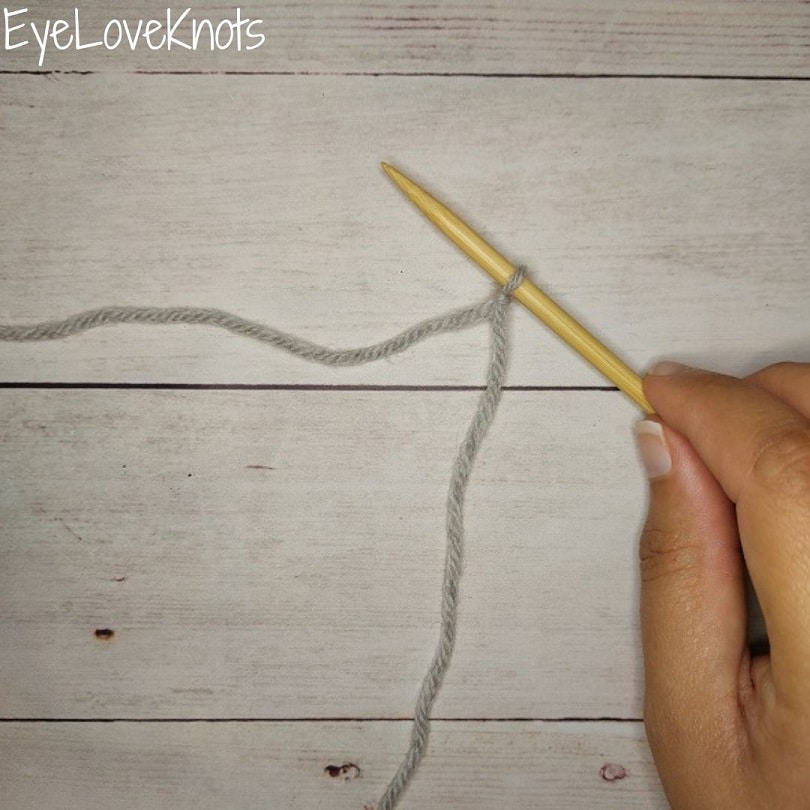
Place the slip knot on the hook keeping the yarn coming from the ball on the left, and the yarn tail on the right. You will hold this knitting needle in your right hand.
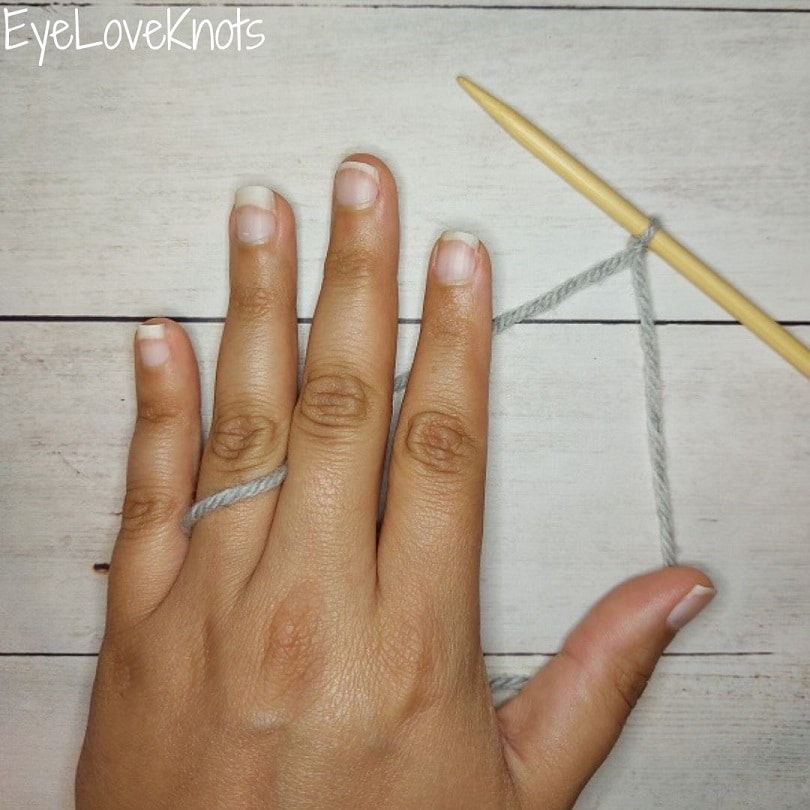
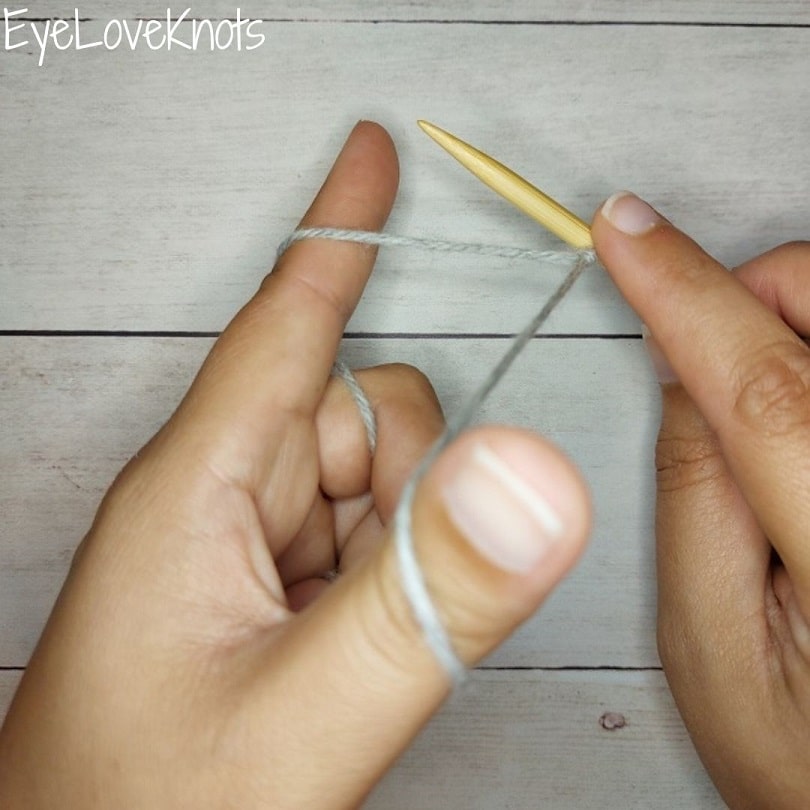
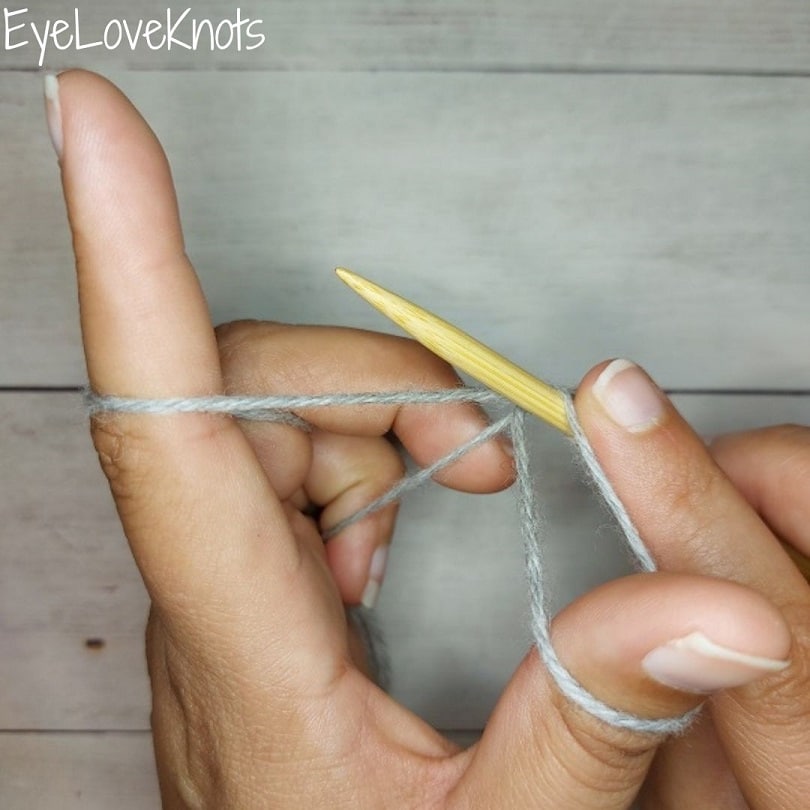
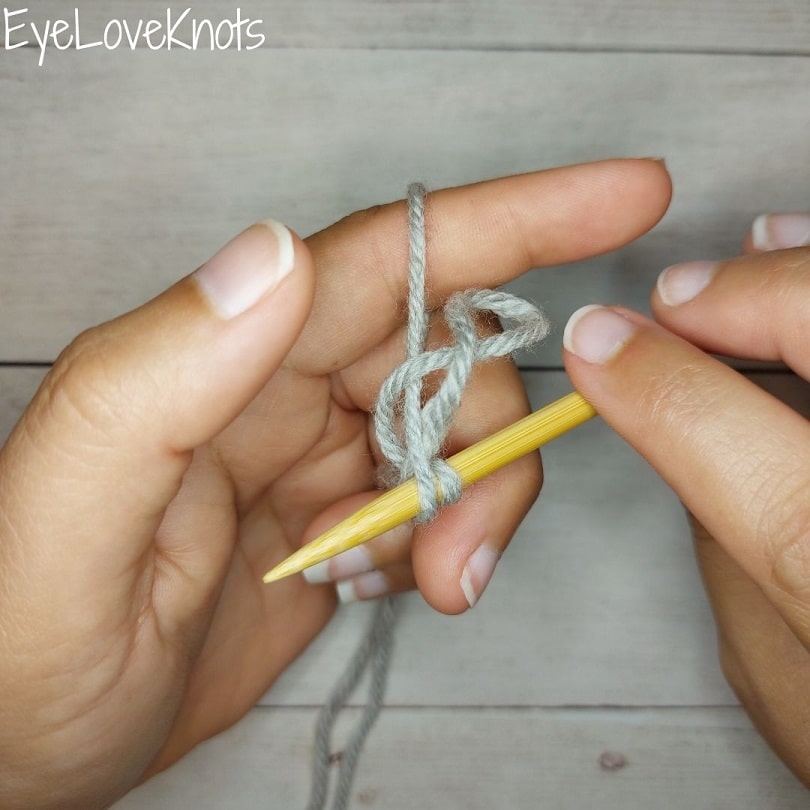
As mentioned about my continental style, I hold the yarn in my left hand as shown above with the yarn under my pinky, over my ring finger and under my middle finger. Grab the top strand of yarn, and hold as normal.
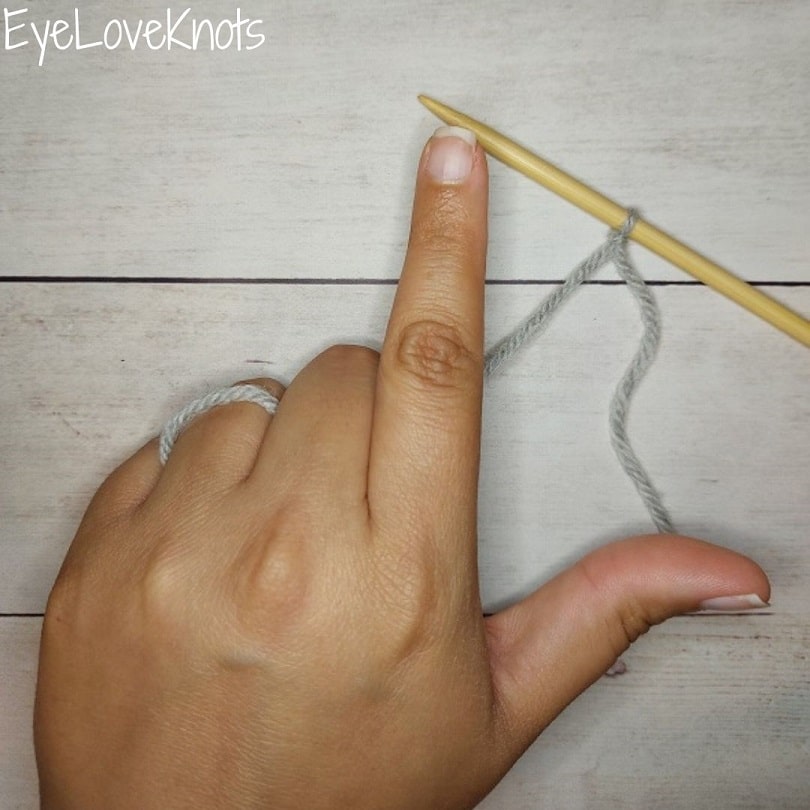
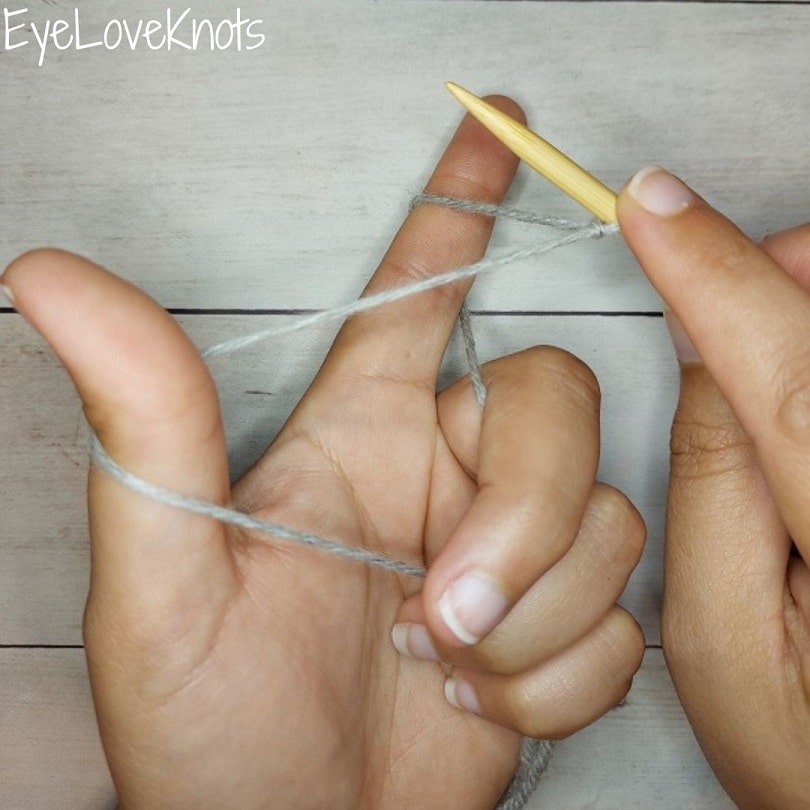
Fold over your pinky, ring and middle fingers…
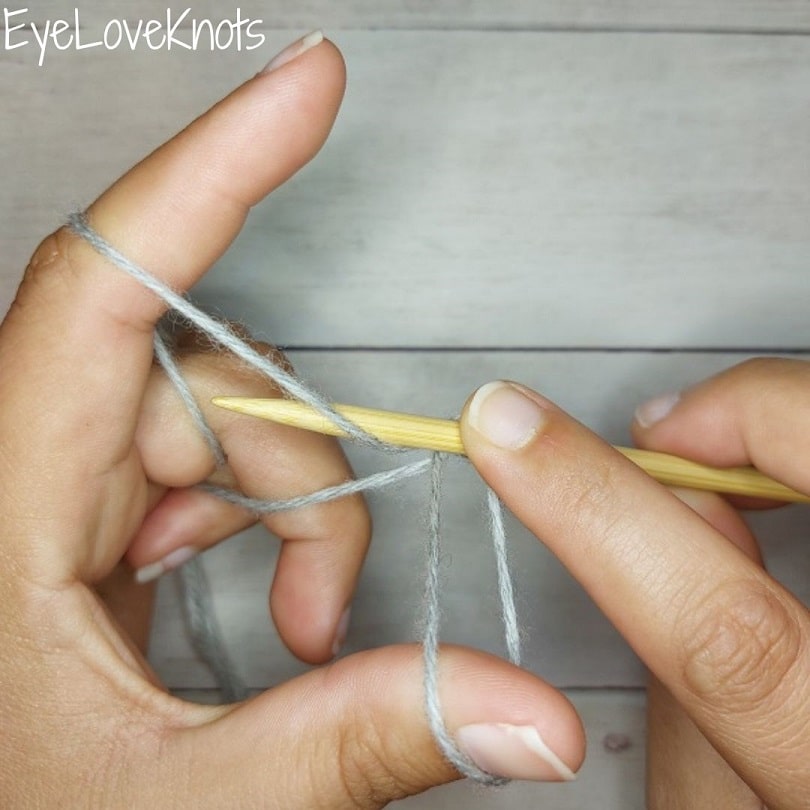
…and grab the bottom strand in these fingers as well still keeping the V shape in your strands, then return to the previous position keeping your index finger and thumb out in the shape of an “L”.
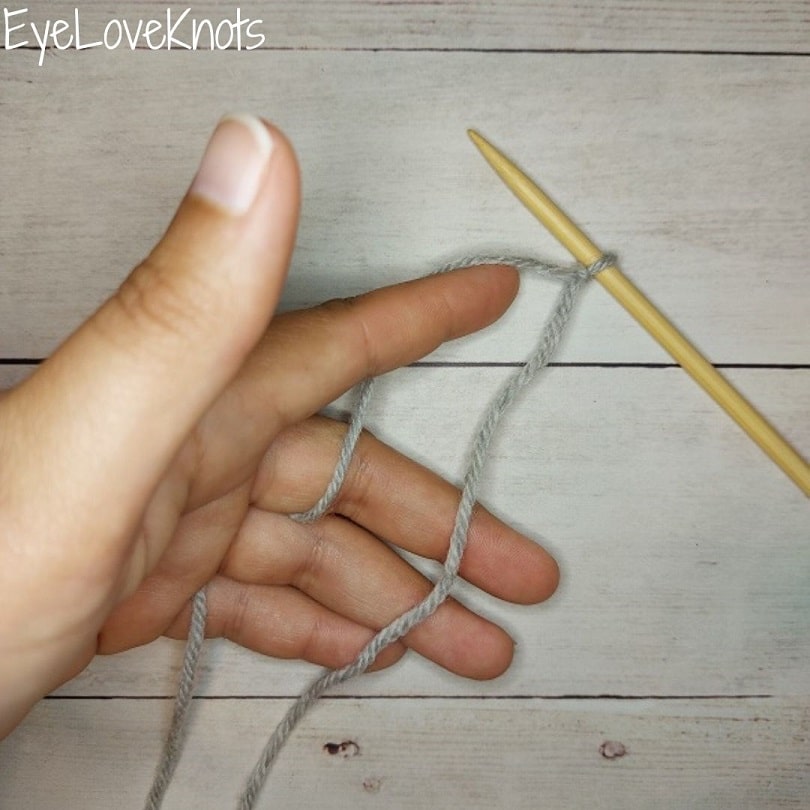
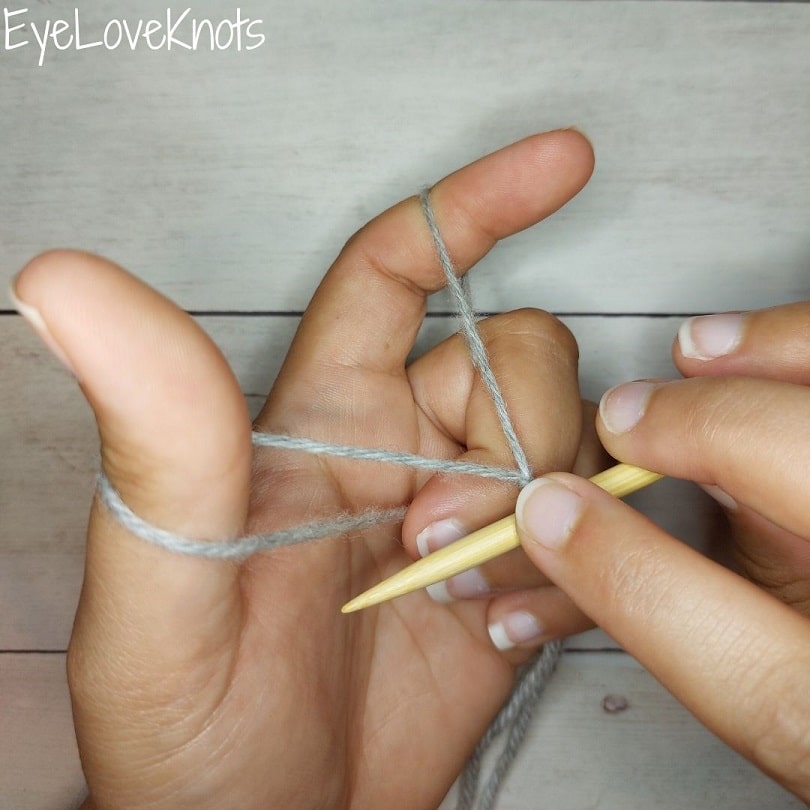
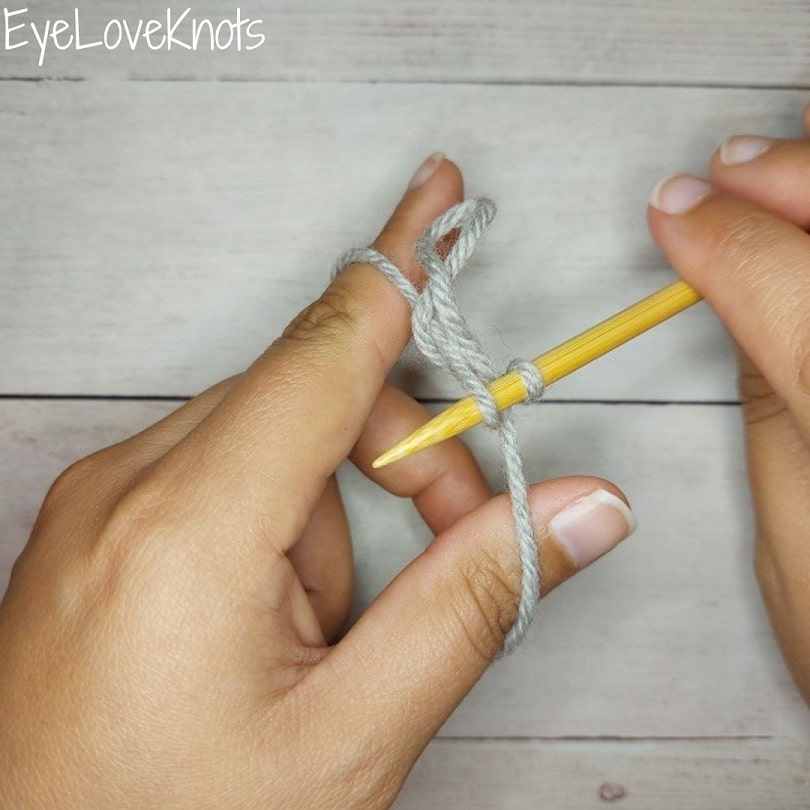
Pinch your index finger and thumb together…

…and stretch them back out into the “L” shape but underneath the respective yarn strands.
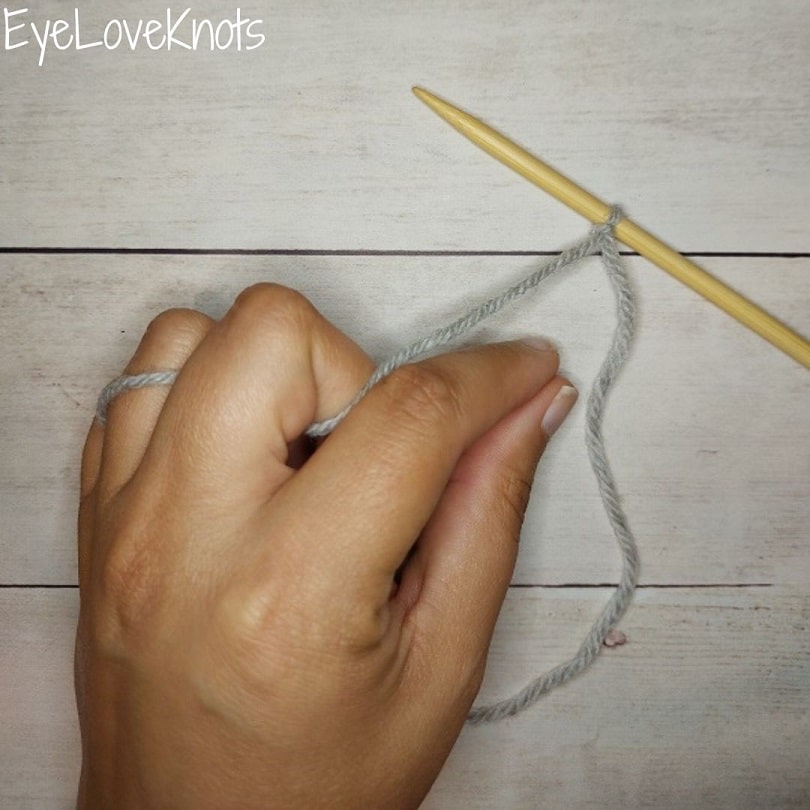
Right now you should have a comfortable tension around the “L” shape and in your other fingers, and it should be a triangle shape. Tension is how tight (or loose) your stitches are. It cannot be taught, just learned, and varies from one person to another. If you are new to knitting (or crocheting), you will probably have a tighter tension, but as you get more comfortable, your tension will loosen, and get more and more consistent.
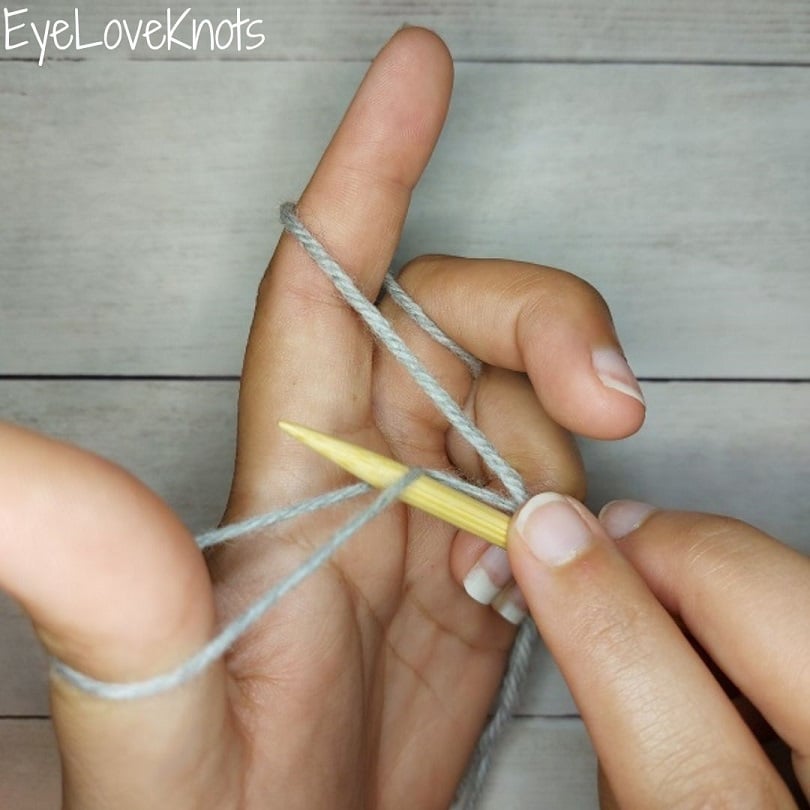
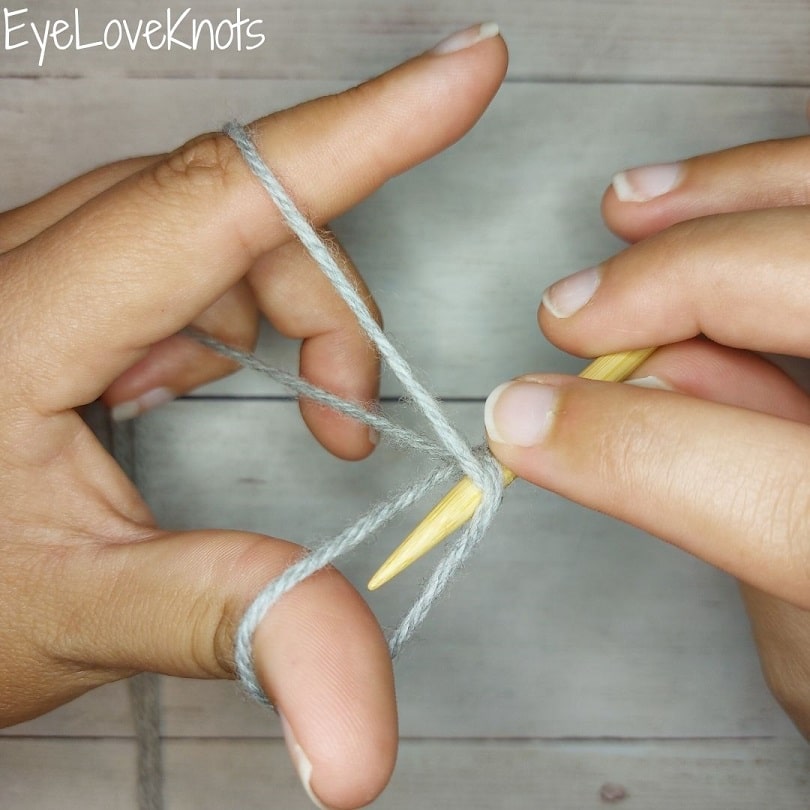
Flip your left hand towards you…
…180 degrees so your fingers are facing you.
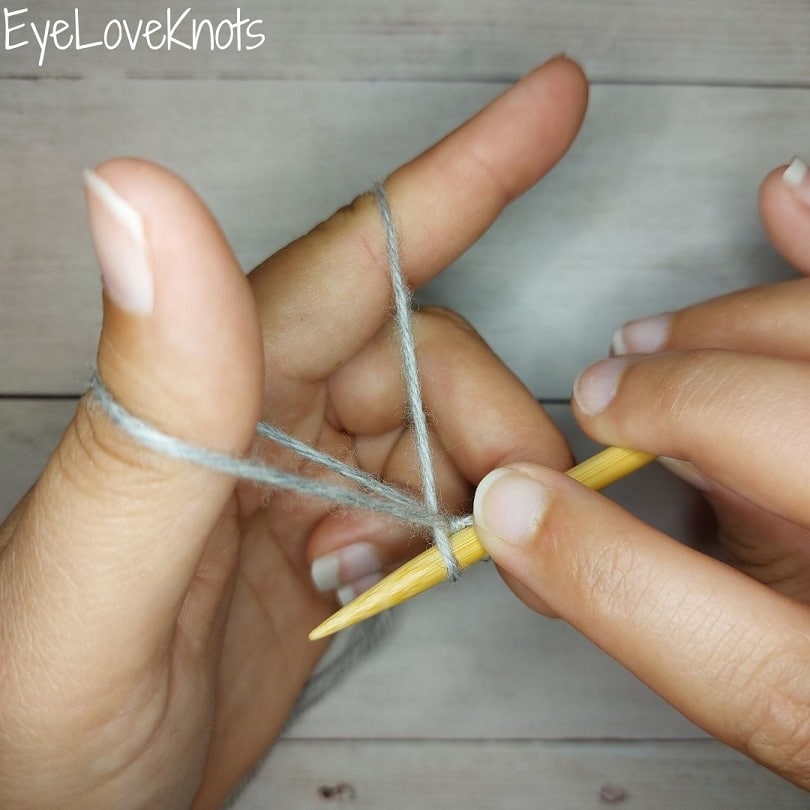
Move the right hand needle downwards so it takes a “V” shape.
Insert the point of the knitting needle upward in between the loop that is around your thumb. Don’t let the loop off of your thumb.
Rotate your left hand counter-clockwise about 45 degrees.
Wrap the right hand needle to the right around the top strand…
…pull downwards through the loop on your thumb, and in the same motion, begin rotating your hand clockwise about 45 degrees…
…until the loop is securely on your right hand needle as a new stitch, and your left hand is back to it’s original position.
Release the loop from your thumb…
…and reposition your thumb to return to the “L” shape grabbing the excess yarn under your thumb and stretching to normal tension as you get to the full “L” shape. Make sure you do not pull too tight so it is easier to work your next rows stitches into these.
Now that you are back to the “L” shape, rotate your hand 180 degrees and repeat the process for however many stitches you will need for your project. Each loop on your knitting needle equals one stitch.
Each loop on your needle is a stitch. In my sample, I have 8 stitches.
Join one of our awesome Facebook groups to share your creations, and see what others are up to!
– EyeLoveKnots Crochet & DIY Community
– DIY Home On Rockwood Lane
– Alexandra Lane Lifestyle
Linked Up To…
Handmade Monday #277 – Sum of their Stories
The Really Crafty Link Party #315 – Keeping it Real
Link-up Potpourri #43 – My Bijou Life
Craftastic Monday Link Party – Sew Can Do
Happiness is Homemade Link Party #426 – Decor Craft Design
You’re the Star Blog Hop – Decor Craft Design
The Happy Now Blog Link- Up #320 – JENerally Informed
Linky Ladies Party #224 – The Purple Poncho
637th Inspire Me Tuesday – A Stroll Thru Life
Fabulous Party 423 – Lou Lou Girls
Talent Sharing Tuesday Link Up – Scribbling Boomer
The Loop Scoop #37 – Moogly Blog
The Wednesday Link Party 450 – Oombawka Design Crochet
Team Creative Crafts Link Party #92 – Artsy-Fartsy Mama
Wonderful Wednesday – Oh My Heartsie Girl
Wonderful Wednesday Blog Hop – My Life Abundant
Thursday Favorite Things #540 – An Artful Mom
Creatively Crafty Link Party #327 – Try It – Like It – Create It
Encouraging Hearts and Home Blog Hop – My Slices of Life
Grace at Home No. 467 – Imparting Grace
Linky Party – Karins Kottage
Traffic Jam Weekend Link Up Party #323 – My Bijou Life
Create, Bake, Grow & Gather Party #519 – Shabby Art Boutique
Funtastic Friday Link Party #384 – Simply Beautiful by Angela
Saturday Sparks Link Party 514 – Pieced Pastimes
Pink Saturday – How Sweet the Sound
A Morning Cup of Joe – The Cottage Market
Craft Schooling Sunday – Creative Jewish Mom
Share the Wealth #19 – Big Fat Menopausal Life
Thanks for sharing at My Big Fat Menopausal Life’s Share the Wealth party – hope you are having a fabulous week.
Great post! Your well-written instructions along with the photos and the video make a thorough tutorial.
Thank you for participating in Talent-Sharing Tuesdays Link-Up 19.
Carol
http://www.scribblingboomer.com
Thanks so much! I really appreciate these kind words.
I’m diving into knitting in January. I will definitely be viewing your posts and videos. I’ve been surprised to see the numerous ways to cast on.
Indeed! And how some count as the foundation, and some don’t. It’s so interesting to learn about!