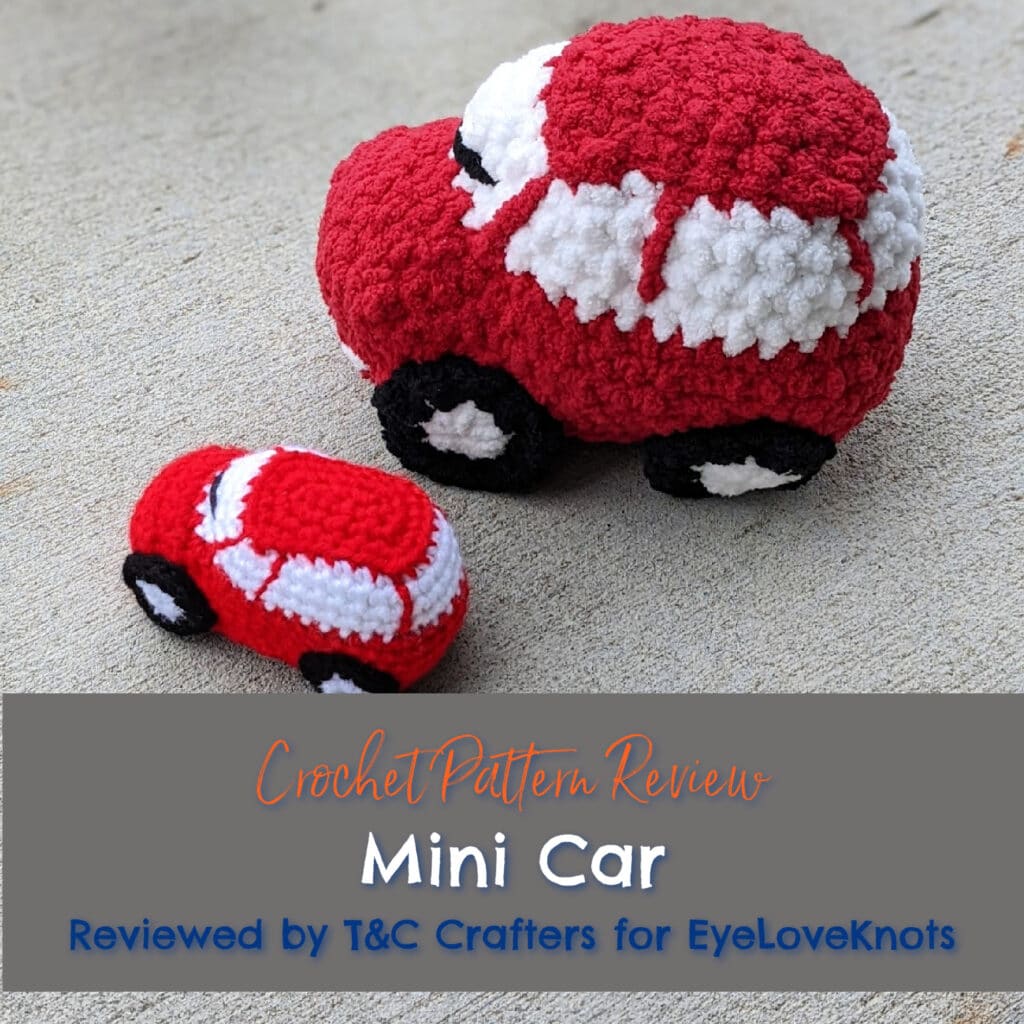
This is a crochet pattern review of the Mini Car designed by Hugles. Review done by Candace of T&C Crafters for EyeLoveKnots.
This post contains affiliate links for Etsy and Amazon. If you make a purchase by clicking on them, I make a small commission at no extra cost to you. Thanks for your support!
Find the crochet pattern review below, or click here to purchase the crochet pattern from Etsy.

It’s me, Candace with T&C Crafters.
Visit with me on Facebook for all kinds of awesome crochet makes and inspiration.
After weeks of market prep and finishing up a successful first market of the year, I have really been wanting to make some personalized gifts for the people in my life. My little guy has had a pretty rough week of illnesses, so I wanted to make him something that he would absolutely love. I searched for a perfect pattern, and the Mini Car from Hugles was exactly what I needed!
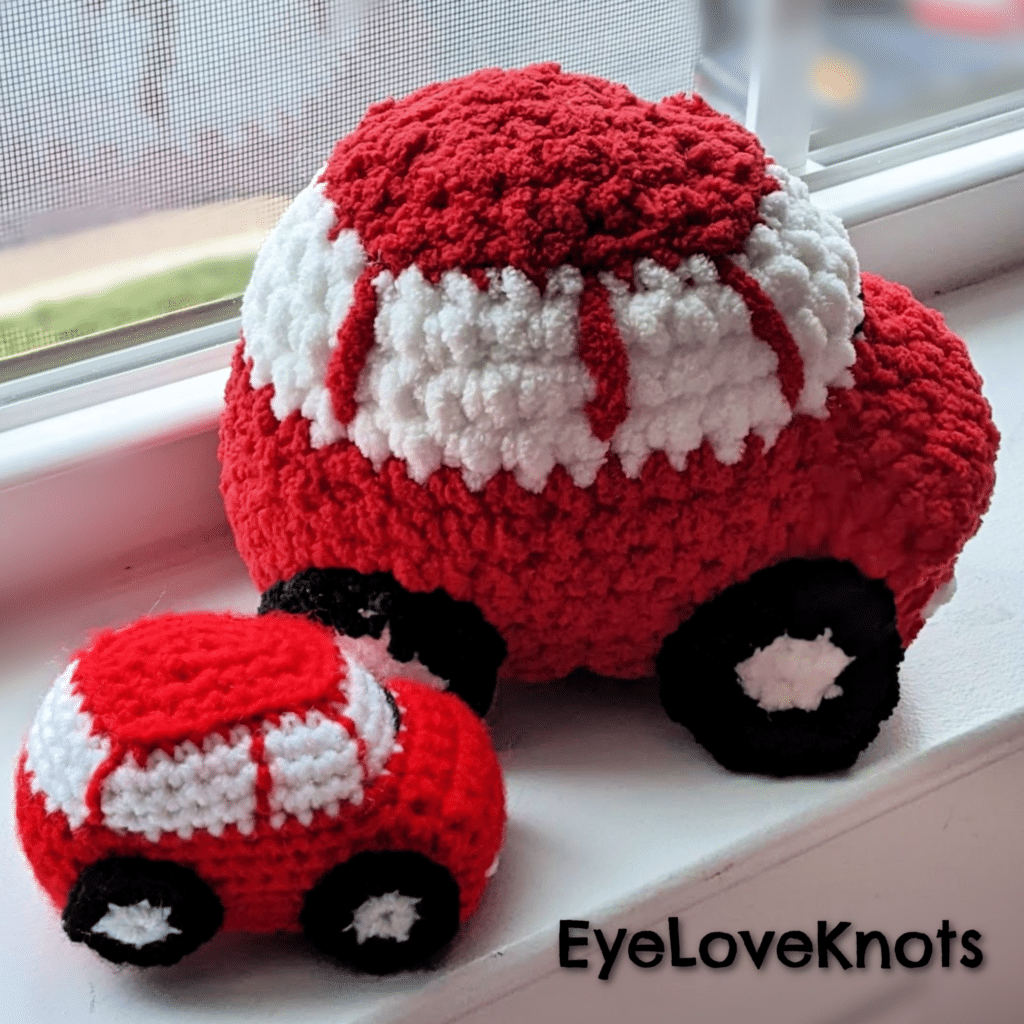
The mini car pattern is a relatively quick and easy make that only uses a small amount of yarn and some basic stitch patterns. I was so excited to see how cute it turned out when it was finished that I decided to make a second car using chunky blanket yarn so my son would have a cuddle car as well. Both cars were absolutely adorable, and he totally loved them!
If you are looking for a fun and relatively quick make for a car-loving kiddo in your life, I would definitely recommend this pattern! It works up in one piece with hardly any sewing necessary and uses a small amount of yarn and stuffing. I plan on making more of these little cuties for my upcoming markets, and you could do the same as well!
Materials I Used:
- Small Car: Red Heart Super Saver in White, Red, and Black & G6/4mm Crochet Hook
- Large Car: Stitch Studio Chateau in Deep Red and Bernat Blanket Yarn in White and Black & J10/6mm Crochet Hook
- Yarn Needle
- Stitch Markers
- Polyester Fiberfil Stuffing
- Mini Car, Paid Crochet Pattern from Hugles via Etsy
Material Notes:
The pattern states that you can use any yarn and an appropriate size hook for this pattern. The pattern designer used a 2.5mm crochet hook and DK #3 acrylic yarn. In the pattern, she warns against using different manufacturers for the different colors of yarns in the project, as they will likely vary slightly in weight which will change the outcome of the piece. I noticed this when creating the large car since I used two different chunky yarns, but thankfully it worked out for my project.
The designer indicates places in the pattern to use a stitch marker. I don’t normally use stitch markers, but I definitely recommend using them for this piece. They made the project a lot easier to follow, so you will want to have at least four of them for this project.

Time Spent:
Each of the mini cars I made took about 3 hours from start to finish. Embroidering the details and adding the wheels was a bit time-consuming. If you wanted to shorten the time it took, you could consider hot gluing the wheels on instead of sewing them on.
Measurements:
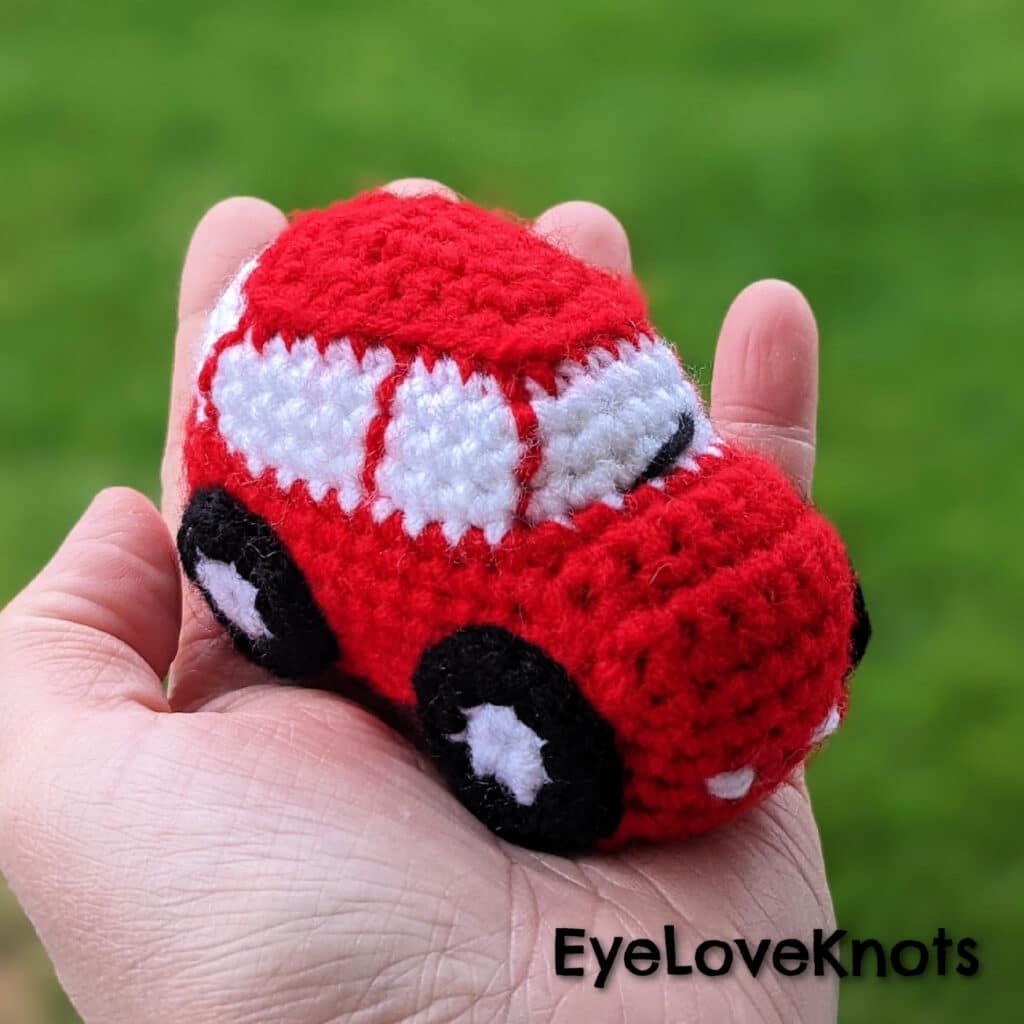
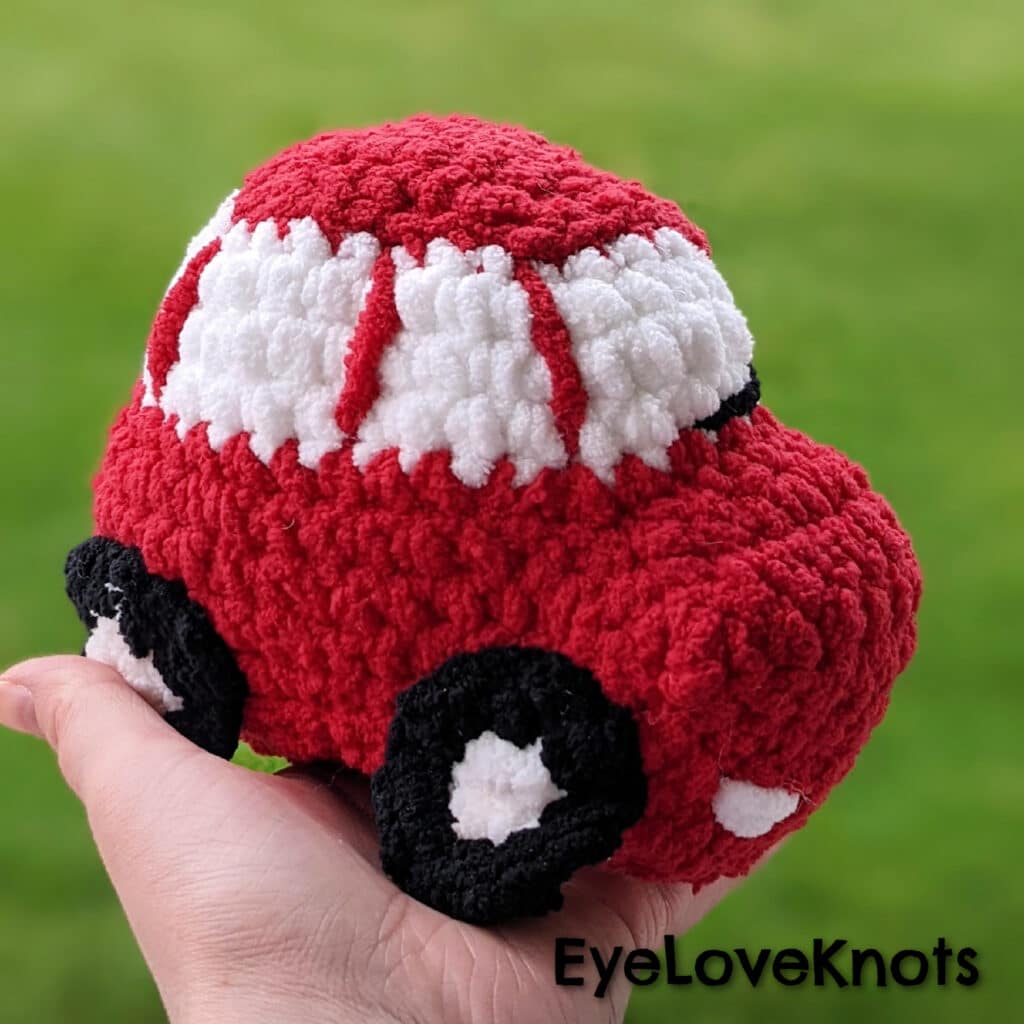
The smaller car I made with worsted weight yarn was about 2.25 inches tall, just under 4 inches long, and 1.75 inches wide. The larger car made with chunky yarn was 5.5 inches tall, 7 inches long, and about 3.5 inches wide.
Gauge:
No gauge is indicated in the pattern, but the designer does include a note that you will need to adjust your hook size based on the weight of yarn you use. Since this project is stuffed, you want to make sure that the stitches are close enough together that there are not gaps where the stuffing can come through. This will typically require you to use a hook that is smaller than what would usually be used for that weight of yarn.
If you want to make sure that your car turns out the same size as mine, when using a G6/4mm crochet hook with worsted weight yarn, a swatch of 5 rows of 5 single crochets should measure 1.25 inches wide by 1.125 inches tall. When using a J10/6mm crochet hook with blanket yarn, a swatch of 5 rows of 5 single crochets should measure 2 inches wide by 2 inches tall.

Pattern Notes:
The construction of the mini car is made using a combination of continuous spirals and rows. It is crocheted in one piece that is stitched together at the end. To be able to make this mini car, you only need to be able to single crochet, increase, and slip stitch in both the round and in rows. You will also want to be comfortable working in front or back loops only.
The pattern begins with creating the roof of the car. It is worked in continuous rounds, but creates a very well-defined rectangular shape. During this part of the pattern, you want to be really careful to place your stitches in the correct places and to be mindful of the counts on the pattern. The designer recommends using stitch markers during this portion to identify key places on the pattern, and I definitely recommend that you use them as well!
To make the transition from the roof of the car to the window section clear, the designer uses stitches in the back loop only. This helps make a really clean look. On the smaller car, I think it even looks like the edge on the top of the roof of a car.
The window section is crocheted in solid white. The colorful lines to indicate where the windows are get added after the car is finished. The window section is shaped using increases at specific places that create the shape of the top of the car. When I made the small car at first, I think I may have added an extra stitch or two accidentally because it seems like my roof is slightly turned compared to the rest of the vehicle. I didn’t notice this issue with the larger car, so I would just advise you to be really careful with your stitch counts in order to avoid this.
The bottom portion of the car included some techniques that were new to me. In the pattern, the designer described the method of creating the hood as crocheting a “bonnet.” This meant that you want to create a bit of a flap at that portion, that you then connect back to the main section to get the rounded portion of the hood. This part was a little confusing to me at first, but the designer provided very clear pictures that show exactly where to put your hook, which helped a lot.
After crocheting the outside of the car, the underside of the car is made by creating a long flap at the back that you then fold under and attach with slip stitches. This method makes it easy to create the whole car in one piece, and also helps make a defined bottom around the front and sides of the vehicle, while leaving the back slightly rounded, looking like a bumper.
When stuffing the car, you will want to make sure you push the stuffing into all the nooks and crannies of the car. The amount of stuffing you use when making the car will determine how rounded the car is when it is finished. I wanted to make the cars for my little guy really soft and squishy, so I stuffed them a lot. I think it makes them look like cartoon cars, which he absolutely loved, but if you don’t like that, you may want to use less stuffing.
To make the wheels, you will make some simple circles with white and black, and then sew them onto the vehicle. I was a little confused by this part of the pattern because the designer said to use a magic loop and not a magic ring. I thought these were synonymous, and upon looking up the difference, my only guess is to only crochet over one strand of yarn rather than two.
Sewing the details of the window markings, the headlights, and the wipers, as well as attaching the wheels was a bit time-consuming. The wheels could be attached with hot glue if you were pressed for time or trying to make a lot for market prep. I think these little details really make the car look extra special, so I don’t recommend skipping any of them.
Overall, I think this pattern was easy and adorable. I definitely plan on making more of these for my little guy and to sell at markets in the future. If you have a little car-lover in your life, I definitely recommend trying out the mini car pattern. I’d love to see your finished pieces! Be sure to tag @eyeloveknots and @tandc_crafters on social media so we can see what you make!

Don’t forget to visit with me on Instagram for all kinds of awesome crochet makes and inspiration.
Join one of our awesome Facebook groups to share your creations, and see what others are up to!
– EyeLoveKnots Crochet & DIY Community
– DIY Home On Rockwood Lane
– Alexandra Lane Lifestyle
Linked Up To…
Link-up Potpourri #44 – My Bijou Life
Happiness Is Homemade Link Party #427 – Decor Craft Design
You’re the Star Blog Hop – Decor Craft Design
Sundays on Silverado #93 – The House on Silverado
Handmade Monday #278 – Sum of their Stories
The Really Crafty Link Party #316 – Keeping it Real
Craftastic Monday Link Party – Sew Can Do
Hello Monday – Pink Lady
Anything Goes Linky #330 – My Random Musings
Traffic Jam Weekend Link Party #324 – My Bijou Life
Craft Schooling Sunday 05/22/22 – Creative Jewish Mom
Inspirations Link Party 2 – Pieced Pastimes
Linky Ladies Party #224 – The Purple Poncho
The Loop Scoop #38 – Moogly Blog
Create, Bake, Grow & Gather Party #520 – Shabby Art Boutique
Funtastic Friday Link Party #385 – Simply Beautiful by Angela
Saturday Sparks Link Party 515 – Pieced Pastimes
Pink Saturday – How Sweet the Sound
A Morning Cup of Joe – The Cottage Market
639th Inspire Me Tuesday – A Stroll Thru Life
Fabulous Party 425 – Lou Lou Girls
The Happy Now Blog Link- Up #322 – JENerally Informed
The Wednesday Link Party – Oombawka Design Crochet
Team Creative Crafts Link Party #95 – Artsy Fartsy Mama
Wonderful Wednesday – Oh My Heartsie Girl
Wonderful Wednesday Blog Hop – My Life Abundant
Thursday Favorite Things #542 – An Artful Mom
Creatively Crafty Link Party #329 – Try It, Like It, Create It
Encouraging Hearts & Home Blog Hop – My Slices of Life
Grace at Home No. 469 – Imparting Grace
Linky Party – Karins Kottage
Share the Wealth Linky #20 – Big Fat Menopausal Life
Those are both so, so cute!! I am always in awe of your talents.
Aww, thank you so much! I was really happy with how they turned out!
These mini cars are super cute!! Perfect for a baby gift ~ display in room and play with as they get older. Come share your links at “Happiness is Homemade” every Sunday through Thursday.
Thank you!! They really would make such a great baby gift!
Awh, these are super cute! A toy car you can take to bed to cuddle – perfect!
Thank you! My son loves that he can take his to bed with him, and it makes me happy that he has a car that is safe for him in bed!
These are as cute as the cupcakes!! Thanks for sharing at My Big Fat Menopausal Life’s Share the Wealth Party. Hope your week is amazing!
Aww, thank you so much!