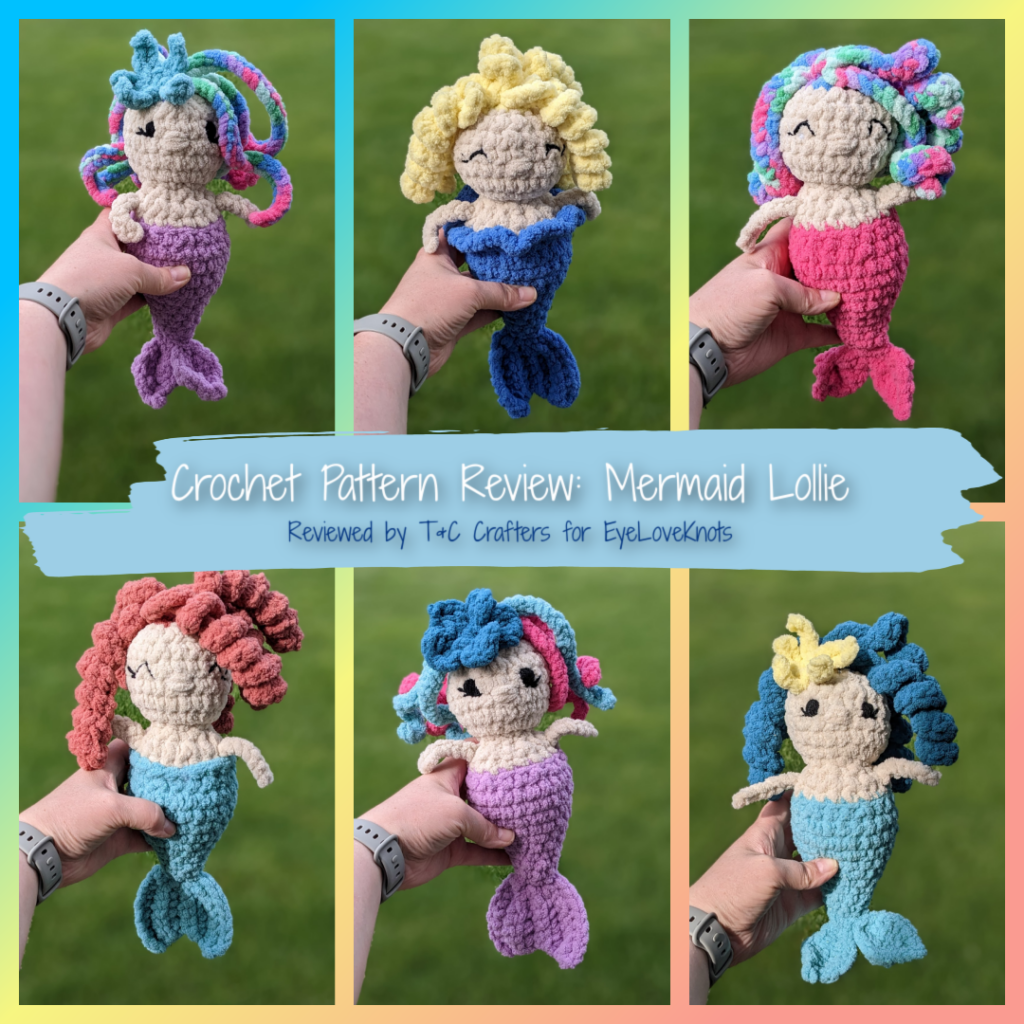
This is a crochet pattern review of the Mermaid Lollie designed by Stitch Sister Co. for the Sunshine Yarn Project. Review done by Candace of T&C Crafters for EyeLoveKnots.
This post contains affiliate links for WeCrochet, Etsy, and Amazon. If you make a purchase by clicking on them, I make a small commission at no extra cost to you. Thanks for your support!
Find the crochet pattern review below, or click here to purchase the pattern from Stitch Sister Co. on Etsy!
In a hurry? Pin this for later when you have more time.
It’s me, Candace with T&C Crafters.
Visit with me on Facebook and Instagram for all kinds of awesome crochet makes and inspiration.
I have been seeing tons of adorable mermaid patterns all over social media lately, and now that it’s Mer-May, I knew I needed to make some for my upcoming summer market! A few months back, I bought the Mermaid Lollie pattern by Stitch Sister Co. because I was drawn in by the beautiful pictures and great reviews of the pattern that I saw on Instagram. I had no idea when I bought the pattern how thankful I would be for my purchase!
Not only is the Mermaid Lollie pattern super easy and quick to work up, but it comes with so many detailed modifications that this one pattern could constitute a whole book worth of patterns! In addition, this pattern was created for The Sunshine Yarn Project, which is a phenomenal non-profit organization that creates beautiful handmade items for children in crisis.
I am absolutely hooked on this pattern, and can’t wait to get my hands on some more patterns by the Stitch Sister Co. The Mermaid Lollie pattern is so fun to work up in all sorts of color combinations. My husband has already assured me that my finished mermaids are going to be my next best seller – that is, as long as I can keep them away from my mermaid-loving daughter!
Materials I Used:
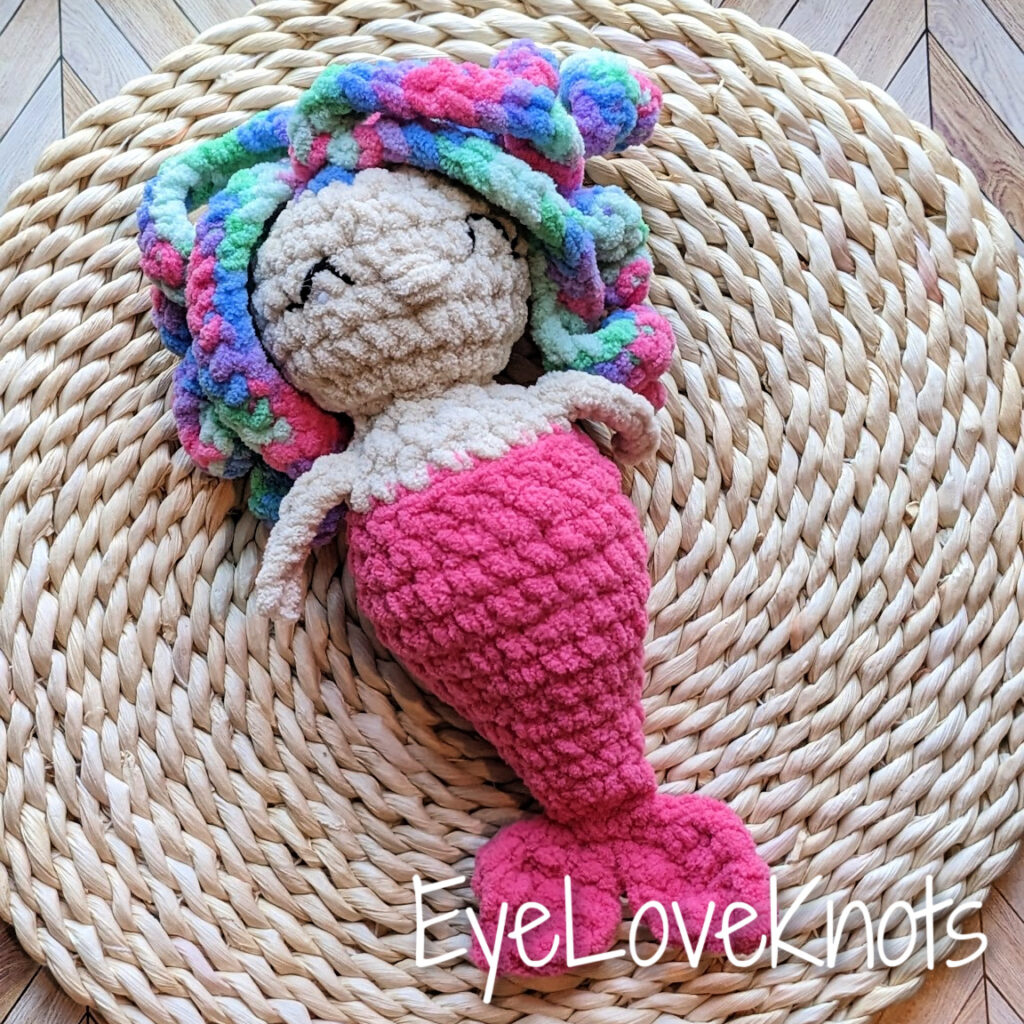
- Bernat Blanket Yarn in Almond (skin tone) and Assorted Colors (Tail and Hair) – I used Baby Sparkle in Seaside, O’Go in Scuba and Flash, and Baby Blanket in Buttercup. I also used Lion Brand Cover Story in Zephyr.
- K10.5/6.5 mm Crochet Hook – I love using Clover Amour Ergonomic Hooks!
- Polyester Fiberfil
- Black Worsted Weight Yarn
- Yarn Needle
- Mermaid Lollie, Paid Crochet Pattern by Stitch Sister Co. via Etsy
Material Notes:
This pattern is made using super bulky (weight 6) yarn. The original pattern was worked up in Bernat Blanket yarn, which is primarily what I used. I also used a little bit of Lion Brand Cover Story, which is very similar in weight and worked well with the blanket yarn.
You could use any super bulky yarn for this project and just adjust your hook size accordingly. If you decide to mix different types of yarn together to complete your mermaid, you will want to be sure that the yarns are really close in weight and texture so that the proportions of your mermaid don’t get distorted.
I used the color almond for the skin tone of my mermaids since that is what I had in my stash. I plan to make more mermaids with different skin tones to provide some alternatives for my customers. The skin color requires the least amount of yarn, while the hair requires the most. If you are trying to use up different colors from your stash, I suggest making sure you have plenty of yarn before starting the hair.
The Sunshine Yarn Project, which this pattern is written for, donates stuffed toys to children in crisis. As a safety measure, they suggest using embroidered eyes rather than safety eyes. Directions are still provided in the pattern for using safety eyes if you prefer to use them. I used black worsted weight yarn to embroider my eyes since I found that black embroidery floss was not thick enough to stand out against the blanket yarn.
While this is a no-sew project, you will still want to have a yarn needle handy to weave in ends. You will also need the yarn needle to embroider the facial features and attach any hair embellishments you choose to add. I recommend using a metal yarn needle as it will be easier to push through the stuffed plushy when adding details.
Time Spent:
Each mermaid took about 1 1/2 to 2 hours to make, depending on the details that were added. The curlier the hair, the longer it takes to make. For the finished size, I felt that this was an extremely quick make!
Measurements:
My finished mermaids measured 11.5 inches long and 3.5 inches wide.
Gauge:
Gauge is not critical for this pattern, and specific gauge measurements are not provided in the pattern. The designer notes that stitches need to be tight enough that the stuffing does not come through between the stitches. You will need to adjust your tension and hook size accordingly to make sure that you don’t have gaps between your stitches.
If you want your finished Mermaid Lollie to turn out the same size as mine, you can compare your tail fins as a gauge swatch. When using a K10.5/6.5 mm crochet hook and super bulky yarn, the ribbed fin measures 3.5 inches long by 3.75 inches wide and a single petal fin measures 2.5 inches long by 1.75 inches wide.
Pattern Notes:
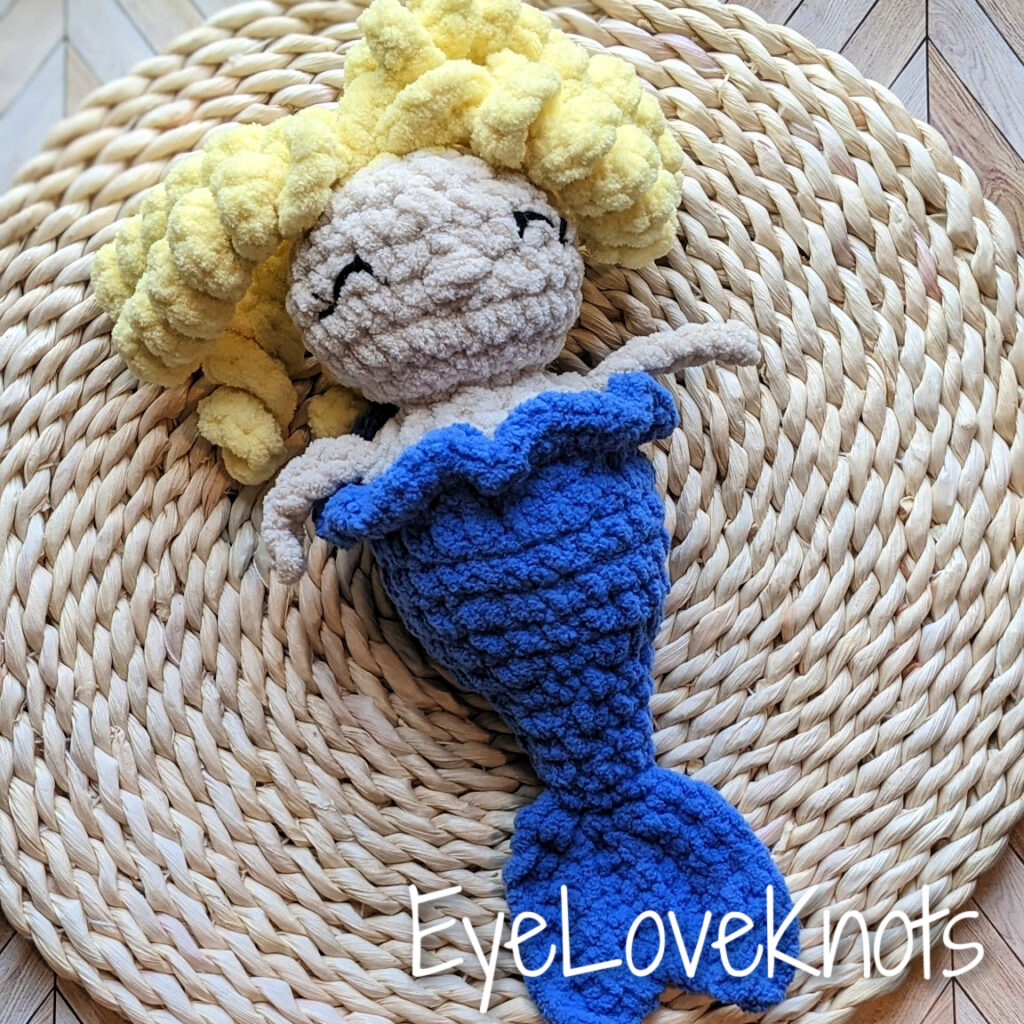
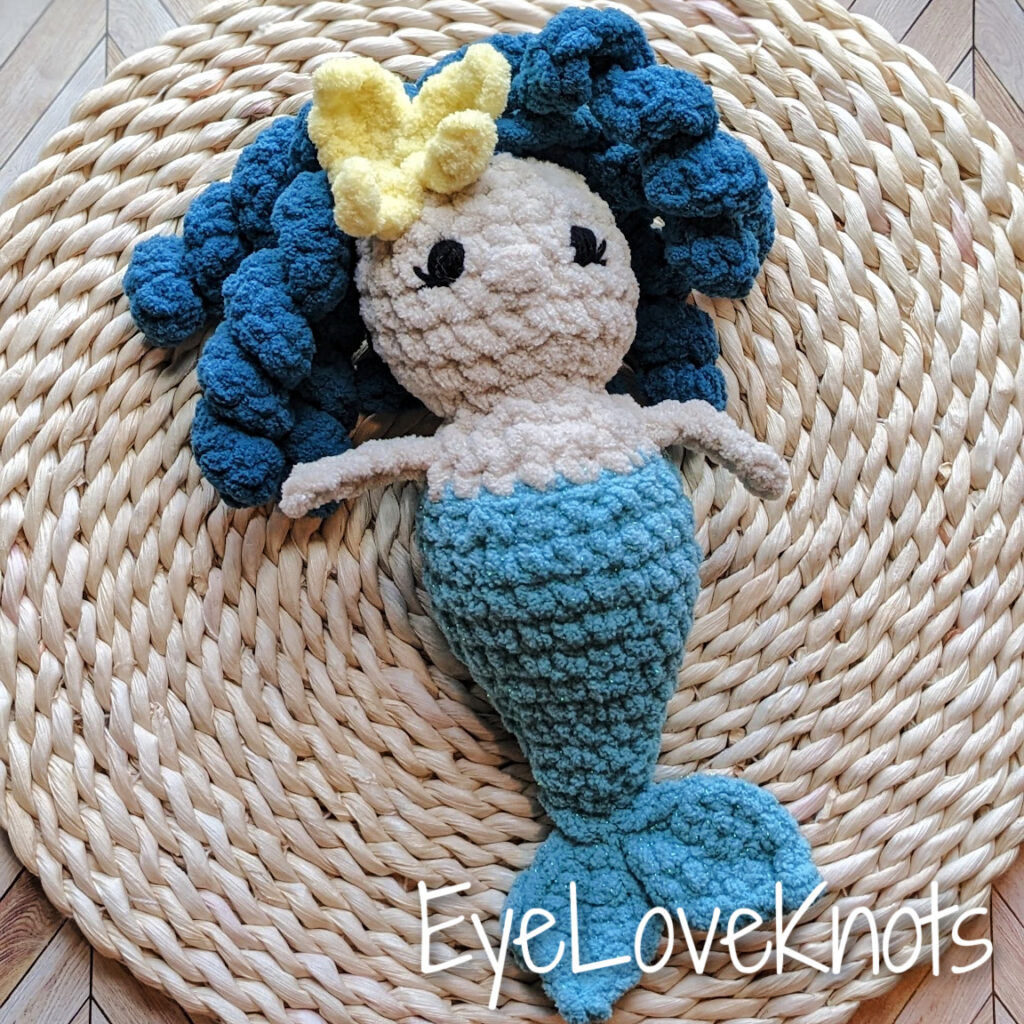
The Mermaid Lollie pattern is a no-sew amigurumi pattern that works up quickly in super bulky yarn. This pattern is super customizable and features directions on how to make different tail fins, hair styles, waistbands, facial features, and hair accessories. If you factor in the different color combinations you can use, this one pattern provides hundreds of options to make the cutest little mermaid!
I found this pattern really easy to work up. It is a little complicated for a beginner, but it is relatively simple for someone with intermediate crochet skills. You will want to be familiar with a variety of crochet stitches including single crochets, increases, decreases, slip stitches, working in the front or back loop only, and working on both sides of the chain. The tail is worked flat, but the rest of the pattern is worked in the round from the top of the tail. The designer provides a great variety of pictures to help with some of the trickier parts of the pattern, but it is still helpful to be well-versed in the different types of crochet stitches that I mentioned.
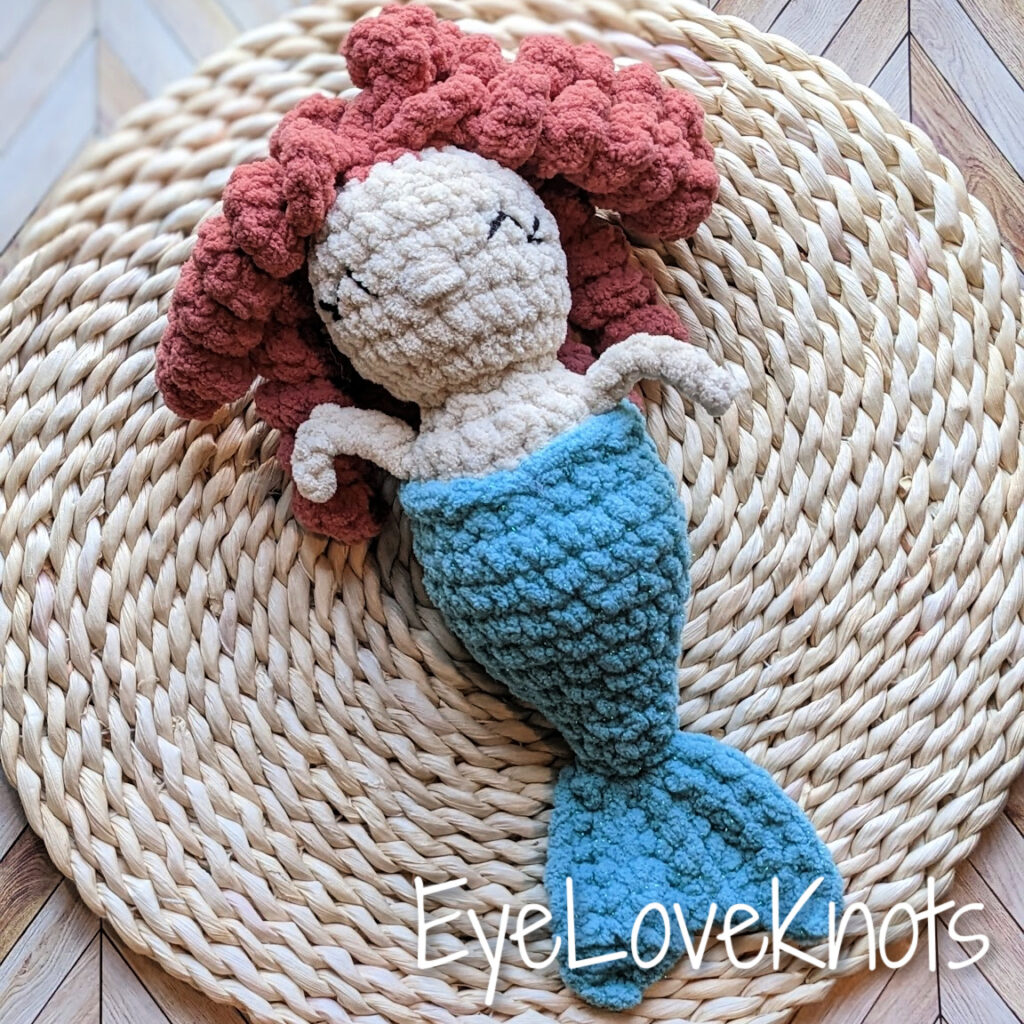
To begin the pattern, there are two options for tail fins. One is worked as a single piece with ribbing and the other is worked as two pieces for more of a pointed tail. I personally like the ribbed tail fin better because it required fewer ends to be weaved in, but both methods were pretty simple and super cute!
After making the tail fins, the tail is worked in the round from the top of the fins. I found this part really easy, and I liked making all of the tail fins and tails up first in bulk, and then moving on to the bodies for all my mermaids. In most of the no-sew amigurumi patterns I have tried, the arms need to be made first so they can be worked into the body. In this pattern, the arms are actually just additional stitches when working up the body, which makes it super easy to complete.
The body and head are all made together in the same color before transitioning to the hair. While the pattern recommends embroidering eyes, there are instructions provided for adding safety eyes before adding the hair to the mermaid in case you prefer safety eyes. Before adding the hair, the head is open at the top for stuffing. You could also embroider the facial features at this time if you don’t want to embroider them after it is finished.
My favorite part about this pattern is that the hair is made in the round while finishing the mermaid. In other patterns I have made, adding the hair can take a lot of time, but the hair pattern for this mermaid was really simple and made the hair attachment much more secure. Depending on how curly you want the mermaid’s hair to be, there are several ways you can create the hair. The pattern provides the directions for making super curly hair, relaxed curls, loose curls, and beach waves. The less curly you decide to make the hair, the less time it will take.
Once your mermaid’s body and hair are finished, it is time to embellish it. The pattern provides detailed descriptions on how to add facial features in several different ways that are all safe to give to a child. In addition, there are options provided for jazzing up your finished mermaid with tail flair and hair accessories such as sea stars or flowers.
Overall, I absolutely love this pattern! I have already made six of them in just one weekend, and I plan to make a bunch more! These are definitely going to be a big hit at my summer market! I’m also thinking about getting some of the other Stitch Sister Co. mermaid patterns, including the Mermaid Luna, the Merboy, and the animal modifications. There are also some adorable lovey-style mermaid patterns available.
I’d love to hear if you decide to make this pattern! Be sure to tag Stitch Sister Co., EyeLoveKnots, and T&C Crafters so we can see your finished makes! Plus, be sure to use #MermaidLollie.
Don’t forget to visit with me on Instagram for all kinds of awesome crochet makes and inspiration.
Join one of our awesome Facebook groups to share your creations, and see what others are up to!
– Yarn Crafts & Coffee Community
– DIY Home On Rockwood Lane
– Alexandra Lane Lifestyle
Linked Up To…
Craftastic Monday Link Party – Sew Can Do
Vintage Charm Party 390 – My Thrift Store Addiction
Team Creative Crafts Link Party #147 – Artsy-Fartsy Mama
The Wednesday Link Party 504 – Oombawka Design Crochet
Creatively Crafty Link Party #361 – Try It – Like It – Create It
Grace at Home No 507 – Imparting Grace
Saturday Sparks Link Party 567 – Pieced Pastimes
Linky Ladies Party #236 – The Purple Poncho
Loop Scoop 62 – Moogly Blog
Sundays on Silverado #146 – The House on Silverado
Happiness is Homemade 480 – Decor Craft Design
You’re the Star Blog Hop – Decor Craft Design
Craft Schooling Sunday – Creative Jewish Mom
Handmade Monday #328 – Sum of their Stories
The Really Crafty Link Party #366 – Keeping it Real
Hello Monday – Pink Lady
Anything Goes Linky 379 – My Random Musings
684th Inspire Me Tuesday – A Stroll Thru Life
Fabulous Party 476 – Lou Lou Girls
Wonderful Wednesday Blog Hop – My Life Abundant
The Wednesday Link Party #349 – To Grandma’s House We Go
Encouraging Hearts and Home Blog Hop – My Slices of Life
Linky Party – Karins Kottage
Crafty Creators Link Party #67 – Life as a LEO Wife
Thursday Favorite Things #611 – An Artful Mom
Funtastic Friday Link Party #439 – Simply Beautiful by Angela
Create, Bake, Grow & Gather Party #574 – Shabby Art Boutique
Pink Saturday – How Sweet the Sound
A Morning Cup of Joe – The Cottage Market
Absolutely adorable and super cute.
I visited you via Happiness is Homemade #480
If not already part of SSPS, and are interested, find my entries: 29+117+118
You will find the linkup information (1) In the Top bar under Blogging: Weekly Senior Salon Pit Stop (2) In the sidebar: Click on 2nd image; (3) under the “Recent Posts
We hope to meet you there virtually.
Thank you so much!!
Alexandra, these little mermaids are adorable! Thanks for sharing this cute pattern review at Vintage Charm!
Thank you so much!!
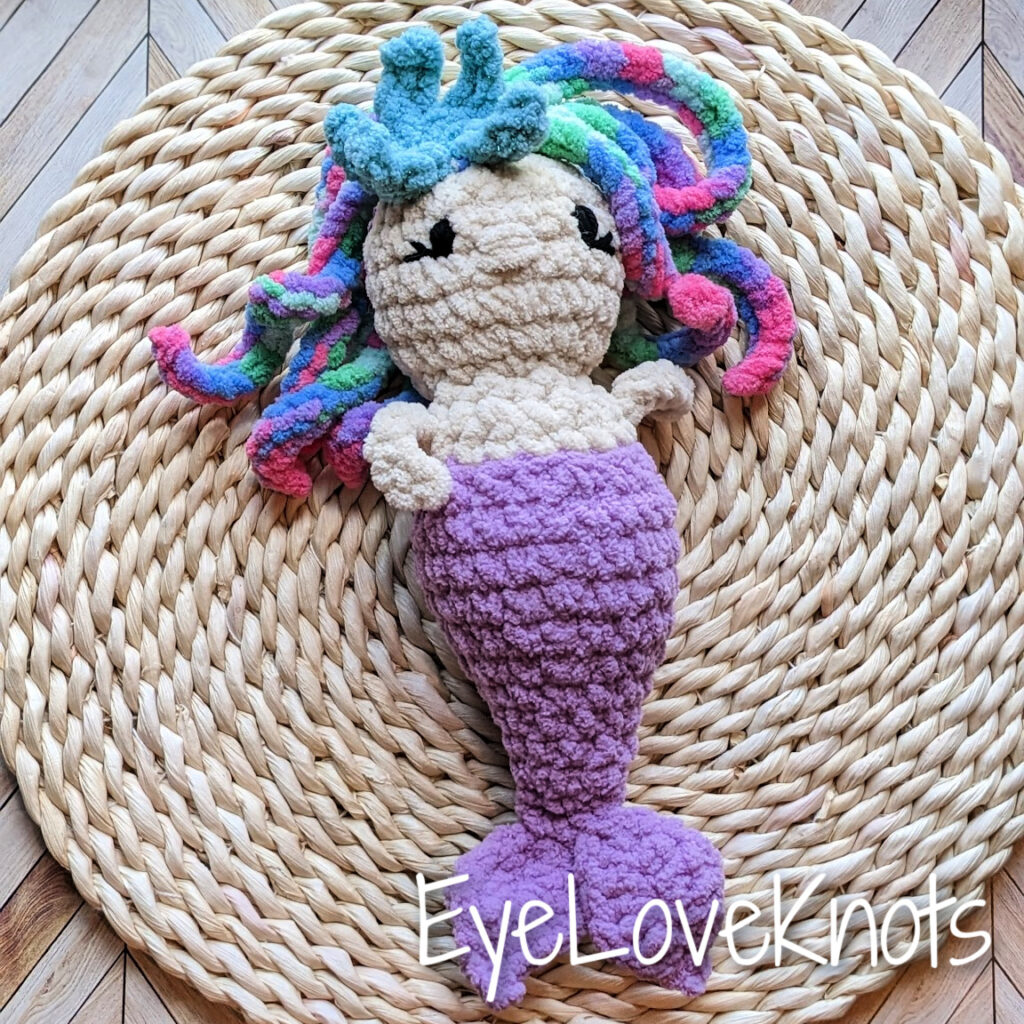
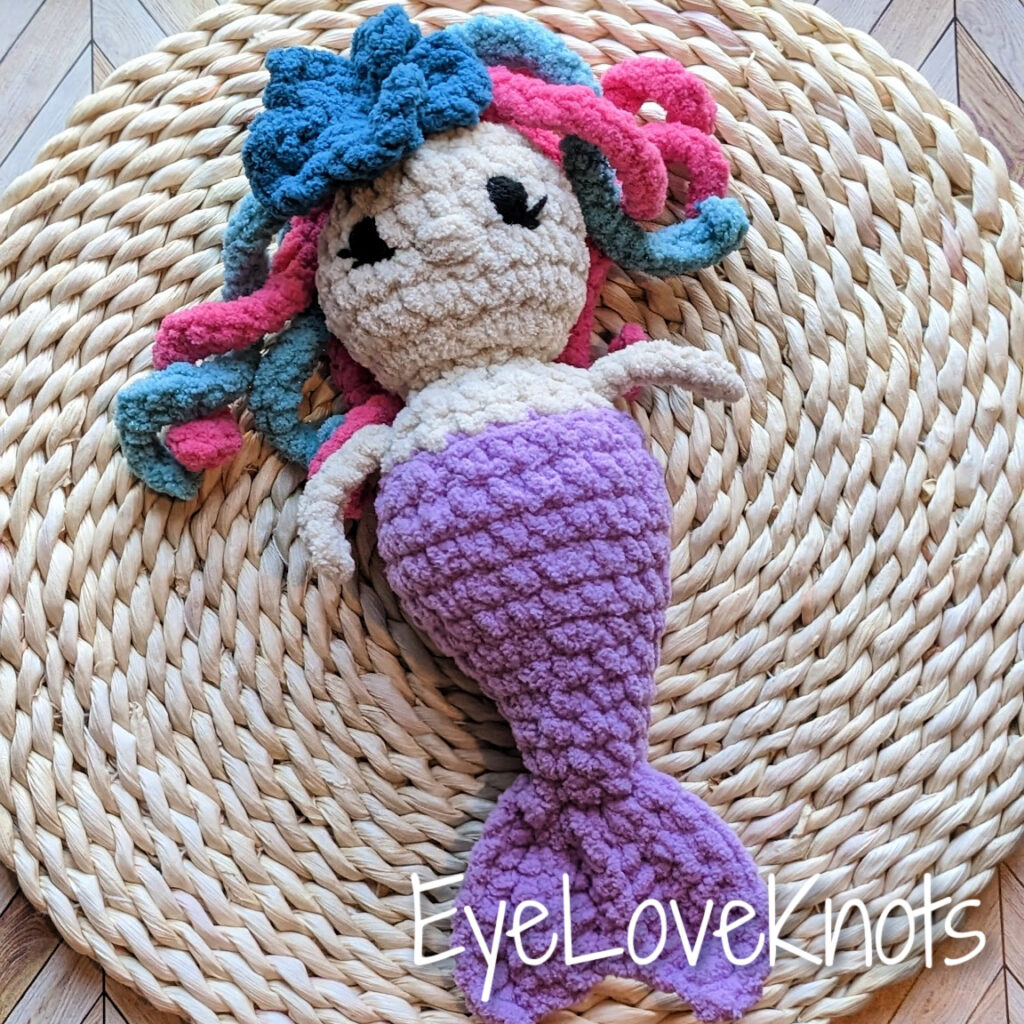
Oh my goodness; these are all so adorable! I really love the rainbow hair.
Thank you so much! I love how the colors turned out with the variegated yarn as hair!
They are so cute and adorable. Do you sell them, as I am sure my one granddaughter would love one. Please let me know.
I visited you via “Anything Goes” Pink Saturday – June 3, 2023
If interested feel free to visit my entries for this week: #26+27 as I would love to invite you to come and share your posts and you will have an opportunity to get featured.
You will find the linkup information (1) In the Top bar under Blogging: Weekly Senior Salon Pit Stop OR 2nd image In the sidebar
We hope to meet you there virtually.
Thank you so much!! Yes, I do sell them! I will work on getting a listing posted on Etsy for the ones I have made (all the ones pictured in this post) or you can message me on Etsy for a custom order. You can find my Etsy store at tandccrafters.etsy.com
Thanks so much for checking out the post!