This post contains affiliate links for LoveCrochet. If you make a purchase by clicking on them, I make a small commission at no extra cost to you. Thanks for your support!

Last week I shared a tutorial with you on How to Make a Slip Knot, and in it, I mentioned another tutorial I wanted to share – this one! When I work a project, and am left with a jumbled mess, or when I reach near the end of a skein in a project and find a jumbled mess, I use this technique to wind the jumbled mess back into a neat, ball of yarn to be used to either finish the project, or store until next time.
This technique would also work if you purchase a skein of yarn that needs to be wound into a ball, and you don’t have a ball winder, though the process would take quite a bit of time. I would also suggest a longer beginning section, and a few more winds before turning so the ball doesn’t grow too quickly.
For this tutorial, I am using Lion Brand’s Wool Ease Thick & Quick in the Marble colorway, but this technique works with any weight yarn (or thread or floss) that you want to be able to use pulling from the center.
You will also need a large knitting needle, or crochet hook, or something similar, but I find the knitting needle to work best for me.
I am not creating anything new here, but I did take the time to take the photos, edit them, and put this tutorial together, so please respect my work. Do not pin or share any of the tutorial images – just the main photos. Provide the link for others to find my page (helps out me and my blog with the traffic). Do not copy and paste my work anywhere. Thank you!
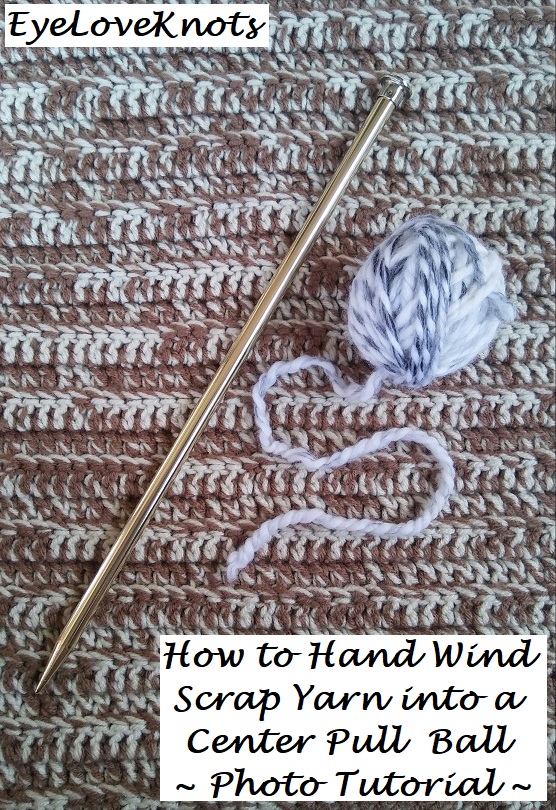
Photo Tutorial:
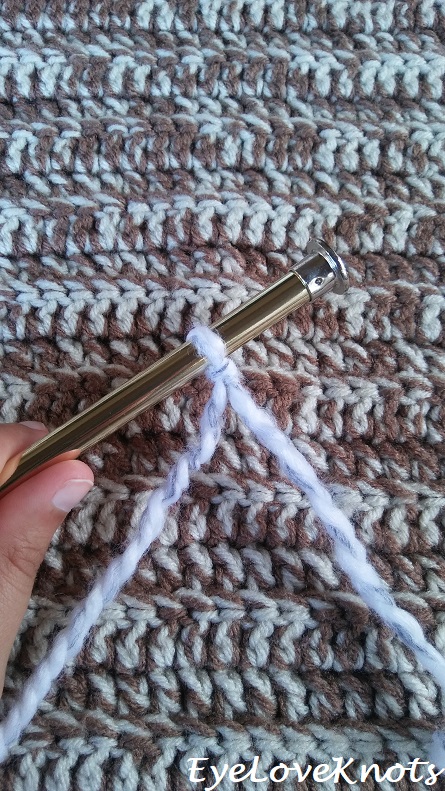
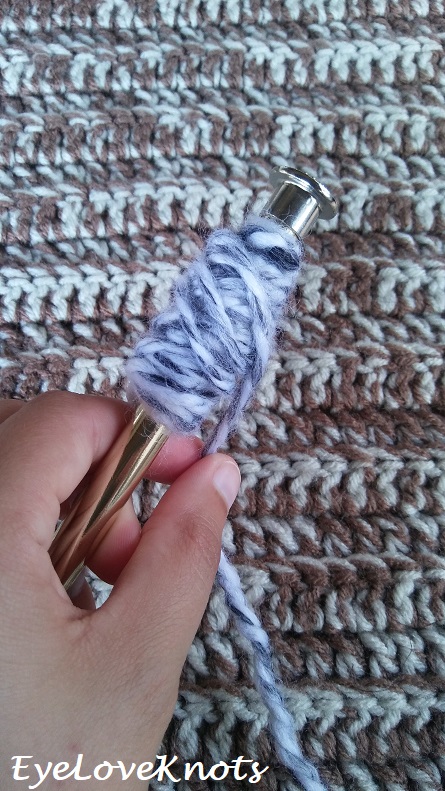
First thing you’ll do is place a slip knot onto a knitting needle, close to the flat end – this is to prevent the yarn from falling off as you wind.
During the whole process, you’ll need to hold the tail with your thumb to keep it out of the way…
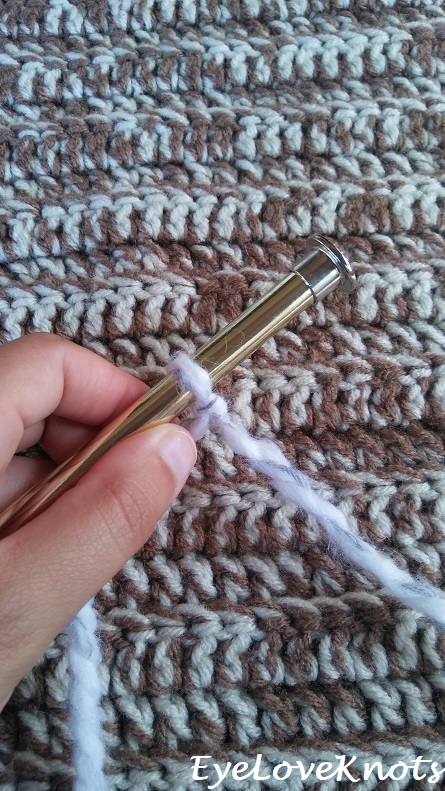
…And wrap the working yarn around the needle about two inches long (or longer depending on how much yarn you are winding) working a few layers, and ending on the right side.
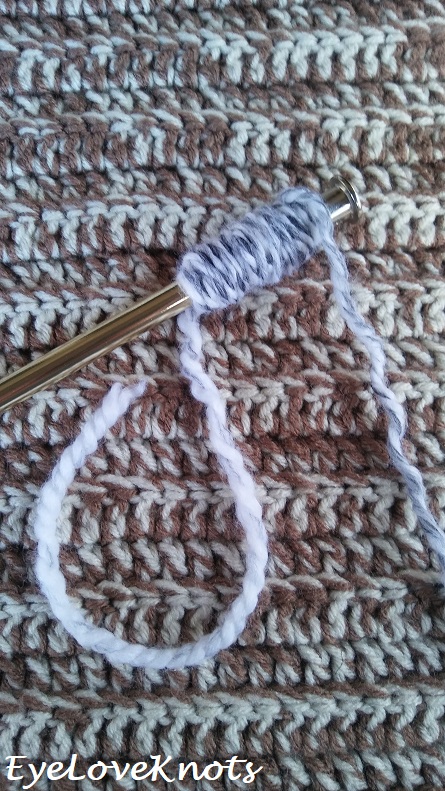
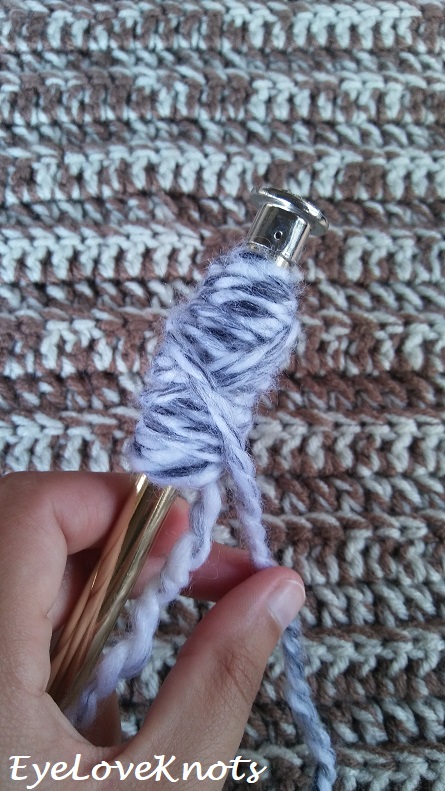
Once you are comfortable with the foundation, turn the needle upright (with flat end on top), and wrap the working yarn diagonally downward.
Wrap in the same direction two more times, stacking the wraps.
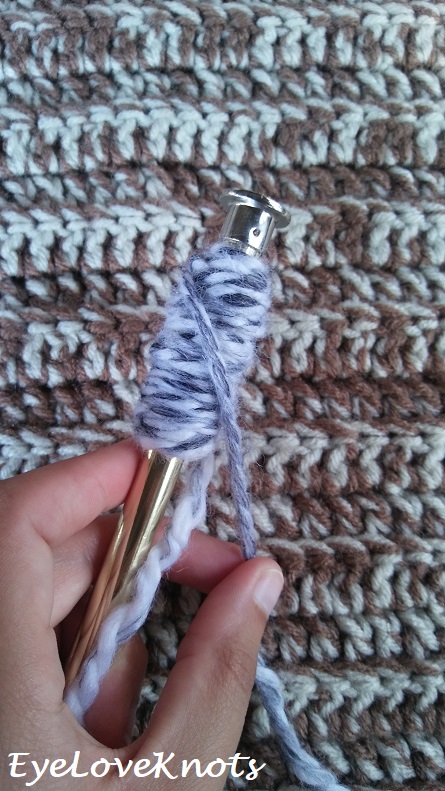
Rotate the needle clockwise about a quarter, and wrap the working yarn again diagonally downward…
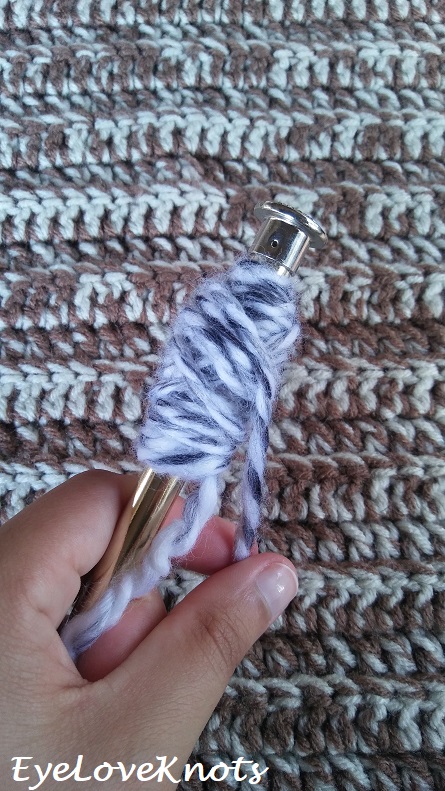
…And wrap two more times, stacking the wraps.
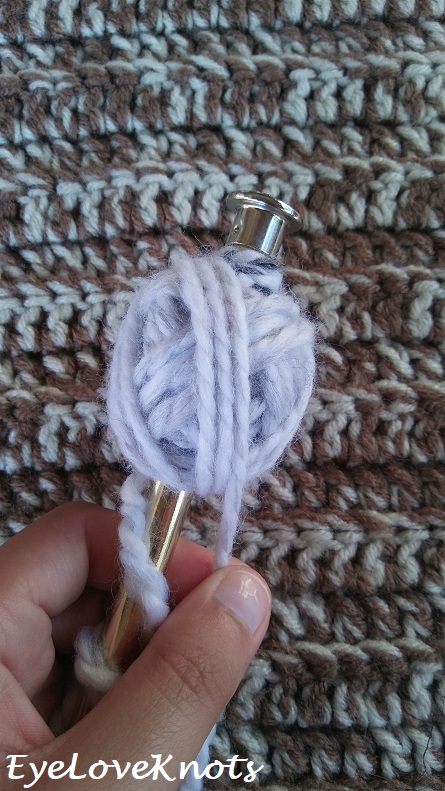
Continue rotating, and wrapping… A nice ball will form.
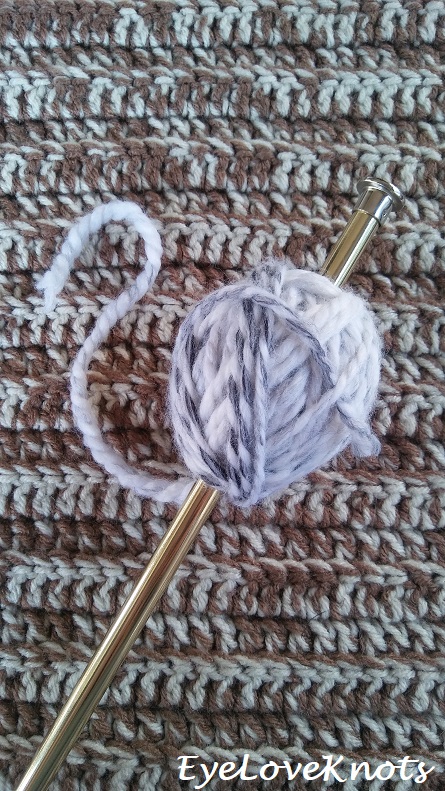
Once you’ve reached the end of your working yarn, tuck it into the ball to secure.

Carefully pull the ball off of the needle. Now the beginning tail (attached to the slip knot) is your center pull, and you are ready to use or neatly store until then!
DO NOT re-publish my photos as your own. DO NOT copy and paste my pattern anywhere, link to it instead.
Join the EyeLoveKnots Crafting Community on Facebook to share your creations, and see what others are up to!
Linked Up To…
Nifty Thrifty Sunday #339 – Meet Our Life
Craft Schooling Sunday – Creative Jewish Mom
Handmade Monday #80 – Sum of their Stories
Merry Monday #208 – A Wonderful Thought
Creative Mondays Blog Hop – Claire Justine
I’m Lovin’ It Linky Party – Tidy Mom
Pin Junkie Pin Party #270 – The Pin Junkie
Funtastic Friday 184 Link Party – Olives n Okra
Hookin’ on Hump Day #169 – Petals to Picots
Scrappy Stitchers Link Party #42 – Stitches’N’Scraps
Crafty Love Link Party #34 – Jessie at Home
Inspiration Monday – Scattered Thoughts of a Crafty Mom
428th Inspire Me Tuesday – A Stroll Thru Life
Lou Lou Girls Fabulous Party #221 – Lou Lou Girls
The Linky Ladies Party #135 – The Purple Poncho
The Scoop Link Party #332 – Worthing Court Blog
You’re the Star Linky Party Week 91 – Let it Shine
Craftastic Monday Link Party – Sew Can Do
Merry Monday #210 – A Wonderful Thought
{wow me} wednesday #357 – Ginger Snap Crafts
The Wednesday Link Party #251 – The Stitchin’ Mommy
I’m Lovin’ It linky party week 415 – Tidy Mom
The Pin Junkie Pin Party #271 – The Pin Junkie
Funtastic Friday 185 Link Party – Olives n Okra
Home Matters Party #190 – Domestic Deadline
Friday Frenzy Link Party – 06/29/18 – Kelly Lynn’s Sweets and Treats
Best of the Weekend – Hello Little Home
Sweet Inspiration Link Party #113 – The Boondocks Blog
Sundays at Home #212 – Celebrating Everyday Life
Snickerdoodle Create Bake Make Party #238 – Across the Boulevard
Scrappy Stitchers Link Party #43 – Stitches ‘N’ Scraps
Ginx Woolly Linx Party July – Ginx Craft
Writing a second Entry for Your neat Giveaway: Like was the crocheted Chic Tank Pattern! Thanks for Sharing!
I really like the Chic Tank too! I have a new top I pattern tested for my friend Helena (who has a free crochet pattern for it) that I will be sharing to the blog next Saturday. Thanks so much for visiting Linda! Good luck!
Great tutorial. Thanks for sharing at Creative Mondays 🙂 Hope you can join us today.
Thanks, Claire! Hopping over now 🙂
That’s brilliant, I would never have even though to try this!
I actually hadn’t thought about it until fairly recently when I started buying yarn from a local yarn shop, and the yarn needed to be wound into a ball before able to work with. Now, all my scraps are organized, and easy to use.
Thank you, thank you.
Now I just need to try it …- but my yarn will produce a lot bigger ball than what you have ended up with. (I am sure I will be very tempted to remove the knitting needle well before the end of the ball-making procedure, in order to keep winding the bigger ball of yarn.)
Hehe! I know what you mean. It’s not as important once you get the ball shape going, but I still like having the needle to hold as I work.