This is a photo tutorial showing how to cross stitch on crocheted fabric, though this technique is used in any case of cross stitching.
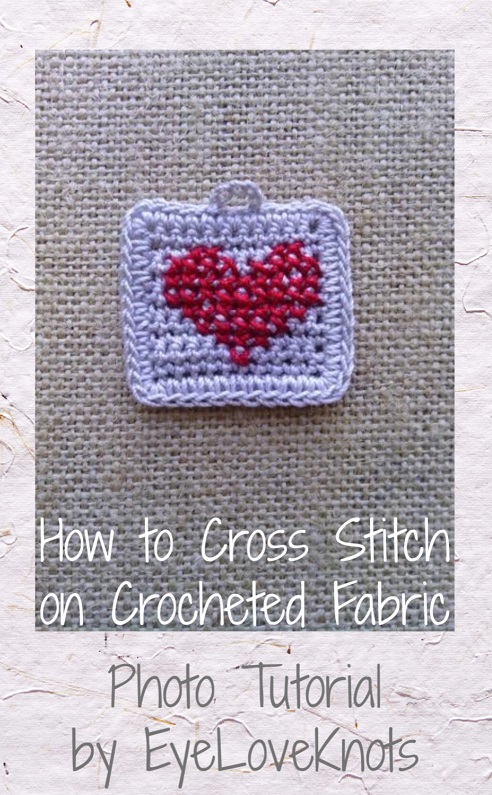
I am working on a pair of earrings to share this weekend – you guessed it, some heart ones, but before I get there, I wanted to share the technique used in them – cross stitching! Just like in my Cross Stitch Apple Earrings (Free Crochet Pattern & DIY).
Now, I am showing you how to cross stitch on crocheted fabric, as the pattern calls for, but this technique shows you how to cross stitch on anything.
What is Cross Stitching?
Cross stitching is a form of sewing, most commonly used with a woven fabric called Aida Cloth and strands of embroidery floss to create an image with sewn “X’s”.
The cross stitched look has really come a long way in the way it’s applied. I remember my aunt trying to teach me to do counted cross stitch with a kit, and I never had the patience for working with the Aida cloth, and the large number of tiny “X’s” to follow on the chart, but I do enjoy using cross stitching on my crocheted fabric (a larger version of Aida cloth).
I have also seen makers create it with paint or vinyl, like The Scrap Shoppe Blog’s Vinyl Cross Stitch Wall Art (DIY), and on a variety of items like Flamingo Toe’s Cross Stitch Antique Chair Refinish, or Sadie Seasongoods Christmas Cross Stitch on Vintage Tennis Rackets (DIY).
Materials:
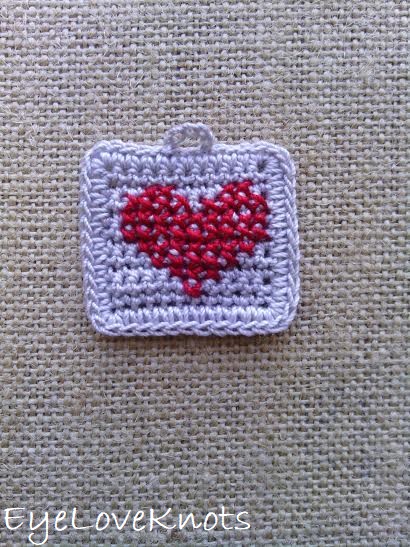
I am showing this technique with Artiste Cotton Crochet Thread in the Cloudy [Gray] and Poppy Red colorways, and a #20 tapestry needle, but this technique works with any yarn weight/type.
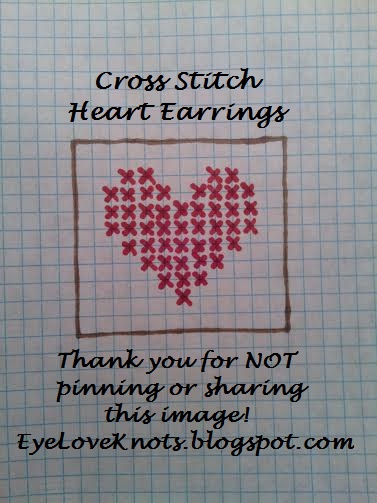
Cross Stitch Heart Graph (Example):
As a blogger, I rely on views to my blog to earn money from my ads. Please do NOT share my graph photo, or save to Pinterest. Doing so, would allow makers to not have to return to my blog, which would result in a loss of views and income.
Tutorial:
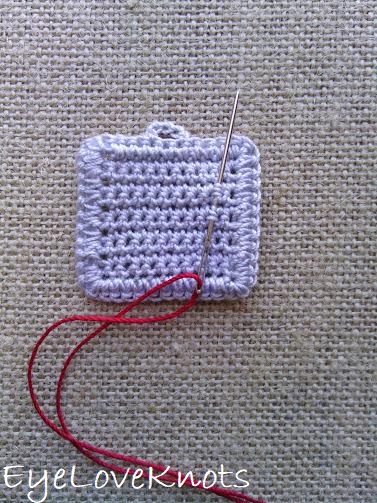
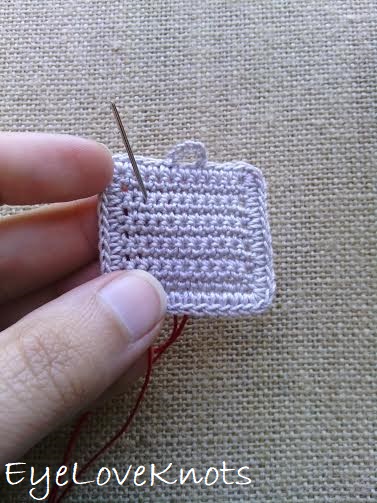
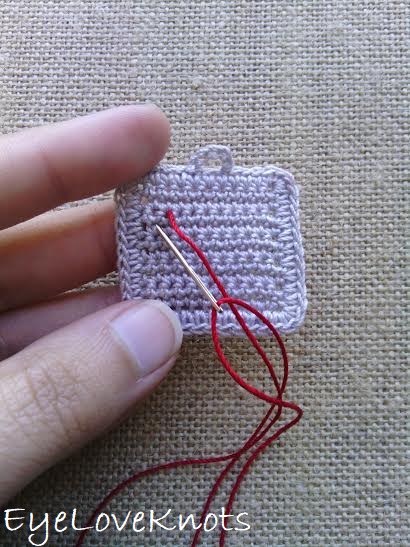
To begin, cut a long piece of thread – here I used Poppy Red. Weave the tail of your piece into the back of the work to secure it.
I am doing this because my piece is crocheted, and it gives me added security, but if I were just cross stitching on regular cloth, I would leave a tail lying across the back of the fabric in the space I was working in, and work my cross stitches over the tail to trap it.
Bring the needle up from back to front.
Working diagonally, insert the needle from front to back.
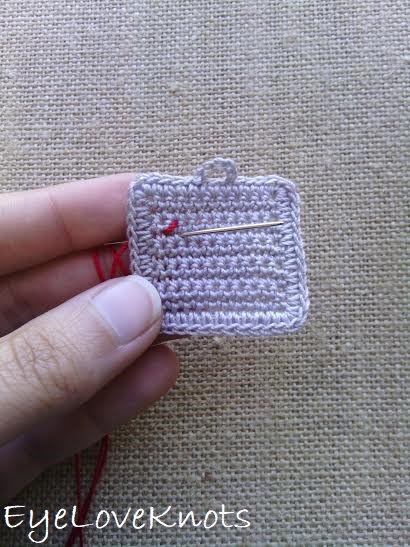
Repeat on the next set of holes underneath, continuing to work the slants in one direction.
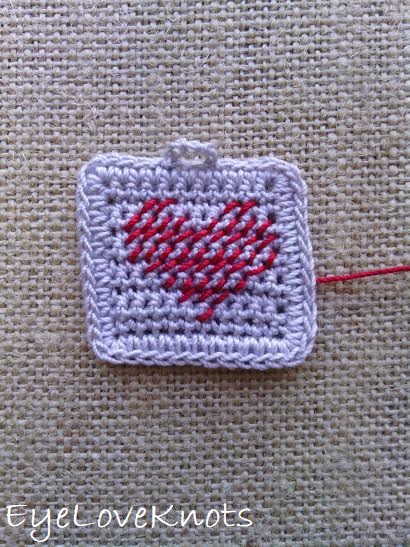
Continue on with the pattern all the way to the end.
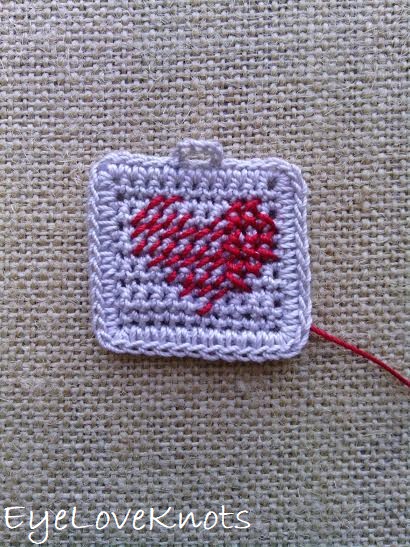
Then begin working in the same manner but backwards to created the “x” look.
Once finished, weave in your end.
I am not reinventing the wheel here with this technique, but I did take the time to photograph, and write up this post in my own words. Please feel free to make and sell your own projects made using this tutorial. DO NOT re-publish my photos as your own. Please link to this tutorial so others can learn how to cross stitch too!
Join the EyeLoveKnots Crafting Community on Facebook to share your creations, and see what others are up to!
Linked Up To…
{Wow Me} Wednesday #439 – Ginger Snap Crafts
Your Whims Wednesday #444 – My Girlish Whims
The Wednesday Link Party 332 – The Stitchin’ Mommy
To Grandma’s House We Go Link Party 177 – Chas’ Crazy Creations
Waste Not Wednesday 190 – Faeries and Fauna
Talk of the Town #209 – My Repurposed Life
Tuesday Turn About #33 – My Wee Abode
Hookin’ on Hump Day #207 – Moogly
534th Inspire Me Tuesday – A Stroll Thru Life
Fabulous Party #305 – Lou Lou Girls
Linky Ladies Party #177 – The Purple Poncho
Best of the Month – Calypso in the Country
Handmade & Otherwise Weekly Link Up Week 35 – Petals, Pies and Otherwise
Create, Bake, Grow and Gather Party #405 – Shabby Art Boutique
Link Your Stuff – Annemarie’s Haakblog
Snickerdoodle Create Bake Make Link Party – EyeLoveKnots
Craft Schooling Sunday – Creative Jewish Mom
Happiness is Homemade Link Party #309 – Create with Cynthia
Creative Mondays – Claire Justine
Handmade Monday #162 – Sum of their Stories
The Really Crafty Link Party #204 – Keeping it Real
Ginx Woolly Linx Party February – Ginx Craft
Craftastic Monday Link Party – Sew Can Do
Little Cottage Link Party #38 – Love my little Cottage
Thank you for this. I’ve known about the idea of cross stitching on top of crochet but have never done it because I just make a graphghan and incorporate it into the blanket or item. With this tutorial, I actually can see how it’s done and can refer to it if ever needed. Thank you!
Yay! That’s exactly what I wanted – to create a helpful resource.
Me and graphghans are not best friends – carrying the yarn is frustrating to me. But I would like to work on this skill a little more to improve.
Such great instructions and a great end result! Thanks for sharing… I’d love to learn how to cross stitch eventually.
Carrie
curlycraftymom.com
Thank you, Carrie! Cross stitching is fun, though I don’t have much patience for doing it on Aida cloth. I do, however, really enjoy needlepoint on plastic canvas – uses a plastic mesh with larger holes, and a larger yarn itself. They sell kits for both at JoAnn’s and Hobby Lobby. Maybe get a little kit, practice, and see which you like best? I am sure you will find it relaxing, and rewarding!
I’ve admired this technique often and never actually tried it out. I’m pinning your instructions so I can actually make this happen!!
Oh, it’s so much fun! You rock actual cross stitch, while I don’t have the patience for it, but I find this technique makes it more doable. Thanks for sharing!
I’ve never thought about doing this before, but it’s a great idea.
Thank you for sharing at the Really Crafty Link Party. Pinned.
What a good idea. I love sewing on my knitting, but have never tried crossstitch. Thanks for joining in Ginx Woolly Linx Party for February.