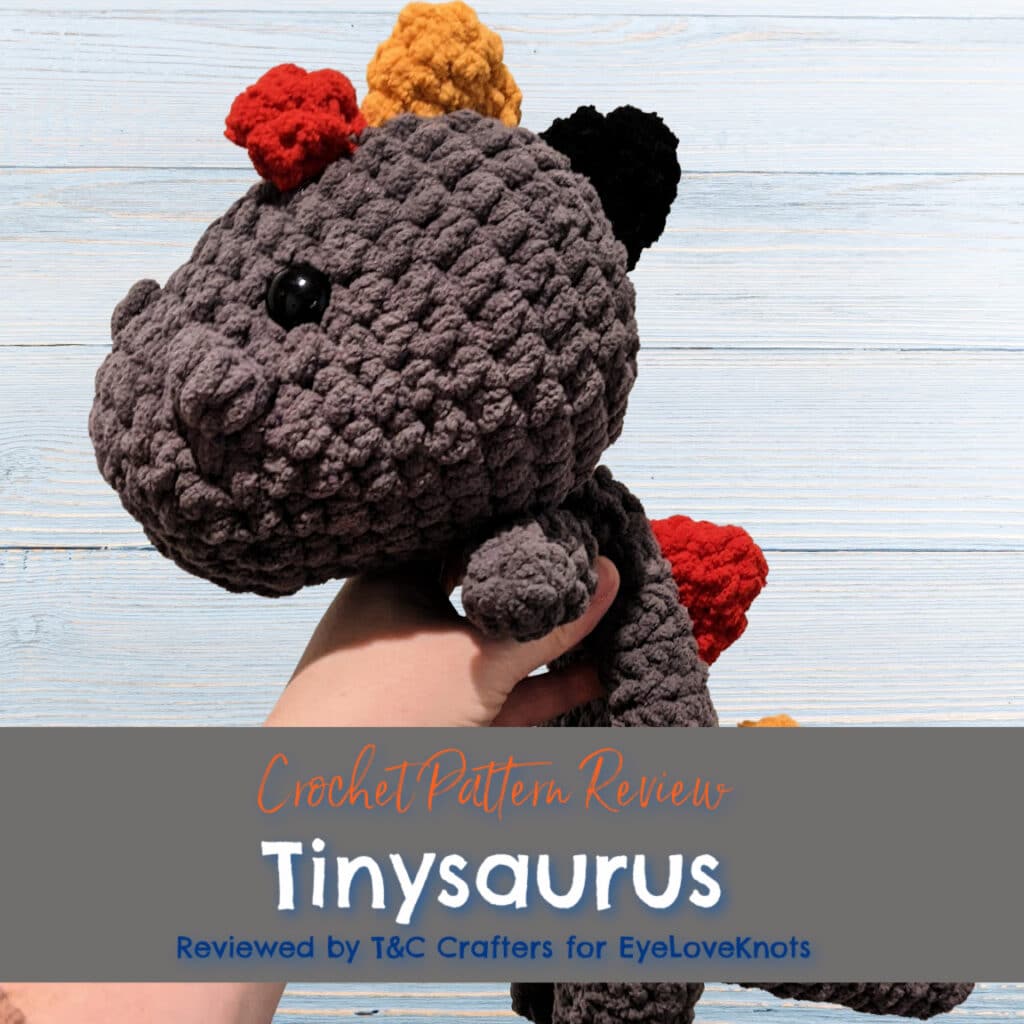
This is a crochet pattern review of the Tinysaurus Crochet Pattern designed by Mama Made Minis. Review done by Candace of TandC Crafters for EyeLoveKnots.
This post contains affiliate links for Etsy, WeCrochet, and Amazon. If you make a purchase by clicking on them, I make a small commission at no extra cost to you. Thanks for your support!
Find the crochet pattern review below, or click here to purchase the crochet pattern from Etsy.
It’s me, Candace with T&C Crafters.
Visit with me on Facebook for all kinds of awesome crochet makes and inspiration.
With Christmas quickly approaching, I have been on the lookout for some great ideas for handmade Christmas gifts for friends and family. When I saw Mama Made Mini’s release of the Bohasaurus and Tinysaurus crochet patterns, I knew right away that I would want to make these for my dinosaur-loving son and nephew.
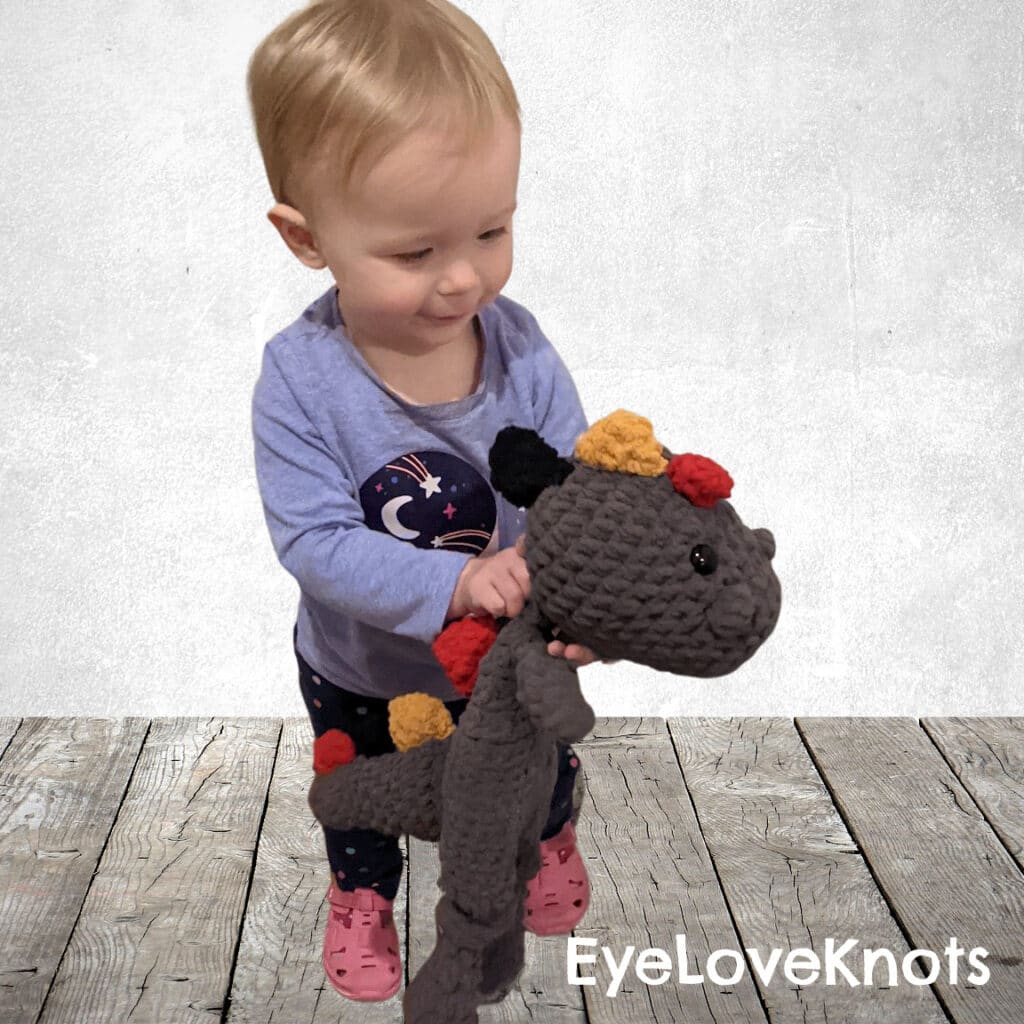
What I love the most about this pattern is that it not only looks absolutely adorable, but it is super functional for little kiddos that love to squish and love on their stuffed toys. The Tinysaurus is made with a firmly stuffed head and lightly stuffed tail, but the body is left without stuffing so it acts like a lovey for ultimate cuddles. My son loves to sleep with his stuffed animals, so I thought this would be perfect for him to cuddle with. My daughter grabbed it up right away, and loved it, so I think it will be a winner!
If you are looking for a last-minute gift idea for the upcoming holidays or just want to make an adorable gift for a dinosaur lover in your life, the Tinysaurus pattern is for you. It can be made in just a few hours and will make for a truly treasured keepsake. I can’t wait to also try out the larger Bohosaurus pattern as well!
Materials I Used:
- Bernat Blanket Yarn – I used dark gray, black, red, and mustard.
- 7.0 mm and 8.0 mm Crochet Hooks – I love Clover Amour Ergonomic Hooks
- 16mm Black Safety Eyes
- Polyester Fiberfill Stuffing
- Darning Needle
- Scissors
- Stitch Markers
- Tinysaurus, Paid Crochet Pattern by Mama Made Minis via Etsy
Material Notes:
This pattern calls for super bulky weight 6 yarn. I used Bernat Blanket yarn for mine because that’s what I had on hand, but you could use any super bulky yarn. I really like how the Bernat Blanket made this super squishy for my little man, and I’m probably going to continue using this type of yarn for my future projects. I have also heard of people making this pattern with velvet yarn as well, just using a smaller hook size.
Two different sized hooks are used in this project. The smaller hook is used for the dinosaur’s head because you don’t want the stuffing to come out between the holes. The larger hook is used for the rest of the dinosaur because there isn’t stuffing in the body.
The pattern recommends using 12 mm safety eyes, but I chose to use 16 mm eyes because I thought the bigger eyes looked cuter. I don’t normally use safety eyes on my projects because I worry they could come lose with wear, but I opted for them in this project because I know my son is old enough not to swallow them if they come loose and we do not have any pets. I plan to use black felt eyes or crocheted eyes for future projects where I don’t know the recipient.
Time Spent:
This project took me approximately five hours to complete. If you wanted to create multiples of this design, you could save time by making all of the same parts at once so you get more comfortable with the pattern.
This pattern is also one that makes it really easy to work on over several days or sittings, because each piece can be made at a different time before being sewn together.
Measurements:
The finished dinosaur measures approximately 18 inches long. The head is about 4.5 inches in circumference and the tail is about 6 inches long.
Gauge:
Gauge is not important for this project. There is no specific final size that you need to make your project, so your tension will just impact how large your final piece is.
Pattern Notes:
I would definitely refer to this project as an intermediate project. While there are not really any difficult stitches, some of the techniques used in this project are a little more difficult than a beginner would likely enjoy. The pattern starts off with the head of the dinosaur, which I felt was the easiest part of the pattern. If you understand how to work in the round and make stuffed toys, the head is super easy to make.
When the head is completed, the author provides photo and written directions on how to begin working the body in the bottom of the head. This is a technique that I never used before, but the directions made it really easy to figure out. The pictures were also helpful. The body is another relatively easy part of this pattern. It also works in the round and uses half double crochets to provide bulk. With a larger hook size and the half double crochets, this part goes very quickly.
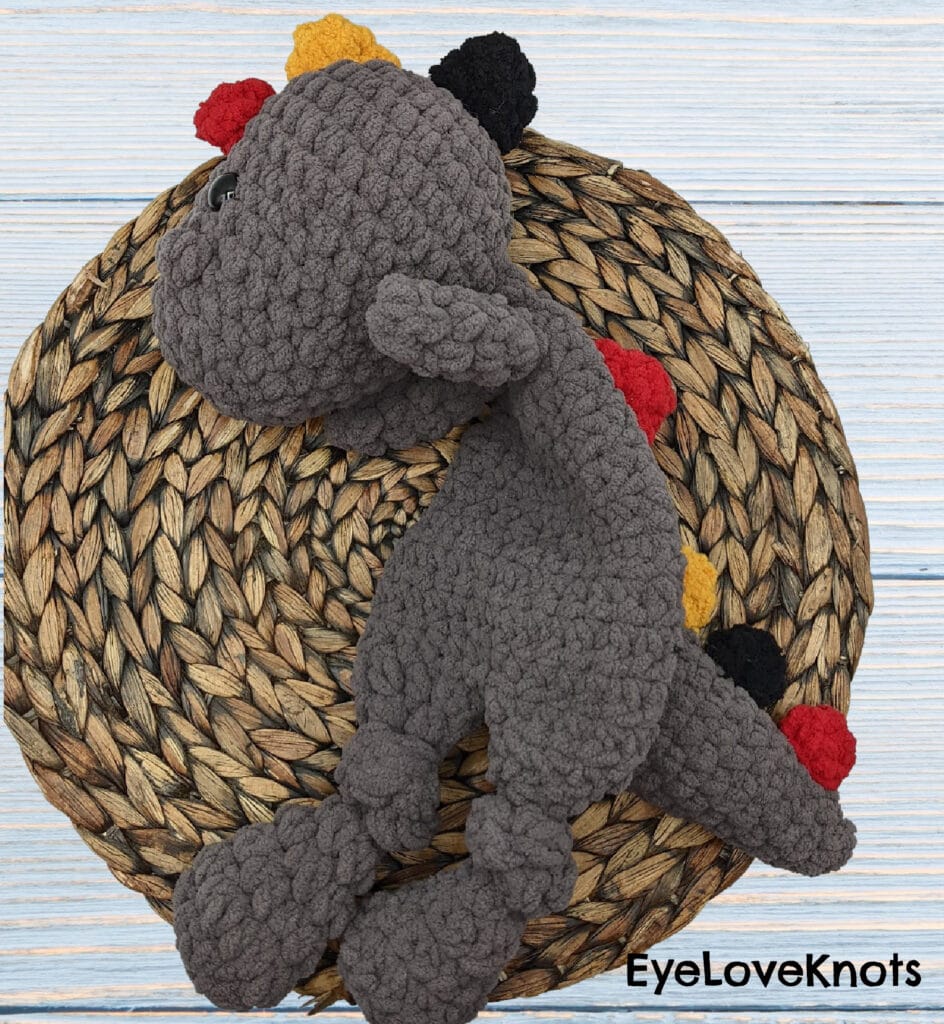
The legs are added to the bottom of the body. It is really important to be careful with stitch counts and to use a stitch marker to hold your place in this part. Adding the legs was not very difficult, but I did find making the skinniest part of the legs a little challenging because there were so few stitches and they were a little tight together. The skinny parts of the leg allow the legs to be tied in a knot, which I think helps make this dinosaur super adorable!
The arms and the tail are pretty easy to assemble and attach. The sewing involved in this project does not have to be super precise, which makes it less stressful for anyone that really doesn’t enjoy attaching the parts of amigurumi. The sewing includes attaching the arms, tail, and spikes, and closing up a small gap between the legs.
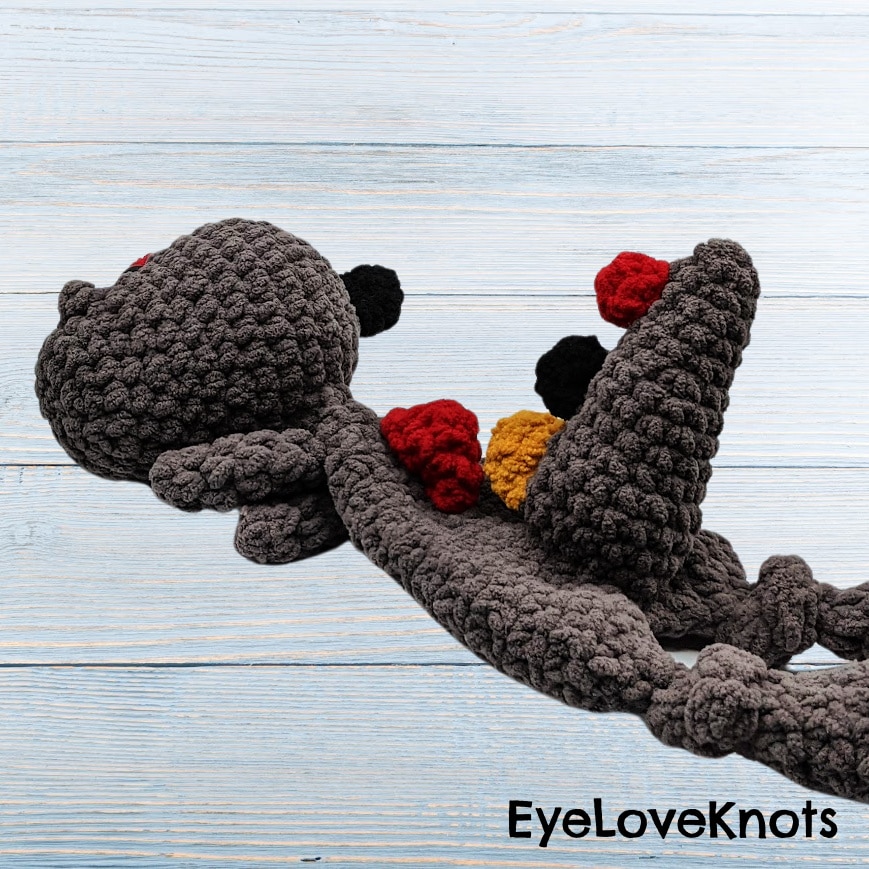
The author provides two ideas for attaching spikes to the dinosaur. There are three different sized spikes, and there are directions about how many of each type to attach for each style. There are also suggestions for changing colors when making the tail in order to add some extra color if you choose not to add spikes the whole way down the dinosaur’s back.
Overall, this was a very satisfying project. While I did find a couple of the parts a little challenging the first time through, it was a fun challenge, and I will definitely be making a lot more of these for gifts and to add to my Etsy shop. I am also looking forward to trying out the Bohasaurus pattern from Mama Made Minis as well, which makes a larger version of this dinosaur lovey.
I hope you get a chance to try out this project for a kiddo in your life! They are really fun to make and personalize! If you decide to make one using this pattern, I would love to see it! Be sure to tag the Mama Made Minis, EyeLoveKnots, and myself so we can see your finished project!
Don’t forget to visit with me on Instagram for all kinds of awesome crochet makes and inspiration.
Join one of our awesome Facebook groups to share your creations, and see what others are up to!
– EyeLoveKnots Crochet & DIY Community
– DIY Home On Rockwood Lane
– Alexandra Lane Lifestyle
Linked Up To…
Create, Bake, Grow & Gather Party #498 – Shabby Art Boutique
Craftastic Monday Link Party – Sew Can Do
Linky Ladies Party #219 – The Purple Poncho
{Wow Me} Wednesday #533 – Ginger Snap Crafts
The Loop Scoop #27 – Moogly Blog
The Wednesday Link Party 428 – Oombawka Design
Creatively Crafty Link Party #305 – Try It, Like It, Create It
Ginx Woolly Linx Party December – Ginx Craft
Happiness is Homemade Link Party – Decor Craft Design
The Really Crafty Link Party #293 – Keeping it Real
Handmade Monday #257 – Sum of their Stories
Team Creative Crafts Linky Party #71 – Artsy-Fartsy Mama
Share the Wealth Link Up #8 – Big Fat Menopausal Life
Unlimited Link Party 62 – Grammy’s Grid
You’re the Star Blog Hop – Decor Craft Design
Link-Up Potpourri #21 – My Bijou Life
The Hearth & Soul Link Party – April, the 21st Century Housewife
Fabulous Party 401 – Lou Lou Girls
Spread the Kindness Link Up #252 – Shelbee on the Edge
Party in Your PJs #388 – The Apple Street Cottage
Wonderful Wednesday – Oh My Heartsie Girl
Encouraging Hearts & Home Blog Hop – My Slices of Life
Thursday Favorite Things #518 – An Artful Mom
Grace at Home No. 448 – Imparting Grace
Traffic Jam Weekend Link Party #305 – My Bijou Life
Funtastic Friday Link Party #362 – Simply Beautiful by Angela
A Morning Cup of Joe – The Cottage Market
Link Your Stuff – Annemarie’s Haakblog
That is the cutest! It makes me wish I could crochet as my boys would love this so much – they both like dinosaurs and cuddly toys! 🙂
Hope that you are having a good week 🙂
Thank you so much! I am hoping to add these to my Etsy store early next year!
Thanks! I hope you’re having a great week as well!
This is so sweet! I am sure there are many kids who would love a Tinysaurus!
Thank you! I definitely agree! They make such great snuggle toys!
My grandsons would have loved this guy! So cute! Based on the review I’m pretty sure I could handle the pattern. Every kid needs a friend to snuggle. Thanks for sharing with us at Creatively Crafty #ccbg 🙂
It really is such a great gift for little ones! I hope you try it out! I would love to see pictures if you do! The creator also just released a similar pattern for a dog and has a unicorn pattern coming soon! I can’t wait to make all the different types!
Hey, a friend asked me to make these for her kids. I was super excited to do it as these are such a such a cute idea.
I purchased the pattern from mamadmeminis and I’m not having any luck with the legs. ? I’ve taken it apart too many times to count (50 if I had to guess) thinking I had misread the pattern. Following it exactly as writing and the legs arent forming. I reached out to her for advice and nothing. I wish there was a video tutorial for those who purchase the pattern. 🙁
Oh no, I’m sorry you are having trouble! The legs are definitely a little bit of a challenge because there is such a long, skinny part that you have to complete. Once you tie the legs, they look much better, even if it looks a little weird before you tie them. I have not ever tried to get in touch with the designer, but I am happy to try to reach out to her to see. I know she is typically active on her stories on Instagram, so I would guess she is probably responsive to messages on social media. I’m sorry that it isn’t going well for you!