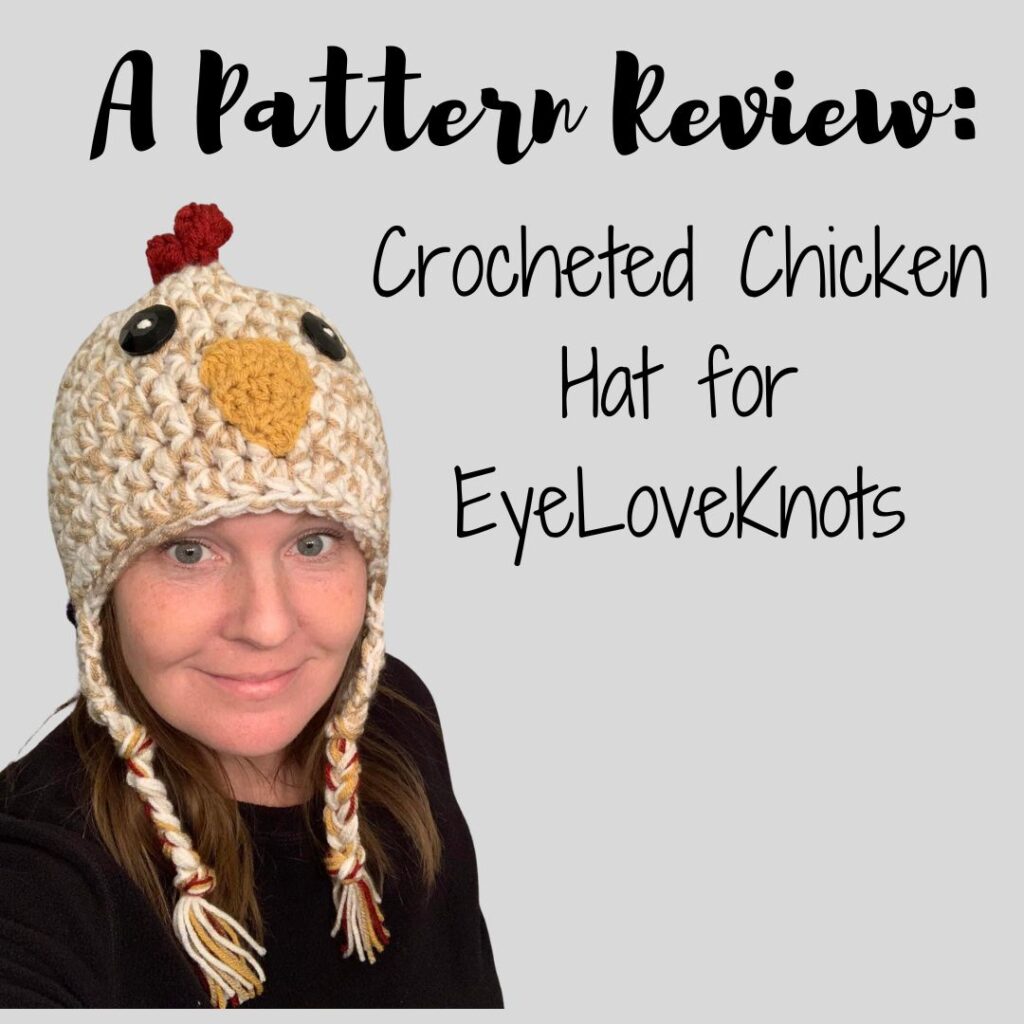
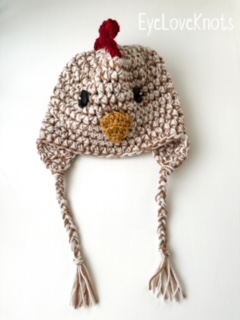
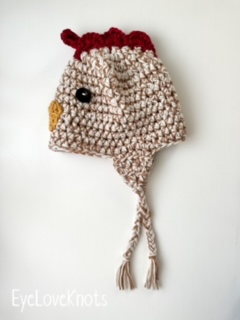
This is a crochet pattern review of the Chicken Hat by Lucy Duke from Thymeline Design. Review done my Maggie from Crochet Happens for EyeLoveKnots.
Find the crochet pattern review below or purchase a printer-friendly, ad-free PDF on Etsy by clicking here.
This post contains affiliate links for Etsy. If you make a purchase by clicking on them, I make a small commission at no extra cost to you. Thanks for your support!
In a hurry? Pin this for later when you have more time.
Hi! This is Maggie from Crochet Happens.
Be sure to come join me over on Facebook and Instagram and say Hi.
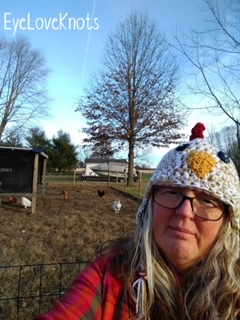
Last fall when my mom asked me for a hat with ear flaps to wear when she was tending to her chickens and that I could make it whatever color I wanted, I just knew I had to make her this hilarious and adorable crocheted chicken hat. I mean, who wouldn’t want one? I surprised her with it on Thanksgiving Day and she loved it. Since then, I have made several more for customers after sharing on social media.
What Supplies Do I Need to Crochet a Chicken Hat?
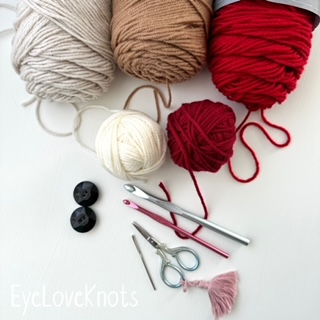
- Beak & Comb: Bulky Weight #5 Yarn – see Material Notes below
- Beak: Worsted Weight Yarn
- Beanie & Comb: M13/9mm Crochet Hook
- Beak: I9/5.5mm Crochet Hook
- 2 -1″ Buttons for the eyes.
- Darning Needle
- Scissors
- Chicken Hat, Paid Crochet Pattern from ThymelineDesign on Etsy
Material Notes:
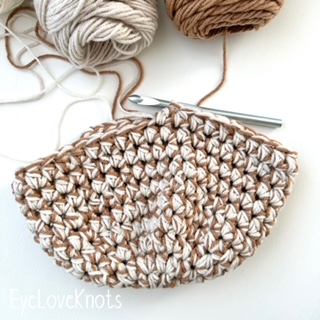
This crochet pattern calls for a bulky weight yarn, but I found that using 3 strands of worsted weight also works great. I chose to go with the worsted weight yarn so that I could mix colors and use up some scrap yarn I had. For my hat’s main color I used Hobby Lobby’s I Love This Yarn in the colors Linen, Ivory, and Toasted Almond. For the comb I chose to go with 2 strands of Hobby Lobby’s I Love This Yarn in Cranberry and one strand in Red. For the beak I ended up using Sungold.
How Long Does It Take to Crochet a Chicken Hat?
It took me about two and a half hours to complete my adult size Chicken Hat. This was the third chicken hat that I have completed so it may have taken me a little less time than the first one since I had a general idea of what I was doing.
Measurements:
10″ by 8.25″ for main part of the hat (not including ear flaps) when laying flat.
Gauge:
8 HDC = 2″ by 3 Rows = 2” with an M13/9mm hook.
Pattern Notes:
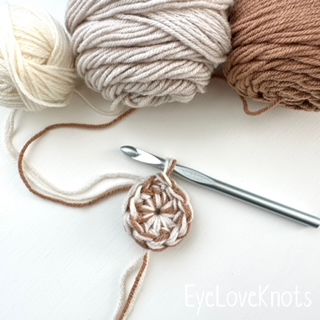
This beanie pattern is worked in the round, top down, joining at the end of each round and uses the magic loop method. I always get a little worried that it is going to come undone, so I like to weave the end in around the circle, switching directions a couple times and pulling tight. If you need help doing a magic circle, this video from MJ Carlos does a great job explaining how to do it.
If you are anything like me and hate weaving in ends, then you might find this little tip to be helpful: when making the earflaps leave a LONG tail after fastening off that you can braid into the tassels. Anything that I can do to avoid extra ends to weave in is always a plus for me. On this last hat that I made, I forgot that I was combining thinner yarn and forgot to add some extra strands for the tassels, so they turned out a bit thinner than the first two. I think it still turned out cute though.
I hope you enjoyed making your very own Crochet Chicken Hat!! Be sure to join me over on Facebook and Instagram for more fun projects and inspiration.
Join one of our awesome Facebook groups to share your creations, and see what others are up to!
– Yarn Crafts & Coffee Community
– DIY Home On Rockwood Lane
– Alexandra Lane Lifestyle
Such a cute hat! I love that this is the hat you went with to gift your mom to use while she tends to the chickens – so fun! I grew up with chickens. They hold a special place in my heart.
Thanks! It was super fun to make and she loves it.
This just cracks me up! What a fun pattern!