This post contains affiliate links for Amazon. If you make a purchase by clicking on them, I make a small commission at no extra cost to you. Thanks for your support!
This year, I decided to make my Christmas Ornaments. I am a little behind, but making progress.
The first thing on my list was some baubles. I was thinking about making some personalized ones, but frankly, I don’t know if I will have the time. That may just be something to save for next year.
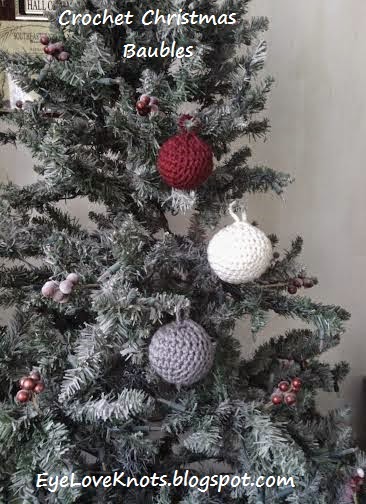
Find below, the basic bauble pattern in two sizes.
*I tried something different with the written form of this pattern to make it simpler by removing some of the abbreviations. I know when I was a beginner, I was very discouraged by the abbreviations because I couldn’t understand the “sentence”, and now having been contacted by a few people stating that they are beginners and that the abbreviations are throwing them off, I’ve decided to try to make it a little easier. Let me know what you think by leaving a comment below.
Materials:
– Worsted Weight Yarn in Your Choice of Colors – I used Hobby Lobby‘s I Love This Yarn in Cranberry, Ivory Sparkle and Graphite.
– H8/5mm Crochet Hook
– G6/4.25mm Crochet Hook
– Tapestry Needle for Weaving in Ends – I used a #18
– Stuffing – I used some PolyFil found at JoAnn‘s.
– Optional: Stitch Marker
Material Notes:
I was having trouble deciding on which color combination I wanted so I went on Pinterest and typed in “Christmas Color Themes”, and a bunch of images of Christmas Wreaths, Trees, Ornaments and Mantles came up. I searched through them to pick out some color combinations I liked, and then wrote down my top three chooses so that when I went to the store, I would have the list in front of me. I went searching through the yarn color options and holding the three colors together until I found the combination I liked.
Any size yarn and hook will work for this pattern – your baubles will come out smaller or larger by changing either component.
Red Heart’s With Love Yarns is a good yarn substitutions.
Red Heart’s Super Saver, Caron’s One Pound and Bernat’s Super Value yarns will also work, but you may need to drop down a hook size to meet the gauge, if you want the baubles to be the same size.
Lion Brand’s Vanna’s Choice, Lion Brand’s Wool Ease, and Bernat’s Sheep(ish) will also work, but you may need to go up a hook size.
PolyFil is very affordable stuffing – you will get MORE than needed and wonder what you can make with the rest afterwards.
Cotton balls may also be used but your finished project will be very stiff, and will take extra time in shaping. Also be careful if using cotton balls, that you don’t overstuff your baubles. It’s very easy to do.
You can also use scrap yarn to stuff your baubles!
Time Spent:
I took me about 20 minutes per small bauble, and less than 30 minutes per large bauble.
Measurements:
When stuffed, the small bauble measures 8″ around, and the large bauble measures 10″ around.
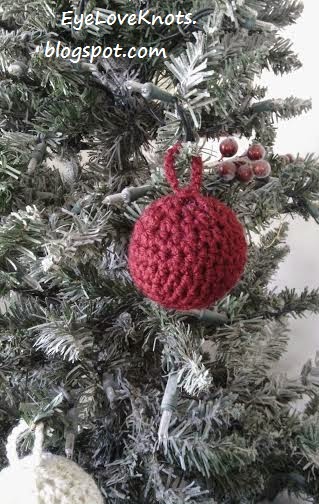 |
| Small Bauble |
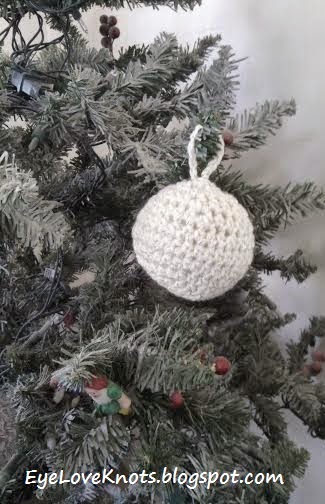 |
| Large Bauble |
Gauge:
NOT Important.
*H8/5mm Hook – 4″ x 4″
Chain 16, Double Crochet (DC) in the 3rd stitch from hook, and in each stitch across. (14 DC)
R2 – 8: Chain 2, turn. DC in each stitch across.
Fasten Off.
Abbreviations:
HDC – Half Double Crochet
HDC DEC – Half Double Crochet Decrease
( … ) – Indicates What to Repeat
… ( … ) – At the End of Each Round Indicates Stitch Count
Pattern Notes:
This pattern is worked in a continuous round – meaning no joining at the end of the rounds. You may want to use a stitch marker to keep track of your rounds.
This pattern can also be worked with a join at the end of the round, followed by a chain one if you are more comfortable with this method. You will find your ornament with a visible seam and will work up a touch larger.
If using this method, join to the first half double crochet of the round, not the chain one.
You may choose to begin by using a magic ring, instead of the chain three and join. I have not quite figured out the magic ring, so I choose this alternative.
Both sizes are listed in the pattern below. If you are working the smaller bauble, SKIP Rounds 6 and 8 (as stated).
Continuous Round Method:
Pattern:
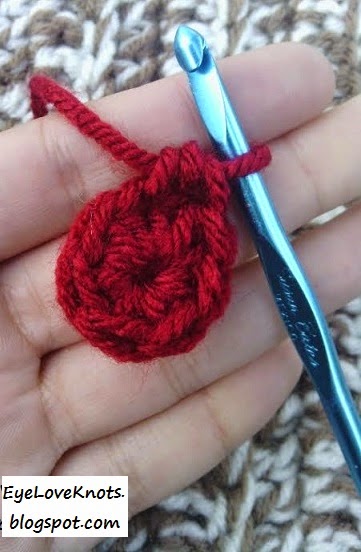
CH 3. Join to form a ring. CH 1, Work 6 HDC into the ring. (6 HDC)
R2: Work 2 HDC in each HDC around. (12 HDC)
R3: Work 1 HDC in the first stitch, and 2 HDC in next stitch, (1 HDC in the next stitch, and 2 HDC in the following stitch) around. (18 HDC)
R4: Work 1 HDC in first two stitches, and 2 HDC in the next stitch, (1 HDC in the next two stitches, and 2 HDC in the following stitch) around. (24 HDC)
R5: Work 1 HDC in the first three stitches, and 2 HDC in the next stitch, (work 1 HDC in the next three stitches, and 2 HDC in the following stitch) around. (30).
R6 – large size only!: Work 1 HDC in the first four stitches, and 2 HDC in the next stitch, (1 HDC in the next four stitches, and 2 HDC in the following stitch) around. (36 HDC).
R7: Work 1 HDC in each HDC around.
R8 – large size only!: Work 1 HDC in the first four stitches, followed by a HDC DEC, (1 HDC in the next four stitches, followed by a HDC DEC) around. (30 HDC)
R9: Work 1 HDC in the first three stitches, followed by a HDC DEC, (1 HDC in the next three stitches, followed by a HDC DEC) around. (24 HDC)
R10: Work 1 HDC in the first two stitches, followed by a HDC DEC, (1 HDC in the next two stitches, followed by a HDC DEC) around. (18 HDC)
R11: Work 1 HDC in the first stitch, followed by a HDC2tog, (work 1 HDC in the next stitch, followed by a HDC2tog) around. (12 HDC)
*Here you will want to take a moment to weave in your beginning tail piece, and begin stuffing your bauble.
You will need to turn your piece inside out to weave in the tail. Because the tail piece is on the inside of the bauble, it doesn’t need to be neat or trimmed. Weaving this tail in is for security, so your ring doesn’t open up later.
Once finished weaving, turn your piece right side out and begin stuffing.
R12: Work 6 HDC2tog’s. (6 HDC)
*Before you move on to closing up the top, add or take away stuffing at this point, if needed. You may find it helpful to use your hands to shape the bauble.
Fasten Off with a long tail – Appoximately 15-20″ or so (depends on your desired loop length, but 20″ was plenty for mine).
Continue on For Closing the Top Up and Adding the Loop for Hanging…
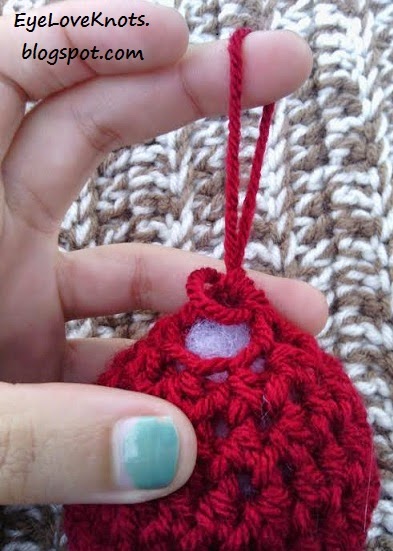 |
| After you fasten off your yarn, pull up on your loop so your yarn comes out. |
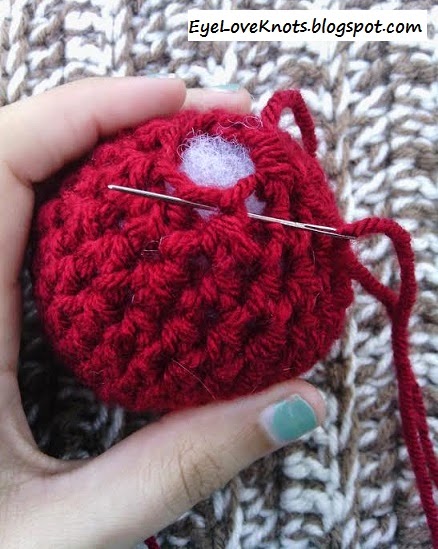 |
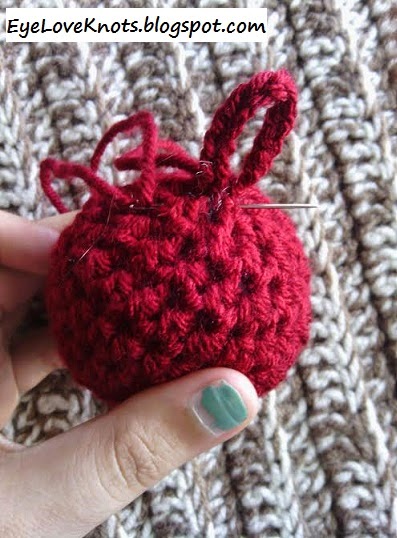
| Thread your yarn tail into your tapestry needle, and begin weaving it in and out of every other post. |
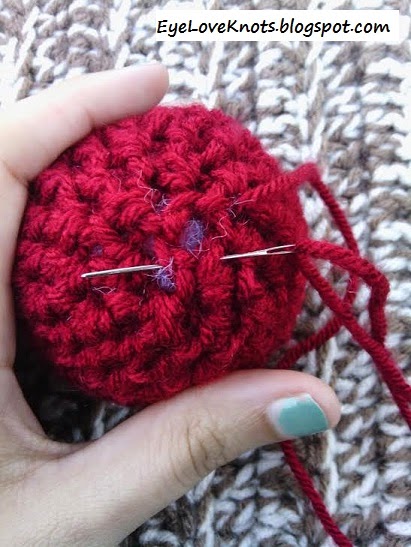 |
| Once you are back around, begin evenly weaving your needle into the stitches to close up the top and secure it. |
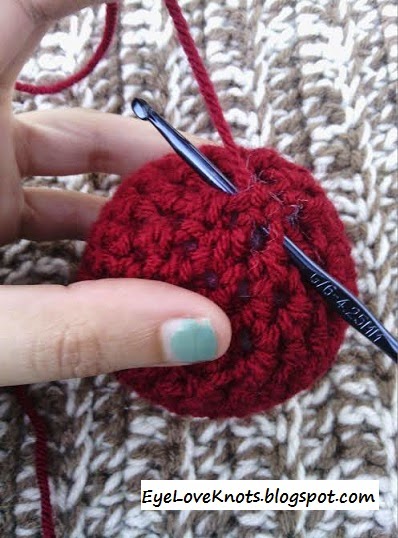 |
| End your top weave close to the center of the bauble. Keep tension on your yarn end with your left hand, and insert your G6 hook underneath the center stitches. |
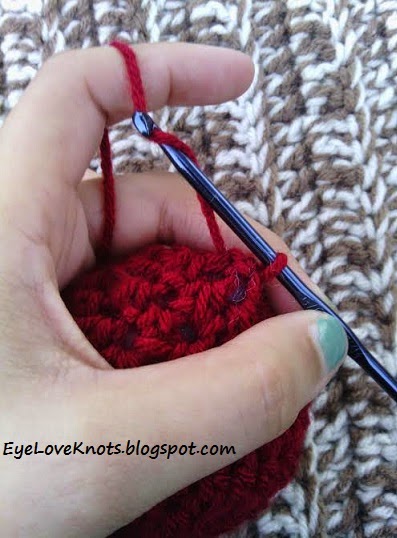 |
| Pull up a loop, and chain 1 to secure. |
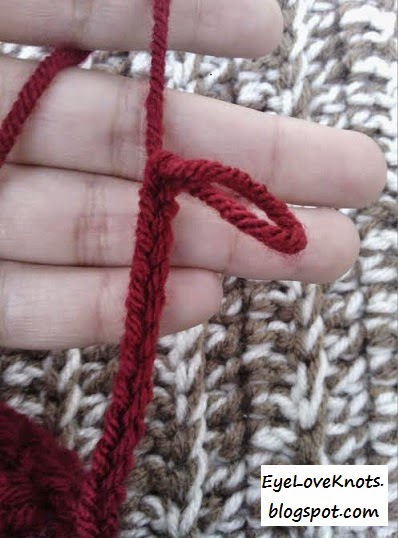 |
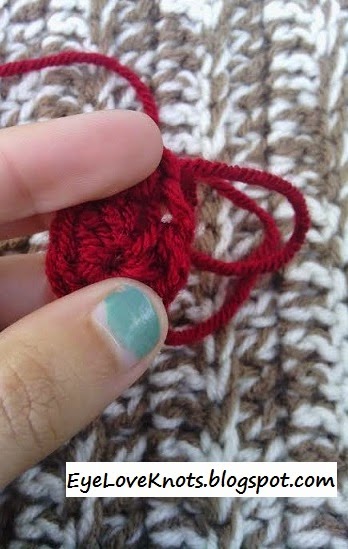
| Chain your desired length – I chained 12 for the smaller bauble, and 15 for the larger bauble. |
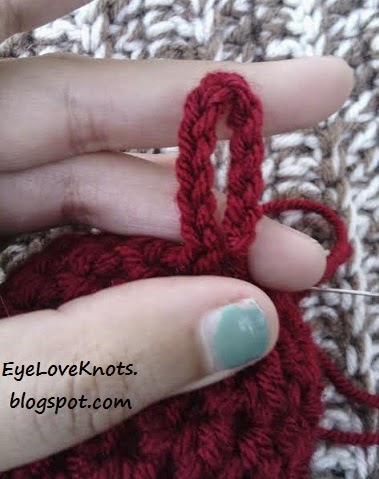 |
| Fold your chain in half with wrong sides facing each other. |
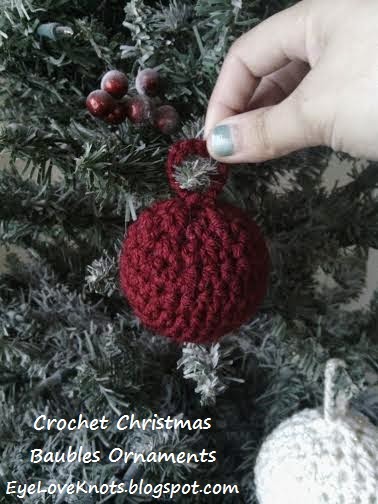 |
| Now you can hang up your ornaments! |
Please feel free to make and sell your own Christmas Baubles, but please DO NOT claim this pattern as your own nor should you sell my pattern, and DO NOT re-publish my photos as your own. DO NOT copy and paste my pattern anywhere, link to it instead.
*If you would like a PDF version of this post, you may get one through my Etsy shop for a small fee. This fee is to compensate for the view/s lost once you no longer need to return to the blog for the information, as you will have your own copy. Plus! It helps fund supplies for new projects to share with you!
Shop EyeLoveKnots – Crochet Christmas Bauble Ornaments.
Linked Up To…
Your Whims Wednesday #192 – My Girlish Whims
Yarn Fanatic Party #17 – The Philosopher’s Wife
Wow Me Wednesday #184 – Ginger Snap Crafts
Share Your Inspiring Projects – FDTR#147 – The DIY Dreamer
Think Pink Sunday No. 195 – Flamingo Toes
The Creative Collection Link Party – The Cards We Drew / Blooming Homestead
Mommy Kissing Santa, Share Your Creativity Link Party No 142 – It’s Overflowing
Best of the Weekend – Little Miss Celebration
December 2014 Sharing Time – Week 2 – Raising Memories
Best DIY Projects and Recipes Party – the 36th Avenue
The Party Bunch – The Idea Room
Friday Finds Link Party 12.12.14 – Craftaholic’s Anonymous
10 Handmade Neighbor Gift Ideas, I’m Lovin’ It – Tidy Mom
The Handmade Hangout #26 – Too Much Time on my Hands
Very cute! This Christmas I had lots of cute foam snowman at the bottom of the tree. (I have a very inquisitive nine month old.) I think these might make it on the tree next year. 😉
Great thing about these – they are soft! And still too big for baby to get in trouble with. Make them with cotton yarn and they may even be chewable. Hehe