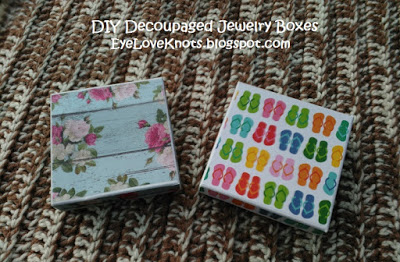
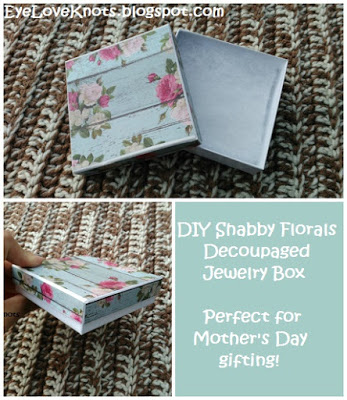
Back in October of 2015, I shared a DIY on how to make some Halloween Themed Decoupaged Jewelry Boxes. I had those boxes listed in my EyeLoveKnots Etsy shop, and recently got an order for four medium sized boxes with the Spider print. I was a little surprised to get such an order in March, but I set out to my local Hobby Lobby for some more Spooky Spiders scrapbook paper, and then to my local JoAnn’s for the rest of the supplies, including the pretty Summer Sandals and Shabby Floral patterned papers you see above.
I am going to share a little here, but I have a full tutorial including more on choosing the paper, and step-by-step photo tutorial on how to make these boxes here – DIY Decoupaged Jewelry Boxes.
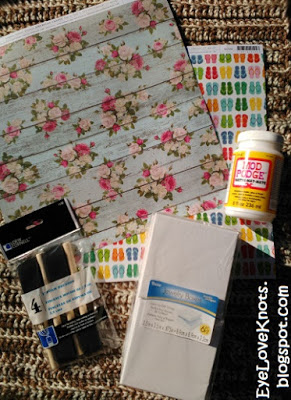
Materials (used for the boxes shown above):
– Medium 3.5 x 3.5 x 7/8 in white boxes from Darice (available at Wal-Mart and JoAnn’s to name a couple)
– Small Amounts of Scrapbook Paper – I used #320302 [Shabby Florals] and #320502 [Summer Sandals] from American Crafts (both found at JoAnn’s)
– Mod Podge – I use Mod Podge Matte Finish (found at lots of places, but I buy mine at Hobby Lobby because I can use my 40% off coupon)
– Foam Brush – I use a 1″ Foam Brush
– Old Gift Card or similar to smooth out surface
– Scissors
– Hard Cardstock to create template with
– Pencil to trace template onto scrapbook paper
Material Notes:
Both of these pages do not have names, just stock numbers. The names above were given by me to differentiate the pages.
More Material Notes in my full tutorial!
Time Spent:
All steps included, but not including drying time (or creating template), I was able to finish the boxes in less than 15 minutes.
Measurements:
Mine were 3.5″ x 3.5″ x 7/8″.
DIY Notes:
The first time I created these, I got lucky on the direction of the paper for the sides, as it didn’t cross my mind until afterwards that cutting a different way would affect the appearance. I did not think about that this time until after I had already traced over my template – thankfully it was before I cut, so I just had to erase my lines and retrace the template. Definitely check the paper direction first to save yourself some time (and paper).
Now that you have your supplies, head over to my DIY Decoupaged Jewelry Boxes tutorial to get started on yours!
With so many size and pattern options, I would love to see them! Join the EyeLoveKnots Crafting Community to share your creations, and see what other’s are up to!
Don’t miss out on new crochet patterns, reviews, jewelry tutorials and more! Subscribe to EyeLoveKnots by using the box on the right side toolbar, or follow me via Bloglovin


Leave a Reply