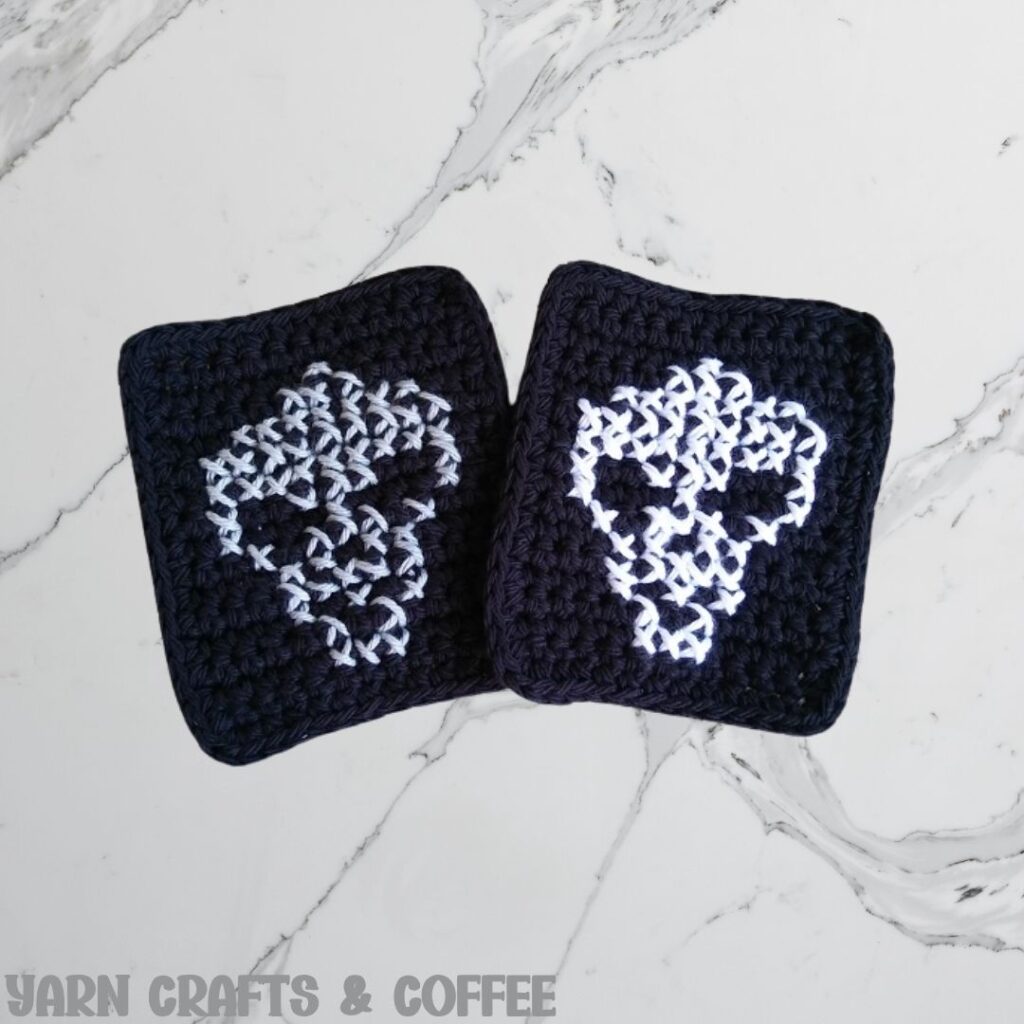
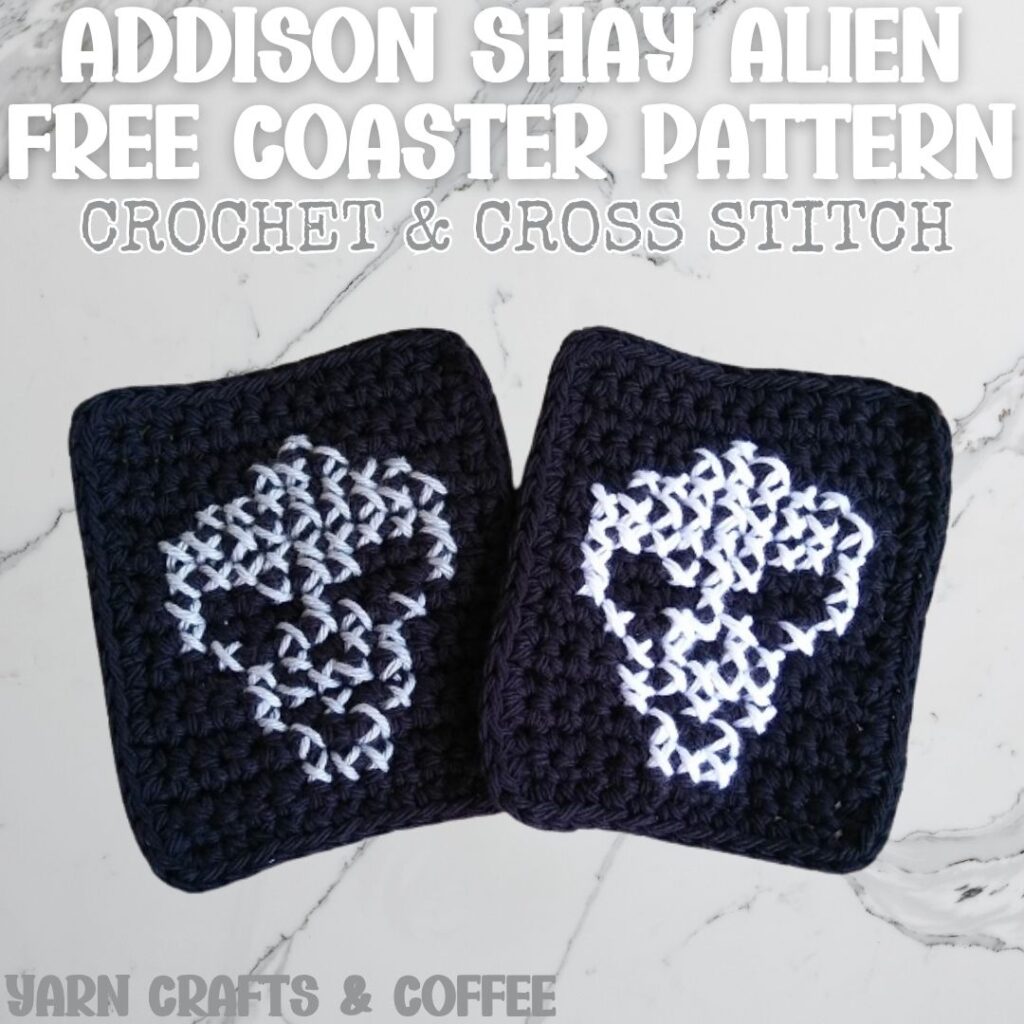
Learn how to make the Addison Shay Alien Coasters, an easy single crochet coaster pattern with a cross stitched alien design on top, with this free crochet pattern and free cross stitch pattern combo.
This post contains affiliate links. If you make a purchase by clicking on them, I make a small commission at no extra cost to you. I only recommend products I love and hope you’ll love them too! Click here to find out about the different affiliate programs I am apart of. This post also contains shop links to my yarn shop and craft store, Yarn Crafts & Coffee. You can shop online or in person in Melbourne, Florida.
Find the free crochet pattern instructions below, or purchase a printer-friendly, ad-free PDF on Ravelry by clicking here.
In a hurry? Pin this for later when you have more time.
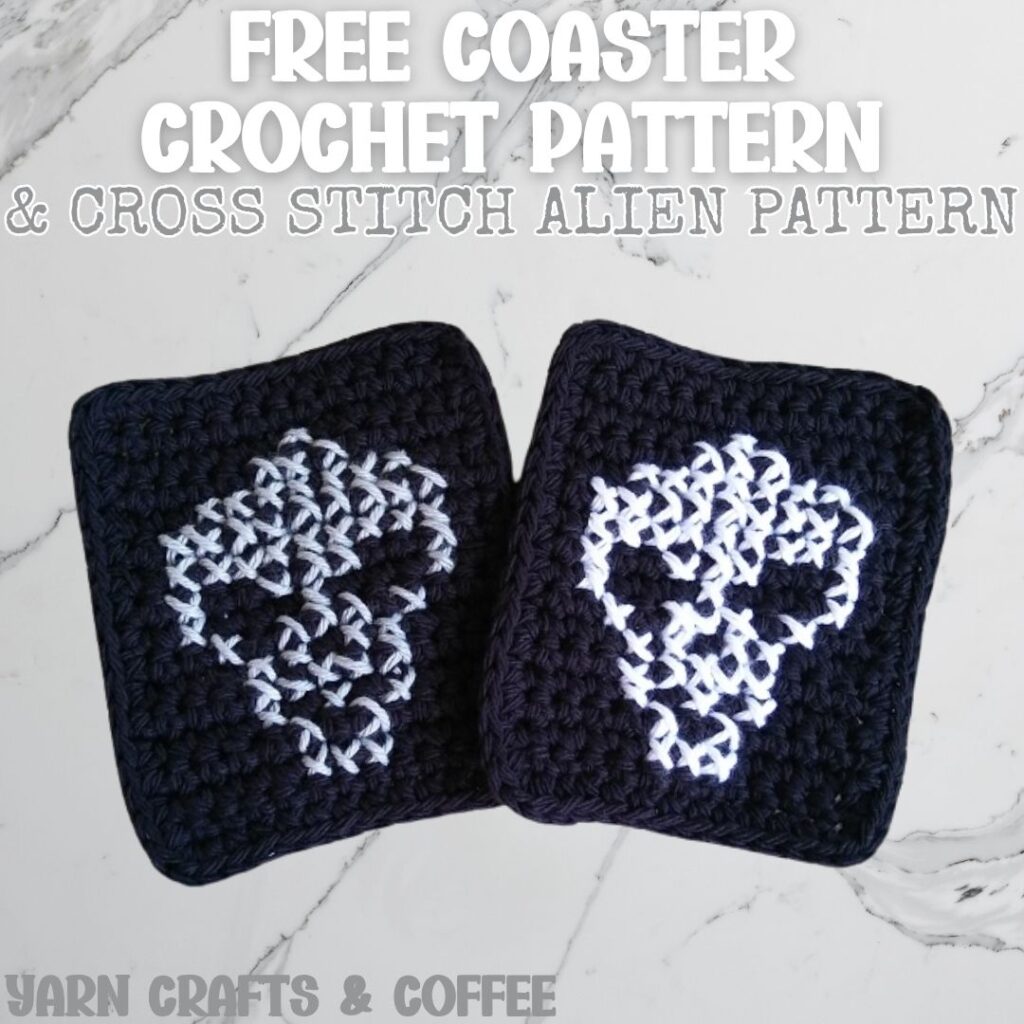
Coasters are easy to keep handy in the kitchen, dining room, living room and office so it’s easy to grab when you need it anytime you are drinking a delicious beverage and/or snacking – it’s a great item to set down a tasty treat on as well.
Coasters are so versatile, they don’t stop at being used for coffee or a snack. They are great little mats that work for all sorts of items like a small vase, plant, candle, pen or make up brush holder, lotions and more! They are also a great size for a dish scrubbie or large facial scrubbie. Coasters could easily work in any room of the house, and make great gifts too!
In October of 2017, I set out to design some skull coasters. I started with an easy single crochet base for the coaster and then sketched out a couple of skull designs onto grid paper before deciding on the perfect one. It wasn’t until I finished stitching the “skull” on that I actually saw an alien! I think with some tweaking, it can definitely be a skull, but I thought the idea of an alien was quite amusing, so fun and a little spooky.
In July of 2026, I am circling back to this coaster pattern to update it with a new name to fit a new crochet series on my blog, Addison Shay, which features a basic single crochet base (that is my Shay series) paired with a cross stitch design on top (represented by Addison), as well as updated formatting, a digitally designed chart and some updated photos as it’s featured in the Spooktacular Halloween Crafting Event 2026 hosted on my Yarn Crafts & Coffee blog.
Ad-Free, Printer Friendly PDF:
Through 07/10/26 at 11:59pm EST, you can grab a free copy of the PDF for the Addison Shay Alien Coasters on Ravelry using code ALIENS26. I earn my income from the number of pageviews my blog sees, so please do not share the code, but instead share the link to this post so others can find it. Thank you!
EyeLoveKnots newsletter subscribers get access to Exclusive Subscriber Content, like the free PDF of this pattern via the Free File Library – you’ll find the tab on the top menu. The library is password protected so sign up for my newsletter and you’ll receive a Welcome email containing this month’s password, or if you are already a blog subscriber, reference your latest newsletter for this month’s password. From the library, you’ll be able to access the PDFs via Google Drive – you do not need to have a Google Drive account to view and download the PDF.
After 07/10/26 or for non-subscribers, if you would like a PDF version of this post, you may get one through either my Etsy Shop or Ravelry Shop for a small fee. This fee is to compensate for the views lost when you no longer need to return to the blog to for the information, as you will have your own copy. Plus! It helps fund supplies for new projects to share with you!
Save this to Your Favorites On: AllFreeCrochet, FaveCrafts, Crochet Pattern Bonanza, Cheap Thrifty Living, DIYideaCenter, AllFreeHolidayCrafts
What Do I Need to Crochet a Coasters?
- About 25 Yards of Worsted Weight Yarn Each
- H8/5mm Crochet Hook
- Tapestry Needle
- Scissors
- Optional, Jewelry Pliers
- Optional, Fabric
What is the best yarn to use to crochet a coaster? Can you crochet coasters with acrylic yarn?
I did use Crafters Secret Cotton from Hobby Lobby in Black, White and Gray for these coasters, but this yarn is not colorfast so I no longer use it. My favorite cotton yarns are Circulo Natural Cotton Maxcolor 4/6 Yarn and Cascade Nifty Cotton because they’re colorfast, which means the colors are set. I also like WeCrochet Dishie and Queensland Coastal Cotton, which are colorfast as well, but I couldn’t find the right colors to match in these yarns. Cotton yarn is more durable and absorbent, but really you can use any worsted weight yarn out of your stash!
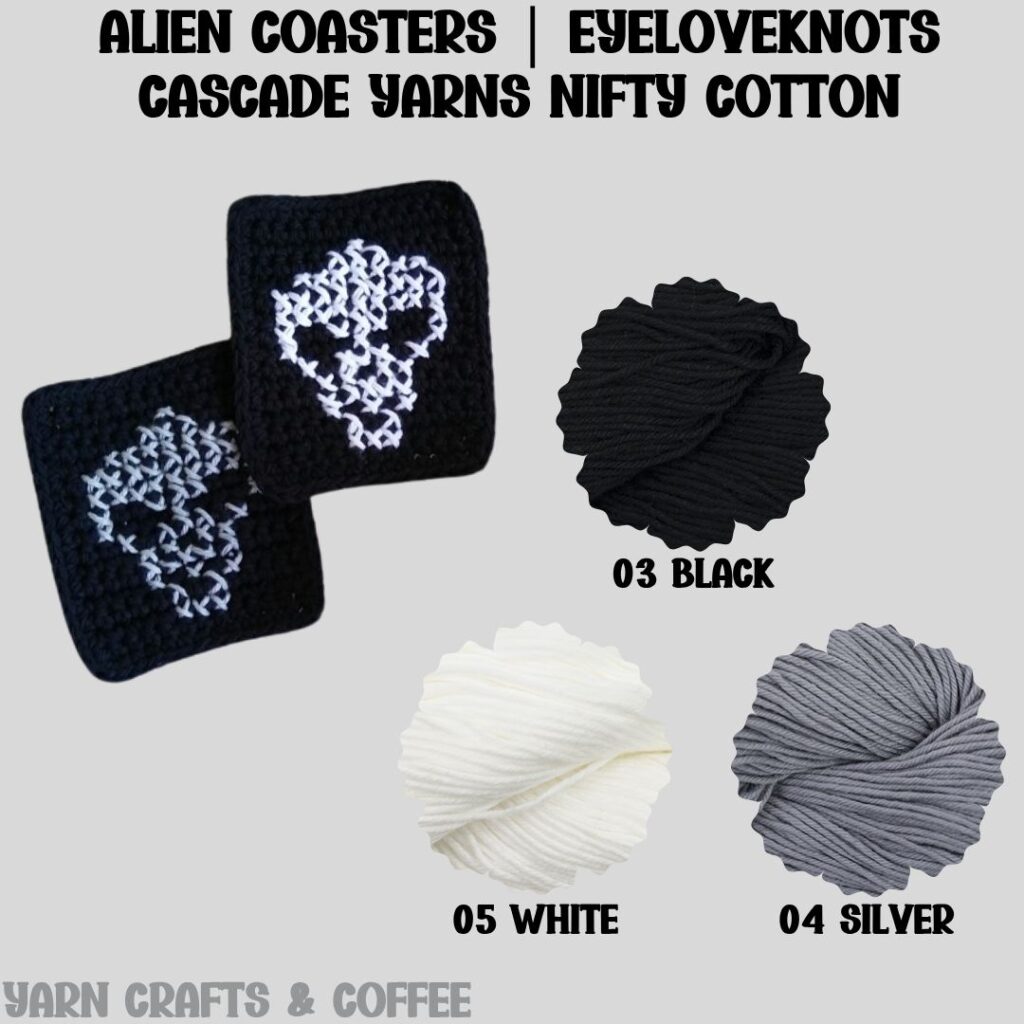
Cascade Nifty Cotton Yarn is a versatile, soft worsted weight #4 yarn made of 100% cotton. It’s on the lighter side for worsted weight working up similarly to WeCrochet Dishie, Queensland Coastal Cotton and and I Love This Cotton from Hobby Lobby. It’s machine washable and dryable making projects easy to care for. As of June 1st, it is available in an amazing number of colors – 66 colors.
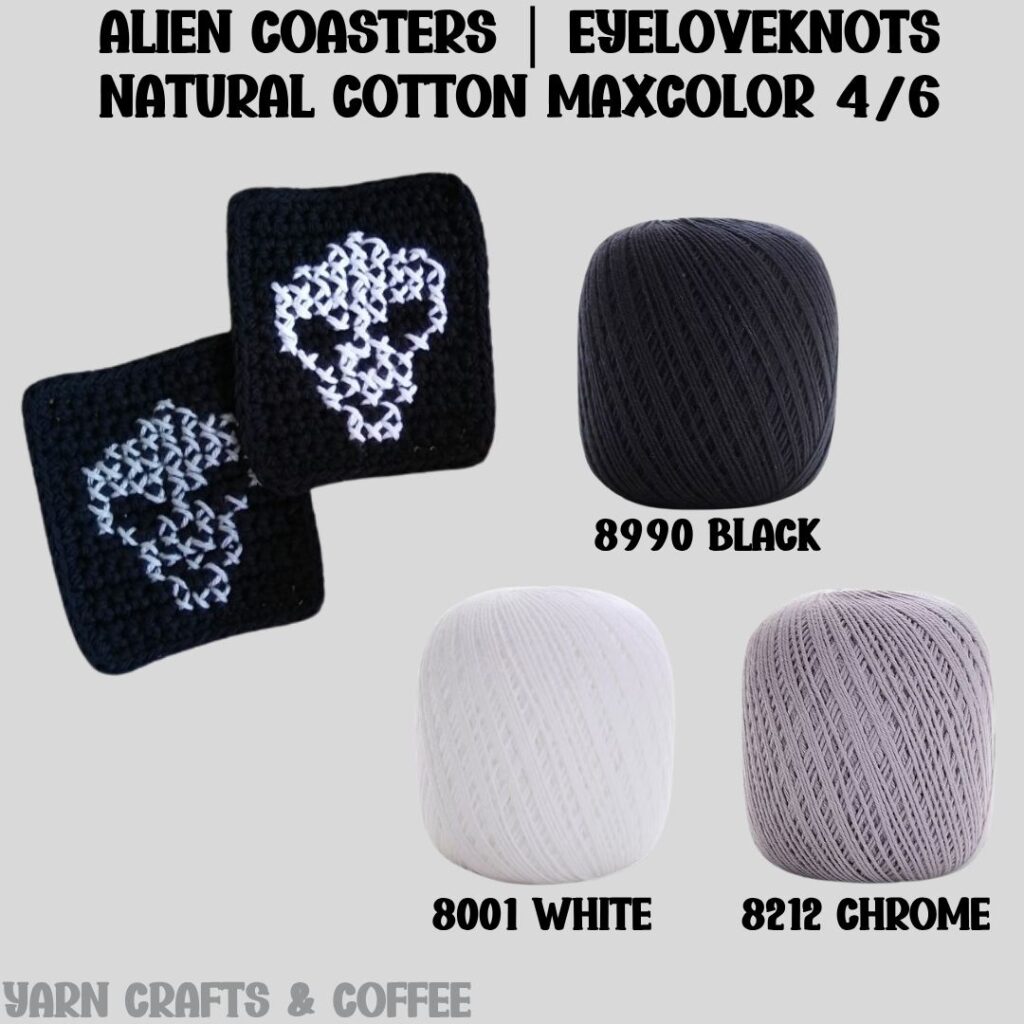
I always use the 4/6 size of Circulo Natural Cotton Maxcolor Yarn, but I think the Lightweight, 4/4 size is closer in thickness to my original design.
Circulo Natural Cotton Maxcolor 4/6 Yarn is a versatile cotton yarn made of 100% cotton, that is also colorfast. It’s softer than the tough cotton yarns you may imagine for projects like washcloths and bags, but not as soft as pima cotton. The 4/6 size is a heavy worsted weight #4 yarn a teeny bit thicker than Lily Sugar n Cream if you’re familiar. It’s machine washable and dryable making projects easy to care for. As of June 1st, 2026, it is available in an amazing number of colors – 58 colors – as well as in Lightweight #3.
I have a few coasters I’ve made myself using Red Heart Super Saver, which is a 100% acrylic yarn. A hot cup of coffee is not hot enough to melt synthetic fibers, and while it doesn’t quite absorb the same way with cold beverages, it still holds the water and does not seep through to the surface. Lion Brand Wool Ease is another lovely yarn for coasters that I have used for some in my personal collection, and the wool adds to the durability and absorbency.
Synthetic yarns, like Red Heart Super Saver, usually produce a tighter and smaller fabric, so you may want to go up to an I9/5.5mm crochet hook.
Are crocheted coasters washable?
Though hand washing and laying flat to dry is always best to preserve your crocheted items, I prefer using yarns that I can easily throw into the washing machine with other things. With the yarns I mentioned above, I have tested all of them and know I can pop the coasters into the washing machine (on gentle and in cold water) and then into the dryer (on low heat) when it’s time to clean them. For the best results, keep the coasters in a mesh lingerie bag so they don’t rub against other items in the wash, as it will wear the yarn, but also other items could potentially snag one of the cross stitches and pull it.
Tools & Notions:
We have lots of great crochet hooks in our Yarn Crafts and Coffee Yarn Shop. The most popular, and preferred by Candace and Emily, are the Clover Amour Crochet Hooks with the soft handles and smooth metal hook. Alexandra prefers metal crochet hooks with large, ergonomic clay handles and just loves the fun designs from SiennasBowtique and BronzeShepherdStudio! If your preference is wood, the LYKKE brand are lovely, smooth and sturdy.
Tapestry Needles with the blunt, round end are essential for sewing and finishing on a number of yarn crafts, including crocheting, knitting as well as needlepointing on fabric and plastic canvas. The blunt, rounded end allows the needle to pass easily through the fabric created by yarn and holes on canvas without snagging (or getting your fingers) in the process. More specifically for crocheting and knitting, a Bent Tip Tapestry Needle makes weaving, grafting and sewing so much easier on the hands. The long oval eye makes threading strands of yarn easier, though you may still want to use a needle threader.
Scissors are an essential tool. When I’m working on the go, I like to carry a pair of folding scissors as they fit perfectly in even the tiniest of bags. When I am working at home or have more space in my bag for a larger notions pouch, I like to use a pair of lightweight, all-purpose scissors as they are so versatile and great for a variety of things from cutting plastic canvas mesh to trimming yarn ends after weaving in to cutting out a care card to include with a handmade gift.
Jewelry Pliers are an excellent tool to use to help weave in the ends of tough yarns, such as cotton yarns and chunkier yarns, that can be quite tough on the fingers when weaving in with just fingers and a tapestry needle. Sore thumbs and frustration can be a thing of the past by simply using jewelry pliers to help pull the tapestry needle through the work. Make sure the eye of the needle is facing up so you can see directly down it and carefully pull, wiggling as needed. If it gets caught and you tug too hard, it will break the eye of your needle.
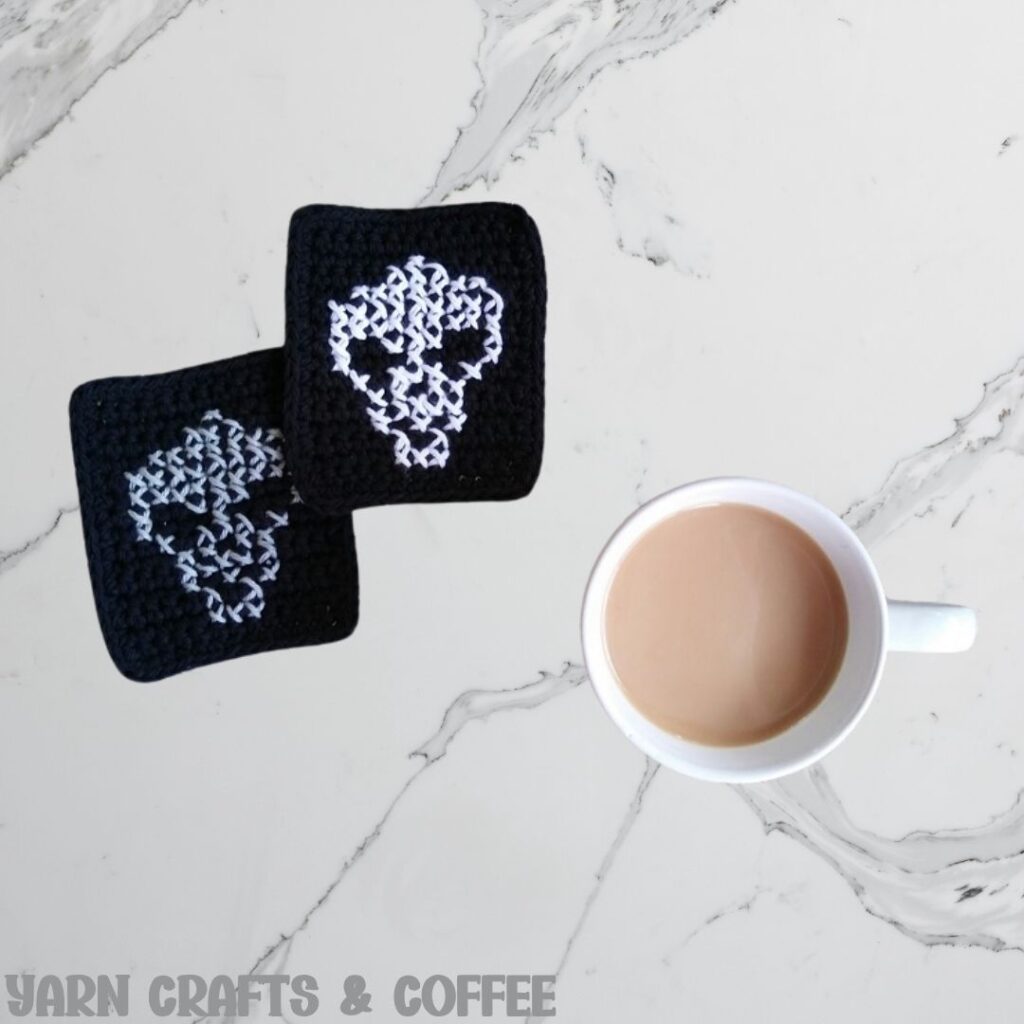
If you are concerned with the visible stitching on the back, you could always sew a piece of fabric, felt or cork to the back. Being that it will always be laying down flat on a surface, I do not finish the back of mine.
Time Spent:
I spent just over half an hour per coaster.
Measurements:
With border, 3 7/8″ Wide by 4 1/2″ Tall
Abbreviation (US Term):
- SC – Single Crochet (Photo Tutorial)
Special Stitch:
Cross stitching is a form of sewing, most commonly used with a woven fabric called Aida Cloth and strands of embroidery floss to create an image with sewn “X’s”, but I love using this technique on crocheted fabric instead with strands of regular yarn.
Cross Stitching begins with the regular Tent Stitch, which is a series of single diagonal stitches that run parallel to each other, working all of these stitches for the entire project from side to side or top to bottom, depending on your stitching preference, and then the Reverse Tent Stitch over top of the original stitches to complete the X shape.
When it comes to the Tent Stitch, there are a few variations so you’ll want to choose either the Continental or Half Cross to work your project in. The front of the stitch pattern looks the same, but the back of the stitch pattern varies. I prefer the Continental Stitch because it makes for a fuller, neater back, though it does use a little bit more yarn than the Half Cross Stitch. It is not uncommon to combine both styles as you work and not even realize it until you take a peek at the back, and really that is totally okay! As long as the front of the project looks correct, the back is no big deal so don’t feel pressure to pull any stitches out just to work in one style over the other.
I do have a photo tutorial showing How to Cross Stitch on Fabric if needed.
Single Crochet Coaster Video Tutorial:
The Addison Shay Alien Coasters have a different stitch count than my original Shay Coasters, but you can still reference the video tutorial, following the stitch counts and row counts in this written pattern.
Coaster Pattern Notes:
Beginning chain 1 does not count as a stitch.
While there is no set stitch multiple for single crochet projects, keep to an even number of stitches and rows so the design is centered.
Coaster Pattern:
Chain 13. SC into the 2nd chain, and into each chain across. (12 SC)
R2 – 16: Chain 1, turn. SC into the 1st SC, and into each SC across. (12 SC)
Border Notes:
The border is optional, but I like to work one to give the coasters a more finished look.
I am working a simple single crochet round, but you can change that stitch up to any that you like, or add additional rounds to the border.
I am working my corners as (SC, chain 1, SC), which will give me a more rounded corner. Another way you can do this is 3 SCs into the same stitch. If you like a more square corner, you can work a (SC, chain 2, SC) or (SC, HDC, SC) into the same stitch.
If you experience ruffling when working the border, this is caused from a change in tension, especially seen on the sides. My quick fix is to simply go down a hook size to a G6/4.25mm. You can also continue with the same hook you’ve been working with, and just block the finished coasters.
I finished my coasters with a slip stitch join, but you could also finish your coasters with an invisible join, which creates a clean, consistent look. Either way, this stitch will count as the final stitch for the border.
Border Pattern:
Chain 1, turn. SC into the 1st 11 SC, (SC, chain 1, SC) into the next SC, SC 15 down the side of the coaster, (SC, chain 1, SC) into the next stitch, SC 10 across the opposite side of the foundation chain, (SC, chain 1, SC) into the next stitch, SC 15 up the side of the coaster, SC into the same stitch as the 1st, then join to the 1st SC.
Fasten Off, and Weave in Ends.
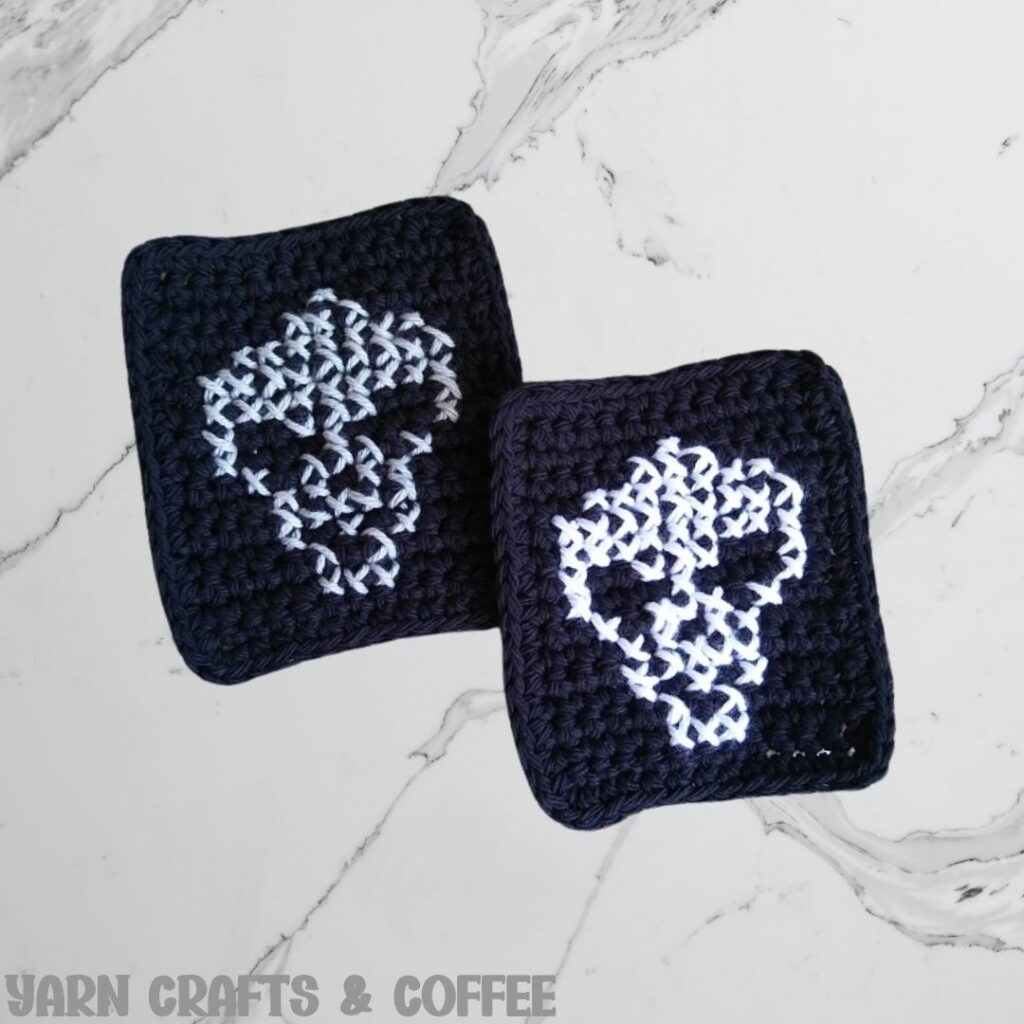
View & Download the Stitch Graph & PDF:
As a blogger, I rely on views to my blog to earn money from my ads. Despite asking my graphs not to be shared in Facebook groups and saved to public Pinterest boards, they still are, and this makes it so makers do not need to visit my blog, which results in a loss of views and income for me. I love being able to offer pattern charts for free and I will continue to do so, however, they will only be viewable by blog subscribers.
EyeLoveKnots newsletter subscribers get access to Exclusive Subscriber Content, like the free PDF of this pattern via the Free File Library – you’ll find the tab on the top menu. The library is password protected so sign up for my newsletter and you’ll receive a Welcome email containing this month’s password, or if you are already a blog subscriber, reference your latest newsletter for this month’s password. From the library, you’ll be able to access the PDFs via Google Drive – you do not need to have a Google Drive account to view and download the PDF.
My patterns are protected by copyright and are not free to share in Facebook groups or by private messaging. If you enjoy my pattern and would like to share it, feel free to share an image of the completed project only without removing my watermark or share a photo of your completed project and share the blog link to this tutorial so others can visit for themselves.
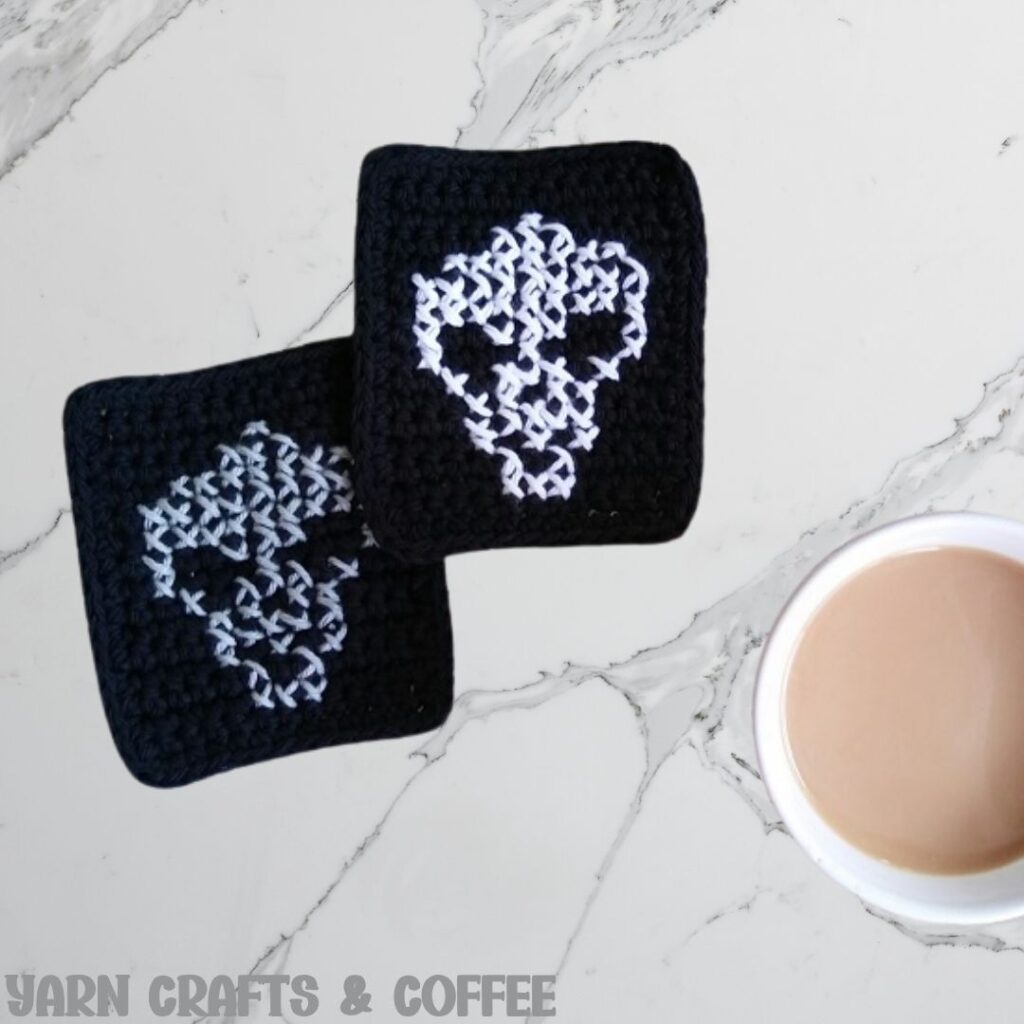
Cross Stitch Alien Tutorial:
Complete the crocheted coaster including the border and weaving in the ends.
To begin, cut a long piece of yarn in the color you will stitch the Alien in and thread it into the tapestry needle. Weave the tail of your piece into the back of the work to secure it near where you will begin stitching.
Following the stitch chart, work the regular Tent Stitch all the way across, either from side to side or top to bottom depending on your preference, then work back in the direction you just came from working the Reverse Tent Stitch to complete each X shape.
I started at the top left, and worked my way across vertically.
Once finished stitching the Alien, weave in the remaining tail end.
Please feel free to make and sell your own items made using this pattern, but keep in mind, this written pattern and my photos are protected by copyright. Please DO NOT claim this pattern as your own nor should you sell my pattern. DO NOT re-publish my photos as your own. DO NOT copy and paste my pattern anywhere, link to it instead so other’s can visit. Making videos providing instructions how to make my projects on any social media platform is also not permitted.
Join one of our awesome Facebook groups to share your creations, and see what others are up to!
– Yarn Crafts & Coffee Community
– DIY Home On Rockwood Lane
– Alexandra Lane Lifestyle
these are adorable. I crocheted some skull shaped coasters for my daughter. Thats about as spooky as I will get. I may have to take a shot at the cross stitch on crochet one day.
Lisa
Nice idea for Halloween! =)
Cross stitching on crochet is a good idea – Tapestry always looks a bit messy on small things!