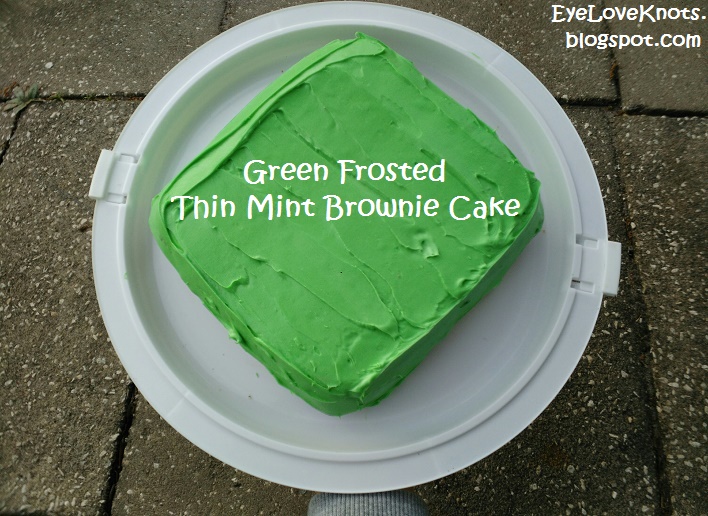
I wanted to do a little baking for St. Patrick’s Day. My thought started out as a one layered brownie cake with mint chocolate chips covered in green frosting. I set out to my local Winn Dixie in search of some ingredients, but when I got there I couldn’t find any mint chocolate chips anymore – I guess because the Winter season is over, and they don’t regularly stock it. I did, however, find some Thin Mint Brownie mix on sale – buy one, get one! And so this Green Frosted Thin Mint Brownie Cake was born 🙂
Feeds: 8-12 (Depending on your cut sizes)
Cook Time: 30 Minutes * 2 Batches
Prep & Frosting: 30 Minutes
Cooling Time: 2 Hours
Total Time: 3.5 Hours
Ingredients:
– 2 boxes of Thin Mint Brownie Mix by Pillsbury
– 2 Eggs (as called for on the box)
– 6 tbsp of Water (as called for on the box)
– 2/3 cup of Vegetable Oil (as called for on the box)
– 1 container of Vanilla Frosting – I used Pillsbury brand
– 1 small tube of Green Gel Food Coloring
You’ll Also Need:
– 1-2 8″ x 8″ Baking Pan/s
– Medium Sized Mixing Bowl
– Spatula
– Measuring Cup & Teaspoon
– Pam
– Aluminum Foil
– Cooling Rack
– Butter Knife & Tablespoon (for frosting)
**All ingredients found at my local Winn Dixie – not a sponsored post.
Ingredient Notes:
– Brownie Mix: Alternatively, you can use a regular box of brownie mix and add in some mint chocolate chips, as I had originally planned.
– Food Coloring: I couldn’t find any food coloring in the form of drops at my local Winn Dixie so I bought the gel coloring ones they had – though the drops will work too. I used nearly a whole small tube to get my desired color.
– Foil: I put this down first to make it easier to get the brownie out when it was done, and for less clean up later.
Recipe:
Step 1: PreHeat oven to 350, as directed on the box. Line pan/s with foil, spray down with Pam and set aside.
Step 2: Combine the eggs, vegetable oil, water and brownie mix as instructed on the box, then stick in the oven and bake as indicated on the box – I did mine for 30 minutes, and baked mine one layer at a time.
Step 3: When the brownies were done, I lifted them out of the dish and placed on the cooling rack to cool completely – I left mine overnight because I ran out of time to finish them up. If you have the extra time, they probably need about two hours to cool completely.
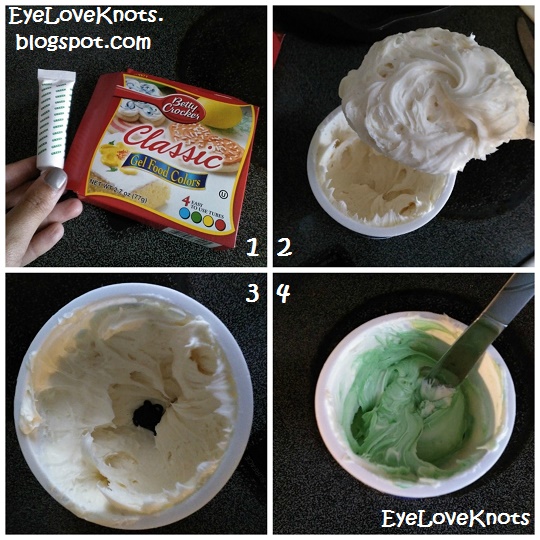
Step 4: I mixed the coloring into the frosting using the frosting container. I grabbed a spoon and scooped out a quarter of the frosting or so [2] and set aside so I would have more room to work at first. I squeezed in the gel food coloring a bit at a time [3], and mixed well [4]. I added back the scoop I took out after two good mixings, and mixed well to combine. I really wanted a darker emerald color, but the little tube I had just wasn’t going to get there. I tried a small squeeze of blue, but I didn’t add anymore because I was afraid it would turn teal. I used almost the whole tube of coloring.
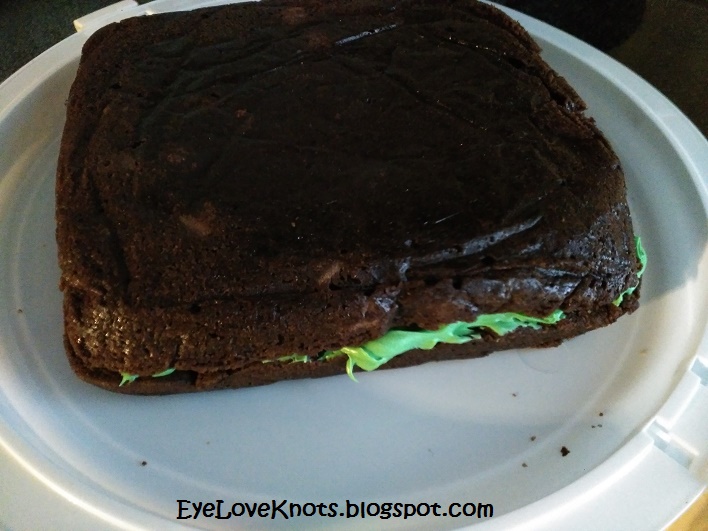
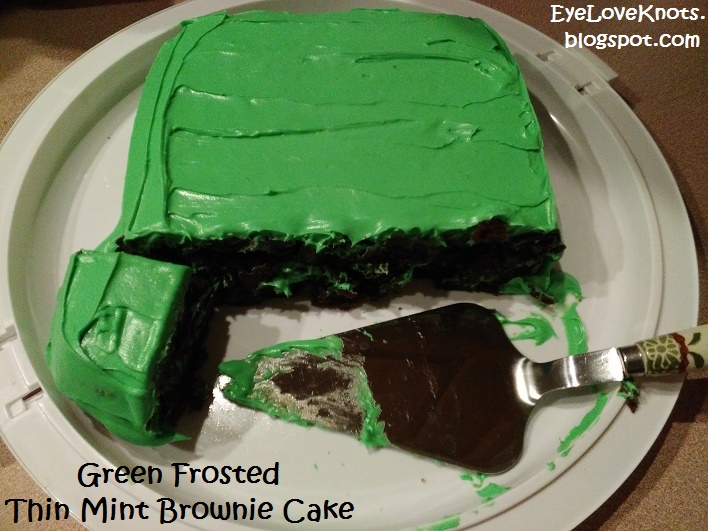
Step 5: Frosting! I used a butter knife to spread the frosting. First, I laid down one brownie layer onto my serving plate – top up, and frosted the top of it. Then, I laid the other brownie layer on top of the first – top down so the top of the ‘cake’ would be smoother, and frosted the whole thing. I didn’t end up using the whole container of frosting, so I stuck the left-overs in my fridge. It’s good up to two weeks.

Now, Enjoy! I finished the frosting around dinner time, after I got off of work. I made a cup of coffee, and then walked over to Todd’s parent’s house, and shared some with them. It was their dessert, and my pre-dinner – hehe.
Please DO NOT claim this recipe as your own nor should you sell my recipe, and DO NOT re-publish my photos as your own. DO NOT copy and paste my recipe anywhere, link to it instead.
If you love to bake/cook (and/or craft) too, I would love to see your photos and get your recommendations! Join the EyeLoveKnots Crafting Community to share your creations, and see what other’s are up to!
Don’t miss out on new crochet patterns, reviews, jewelry tutorials and more! Subscribe to EyeLoveKnots by using the box on the right side toolbar, or follow me via Bloglovin!
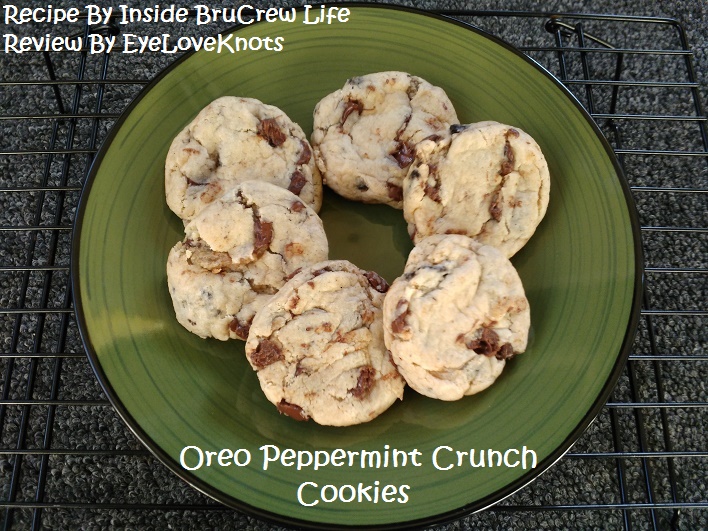
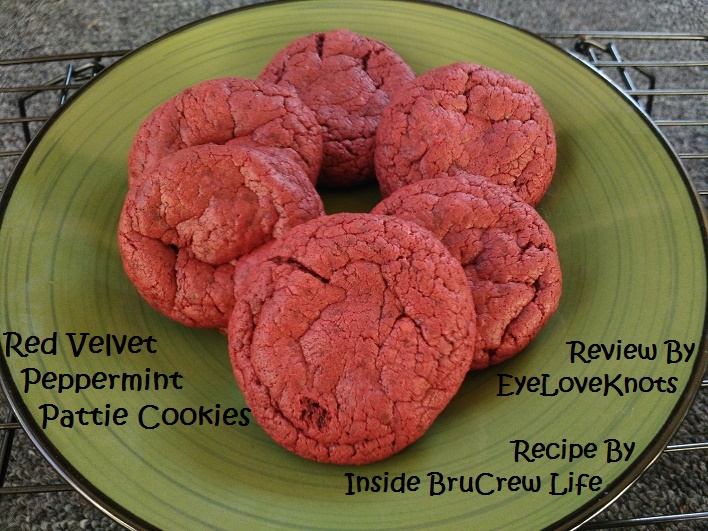
You May Also Like…
Home Matters #176 – Domestic Deadline
I love chocolate and mint. I bet the Thin Mint brownies are so good! This looks like a great dessert for St. Patrick's Day. Stopping by from the #HomeMattersParty linky.