This post contains affiliate links for LoveCrochet. If you make a purchase by clicking on them, I make a small commission at no extra cost to you. Thanks for your support!
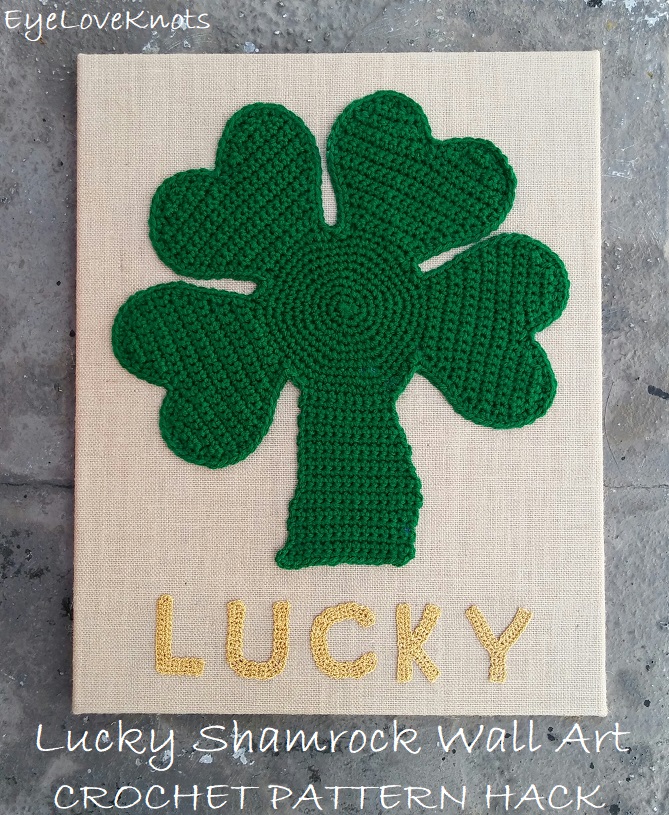
Originally, I started out wanting to make the Shamrock Kawaii Cuddler, a free crochet pattern from 3amgracedesigns. I dug out some Red Heart Super Saver from my stash, and got to work. As I finished up the last petal, I thought, wait a minute here… this is an awesome large applique! I went to Hobby Lobby, and picked out the perfect canvas to glue it to, but it felt like it was missing something…
I went with the popular “Lucky” phrase for St. Patrick’s Day, and I guess four leaf clovers too.
I love using The Moogly Crochet Alphabet designed by Moogly Blog! I have used the letters for many different things, things I haven’t even gotten to share here, but over the years, I have really enjoyed using it, and it did not disappoint for this project.
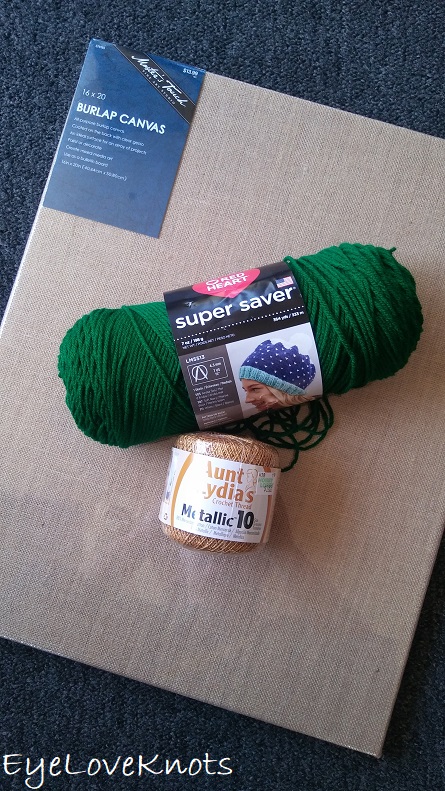
Materials I Used:
- Small Amount of Worsted Weight Yarn – Red Heart’s Super Saver in the Paddy Green colorway
- H8/5mm Crochet Hook for Shamrock
- Tapestry Needle for Weaving in Ends
- Small Amount of Aunt Lydia’s Metallic 10 Crochet Thread in the Gold colorway
- 2.35mm Crochet Hook for Letters
- Hot Glue Gun and Sticks – I love my Surebonder Mini Glue Gun (even though I didn’t use it for this project – I am having trouble remembering where I put it! Ugh)
- Pins – I like using the Dritz 45mm Sewing Pins because they have a nice, colored head.
- 16″ by 20″ Burlap Canvas – mine is from Hobby Lobby
- Shamrock Kawaii Cuddler for Shamrock – Free Crochet Pattern from 3amgracedesigns
- The Moogly Crochet Alphabet for Letters – Free Crochet Pattern from Moogly Blog
Material Notes:
I thought I might be pushing my luck with the crochet #10 thread – I did not really know how big the letters were going to turn out, but it worked great. There was even some room left that I think a slightly larger weight, or two strands of the #10 thread would produce a nicer letter to fill the space.
Time Spent:
The shamrock took about two and a half hours, the letters worked up in just over an hour, and it took me about half an hour to get everything situated, and hot glued on. In total, about four hours.
Measurements:
Shamrock: 14.5″ tall by 14″ wide; Letters: 2.38″ tall
Canvas is 16″ by 20″
Pattern Notes:
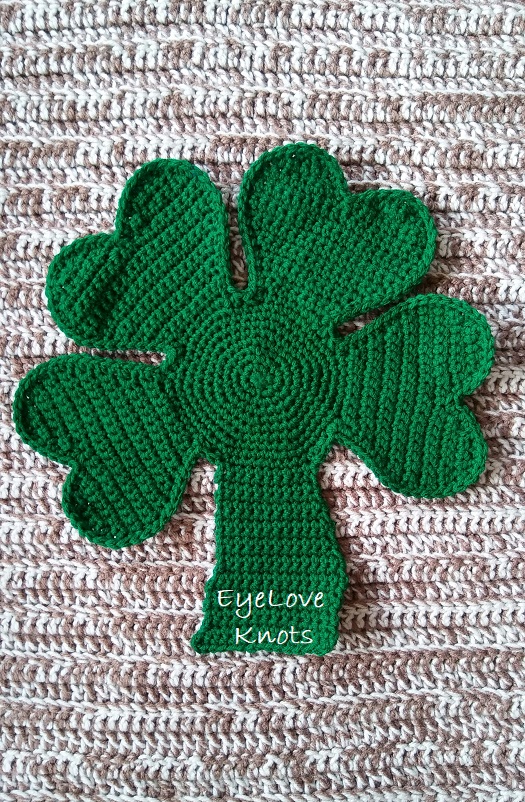
First thing I started with was the shamrock pattern. This pattern was very easy to follow, and there are some nice photos to help with any confusion. I found the one with the decreases most helpful.
One small thing I came across was Round 20 and 21 of the stem… I found that Round 20 does not match Round 19 unless some stitches are left unworked. I worked it as written, but I did not like how 20 and 21 turned out, so I ripped back, and worked Round 20 as Round 11, and Round 21 as Round 14. I picked these two rounds to replace the end with so that it kept with the shape I wanted.
What I would have changed for adhering to the canvas… Before working the stem, an edging is worked around all of the petals. When I hot glued around this part, it came out beautifully, however, the stem is then worked, and no edging is worked around this part, so when I hot glued around the stem, the hot glue came through my stitches in some spots, and is visible from the right side. This made me sad. If I made another wall art piece (or if you do!), I recommend working the stem first, then going back, and working the edging all the way around.
Once the ends were weaved in on my shamrock, I set it aside, and got to work on my letters. I will caution with letter “C” to pay extra close attention because if you miss or add an extra row of single crochet, it will mess up the shape – I had to redo mine, and it isn’t the first time it’s happened.
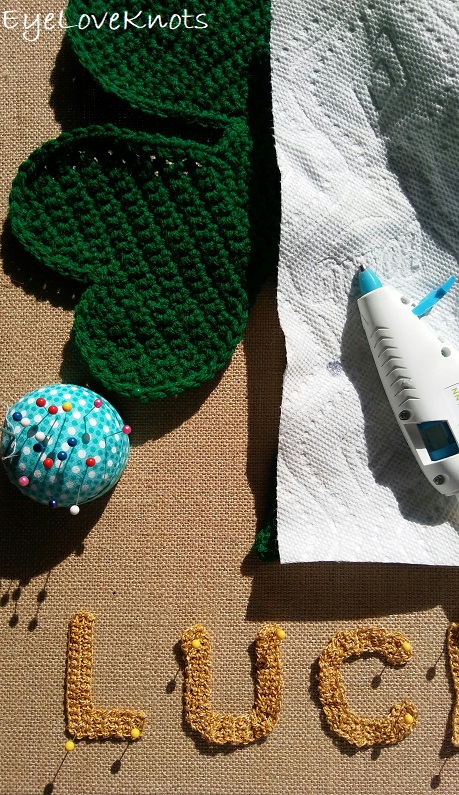
After I weaved in all the ends of my letters, I took all my pieces outside, plugged in the hot glue gun, and got to work.
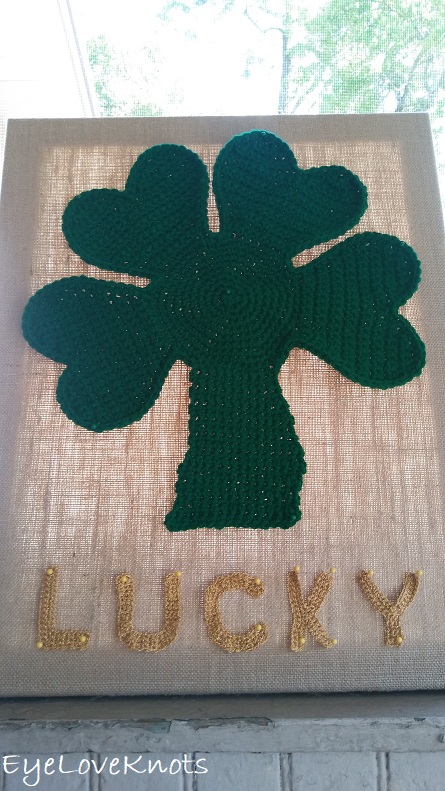
I put the canvas up on the screen so I could see where the frame was on the other side, and used it to line up my letters. I used my sewing pins to hold everything in place, and then little by little hot glued everything in place.
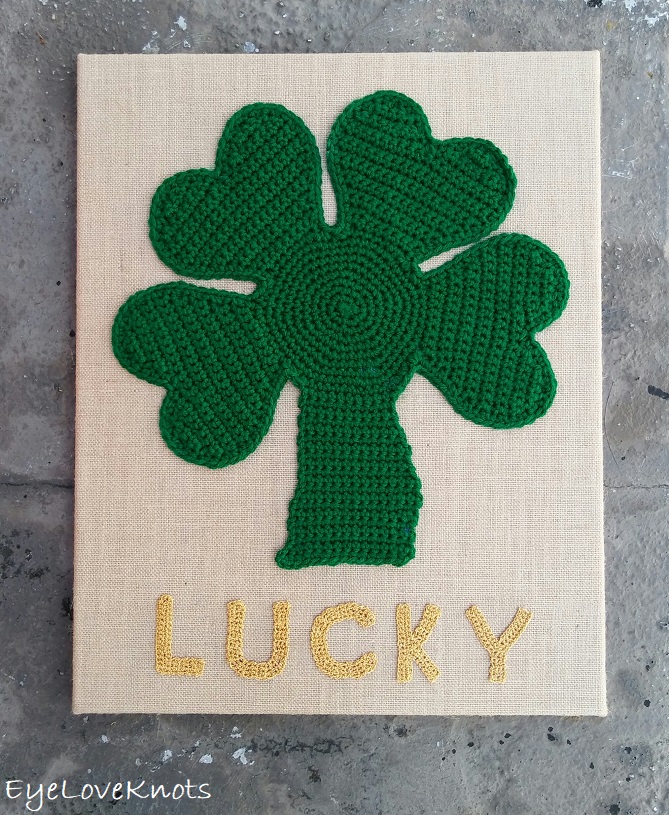
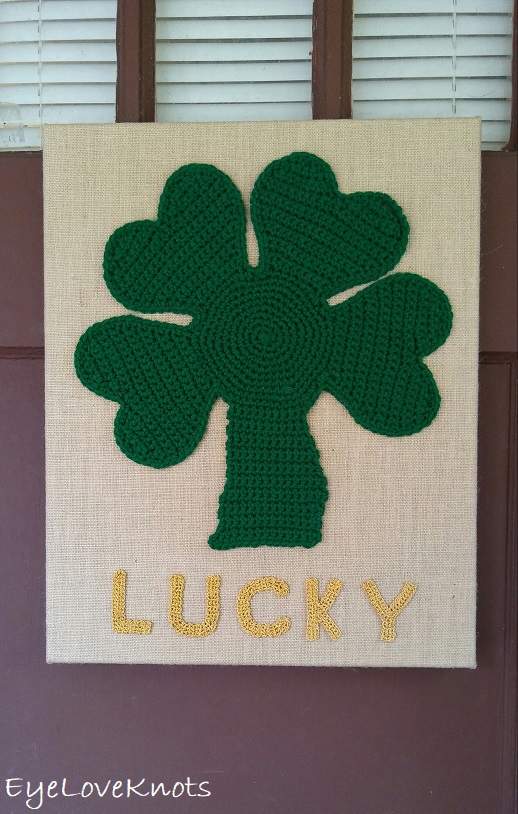
Now, it’s ready to hang!
Join the EyeLoveKnots Crafting Community on Facebook to share your creations, and see what others are up to!
Linked Up To…
Craft Schooling Sunday – Creative Jewish Mom
Sundays at Home #242 – Celebrating Everyday Life
Handmade Monday #116 – Sum of their Stories
Ginx Woolly Linx Party March – Ginx Craft
Inspiration Monday – i should be mopping the floor
Merry Monday Link Up #244 – A Wonderful Thought
Craftastic Monday – Sew Can Do
The Linky Ladies Party #153 – The Purple Poncho
Tutorials & Tips Link Party 385 – Home Stories A to Z
The Scoop Link Party #367 – Worthing Court Blog
491st Inspire Me Tuesday – A Stroll Thru Life
Fabulous Party #257 – Lou Lou Girls
Sew It Cook It Craft It Link Party #95 – Sew Historically
Totally Terrific Tuesday #218 – Sweet Parrish Place
Talk of the Town 164 – My Repurposed Life
{Wow Me} Wednesday #293 – Ginger Snap Crafts
Hookin’ on Hump Day #186 – Petals to Picots
Your Whims Wednesday #397 – My Girlish Whims
Wall to Wall DIY Wednesday Link Up Party #38 – Dabbling and Decorating
DIY, Crafts, Recipes and More Wednesday Link Party #129 – Hazel and Gold Designs
Pin Party #305 – The Pin Junkie
Crafty Love Link Party #43 – Jessie at Home
Scrappy Stitchers Link Party #50 – Stitches n Scraps
Home Matters Link Up #223 – Domestic Deadline
Sweet Inspiration #147 – Just Measuring Up
Thursday Favorite Things #379 – An Artful Mom
Best of the Weekend – Calypso in the Country
Link Your Stuff – Annemarie’s Haakblog
Snickerdoodle Create Bake Make Party #274 – Sew Crafty Crochet
It looks great. I have to check those letter patterns, they’re bound to be useful for lots of projects.
Thank you for sharing at The Really Crafty Link Party. Pinned.
I definitely recommend them! They really are useful in so many ways, and worked in different weights changes the idea completely. I apologize for the delay in responding, but I’ve been buried in Spam Comments – had to work through it all.
This is so cute! I never learned how to crochet, so I’m always impressed by those who can. Thanks so much for sharing at Sweet Inspiration!
Thanks, Amy! I know what you mean, I could spend my whole day looking at quilts (but I cannot sew one). I apologize for the delay in responding, but I’ve been buried in Spam Comments – had to work through it all.
I love this pattern, HOWEVER FYI, it is a 4-leaf clover, not a Shamrock. A Shamrock has only three leaves to represent the Holy Trinity. https://www.tenontours.com/shamrocks-and-four-leaf-clovers-whats-the-difference/ I thought about trying to just leave off one of the leaves but I think it would be off-balanced. I am doing a lot of your cuddlers and would love it if you design a Shamrock – I am not good at design or altering patterns. Thanks for all the wonderful patterns.
This is not my design – I used the Shamrock Cuddler pattern from 3amgracedesigns (and titled it to match the pattern I used). Interesting about the “shamrock” though!