I am sharing a crochet pattern review of Corner-to-Corner Cardi designed by Jenny King for Annie’s Signature Designs using the soft, squishy, warm Berroco’s Vintage yarn.
This post contains affiliate links for Annie’s, Lion Brand Yarns and SheIn. If you make a purchase by clicking on them, I make a small commission at no extra cost to you. Thanks for your support!
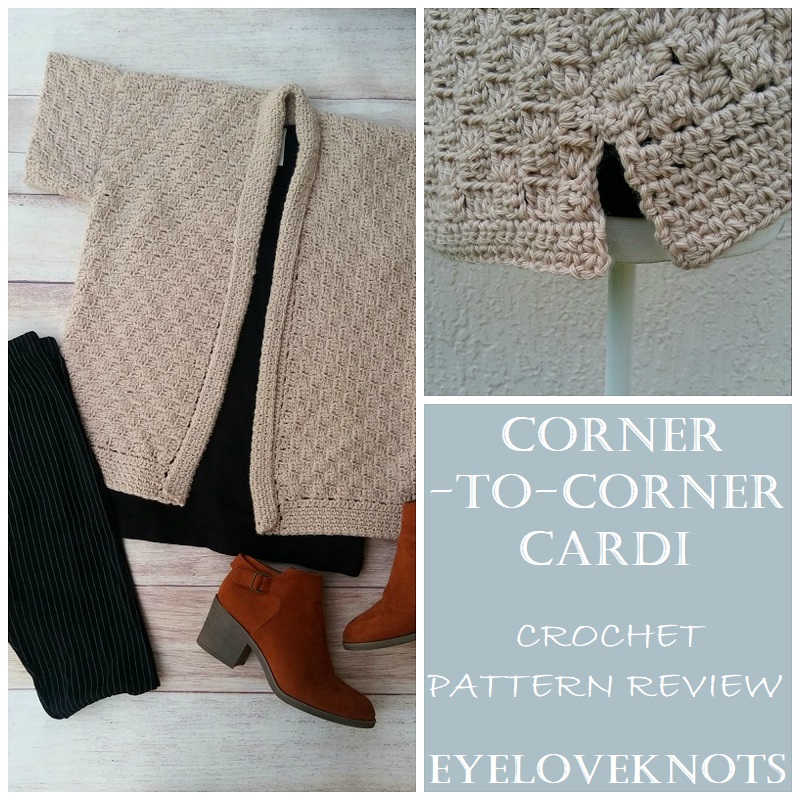
Every month, a group of bloggers are challenged by C’mon Get Crafty to create a new craft or project from their own stash of goodies! Everyone is allowed a $10 allowance for necessities to complete their project (i.e. paint brushes, glue, etc), but the bulk of it must be created from their own stash of goodies.
This month, I am sharing a crochet pattern review of a cardigan that’s been in the works for a couple months now.
Late February, I shared My Wishlist of Annie’s Signature Spring 2019 Crochet Designs, and this Corner-to-Corner Cardi was at the top of my list.
About a month and a half prior to finding this cardigan, I bought some Berroco’s Vintage Yarn to turn into a sweater, but as I worked, and ripped back, and worked, and ripped back, the sweater idea went out the window, and this yarn went into my stash, so as soon as I saw this cardigan, I knew it would be the perfect match!
Stash yarn + free crochet pattern (gifted to me by Annie’s Catalog TO SHARE WITH YOU – thank you, Annie’s!) = $0 investment.
Materials I Used:
- 1,200 – 1,500 Yards of Berroco’s Vintage Yarn in the Mushroom colorway
- J10/6mm Crochet Hook
- K10.5/6.5mm Crochet Hook
- #18 Tapestry Needle for Weaving in Ends
- Optional, Sewing Pins for Assembly
- Corner-to-Corner Cardi, Paid Crochet Pattern from Annie’s Catalog
Material Notes:
So, the original pattern estimates you need 1,725 yards for the Small/Medium size. I forgot home many skeins I had sitting in my stash, so the range is because I either used 5.5 or 6.5 skeins – can’t remember!
Original pattern uses Lion Brand’s Jeans yarn. Any lightweight worsted weight yarn will work, for example Lion Brand’s Wool Ease Yarn.
Fiber note: In Florida, an acrylic option like the Jeans yarn, or a wool option like the Wool Ease or Vintage I used are TOO HOT for anything but a cold office or some Winter. If I worked another cardigan, I would try Berroco’s Modern Cotton, or a cotton/acylic blend. Keep this in mind depending on the weather you will be experiencing.
I used the J10/6mm hook to meet semi meet gauge (you’ll find more in my pattern notes section below), and the K10.5/6.5mm hook to work the final edgings and collar (also more on this below).
Time Spent:
I worked my cardigan up in several seatings (over 2 months, yikes!) for a total of just over 14 hours.
Available Sizes:
Oversized, Ladies Small through 3X.
Measurements:
I am a regular Large 38″ bust, and worked up the size Small because I like my tops more fitted.
Final measurements were 22.5″ tall, 19.5″ wide, and 7.5″ armhole (which I should have made to be about 8.5″)
Gauge:
Patterns gauge was with H8/5mm crochet hook, 5 boxes = 4″.
When I tried with an H8/5mm hook, I got 3.75″. With an I9/5.5mm hook, I was only measuring a little larger than this, so I knew with a J10/6mm hook, I still wouldn’t meet gauge, and I didn’t want to go larger than that. I decided due to the thickness of the yarn, I would stick with the J10/6mm, and just adjust as needed.
Pattern Notes:
Alrighty, let’s start at the beginning. This is an oversized top. The small/medium is for a 47″ bust (which normally small/medium is roughly 32″-36″) – way larger than even a normal large, so I decided to just stick with the small/medium instructions, and go from there.
The instructions also give instructions for working a box differently than I am used to. I did try it the patterns way, but the boxes weren’t even, so I ripped back, and worked the boxes my way, which I feel is pretty traditional.
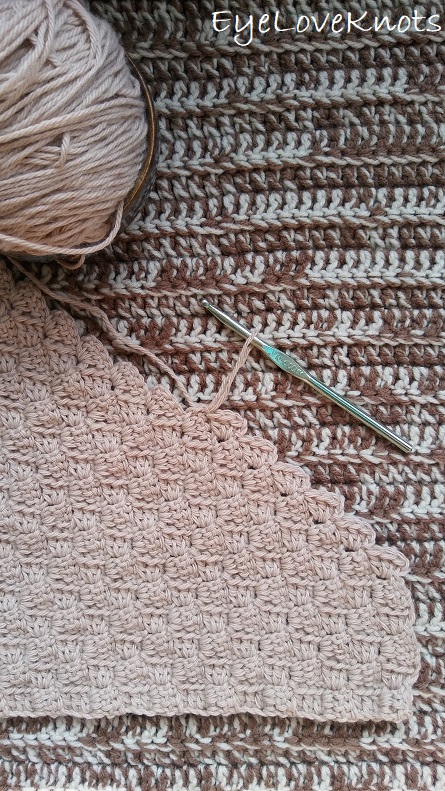
I started with the back panel, as the instructions state. At the end, I was measuring only 20.13″ tall, so I added another set of repeats, and ended at 22″ tall – perfect!
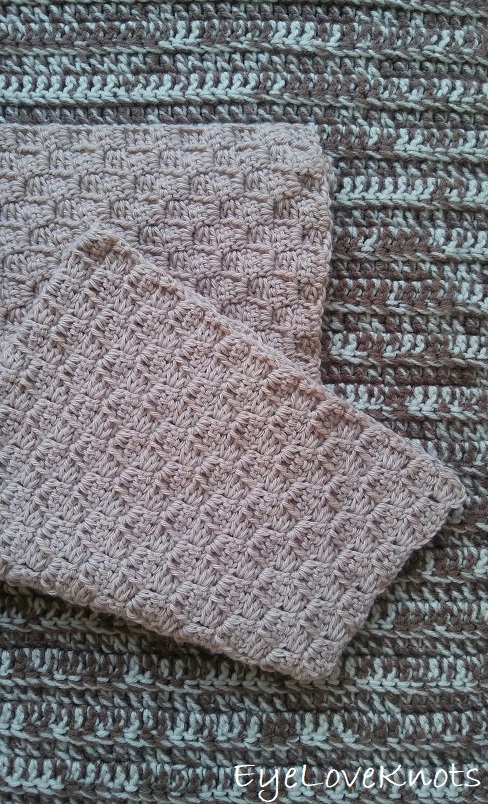
Onto the front panels… I thought I interpreted the front panels correctly, but when I went to assemble my cardigan, I was a little confused, so I am not 100% sure on this, but I am going to explain how I worked mine, and a little further down, I will say how I resolved the issue that popped up.
The rows themselves finished two rows shorter than the back panel. When I noticed this, I went to the schematics, and thought, “okay, the front panels are supposed to be 2″ shorter than the back to allow for the front edging”. I worked as written, and then I added two rows to the height (because I added two rows to the back panel).
For the sleeves, I found that the 5 boxes from the pattern was only measuring 3.5″, and the schematics show 4″, so I made it 6 boxes. While I adjusted this perfectly, I forgot to adjust the overall width of the sleeves to accommodate my size Large arms, which would have been something like a 19″ (or even as low as 17″) long panel, instead of the 15″ long panel I ended up with. I did not realize this until I put the cardigan on later, though IT STILL FIT! Just snug.
Pockets… I skipped the pockets because I really didn’t want any.
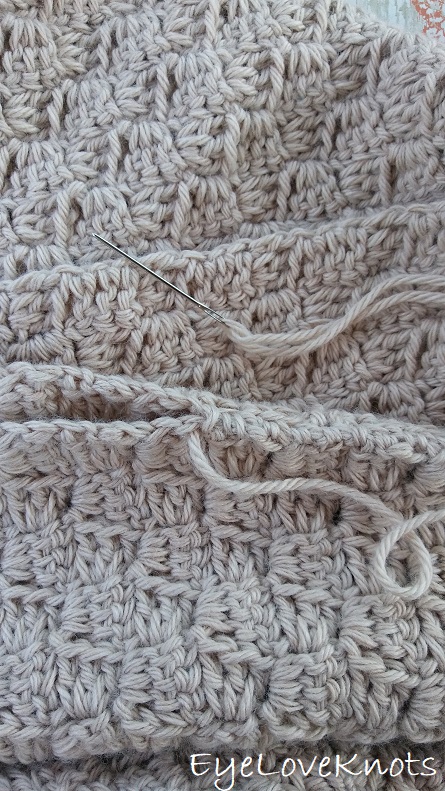
Assembly time! The instructions state to work some sort of chain stitch technique that is explained in the pattern, which is basically, working the moss stitch through both layers. I did not like the look of this joining technique, so I used a basic whipstitch.
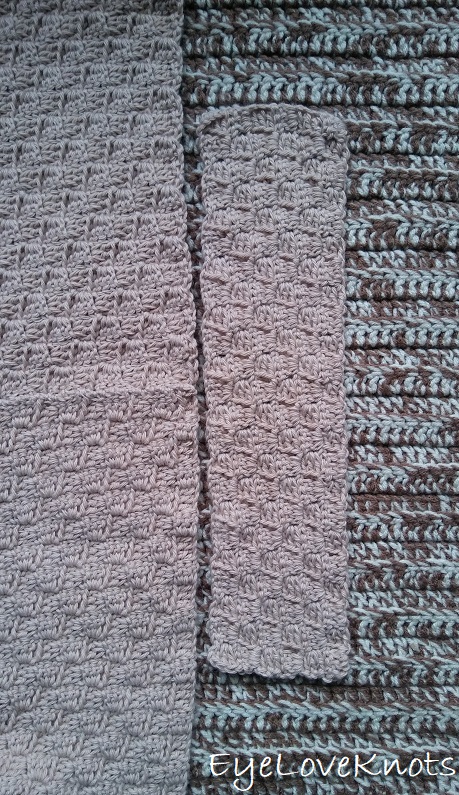
After sewing the shoulders together, I laid the large piece of fabric out flat, and then laid my sleeve out centered with the shoulder seam – in my case, the 12th box was lined up with the shoulder seam, and there were 11 boxes on each side.
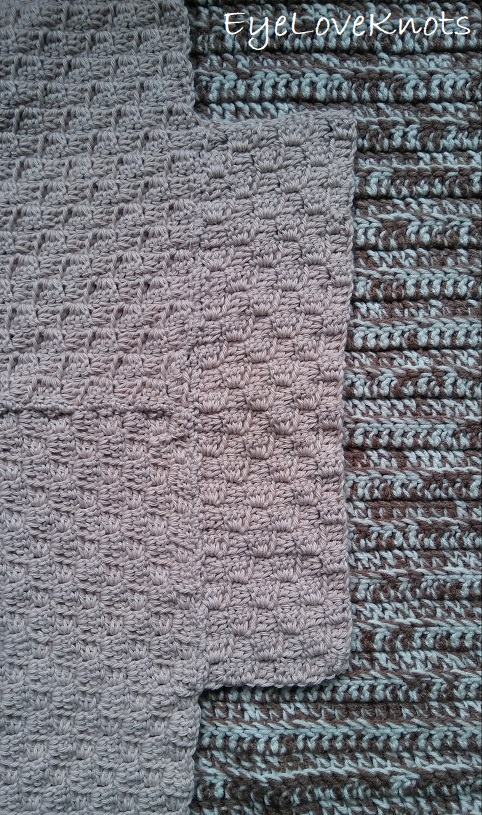
Then I evenly whipstitched down – you may like to use some sewing pins to help you keep the sleeve in place.
Let’s talk about the final edging, then the cardigan is ready for wearing!
The final edging is worked in the moss stitch pattern. If you are not familiar with this stitch pattern, it is very simple to work, but also very simple to decrease the size of your project unintentionally. For this reason, I decided to go up one hook size so I had a little more leeway, and I strongly encourage you to work your stitches loosely, otherwise the edgings will be tight, and not even with the rest of the piece – this is just the nature of the stitch pattern. Because of this, I skipped the sleeve edging. And I want to point out, I was planning on skipping the sleeve edging even before I realized I didn’t adjust them properly.
Also, the first row of the edging is straight into the moss stitch, which I couldn’t see how this was going to work well evenly into the corner to corner stitch pattern, so I worked the first row as: “single crochet into the corner stitch, *chain 2, single crochet into the next space between squares, rep from * across”, then row two as: “2 single crochet into each chain space across”, and at row 3, I picked up on the moss stitch edging.
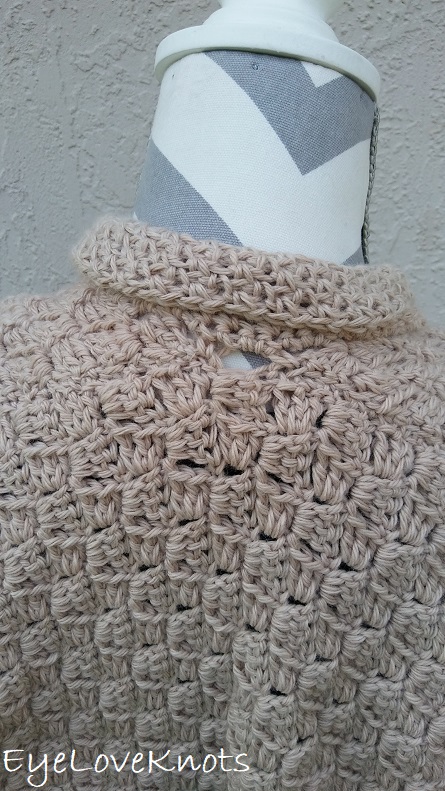
The only spot that there was stress from this stitch pattern was the center chain space at the back of the neck, so maybe some solid single crochets through this spot.
So, remember before when I said I was confused with the front panels when I worked the edging? Well, I understood the edging as work from the inside corner of the left panel, around the back panel, and end at the inside corner of the right panel (and continue in rows), HOWEVER, my front panels was shorter than my back panel so how on Earth was this going to work?
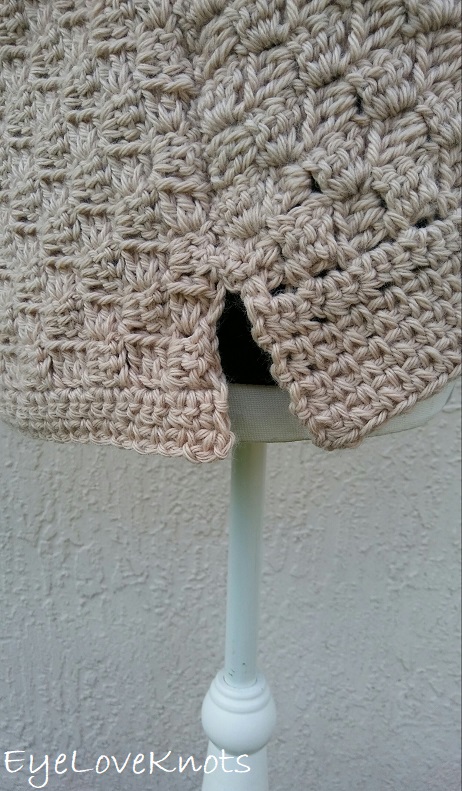
I tried a few ways until I ripped back, and simply decided to do it my own way with an even side split.
To achieve this, I worked the back panel, and two front panels all separately for the bottom edging. For the back panel with only 4 rows of the repeat, and for the front, I worked the 9 called for in the pattern.
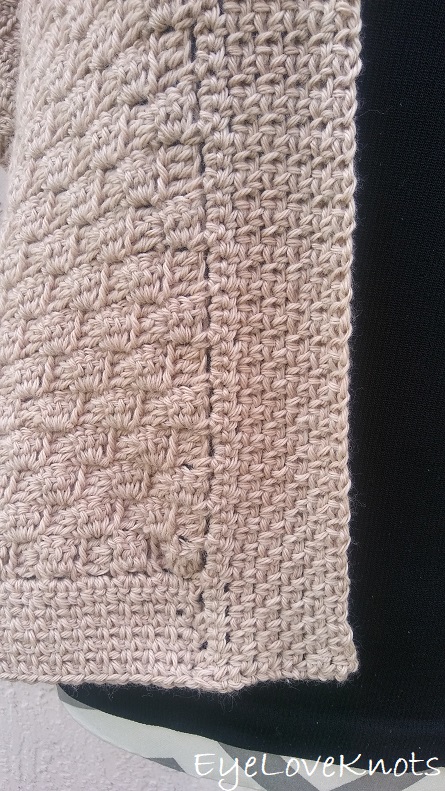
For the collar edging, I worked the first two rows the same way as I did the bottom, and then proceeded in the moss stitch following the pattern.

Then I weaved in my final ends, and tried on my cardigan.
Here I am wearing a tank top under the cardigan because of the slightly tight armholes. With a tank top, the armholes fit comfortably (though with a t-shirt, the armhole area is too bulky). Other than that, perfect!
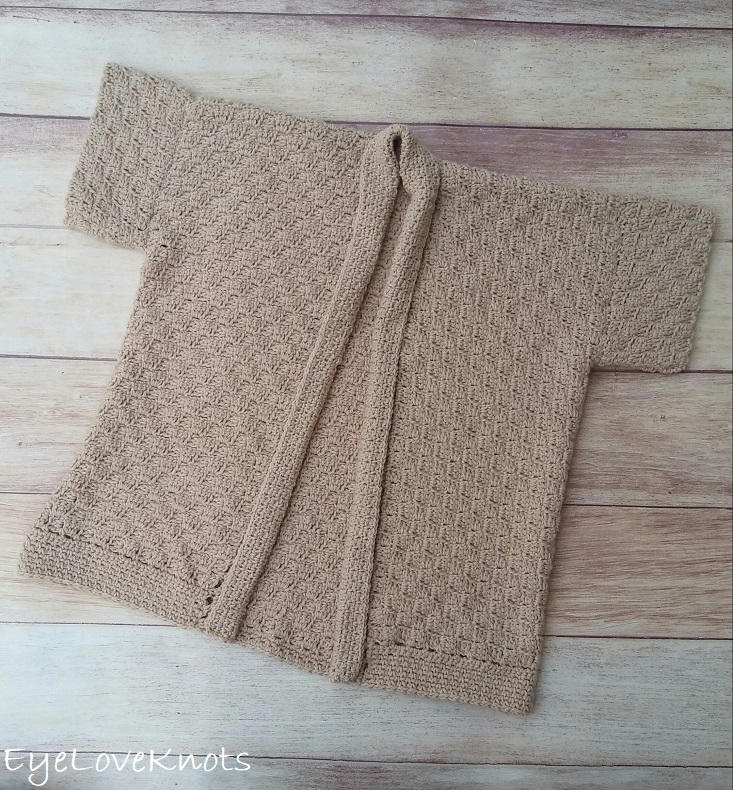
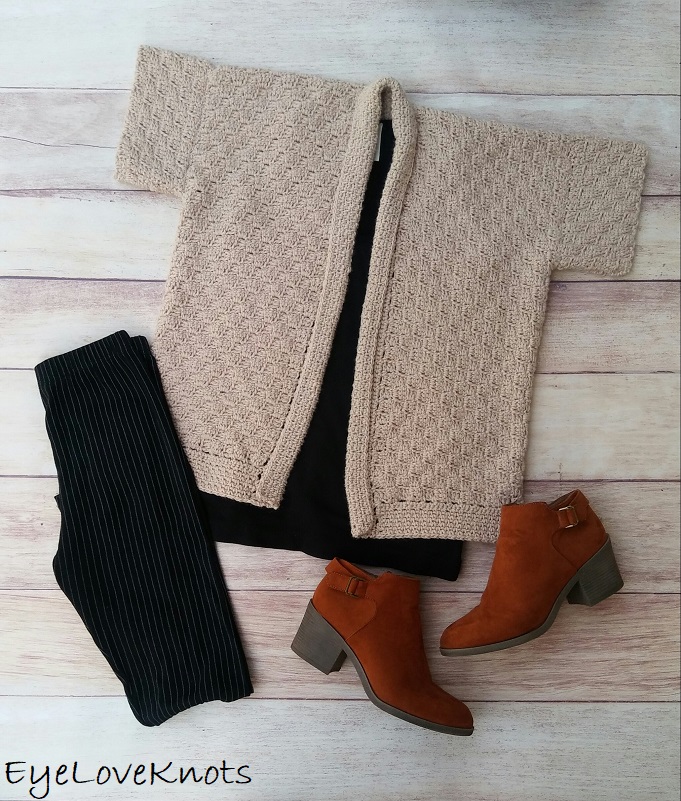
I love this combination! It’s the same black tank top, my comfy Vertical Stripped High Waisted Leggings from SheIn (fit like Junior size, and if you have a booty, wear at the hips NOT high waisted), and my FAVORITE Brown Almond Toed Chunky Heel Boots (order one size up) also from SheIn.
12/05/19 Update: These boots aren’t available from SheIn, but I found some similar ones… Low Heel Cut Out Buckle Detail with Almond Toe and Block Heel Booties with Round Toe and Split Shaft.
Join the EyeLoveKnots Crafting Community on Facebook to share your creations, and see what others are up to.
Linked Up To…
Ginx Woolly Linx Party April – Ginx Craft
Craftastic Monday Link Party – Sew Can Do
Creative Monday – i should be mopping the floor
The Really Crafty Link Party #166 – Keeping it Real
Merry Monday #247 – A Wonderful Thought
Creative Mondays Link Up – Claire Justine
Handmade Monday #123 – Sum of their Stories
Weekday Wear Linkup #15 – Away from the Blue
{Wow Me} Wednesday #300 – Ginger Snap Crafts
Hookin’ on Hump Day #189 – Petals to Picots
Wall to Wall DIY Wednesday Link Up Party Week 44 – Dabbling and Decorating
Your Whims Wednesday #404 – My Girlish Whims
To Grandma’s House We Go Link Party #136 – Chas’ Crazy Creations
Scrappy Stitchers Link Party #51 – Stitches n Scraps
Crafty Love Link Party #44 – Jessie at Home
Thursday Favorite Things #386 – An Artful Mom
Thursday Fashion Files Link Up #209 – Curly Crafty Mom
Trendy Thursday Link Up – Thirty Minus One
Pin Party #313 – The Pin Junkie
Funtastic Friday #225 Link Party – Olives n Okra
Best of the Weekend – Calypso in the Country
Link Up – Lizzie in Lace
Link Your Stuff – Annemarie’s Haakblog
Snickerdoodle Create Bake Make Link Party #281 – Across the Boulevard
499th Inspire Me Tuesday – A Stroll Thru Life
Fabulous Party #266 – Lou Lou Girls
Talk of the Town 173 – My Repurposed Life
The Linky Ladies Party #158 – The Purple Poncho
Turning Heads Linkup – Elegantly Dressed and Stylish
Confident Twosday Linkup – I do deClaire
Let’s meet this month’s bloggers!!
C’mon Get Crafty | Purple Hues and Me
EyeLoveKnots | Margy Meanders | Across the Blvd
Domestic Deadline | Shoppe No 5 | Modern to Monticello
Love Jaime | This Autoimmune Life | Sew Crafty Crochet
Salvage Sister and Mister | The Inspiration Vault
Craftify my Love | Love My Little Cottage
If you would like to join our Facebook Challenge Group, just ask!
Check out some awesome creations you might be able to make from your own stash! #CraftRoomDestashChallenge
Wow! That’s incredible.
Thank you, Deborah!
It turned out lovely. Looks great with your jeans, and I bet it works well with a skirt as well. – Margy
Definitely! Over over a cute little dress. So many possibilities!
Very pretty – this could go with so many different outfits!
Oh yes! I am already thinking about the next color I am going to make it in. I want one I can wear to work.
Beautiful design and so versatile.
What a pretty cardigan and what a great talent you have! It looks wonderful. Pinned.
Thank you, Beverly!
Alexandra, this cardigan is beautiful. I think it is great that you monitored the time necessary so we know what to expect.
Thanks! I started doing that in the beginner so I would know about how much time was required for when I priced for selling, and I found that other makers really appreciate it, so now I include it in everything.
Looks wonderful. I have never tried C2C anything before, but maybe I should start with a blanket, as it’s probably easier. Do you any have simple C2C blanket patterns?
Thank you for sharing at The Really Crafty Link Party. Pinned.
C2C is addicting! Besides the baby blanket you saw, I have two other good beginner C2C projects… Basic Chunky C2C Blanket: https://eyeloveknots.com/2018/04/basic-chunky-c2c-blanket-free-crochet.html, and Basic C2C Washcloth: https://eyeloveknots.com/2018/08/basic-c2c-washcloth-free-crochet-pattern.html. Highly recommended crochet stitch pattern!
It looks great and just a few tweaks needed.
Hand knits often seem to have tight armholes. My mum used to call them sparrow arms! I guess you could unpick and add a triangle if you have any yarn left, or just wear it as you have with a vest top. This looks like it will be really useful.
Oohh man, and I love the way it fits! Now I need to make another one in a work approved color. I am always cold at work.
I love a cardy, and yours looks really great. Thanks for joining in Ginx Woolly Linx Party for April.
That’s a beautiful sweater but I think way above my capabilities. I wouldn’t know how to make the adjustments. I can do C2C, no problem, but I’ve never done a garment. Don’t think this is a starting garment piece. Maybe with some other easier garments this wouldn’t seem so daunting.
You never know, you could work the gauge, and it could come out perfectly! Then you wouldn’t need to adjust anything. The actual pattern itself was really easy to follow.