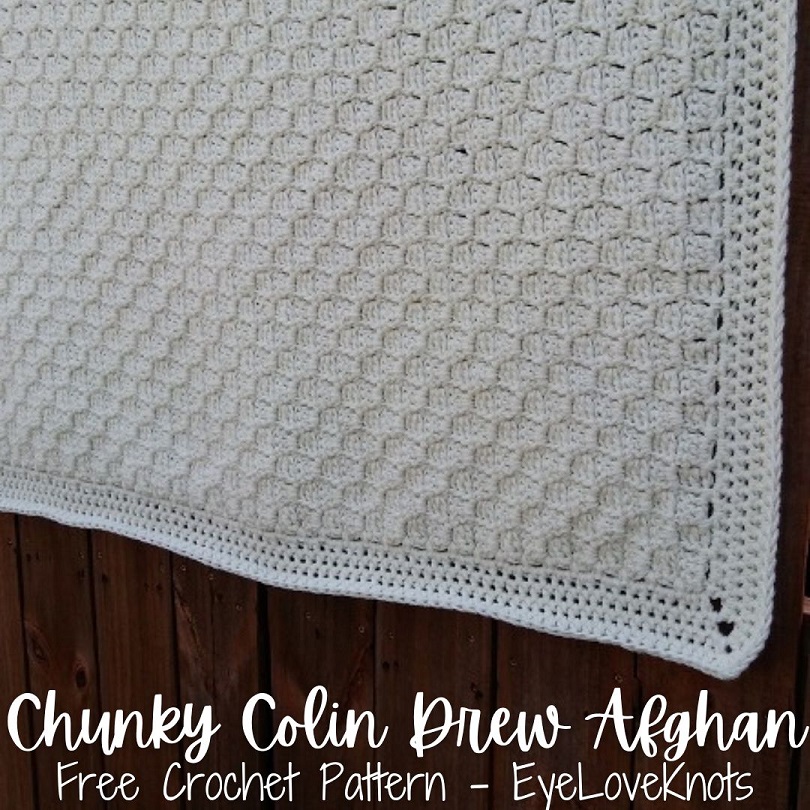
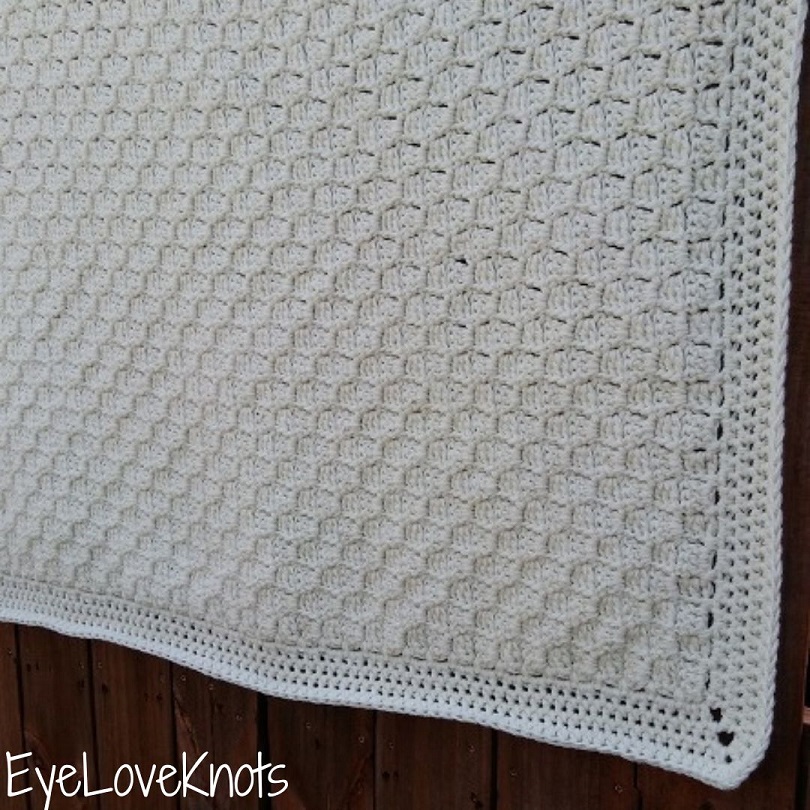
This is a free crochet pattern and video tutorial showing how to crochet the Chunky Colin Drew Afghan, an easy, basic, chunky, beautifully textured corner to corner afghan. Worked in two strands of worsted weight yarn (or one strand of chunky weight yarn), this cozy afghan works up fairly quickly. 12 sizes included!
This post contains affiliate links for Etsy, WeCrochet, Lion Brand and Amazon. If you make a purchase by clicking on them, I make a small commission at no extra cost to you. Thanks for your support!
Find the free crochet pattern instructions below, or purchase a printer-friendly, ad-free PDF on Ravelry by clicking here.
In a hurry? Pin this for later when you have more time.
As I was working on my Blessed C2C Afghan, I figured a basic corner to corner afghan pattern with actual instructions would be a good place to start and a good resource that I could refer back to.
Worked in chunky weight yarn, this fun and easy C2C afghan works up fairly quickly, and is the perfect piece to add to your living room, bedroom or kids room. If you go the same route as I did, and use two strands of worsted weight yarn held together, this is a great project to marl with – that means hold a strand of two different colors together to create a fun colorway of their own.
I originally published this afghan in 2018 in one size that was little larger than a toddler/child size afghan, and a little smaller than the standard throw blanket size. Fast forward to 2023, and after completing the video for my Colin Drew Scarf, I was inspired to return to this afghan to give it an update.
I renamed it, added 11 more sizes to bring it to 12 in total and added a video tutorial.
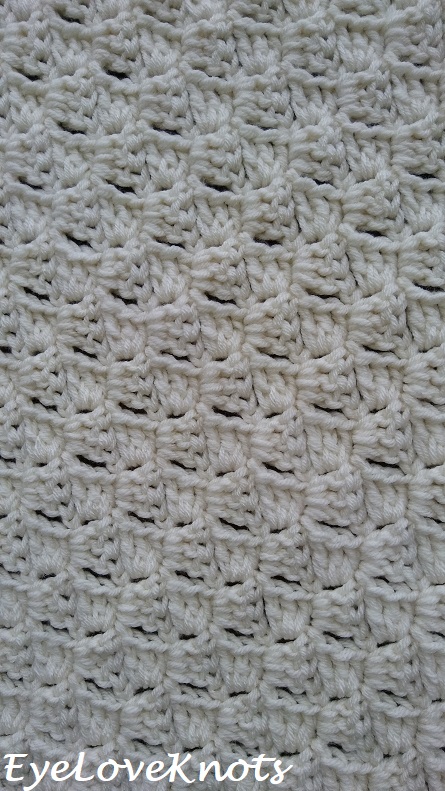
Colin Drew is an easy crochet line that features double crochet corner to corner boxes. This is a beginner friendly series, and this afghan is a great project to pair with watching your favorite TV show or movie. You don’t even have to count boxes if you don’t want to! You can use a soft tape measure to measure as you go, and stop at the width and length desired, though I will be providing box counts for each size in the written pattern.
Find more Colin Drew accessory and home decor crochet patterns here on EyeLoveKnots, and Colin Drew accessory and wearables crochet patterns on Cre8tion Crochet.
What is the Difference Between a Blanket and an Afghan?
While Blankets and Afghans are both used to cover ourselves to keep warm, Blankets are typically made of sewn fabric, while Afghans are typically knit or crocheted.
What is the Best Yarn to Use for a Crocheted Afghan?
I’ve used Red Heart Super Saver for my afghan because I love the durability for wear and tear and machine washing and drying, plus the wide range of colors and how affordable it is, but you can use any worsted weight (doubled) or chunky weight (single strand) yarn from your stash – pick your favorite! I used two strands held together for my afghan, but you could use one strand of a chunky weight #5 yarn.
Another favorite worsted weight yarn of mine that would be perfect for an afghan is Lion Brand Wool Ease – it’s a soft, squishy wool and acrylic blend that also holds up well to wear and tear and machine washing and drying.
Gauge is not essential for this project and with the corner to corner nature, you can easily substitute in any weight yarn and measure as you go.
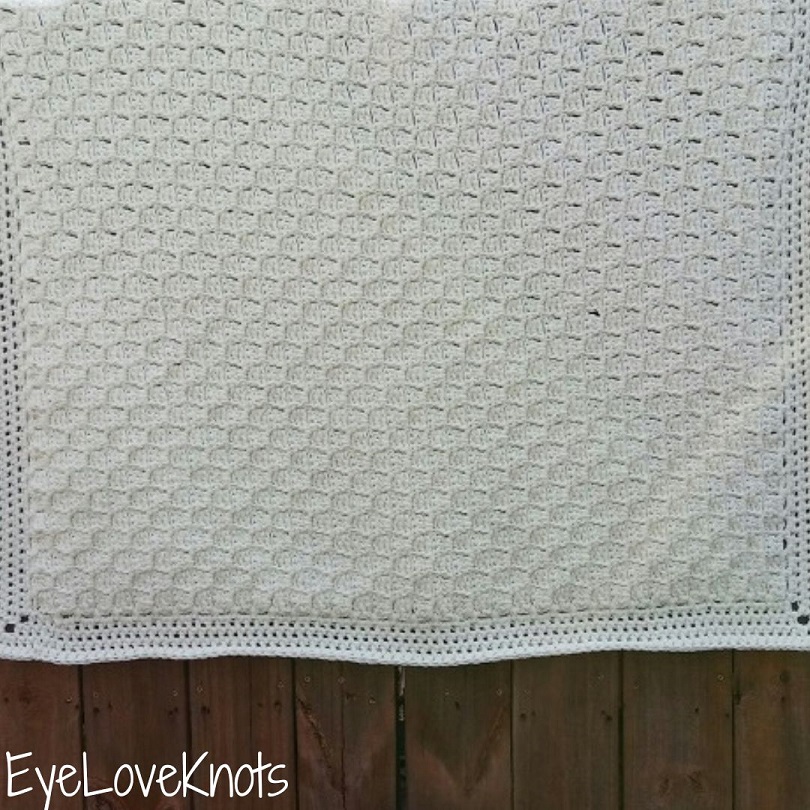
Do I need to work a border around my afghan?
I did add a border to my afghan, but you do not need to add one, or you can work a more simple border, like just the first round of single crochet. If you adjust the border or opt not to work one, you may want to add extra boxes to width and height so the afghan will come out to about the same finished size.
Why is my border ruffling? And how can I fix that?
I did not have any issues with this afghan so I used the same hook throughout, but sometimes a change in tension causes ruffles in the border, especially seen on the sides. My quick fix is to simply go down a hook size. You can also continue with the same hook you’ve been working with, and just block the finished afghan.
Prefer working with super bulky #6 yarn? Check out the Super Chunky Colin Drew Afghan available in the same 12 sizes!
Matching C2C Pieces Perfect for the Living Room or Bedroom:
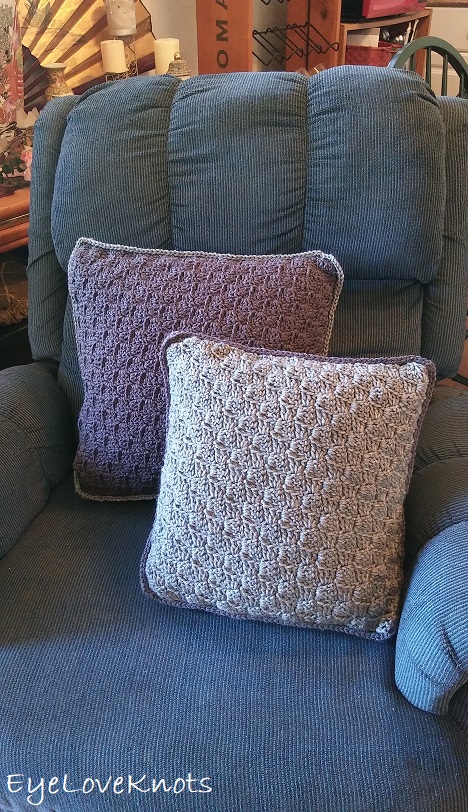
Colin Drew Throw Pillow, Free Crochet Pattern in 8 Sizes
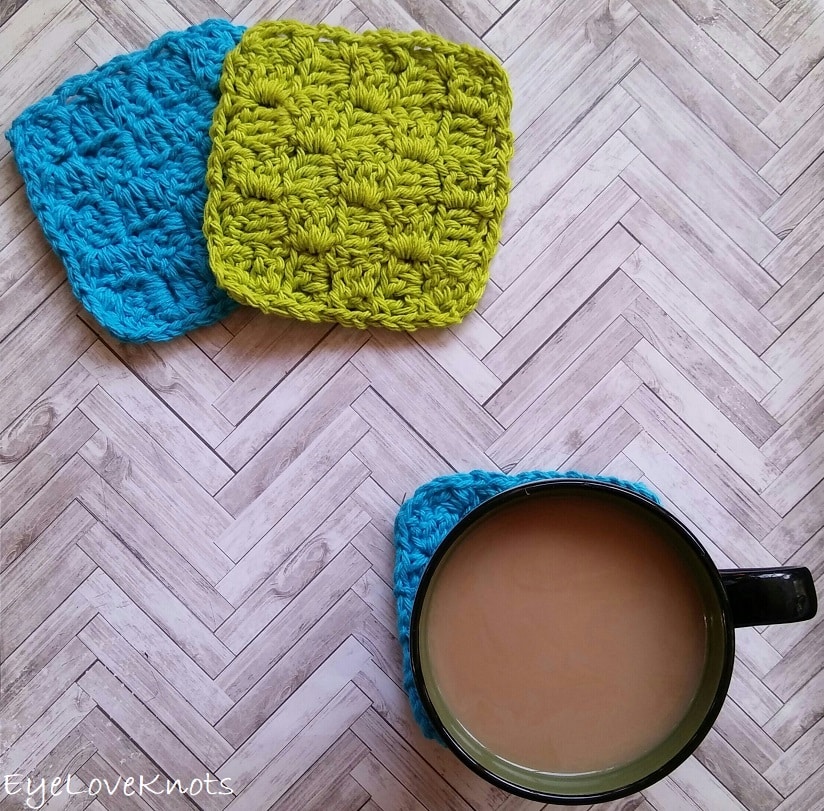
Colin Drew Coasters, Free Crochet Pattern
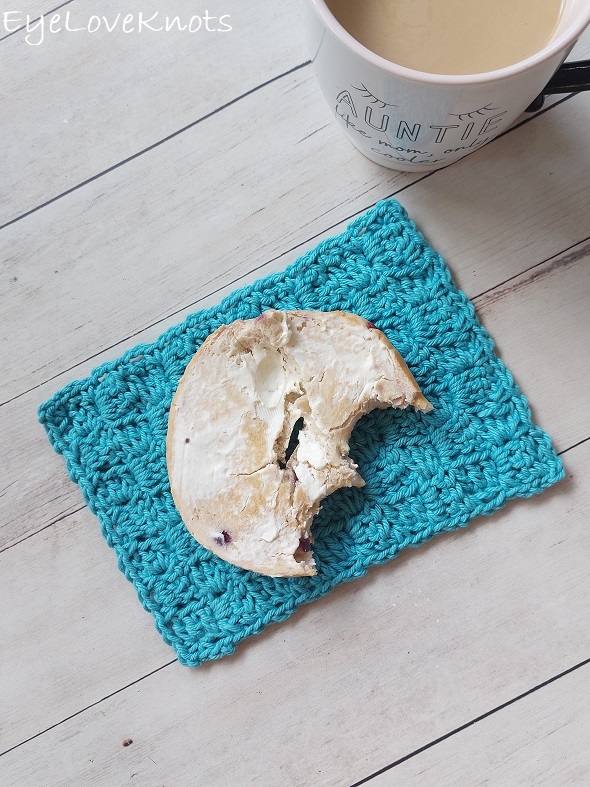
Colin Drew Mug Rug, Free Crochet Pattern
Ad-Free Printer Friendly PDF:

If you would like a PDF version of this post, you may get one through either my Etsy Shop, Ravelry Shop or LoveCrafts Shop for a small fee. This fee is to compensate for the views lost when you no longer need to return to the blog to for the information, as you will have your own copy. In a hurry? Pin this for later when you have more time!


Save this to your Favorites: AllFreeCrochet, FaveCrafts, Crochet Pattern Bonanza, AllFreeCrochetAfghanPatterns, Cheap Thrifty Living, DIYideaCenter, AllFreeHolidayCrafts, Free Crochet Tutorials
Materials:
- 120 (190, 530, 1275, 1940, 2840, 4390, 8770, 12250, 14270, 16430, 17020) Yards of Worsted Weight Yarn – I used Red Heart Super Saver Yarn in Soft White
- M13/9mm Crochet Hook
- Tapestry Needle
- Optional, Soft Tape Measure
- Optional, Jewelry Pliers
Material Notes:
For this afghan, two strands of worsted weight yarn are held together. In it’s place, you could use one strand of chunky/bulky (#5) yarn. If you don’t mind a slight difference in measurements, gauge isn’t essential. You could even use a super bulky yarn for a larger, cozier afghan.
Using chunky weight yarn may require different yardages. My sample is the toddler/child size worked with two strands of worsted weight yarn held together. The rest of the size yardages are estimated based on my sample.
Some great worsted weight yarn alternatives I recommend are {wools} WeCrochet Swish, Lion Brand Wool Ease, {non-wool} WeCrochet Brava, Bernat Super Value.
If gauge is essential to you or to measure as you go, you’ll want to have a soft tape measure handy.
Jewelry pliers are a great tool to use to help weave in ends as it can be quite tough on the fingers when weaving in with just fingers and a tapestry needle.
Time Spent:
I worked the toddler/child size up in just over 11 hours.
Measurements:
- Newborn Photography Layering Blanket: 9 5/8″ Wide by 9 3/8″ Tall
- Lovey: 12 1/8″ Wide by 12″ Tall
- Newborn Photography Blanket: 19 5/8″ Square
- Newborn Blanket: 29 5/8″ Wide by 30″ Tall
- Lapghan: 34 3/4″ by 40″ Tall
- Toddler/Child: 39 3/4″ by 50 1/4″
- Throw: 49 3/4″ by 60 1/2″
- Twin: 64 3/4″ by 90 1/2″
- Full: 84 3/4″ by 94 7/8″
- Queen: 94 3/4″ by 98 1/4″
- King: 108 1/2″ by 98 1/4″
- CAL King: 112 1/4″ by 98 1/4″
For the newborn photography photo props, typically, the base is the blanket, and then the layering blanket is laid in a different direction on top, and then baby. Sometimes the newborn size is also used in photography.
Gauge – Not Essential:
3 Boxes = 4″ Wide by 3 3/4″ Tall
With the nature of this stitch pattern, the easiest way to measure is to do so in pattern. Measure the width (before the border), and this will be about 3 3/8″ smaller (for the first 4 sizes) or 4 3/4″ smaller than finished width (for all other sizes). Same goes for the height. You can easily add or take away boxes as you go.
Abbreviations (US Terms):
- DC – Double Crochet (Photo Tutorial)
- SC – Single Crochet (Photo Tutorial)
- C2C – Corner to Corner (Photo Tutorial for DC Boxes)
- HDC – Half Double Crochet (Photo Tutorial)
Pattern Notes:
Beginning chain 2 counts as a double crochet. Beginning chain 1 does not count as a stitch.
A box is comprised of four double crochet’s.
Working the final double crochet into the foundation chain from the previous row helps to keep the edge more even. After completing the first box, your edge may look a little wonky. You can use your fingers to manipulate the fabric, but the border will cover it up and it will look nice and straight.
I highly recommend weaving in your ends as you go. It will be easier to access the spots while you are near them. While there technically isn’t a right or wrong side with corner to corner as it is worked turned the whole time, you’ll still want to designate a wrong side to bring all your ends to and weave in. To eliminate extra bulk, you can weave in one end (of the two from doubling your strands) at a time, and the second in a different spot.
The border adds 3 3/8″ for the first 4 sizes, and 4 3/4″ for all the other sizes. You can add more rounds of half double crochet to increase the width and height with each round adding about 1 3/8″ in total to the width and height.
If you do not want to add a border, you may want to add extra boxes to the width and height to get closer to the finished measurements.
Chunky Colin Drew Afghan, Video Tutorial:
Chunky Colin Drew Afghan, Written Pattern:
Chain 6. DC into the 4th chain, and into each of the next 2. (1 Box)
R2: Chain 6, and turn. DC into the 4th, 5th and 6th chains. You now have an alligator mouth shape. Flip the bottom fabric so it’s mirrored and slip stitch into the top of the next chain 2, which is the stitch that is the most natural to work into when you lay your 2 boxes together. Chain 2. Looking at the next box, you see the stitches laying horizontally. Work 2 DC into the space in between the top 2 stitches. To help keep a straight edge, work the last DC into the foundation chain on the left side. (2 Boxes)
R3: (I) Chain 6, and turn. DC into the 4th chain, and into each of the next 2. Flip your fabric and slip stitch into the top of the next chain 2;
(II) Chain 2, work 3 DC into the space in between the top 2 stitches of the same box, slip stitch into the top of the next chain;
(III) Chain 2, work 2 DC into the space in between the top 2 stitches of the same box, DC into the foundation chain on the left side. (3 Boxes)
R4 – 5 (7, 13, 21, 24, 28, 36, 48, 64, 72, 83, 86): Using Row 3 as a base, you will continue working in the same manner repeating (II) one extra time each row to increase the number of boxes by one each row. Each of these rows will have the same number of boxes as row (ie 4 will have 4 boxes, 5 will have 5 boxes, etc).
Now the width is as wide as we want it to be, we will no longer be starting with a chain 6 width-wise (though we will continue to start with a chain 6 height-wise). Instead, each time we are starting from this side, we will chain 1 and slip stitch over, then begin with a chain 2 to form a straight edge.
If you want to add width here, you can work an additional row before beginning the decrease on this side.
Next Row: Chain 1, and turn. Slip stitch into the 2nd, 3rd and 4th stitches. Chain 2, work 3 DC into the space in between the top 2 stitches of the same box, slip stitch into the top of the next chain;
(chain 2, work 3 DC into the space in between the top 2 stitches of the same box, slip stitch into the top of the next chain) over to last box;
Chain 2, work 2 DC into the space in between the top 2 stitches of the same box, skip the next 3 DC, DC into the foundation chain on the left side.
We still want to add height, so when we are starting from this side, we will continue to begin with a chain 6 and work down to form the 1st box. As we work across this row, we will slip stitch to the last box, and not chain 2 to work an additional box on top (because the width is already as wide as we need it).
Following Row: Chain 6, and turn. DC into the 4th chain, and into each of the next 2. Flip your fabric and slip stitch into the top of the next chain 2;
(chain 2, work 3 DC into the space in between the top 2 stitches of the same box, slip stitch into the top of the next chain) over to the last box.
Continue alternating these last two rows until you have 7 (10, 19, 31, 41, 53, 65, 100, 105, 109, 109, 109) boxes tall counting vertically (not counting in pattern rows, just counting vertically from the first box). You will maintain the same number of boxes (counting width-wise).
Now the height is as tall as we want it to be, we will no longer be starting with a chain 6 at all. Regardless of the side, we will chain 1 and slip stitch over, then begin with a chain 2. With each row, the number of boxes will decrease by 1.
If you want to add height here, you can work an additional row before beginning the decrease on this side.
Remaining Rows Until You Have 3 Boxes Left: Chain 1, and turn. Slip stitch into the 2nd, 3rd and 4th stitches. Chain 2, work 3 DC into the space in between the top 2 stitches of the same box, slip stitch into the top of the next chain;
(chain 2, work 3 DC into the space in between the top 2 stitches of the same box, slip stitch into the top of the next chain) over to last box.
3 Boxes Left: Chain 1, and turn. Slip stitch into the 2nd, 3rd and 4th stitches. Chain 2, work 3 DC into the space in between the top 2 stitches of the same box, slip stitch into the top of the next chain, chain 2, work 3 DC into the space in between the top 2 stitches of the same box, slip stitch into the top of the next chain. (2 Boxes)
Last Row: Chain 1, and turn. Slip stitch into the 2nd, 3rd and 4th stitches. Chain 2, work 3 DC into the space in between the top 2 stitches of the same box, slip stitch into the top of the last stitch. (1 Box)
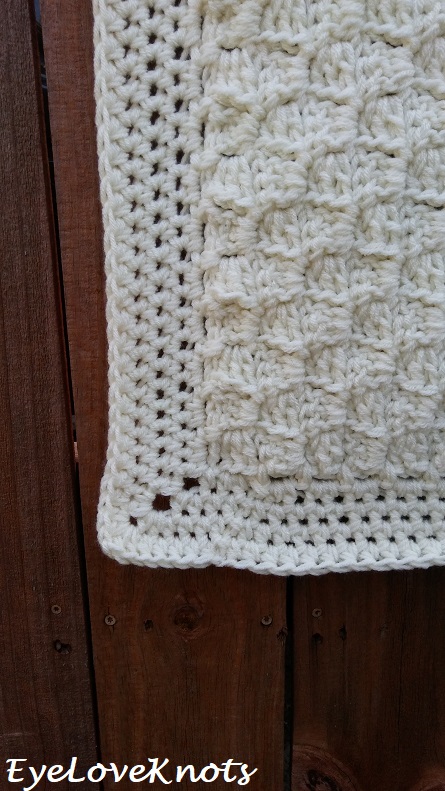
Border:
Round 1 is basically 1 SC in the space in between each box, a chain 2 in between SCs over each box, and we’ll increase in each corner stitch. The remaining rounds worked in half double crochet is evenly working around with increases in each corner stitch.
For a more rounded corner, do (SC, chain 2, SC) or 4 SC, and for a more square corner, do (SC, chain 3, SC) or (SC, 2 HDC, SC). Same idea goes for the half double crochet rounds.
R1: Chain 1, turn. SC into the space between the boxes just under your current place, chain 2, (SC, chain 3, SC) into the corner stitch, [chain 2, (SC into the space in between the next 2 boxes, chain 2) across, (SC, chain 3, SC) into the corner stitch, chain 2] 3x, chain 2, (SC into the space in between the next 2 boxes, chain 2) across until you’re back to the beginning, then join to the 1st SC.
R2: Chain 1. Work 1 HDC into the 1st SC, 2 HDC into the next chain space, HDC into the next SC, (HDC, chain 3, HDC) into the next corner chain space, [HDC into the next SC, (2 HDC into the next chain space, HDC into the next SC) across, (HDC, chain 3, HDC) into the next corner chain space] 3x, (HDC into the next SC, 2 HDC into the next chain space) across until you’re back to the beginning, then join to the 1st HDC.
R3: Chain 1. HDC into the 1st stitch and each HDC across, (HDC, chain 3, HDC) into the next corner chain space, [HDC into each HDC across, (HDC, chain 3, HDC) into the next corner chain space] 3x, HDC into each HDC across until you’re back to the beginning, then join to the 1st HDC.
If you’re working up to a Newborn size, finish here, for all the other larger sizes, work Round 3 one more time.
Fasten off, and weave in ends.
Please feel free to make and sell your own items made using this pattern, but keep in mind, this written pattern and my photos are protected by copyright. Please DO NOT claim this pattern as your own nor should you sell my pattern. DO NOT re-publish my photos as your own. DO NOT copy and paste my pattern anywhere, link to it instead so other’s can visit. Making videos providing instructions how to make my projects on any social media platform is also not permitted.
Join one of our awesome Facebook groups to share your creations, and see what others are up to!
– Yarn Crafts & Coffee Community
– DIY Home On Rockwood Lane
– Alexandra Lane Lifestyle
Linked Up To…
Made by you Monday – Skip to my Lou
Merry Monday #202 – A Wonderful Thought
Creative Mondays Link Up – Claire Justine
Handmade Monday #73 – Sum of their Stories
The Really Crafty Link Party #117 – Keeping it Real
Craft Schooling Sunday – Creative Jewish Mom
Show and Tell Link Party – Flamingo Toes
Wednesday Link Party 243 – Oombawka Design
Talk of the Town – My RePurposed Life
{Wow Me} Wednesday #349 – Ginger Snap Crafts
Your Whims Wednesday #353 – My Girlish Whims
Whisk it Wednesday Link Party #27 – Carrie’s Home Cooking
Hookin’ on Hump Day #166 – Petals to Picots
Ginx Woolly Linx Party May – Ginx Craft
I’m Lovin’ It {linky party} – Tidy Mom
Pin Junkie Pin Party #264 – The Pin Junkie
Crafty Love Link Party #33 – Jessie at Home
Your blanket is beautiful !!!!
Thanks for your visit !
Have a nice week !
Anna
Thank you so much! I really love the solid look of the corner to corner technique.
Gorgeous blanket! I am in awe of your talent girlfriend!!
Thanks so much! Likewise with your recipes!
I love c2c crochet, it works up so quickly and is great for multitasking when watching tv. This is lovely with that pretty border.
There isn’t much crochet projects I don’t find great for multitasking when watching tv, hehe. Thanks for stopping by 🙂
I love that pattern, thank you for sharing at The Really Crafty Link Party this week. Pinned!
Thanks, Teresa!
Can this be worked with one strand?
Love the border.
Absolutely! I chose double strands of worsted weight yarn so it creates a chunky weight yarn so it works up faster, but you could work in one strand of any weight yarn. You’ll just keep increasing until you’ve reached your desired height (keep in mind the border will add some height to it), and then work across until you’ve reached your desired width (same with border).
My first time trying out the C2C pattern – this is a great help!
Thank you!!!
So glad I could help! I also have a C2C photo tutorial if you need: https://eyeloveknots.com/2020/06/how-to-corner-to-corner-c2c-in-double-crochet-dc-photo-tutorial.html
Let me know if you have any questions 🙂
How many boxes did you end up with? Trying to use this for a temperature blanket using bulky yarn. I’m counting 1596. Does that seem right?
I just counted and got the same number of boxes as you.
If you add 6 more rows to the length (38 boxes each row), you would get 1824 which is 1 box short of 365 five times, and the 1 could be represented by the border.