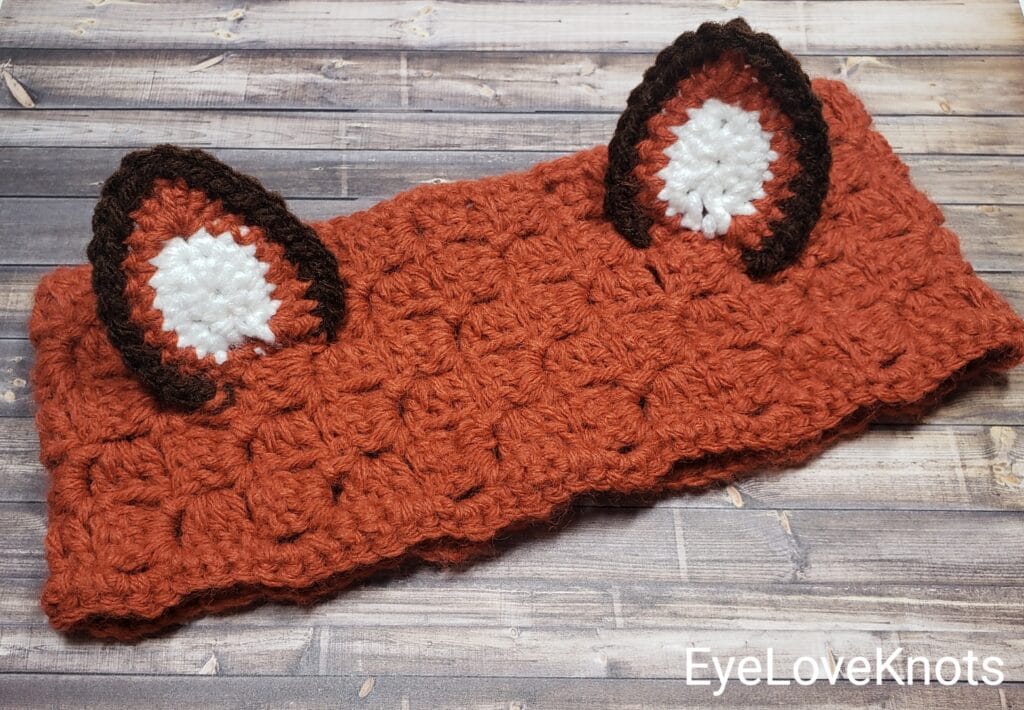
This is a crochet pattern review of the DIY Fox Ears Headband designed by Helen Gor of CrochetDream4You. Review done by Jessica Munroe for EyeLoveKnots.
This post contains affiliate links for Lion Brand Yarns and Etsy. If you make a purchase by clicking on them, I make a small commission at no extra cost to you. Thanks for your support!
Find the crochet pattern review below, or purchase the pattern on Etsy by clicking here.

It’s me, Jessica with Nice and Knotty.
Visit with me on Facebook or Instagram for all kinds of awesome crochet makes and inspiration.
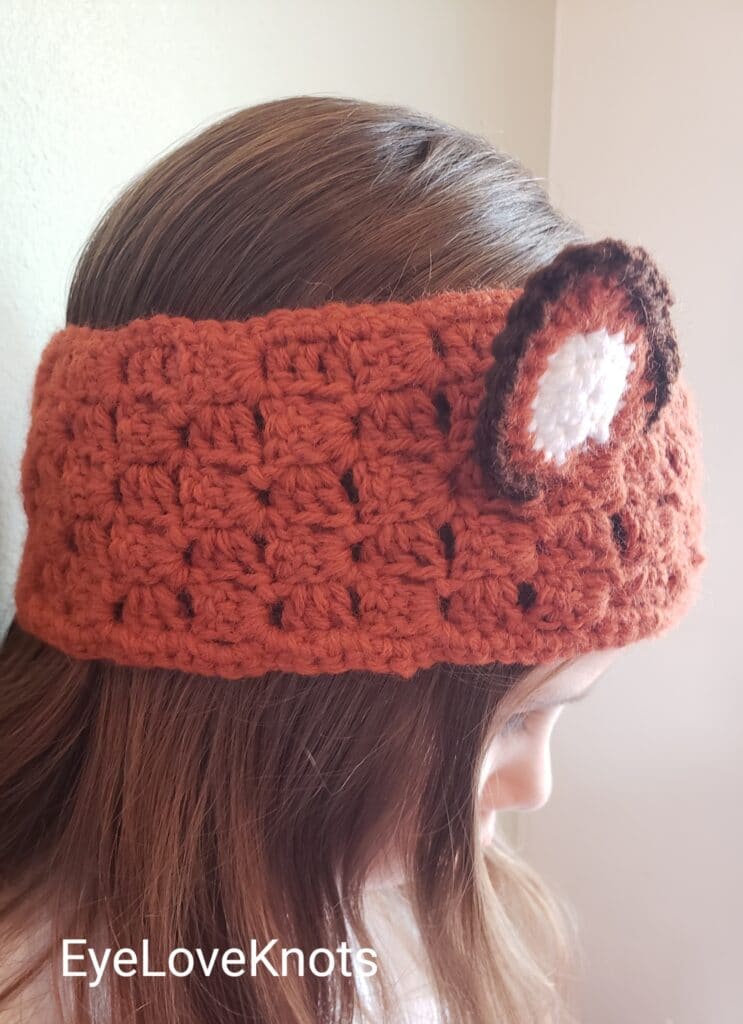
It’s coming! Autumn, that is. In the crochet world, you’re always working ahead by a few months. So even though it is technically still summer, I am already working on cool weather accessories. My first official project for the season is this headband with cute little fox ears. As a bonus, one of my nieces loves all things fox so I thought this would be a great birthday gift for her.
Something to note if you are a maker who sells: The designer states in the pattern that you must request permission from her before selling the headbands you make from her pattern, while personal use is permitted. In reality, this statement means nothing because you always have the full right to sell any product that you physically make, but you cannot ever sell the pattern that belongs to another designer. With that said, it is still better to reach out to the designer so as not to burn a bridge, and they may even help promote you.
Materials I Used:
- Lion Brand Pound of Love Yarn in Pumpkin Spice
- Red Heart Super Saver Yarn in White and Coffee
- H8/5mm crochet hook
- D3/3.25mm crochet hook
- Scissors
- Yarn needle
- Fox Ears Headband, Paid Crochet Pattern by CrochetDream4You via Etsy

Material Notes:
The pattern calls for a cotton and acrylic yarn blend but I used 100% acrylic (full disclosure: I don’t really like to work with cotton yarn as much as I like acrylic). I felt like acrylic would be easier to make the ears have some firmness too.
Time Spent:
The headband took me about 2 hours from start to finish. This time includes attaching the ears and weaving in ends. The headband itself works up very quickly since it is worked in corner to corner (c2c). Honestly, the ears took me longer than I expected, just because I worked hard to keep them lined up nicely when layering them and then trying to stitch them on as evenly as possible.
Measurements:
The pattern is for an adult size headband and the measurements given are 10 cm (3.93 inches) wide and 50 cm (19.6 inches) in length. I did add a couple of extra rows to my headband however. Adjusting the size smaller or larger would be easy enough to do by adding or removing rows or by using different hook sizes.
Gauge:
The gauge is not given for this pattern. I found gauge didn’t seem to be necessary either because the measurements were provided, and it was very easy to adjust.
Pattern Notes:
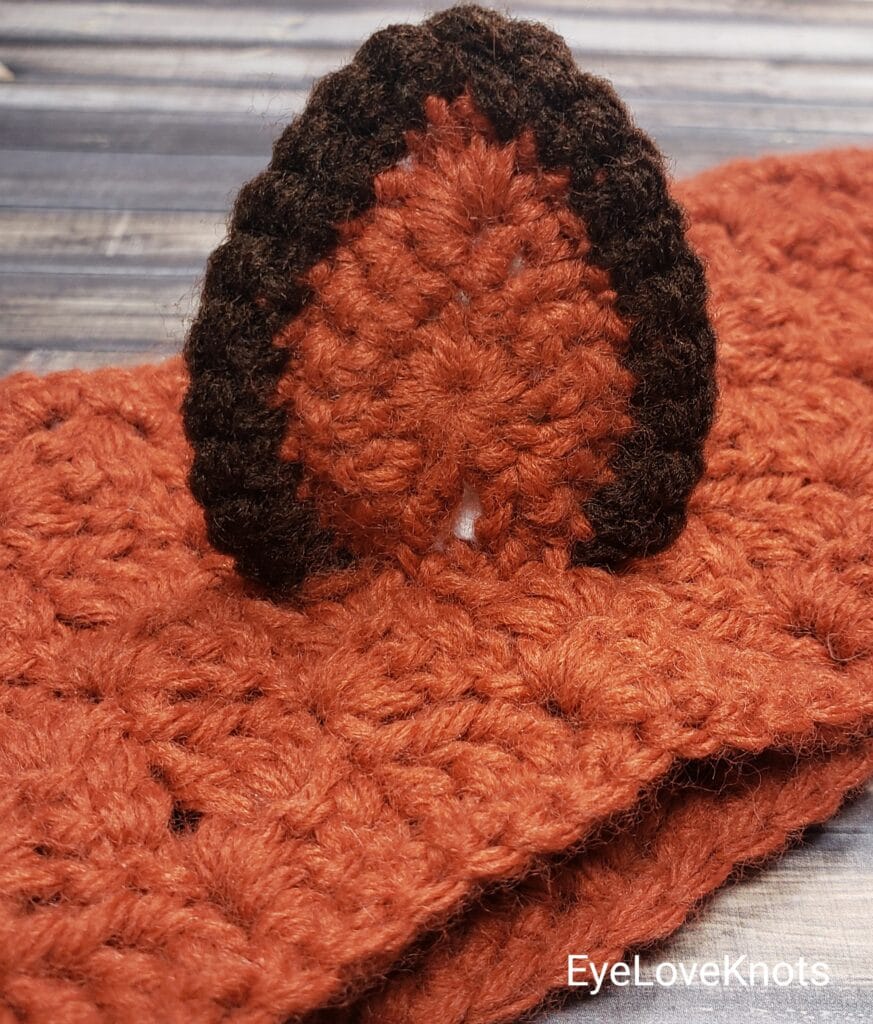
This pattern includes written instructions, photos and a crochet chart. The instructions say to take the yarn in “two layers”, which I assume to mean using 2 strands. However, this was my first c2c project so I used a single strand and it worked up well. I also added a single crochet border around my headband to give it a bit more structure. When making the ears, the pattern uses the technique of making a small circle of chains and then crocheting into the circle. I used the Magic Circle technique so that I wouldn’t have a hole in the center of the ears.

While I made some adjustments to this pattern as I worked, it was due to personal preferences and not against the pattern. I think the little ears on top just set this over the top and I am here for it! A whole set of animal ear headbands are floating my mind as an idea… I hope you’ll give this pattern a try!
Don’t forget to visit with me on Facebook or Instagram for all kinds of awesome crochet makes and inspiration.
Join one of our awesome Facebook groups to share your creations, and see what others are up to!
– EyeLoveKnots Crochet & DIY Community
– DIY Home On Rockwood Lane
– Alexandra Lane Lifestyle
Linked Up To…
Craft Schooling Sunday – Creative Jewish Mom
Unlimited Link Party 33 – Grammy’s Grid
Ginx Woolly Linx Party – Ginx Craft
Thursday Favorite Things #507 – An Artful Mom
Creatively Crafty Link Party #293 – Life Beyond the Kitchen
Encouraging Hearts and Homes Blog Hop – Scratch Made Food
Grace at Home No 438 – Imparting Grace
Traffic Jam Weekend Link Party #294 – My Bijou Life
Friday Favorites – Busy Being Jennifer
Create, Bake, Grow & Gather Party #486 – Shabby Art Boutique
Funtastic Friday Link Party #350 – Simply Beautiful by Angela
A Morning Cup of Joe – The Cottage Market
Saturday Sparks Link Party 440 – Pieced Pastimes
Link Your Stuff – Annemarie’s Haakblog
Hearth and Soul Link Party – April, the 21st Century Housewife
Handmade Monday #246 – Sum of their Stories
The Really Crafty Link Party #282 – Keeping it Real
Craftastic Monday Link Party – Sew Can Do
Link Up Potpourri #10 – My Bijou Life
Fabulous Party 390 – Lou Lou Girls
Linky Ladies Party #216 – The Purple Poncho
606th Inspire Me Tuesday – A Stroll Thru Life
Totally adorable!
Michelle
https://mybijoulifeonline.com
Thank you so much! I think it is adorable too!