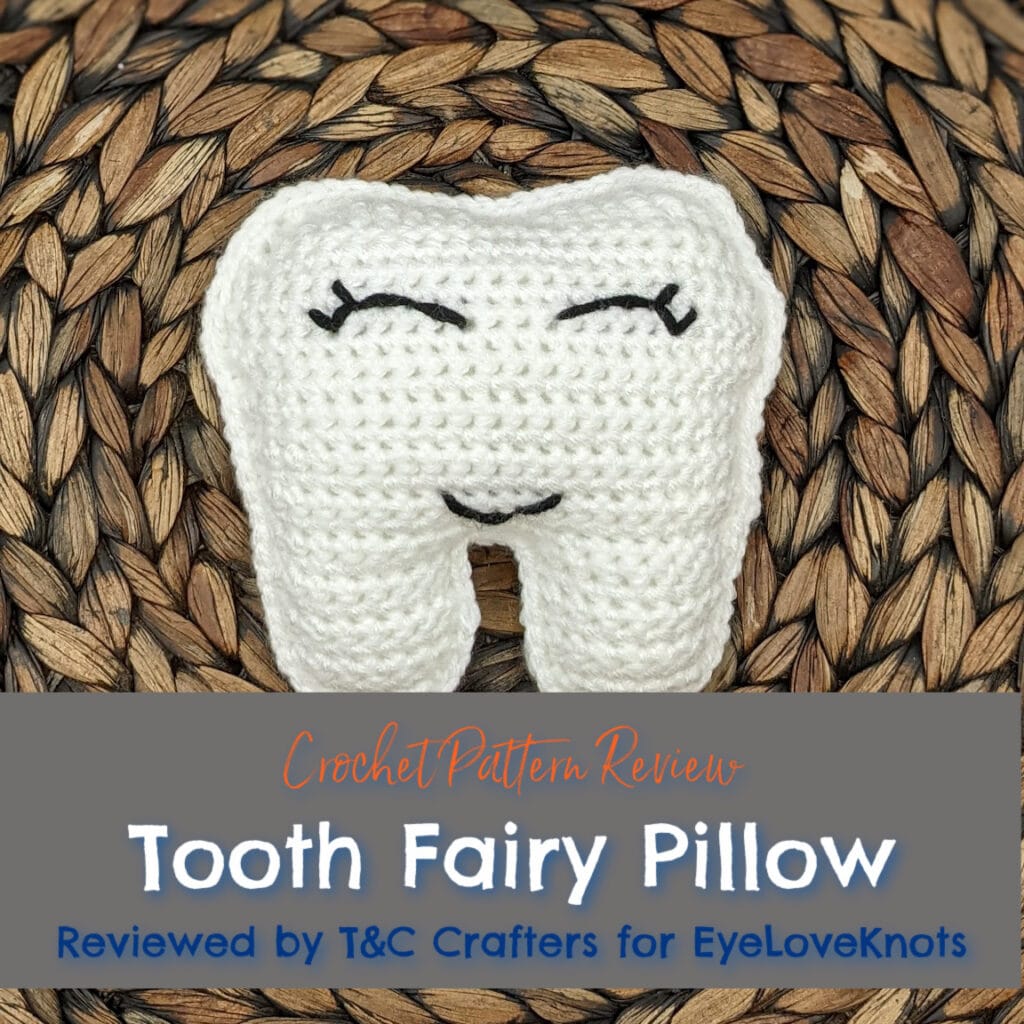
This is a crochet pattern review of the Tooth Fairy Pillow designed by Heather Corinne Smith for HCCrochets. Review done by Candace Julian of T&C Crafters for EyeLoveKnots.
This post contains affiliate links for Etsy and Amazon. If you make a purchase by clicking on them, I make a small commission at no extra cost to you. Thanks for your support!

It’s me, Candace with T&C Crafters.
Visit with me on Facebook for all kinds of awesome crochet makes and inspiration.
I have always loved working with children and spoiling the children in my life! For as long as I can remember, I loved making gifts for the little kids at my church and for my younger neighbor. Still to this day, I would rather spend my money on making something adorable for the kids in my life than buying something for myself. So, when I saw Rosebud Johnnies share some adorable tooth fairy pillows she made using Heather Corinne’s pattern, I wanted to try them out too! After all, my nieces and nephews have been starting to lose teeth!
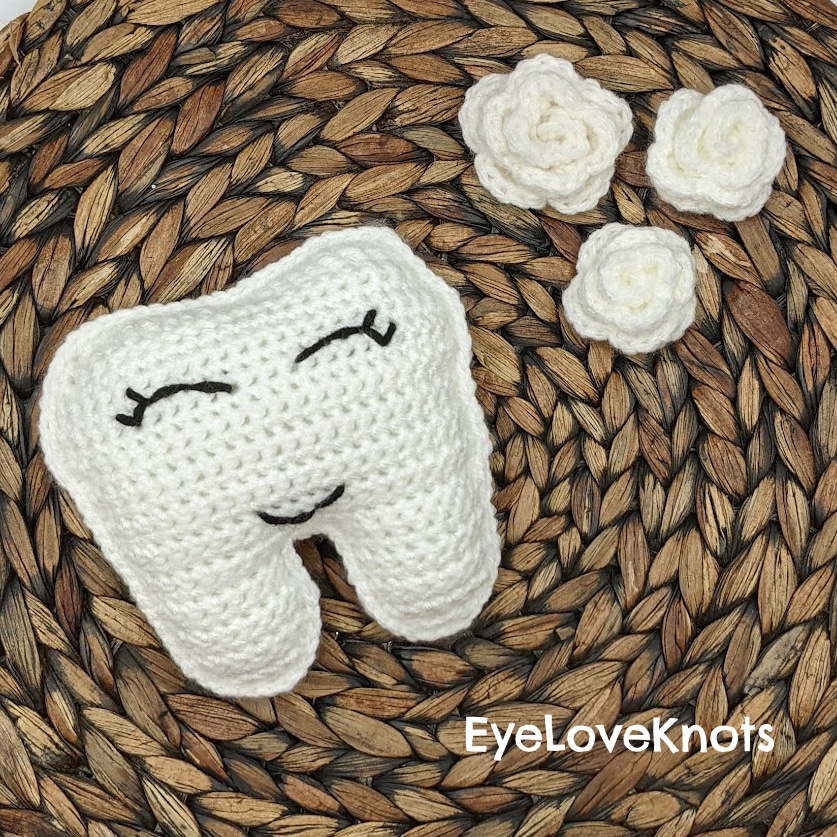
If you have a kiddo in your life that is just about to lose some teeth, this is a fantastic gift to make them! Not only is this project super easy and quick, but it can easily be embellished to match their personality. You could add a unicorn horn and flowers, a bow tie, fairy wings, a crown, tutus, superhero capes, glasses, or a construction helmet! The possibilities for personalizing these cute little pillows are endless!
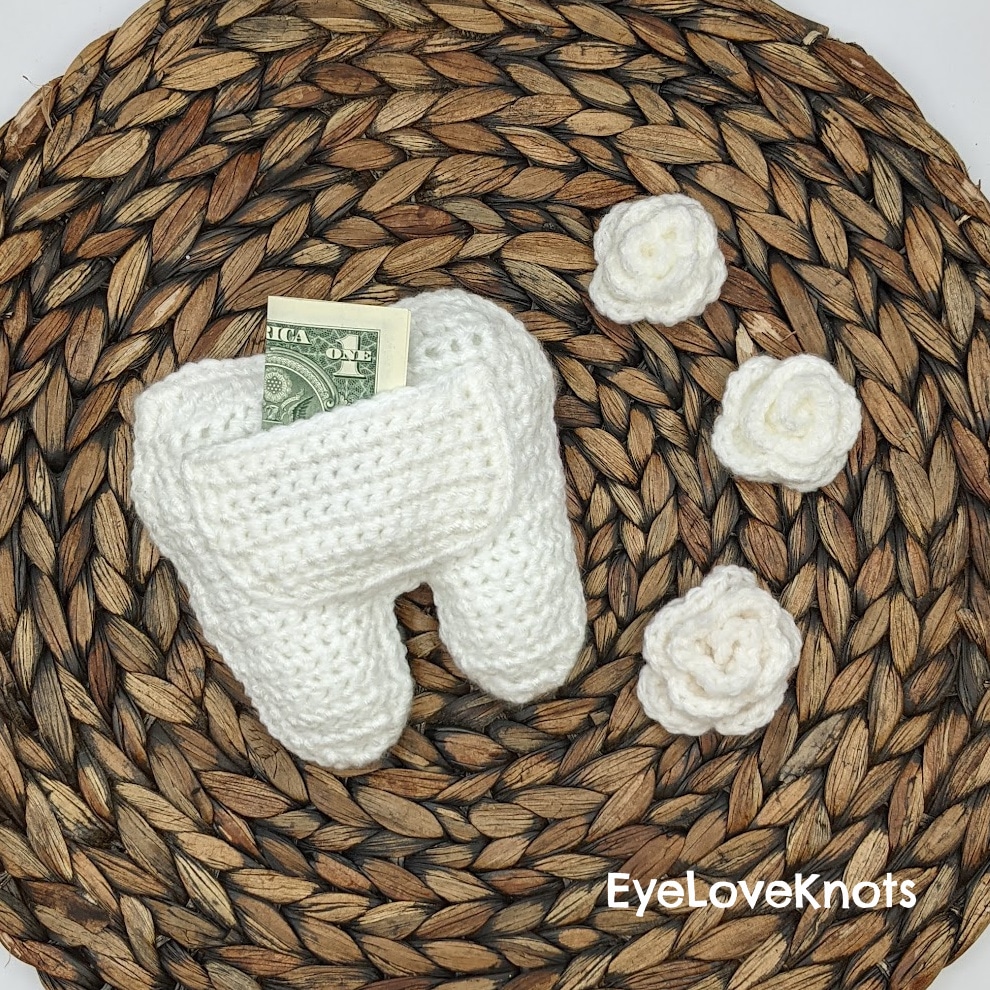
What I like best about this project is it makes the exchange of a tooth to the tooth fairy even more special for a kiddo. Not only do they get to hand in their tooth for a treat, but now they have this super cute pillow to use for the trade-off. If you make this pillow into a door hanger, it even helps tired parents make the exchange even easier because they don’t have to try to exchange it under the pillow of a sleeping child!!
Materials I Used:
- White Worsted Weight Acrylic Yarn
- H8/5.0 mm Hook and G6/4.0 mm Hook
- Black Yarn
- Polyester Fiberfill Stuffing
- Tapestry Needle
- Tooth Fairy Pillow, Paid Crochet Pattern by HCCrochets via Etsy
Material Notes:
I made my tooth fairy pillow with white worsted weight acrylic yarn. If you were planning to make this to be used as a pillow that would lay in bed with the child, I would recommend using cotton yarn so it would hold up better in the washing machine.
The pattern calls for an H8/5.0 mm crochet hook, which I used to crochet each of the pieces. I decided to reduce my hook size to crochet around the edges of the pocket and to crochet the two pieces together. I thought this was easier because I could fit the hook in the spaces between stitches more easily. This is certainly optional, but I found it helpful.
If you wanted to hang this pillow on a doorknob instead of putting it in a child’s bed, you could add ribbon or a long crocheted chain to hang it. Just be careful that if you do this that it does not go into bed with a child with a string attached. You could also easily add additional embellishments to your tooth fairy pillow to personalize it for a child.

Time Spent:
This project took me about two and a half hours from start to finish. I’m planning on making several more of these to stock my Etsy shop, and when I do that, I am hoping to batch make them, which will cut down on time. This is a quick project to make as a gift and a great project for market prep.
Measurements:
The finished piece measures approximately 5 inches tall and 5 inches wide. With the amount of stuffing I put in the pillow, it was about one and a half inches thick. This is a great size to hang over a door handle or to put near a pillow.
Gauge:
Gauge is not important for this project, but you do need to be mindful about the amount of space between your stitches. If you are noticing large gaps, you will want to use a smaller hook, as this will cause the stuffing to come out of the holes on your finished piece.
Pattern Notes:
This pattern was easy to follow and is definitely beginner friendly. The piece is worked up as two flat pieces that are then crocheted together. The pattern does not include any pictures, but if you look at the designer’s Instagram page or the Etsy listing for the pattern, you can see what the finished project looks like, and pictures are not really necessary.
The first row uses a variety of different sized stitches to make the bumps at the top of the tooth. I was skeptical about this at first because it seemed like stuffing might come out through the gaps between the stitches, but it was not a problem at all when it came time to stuff and finish the project. I would however recommend that you make sure your tension is a little on the tighter side when crocheting that first row just to ensure you do not have too many gaps between stitches. You probably also want to avoid over-stuffing at this area.
All of the parts of this project were simple to make and the directions were easy to follow. The designer includes row counts for each row, which I truly appreciate when trying to keep track of increases and decreases. With the exception of the first row, all the stitches are single crochets with increases and decreases, which is what makes this project really beginner friendly.
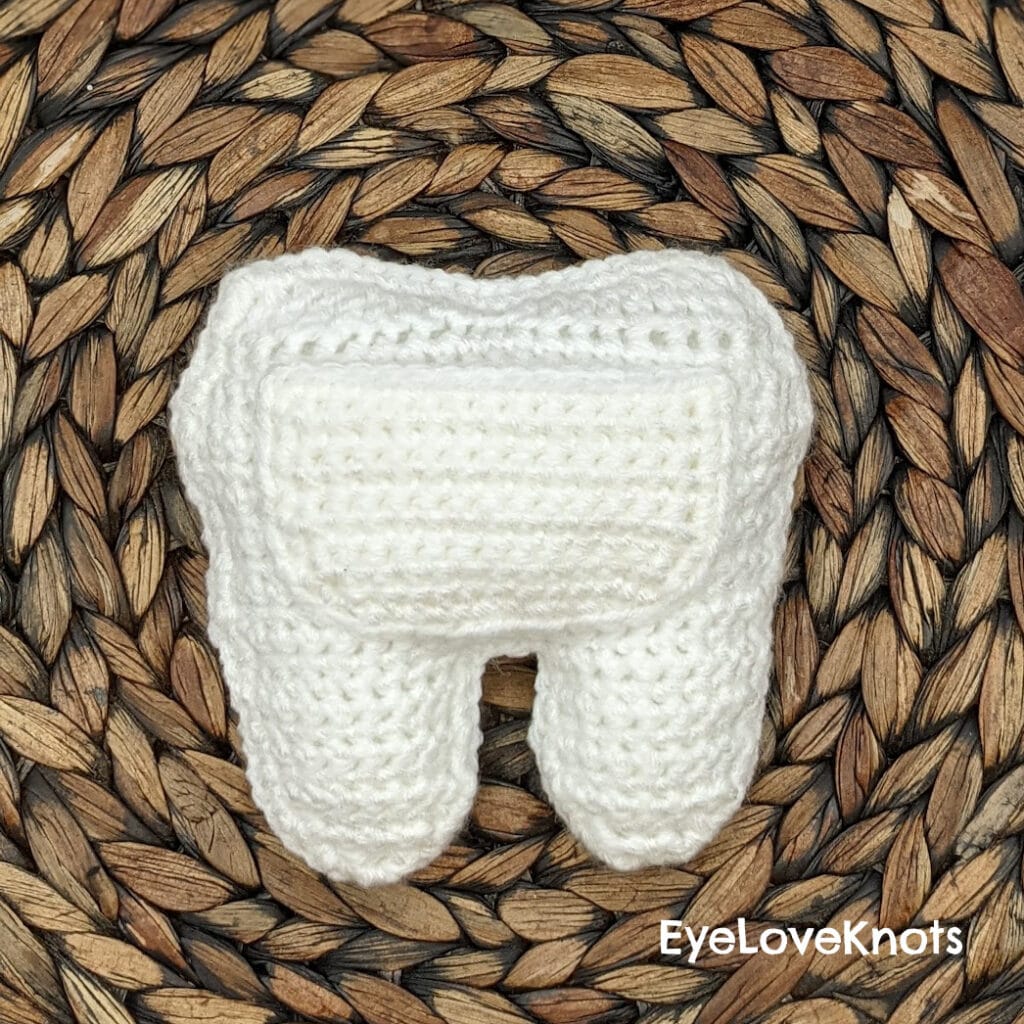
The designer gives directions to sew on the face and the back pocket prior to attaching the front and back panel together, and that is extremely helpful! It was so much easier to embroider on the face and sew on the pocket to the flat pieces rather than trying to add them to a stuffed piece like most stuffed items. When sewing on the pocket, I used a row from the back panel to line the top of the pocket up with to ensure it was straight. You could easily pin it on to make sure it stays in place while you sew it on.

I embroidered the face on mine similar to how the designer did in her listing photos. I used black worsted weight yarn, but you could also use a thinner yarn or embroidery floss to do this. I would recommend making sure your mouth and eyes are not too close to the edges, as the pillow plumps up when it gets stuffed, and if they are too close, you won’t be able to see them easily while looking at the project straight on. I included eyelashes on mine, but you could easily leave them off. I have also seen people use small black dots or circles for eyes, and they looked really cute as well.
When you go to connect the front and the back pieces, you can start anywhere on the project. I initially thought it would be a great idea to start between the two roots (or legs) of the tooth, but regretted the idea at the end. This made it really difficult to stuff the pillow properly and caused some pull in my last few stitches because of the tension of the two pieces pulling apart. I would recommend starting on either the top or one of the two sides above the roots to single crochet your work together so you can avoid the problem that I had. However you decide to attach the two sides, it is definitely helpful to stuff the pillow as you go.
I found it easier to use a smaller hook when I was crocheting around the outside of the project. Just make sure that if you are doing this, you are using a loose enough tension that you are not causing the sides to bunch up. I also added a few extra stitches in places where I was changing direction to prevent bunching. The single crocheted edging starts to roll forward a little, but this can easily be fixed by just adjusting it with your fingers when you are finished.
The finished pillow makes a wonderful little gift, but you also have a ton of options to dress it up! You can turn it into a door hanger by adding a string or ribbon, or even a long crocheted chain. You can also add other embellishments like a bow, bow tie, unicorn horn, cat ears, glasses, or a super hero cape! I’m excited to make several of this and dress them up in all different ways!
I hope you get a chance to try out this project for a kiddo in your life! They are really fun to make and personalize! If you decide to make one using this pattern, I would love to see it! Be sure to tag the designer, EyeLoveKnots, and myself so we can see your finished project!

Don’t forget to visit with me on Instagram for all kinds of awesome crochet makes and inspiration.
Join one of our awesome Facebook groups to share your creations, and see what others are up to!
– EyeLoveKnots Crochet & DIY Community
– DIY Home On Rockwood Lane
– Alexandra Lane Lifestyle
Linked Up To…
Handmade Monday #253 – Sum of their Stories
Ginx Woolly Linx November – Ginx Craft
The Really Crafty Link Party #289 – Keeping it Real
Creatively Crafty Link Party #301 – Try It, Like It, Create It
Craft Schooling Sunday – Creative Jewish Mom
Tuesday Turn About #125 – My Wee Abode
{Wow Me} Wednesday #530 – Ginger Snap Crafts
The Wednesday Link Party 424 – Oombawka Design
Celebrate Your Story #301 – Zucchini Sisters
Saturday Sparks #448 – Pieced Pastimes
Craftastic Monday – Sew Can Do
Linky Ladies Party #218 – The Purple Poncho
The Loop Scoop #25 – Moogly Blog
Team Creative Crafts Linky Party #67 – Artsy-Fartsy Mama
Happiness is Homemade Link Party #400 – Decor Craft Design
You’re the Star Blog Hop – Decor Craft Design
Unlimited Link Party 37 – Grammy’s Grid
Share the Wealth Link Up #6 – My Big Fat Menopausal Life
Hearth and Soul Link Party – April, the 21st Century Housewife
Link-Up Potpourri #17 – My Bijou Life
613th Inspire Me Tuesday – A Stroll Thru Life
Fabulous Party 397 – Lou Lou Girls
Spread the Kindness Link Up #248 – Shelbee on the Edge
All About Home – Common Ground Blog
Party in Your PJs #384 – The Apple Street Cottage
Wonderful Wednesday – Oh My Heartsie Girl
Thursday Favorite Things Link Party #515 – An Artful Mom
Encouraging Hearts and Home Blog Hop – Slices of Life
Grace at Home No. 445 – Imparting Grace
Home Matters Linky Party #356 – Modern on Monticello
Create, Bake, Grow & Gather Party #494 – Shabby Art Boutique
Funtastic Friday – Simply Beautiful by Angela
A Morning Cup of Joe – The Cottage Market
Link Your Stuff – Annemarie’s Haakblog
Adorable, love that pocket! thanks for sharing on craft schooling sunday!
Thank you so much! The pocket is so functional!
Such a sweet little project. Thanks for linking it up this week. #HomeMattersParty
Thank you! It was a fun, quick make!