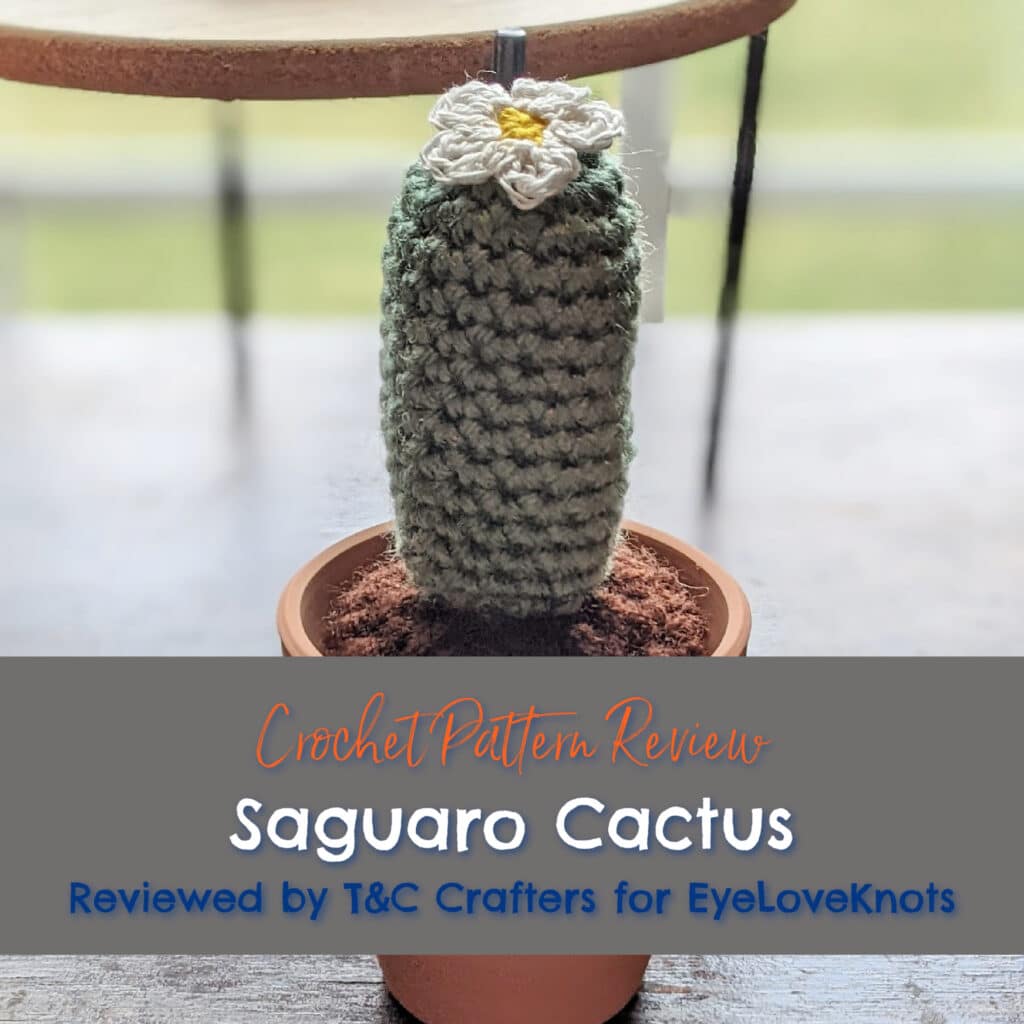
This is a crochet pattern review of the Saguaro Cactus designed by Alexandra of EyeLoveKnots. Review done by Candace of T&C Crafters for EyeLoveKnots.
This post contains affiliate links for Amazon. If you make a purchase by clicking on them, I make a small commission at no extra cost to you. Thanks for your support!
It’s me, Candace with T&C Crafters.
Visit with me on Facebook for all kinds of awesome crochet makes and inspiration.
With a market coming up in just a few weeks, I am in full market-prep mode! I have been wanting to make some cute, home decor items for my booth. When I came across the Saguaro Cactus crochet pattern by Alexandra of EyeLoveKnots, I knew I wanted to make a bunch of these adorable little cacti!
Houses full of plants are all the rage right now, but if you are like me and have trouble keeping them alive, these plants are perfect for you! Even though a Saguaro cactus is the largest cactus in the U.S. (a fun-fact I learned from Alexandra’s post), this pattern creates a little cactus that is perfect for on a windowsill, shelf, side table, or desk.
Whether you are looking for a quick market-make, a gift for a friend, or just something to make to dress up your desk, this free crochet pattern from EyeLoveKnots is perfect for you! All the pieces work up really quickly with a small amount of yarn, and the design can be fully customized to make a variety of different versions. I highly recommend this pattern to any crocheter!
Materials I Used:
- Red Heart Super Saver Yarn in Coffee (Dirt) and Light Sage (Cactus)
- Various Colors of Embroidery Floss and Crochet Thread (Flowers)
- H8/5.0 mm Crochet Hook (Dirt) and G6/4.25 mm Crochet Hook (Cactus)
- 2.0 mm or 2.75 mm Crochet Hook (Flowers)
- Tapestry Needle
- Polyester Fiberfil Stuffing
- 2.5″ Terracotta Pot from Dollar Tree
- Hot Glue Gun and Glue Sticks
- Saguaro Cactus, Free Crochet Pattern by EyeLoveKnots
Material Notes:
I used three different sizes of crochet hooks for my cacti. The larger H8/5.0 mm crochet hook worked best when making the dirt section at the bottom because my finished mound of dirt was too small with the other hook. The coffee colorway of Red Heart Super Saver felt slightly thicker than the light sage colorway, which I believe is why the change of hook size was necessary. I used the G6/4.25 mm crochet hook for the green part of the cactus. I wanted to make sure that the stitches were close enough together that the stuffing did not come out between the stitches.
When making the flowers, you want a very fine fiber so that your flower stays small. I used crochet thread or embroidery floss that I had on hand to make a variety of different flowers in different colors. Depending on the thickness of my materials, I went back and forth between the 2.00 mm and 2.75 mm crochet hooks to make my flowers. I noticed if I used too large of a loop, the flowers came out looking more lace-like, which I didn’t find as realistic. The flower shown below and on the other photos is a realistic color match of the flowers on an actual Saguaro cactus.
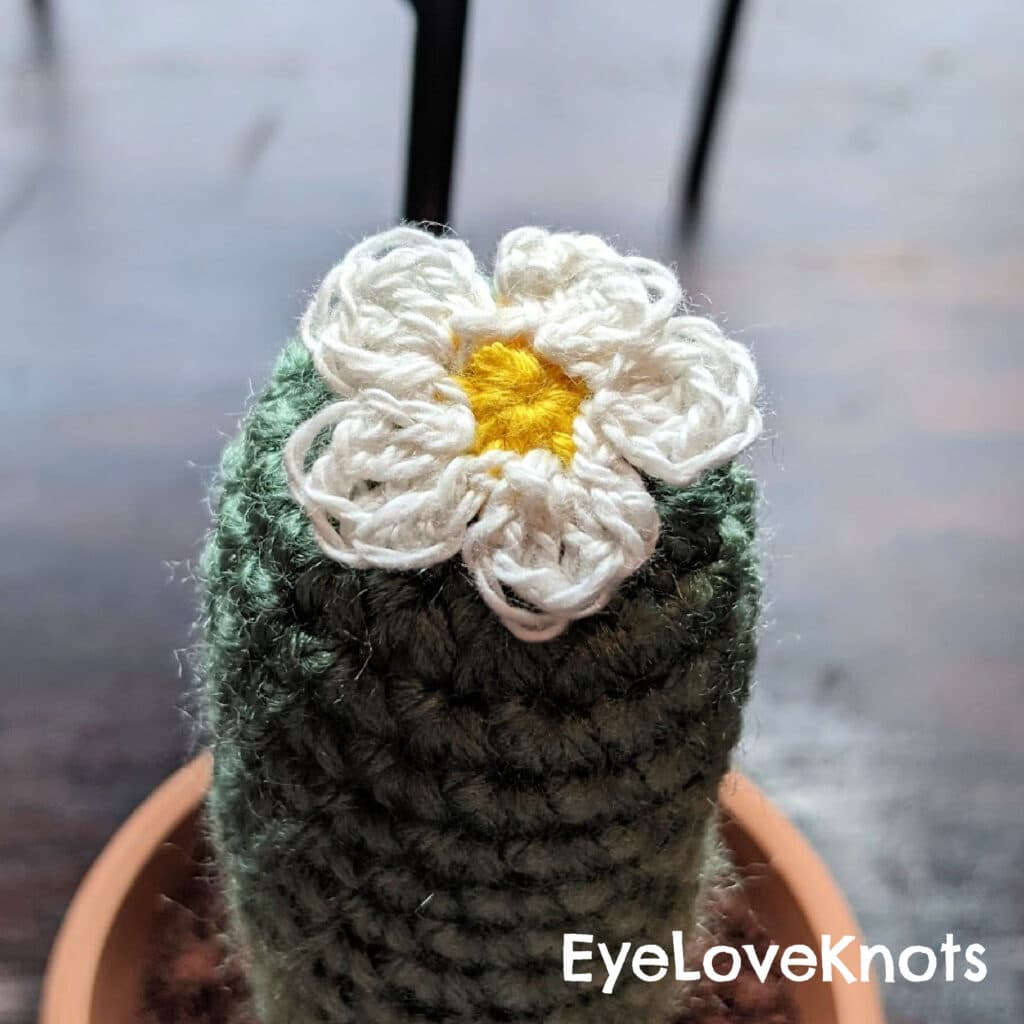
To assemble my cactus, I used the tapestry needle to sew the pieces together. When attaching the flower, I used a small amount of hot glue to make sure it stayed in place where I thought it looked best. You could also use some hot glue to glue the dirt to the terracotta pot to keep it extra stable if you wish.
Time Spent:
Each finished cactus took about an hour to complete. I was making several cacti at once, so I made all dirt first, then all the cactus bodies, and then the arms and flowers. I was able to then assemble them all together. In total, even with my assembly line method, they still average about an hour to complete.
Measurements:
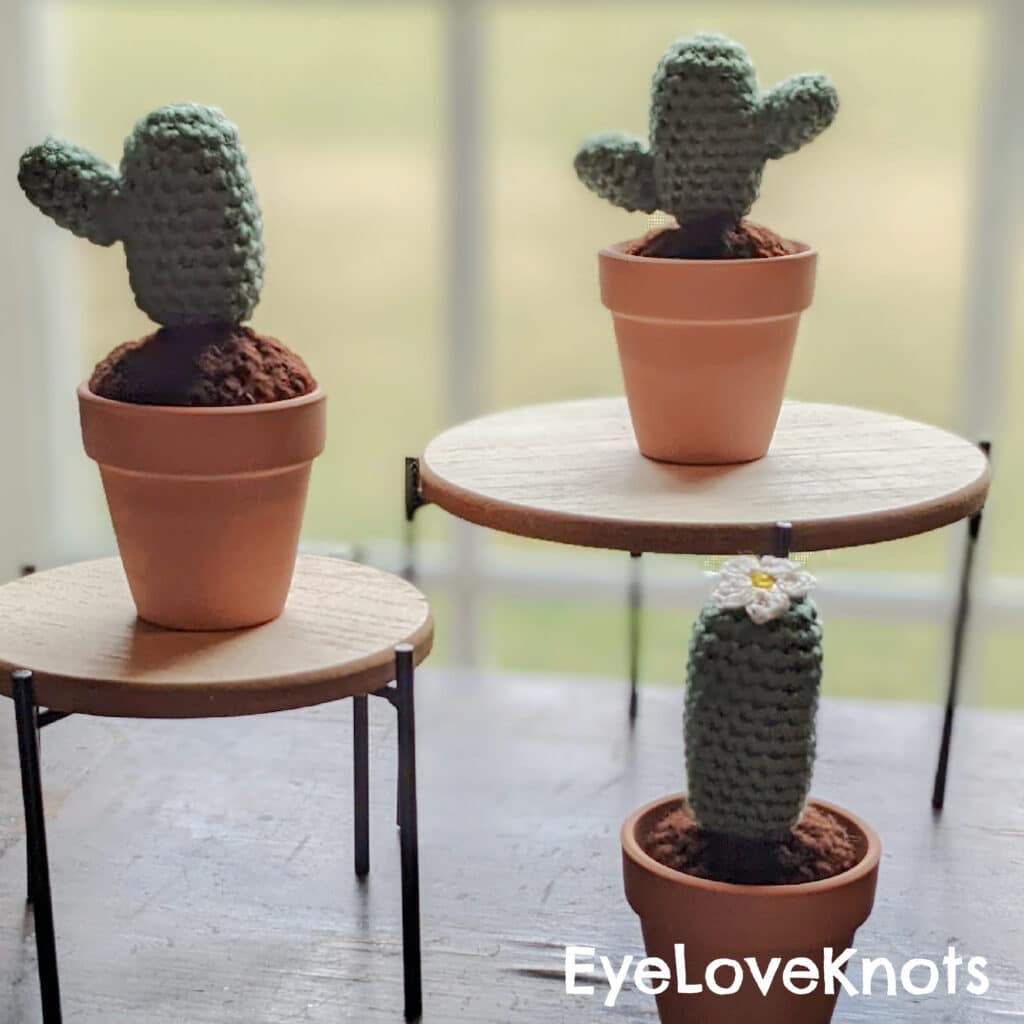
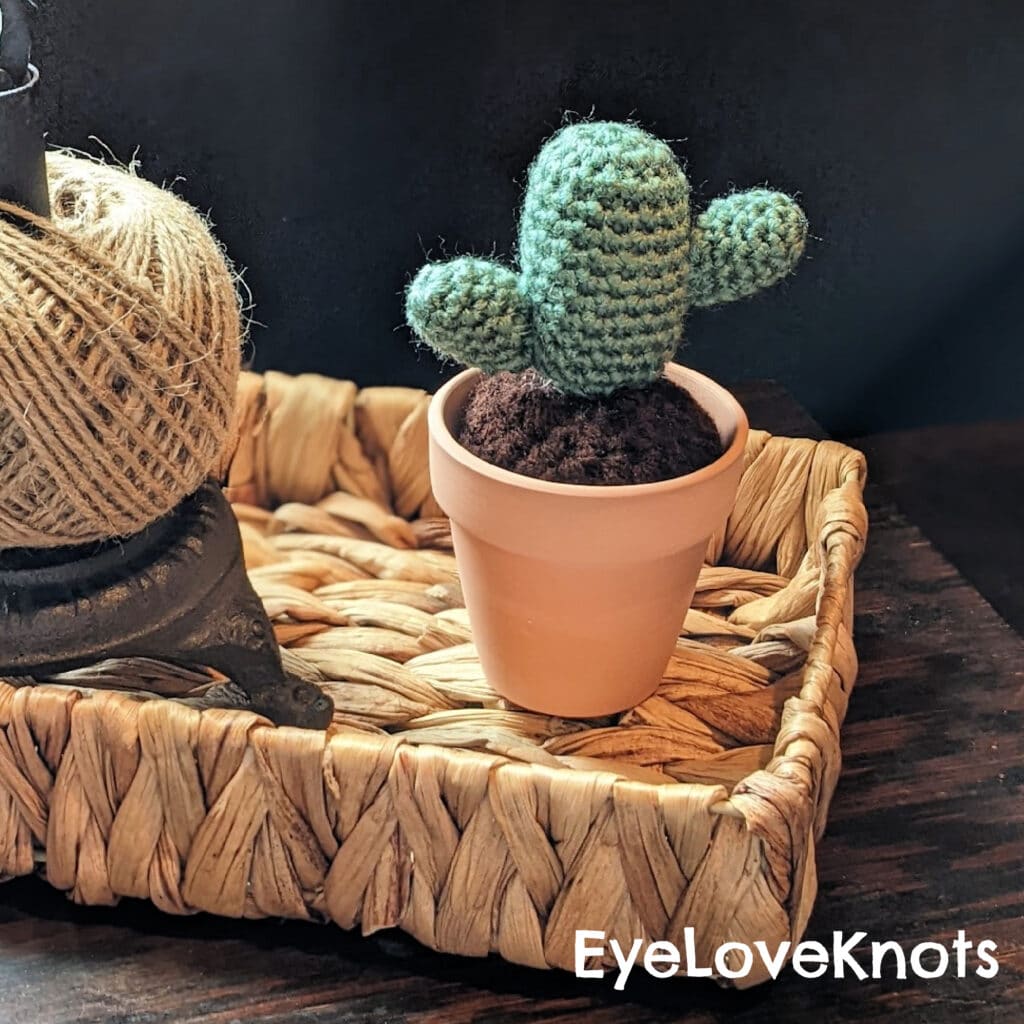
My finished cacti measured 5.25 inches tall from the bottom of the pot to the top of the cactus. This was about 2.75 inches above the top of the pot. My cactus with two arms measured 3.25 inches across.
Gauge:
The gauge listed on the pattern states that in the round, 10 double crochets should be 1.44 inches in diameter. It is important on projects that are stuffed to make sure your stitches are close enough together to not let the stuffing poke through. Keep this in mind as you are working.
Pattern Notes:
This pattern is a very easy pattern for an intermediate or advanced crocheter, but it can also be worked up by someone with less experience as well. It requires knowledge of working in the round, single crochets, half double crochets, double crochets, slip stitches, increases, and decreases.
The pattern begins with making the dirt mound that goes in the terracotta pot. It starts with a circle that is made by slip stitching into a chain. You can also use a magic circle to begin – just make sure that you secure the end well so it doesn’t come loose. This portion of the pattern is made in joined rounds, while the rest of the cactus is made using continuous rounds. I really liked that this part used joined rounds, because it made it easier to keep track of what stitch I was on. Dark colors like brown can sometimes be difficult to work with since stitches are harder to see, but the joined rounds made it easier to check progress.
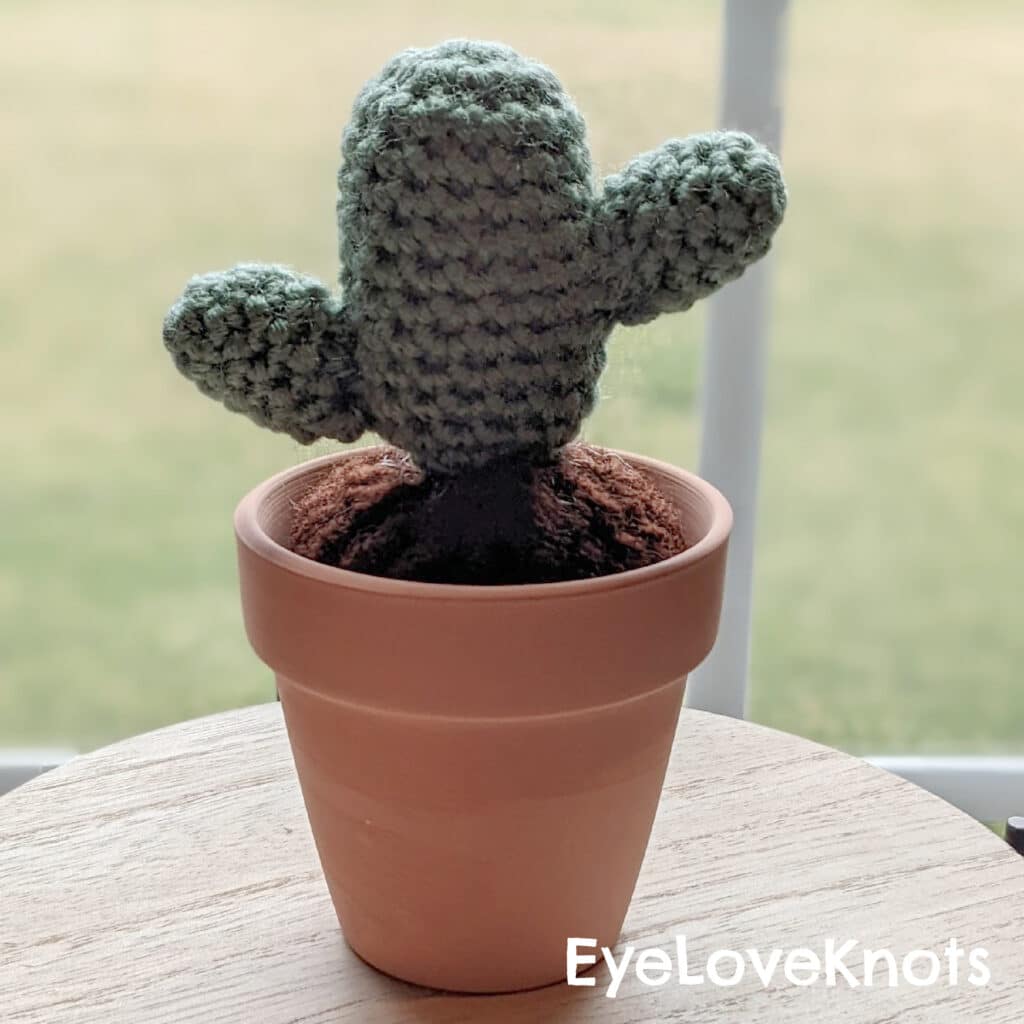
The dirt mound shape mimics the shape of a terracotta pot. The bottom is shaped like a small circle, and the sides taper outwards like a pot does. This makes the finished piece fit nice and snug inside the pot, so there isn’t really a need to secure it with additional materials. The pattern recommends stuffing the dirt portion while it is in the terracotta pot, which I also highly recommend. Doing this not only helps to make sure it will fit nice and tight in the pot, but it also helps you avoid over stuffing it.
The top of the dirt mound should come up a little bit above the pot. If you notice that when you stuff it that there seems to be some stuffing peeking through the holes, you can use some of the ends of your brown yarn to weave between the stitches to hide it without being noticeable. The mound that you create is not only perfect for this pattern, but it would also work well for any type of plant you want to make. I’m thinking of making some small succulents using this dirt pattern as well.
The green part of the cactus and the arms are made in continuous rounds, so you may want to whip out some stitch markers to keep track of your rows. However, if you aren’t a huge fan of stitch markers – no worries! Both the body and the arms work up quickly, so it is easy to just count and keep track of your stitches as you work. When you start working on the pieces, make sure that you secure the ends when the pattern tells you to so that you don’t have to struggle to do it later.
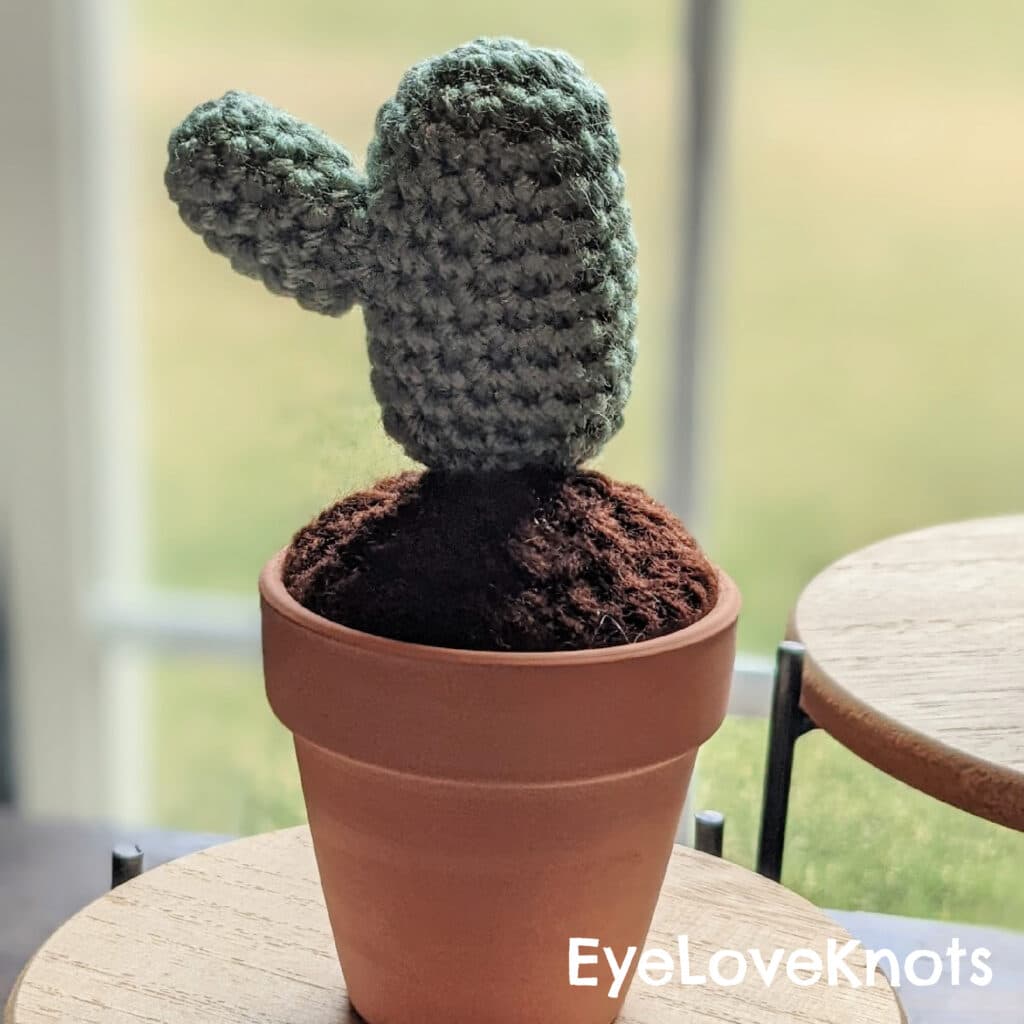
When finishing the body and the arms, you will definitely want to make sure you stuff the pieces before completely closing it off. While there will be a little space remaining at the end to add a tiny bit of extra stuffing if needed, it would be very difficult to stuff it completely at that point.
My favorite part about this pattern is how unique each cactus is! You have the choice to leave the body by itself, add arms, add flowers, or add both. When I made mine, I tried to go for a combination of different options. I also made one where I elongated the body a little bit by adding some extra rows in the middle. You really have so many options!
Not only did Alexandra write this pattern very clearly with easy directions, but she also includes a video tutorial! She walks you through the entire process, with helpful tips along the way! She leaves no questions left unanswered and helps you get a beautiful finished product!
I hope you will try out this adorable Saguaro cactus pattern! It is free, right here on the EyeLoveKnots blog. You can also purchase an ad-free PDF of this pattern that makes it super easy to print out and keep on hand when you are ready to get making. If you decide to make one, be sure to tag @eyeloveknots and @tandc_crafters on social media so we can see your finished pieces!
Don’t forget to visit with me on Instagram for all kinds of awesome crochet makes and inspiration.
Join one of our awesome Facebook groups to share your creations, and see what others are up to!
– EyeLoveKnots Crochet & DIY Community
– DIY Home On Rockwood Lane
– Alexandra Lane Lifestyle
Linked Up To…
Beautifully Made Link Party 213 – Across the Boulevard
All About Home #142 – Common Ground
Home Matters Linky Party #378 – Modern on Monticello
Fabulous Friday Link Party – Peacock Ridge Farm
Farmhouse Friday #252 – County Road 407
Inspirations Link Party 2 – Pieced Pastimes
Handmade Monday #276 – Sum of their Stories
The Really Crafty Link Party #314 – Keeping it Real
Link-up Potpourri #42 – My Bijou Life
Craftastic Monday Link Party – Sew Can Do
Hello Monday – Pink Lady
Anything Goes Linky #328 – My Random Musings
Craft Schooling Sunday – Creative Jewish Mom
Sundays on Silverado #91 – The House on Silverado
Share the Wealth Linky #18 – My Big Fat Menopausal Life
Happiness is Homemade Link Party #425 – Decor Craft Design
You’re the Star Blog Hop – Decor Craft Design
636th Inspire Me Tuesday – A Stroll Thru Life
Fabulous Party 422 – Lou Lou Girls
Talent-Sharing Tuesdays Link-Up 18 – Scribbling Boomer
The Happy Now Blog Link Up #319 – JENerally Informed
Linky Ladies Party #224 – The Purple Poncho
The Loop Scoop #37 – Moogly Blog
The Wednesday Link Party 449 – Oombawka Design Crochet
Team Creative Crafts Link Party #92 – Artsy-Fartsy Mama
Wonderful Wednesday – Oh My Heartsie Girl
Create, Bake, Grow & Gather Party #518 – Shabby Art Boutique
Funtastic Friday Link Party #383 – Simply Beautiful by Angela
Thursday Favorite Things #539 – An Artful Mom
Creatively Crafty Link Party #326 – Try It, Like It, Create It
Encouraging Hearts and Home Blog Hop – My Slices of Life
Grace at Home No. 466 – Imparting Grace
Linky Party – Karins Kottage
Traffic Jam Weekend Link Up #322 – My Bijou Life
Saturday Sparks Link Party 513 – Pieced Pastimes
Pink Saturday – How Sweet the Sound
Morning Cup of Joe – The Cottage Market
This Cactus looks so adorable Alexandra. Thank you for sharing such a detailed article with lots of useful information!
They really are so cute! Alexandra created such a wonderful pattern! Thanks for reading!
I have a real Cactus on my table, but your cactus is cuter 🤣.
Thank you so much!
The cactus is so cute!
xoxo
Lovely
http://www.mynameislovely.com
Thank you so much!! I love how they turned out!
These cacti are adorable! This about the only type of succulent that I could successfully keep “alive.”
Thank you for participating in Talent-Sharing Tuesdays Link-Up 18.
Carol
http://www.scribblingboomer.com
Thank you! I am right there with you! Real plants are not my strong suit, but these are impossible to kill!
So fun always love a crocheted cactus! thanks for sharing on craft schooling sunday!
They are such a fun project! Thanks!
Awesome tutorial, Alexandra! We will be featuring you this week on the Creative Crafts Linky Party starting on Wednesday! Have a great week! Creatively, Beth
Alexandra really put together a great and thorough tutorial! Thank you for featuring the post! Have a great week as well!
It is sooo cute!!! How lovely it is <3
Thank you so very much!