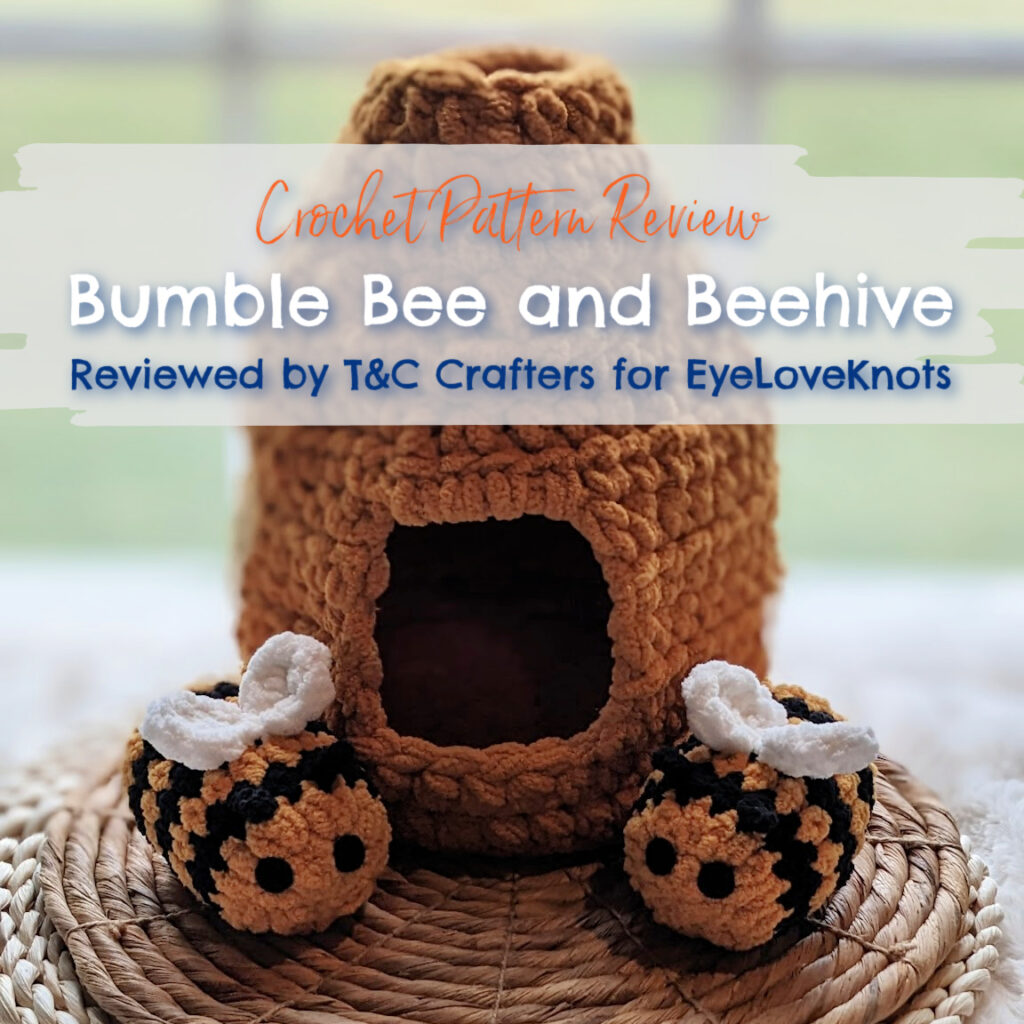
This is a crochet pattern review of the Bumble Bee and Beehive designed by Sigoni Schaap of Sigoni Macaroni. Review done by Candace of T&C Crafters for EyeLoveKnots.
This post contains affiliate links for Etsy, Amazon, and WeCrochet. If you make a purchase by clicking on them, I make a small commission at no extra cost to you. Thanks for your support!
Find the crochet pattern review below, or click here to purchase the pattern from Sigoni Macaroni!
In a hurry? Pin this for later when you have more time.
It’s me, Candace with T&C Crafters.
Visit with me on Facebook and Instagram for all kinds of awesome crochet makes and inspiration.
I absolutely love making crocheted toys that kids will enjoy. When I saw Sigoni Macaroni share about her Bumble Bee and Beehive pattern on Instagram with a video of her kids enjoying it, I knew I needed to snag the pattern right away! While she offers the bumble bee pattern for free on her website, I absolutely loved the idea of the beehive as an adorable little home for the bees, and I just could not resist this pattern!
Just like all of Sigoni Macaroni’s awesome patterns, the Bumble Bee and Beehive pattern is really beginner friendly! This adorable toy set works up quickly and will provide kiddos of all ages with hours and hours of fun, imaginative play! These also make great sets to sell at markets!
If you need a fun gift idea, have a little one to entertain, or want to have a showstopper set at your next market, I highly recommend getting the Bumble Bee and Beehive pattern! At my last market, almost every kiddo that walked by stopped to play with this adorable set, and a family came back to purchase it because their little guy wouldn’t stop asking for it the whole day. I am definitely going to be making a bunch of sets to bring to my spring markets, as I know they will be a hit!
Materials I Used:
- Big Twist Cuddle in Gold (About 1.5 skeins for beehive and bees), Black (Bees only – small amount), and Bright White (Bees only – small amount)
- J10/6mm Crochet Hook (Bee) and M13/9mm Crochet Hook (Beehive) – I prefer Clover Amour Ergonomic Crochet Hooks
- Yarn Needle
- Black Felt for Eyes
- Hot Glue Gun and Glue
- Polyester Fiberfil
- Bumble Bee and Beehive, paid crochet pattern by SigoniMacaroni via Etsy
Material Notes:
This pattern is meant for bulky (weight 5) yarn. I opted to use Big Twist Cuddle, but you could use another type of plush or bulky yarn. In the original pattern, the designer used Amgio Giga yarn. I opted for the blanket-style yarn to get more of a plush feeling for my bees and beehive. You could probably also use multiple strands of worsted weight yarn to get a similar weight to the bulky yarn.
When making the beehive, I pulled from two separate skeins of yarn. By the time I was finished, I had used up a little more than half of each skein. Going into this pattern, you will definitely want to make sure you have more than one skein of yarn available, as you don’t want to find yourself running out at the end! Since the skeins I used each had 220 yards per skein, I would estimate that I used about 240 yards of bulky yarn for the beehive. If you have some extra yarn at the end, no worries! You can use any remaining yarn to make more bees since they only require a small amount of yarn for each bee.
In the pattern, the designer recommends a K10.5/6.5mm and 9.5mm hook. I used a J10/6mm crochet hook for the bees and a M13/9mm crochet hook for the beehive due to the hooks and tension I prefer. When choosing what hook size to use, you want to make sure that your hook is not too small that it causes your work to curl and not lay flat. However, you also do not want your hook to be too large, as it will cause gaps to form between your stitches which will allow stuffing to come out of the bees and impact stability in the beehive.
For the bumble bees, you will need a small amount of stuffing for each bee. You will want to use enough to make sure the bees are fully stuffed, but not too much that the stuffing starts to come out or that the bees become too hard. For the eyes, you can use safety eyes or felt eyes. I opted for felt eyes due to safety concerns. I simply attached them with a small amount of hot glue.
In the pattern, the designer used straight pins to hold the wings of the bees in place while attaching them. You may want to have some straight pins available to help with this step. I personally did not use them, but I can see how it would be helpful to make sure you attach them in the correct spot.
Time Spent:
Each bumble bee only takes about 20 minutes to make from start to finish. The beehive took a little over an hour to make from start to finish.
Measurements:
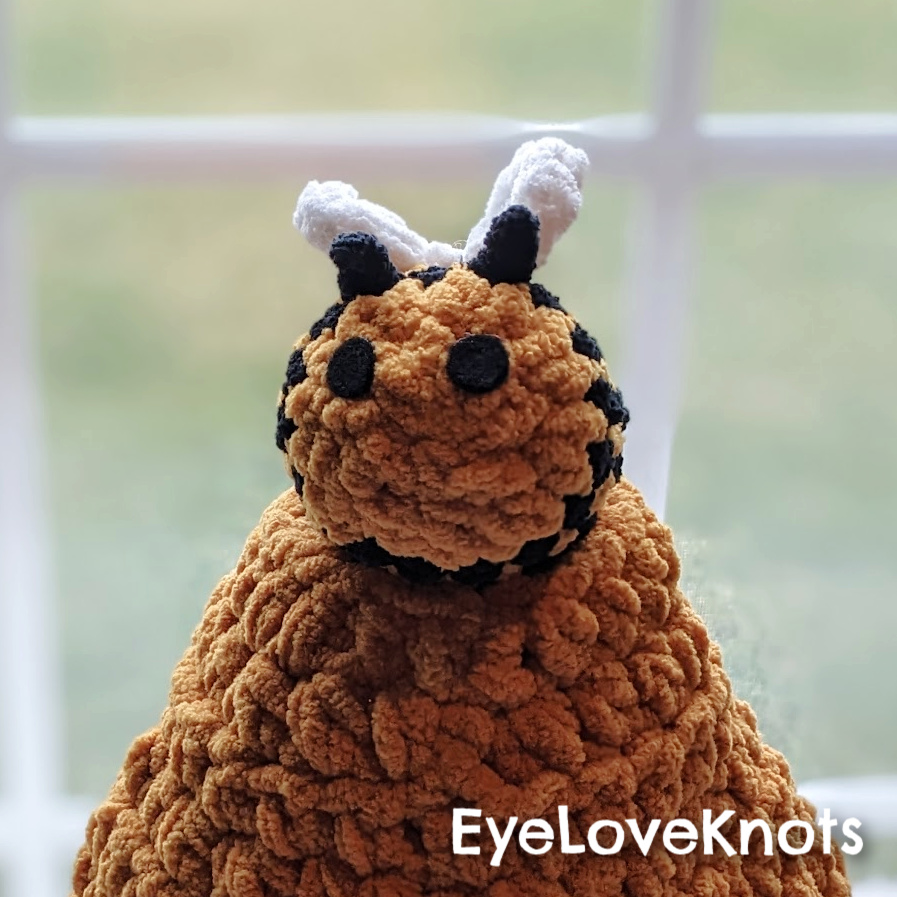
Each bee measures 4 inches long and just under 3 inches in diameter. The beehive is 10.5 inches tall, 8 inches in diameter at the base, and 3.5 inches in diameter at the top.
Gauge:
While working with Big Twist Cuddle yarn and a J10/6mm crochet hook, a magic circle with 8 half double crochets measured 1.25 inches in diameter. Once I increased 2 hdc in each stitch around, it measured 2.25 inches in diameter.
While working with two strands of Big Twist Cuddle yarn and a M13/9mm crochet hook, a magic circle with 8 half double crochets measured 1.75 inches in diameter. Once I increased 2 hdc in each stitch around, it measured 3 inches in diameter.
Pattern Notes:
The Bumble Bee and Beehive crochet pattern is extremely beginner friendly. It is a simple pattern that is worked in joined rounds and features almost all half double crochet stitches. Due to the weight of the yarn, the hook size, and the stitches used, the pattern for both the bees and the beehive work up extremely quickly. If you have a basic understanding of working in the round and feel comfortable working with bulky yarn, you can definitely handle this pattern!
Making the Bumble Bees
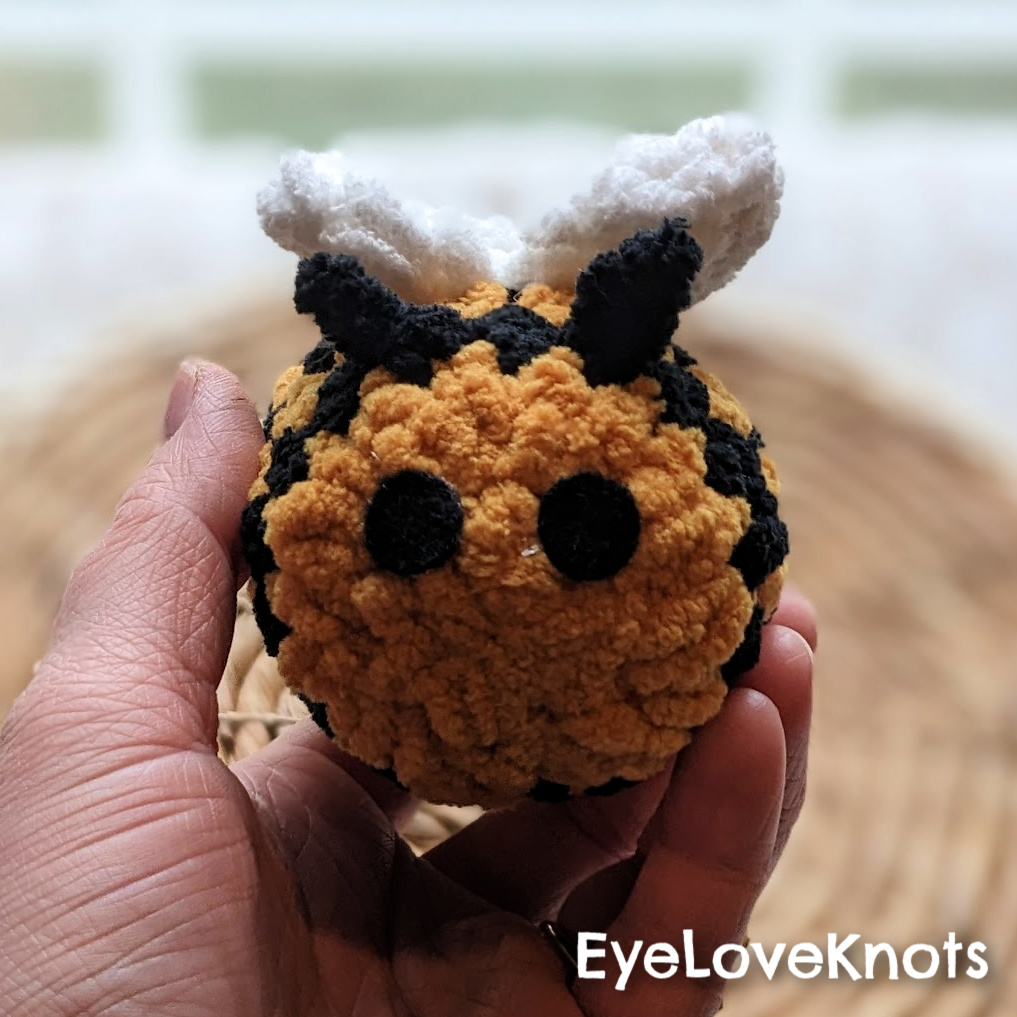
The pattern for the bumble bee is actually a free pattern that can be found on Sigoni Macaroni’s blog. It is a very simple and quick pattern. While the idea of changing colors may seem worrisome for a beginner crocheter, the color changes all take place within new rounds, so it is very easy to switch colors. The only sewing involved in making the bumble bees is to close the bee at the end and attach the wings. Both of those steps are fairly simple and easy.
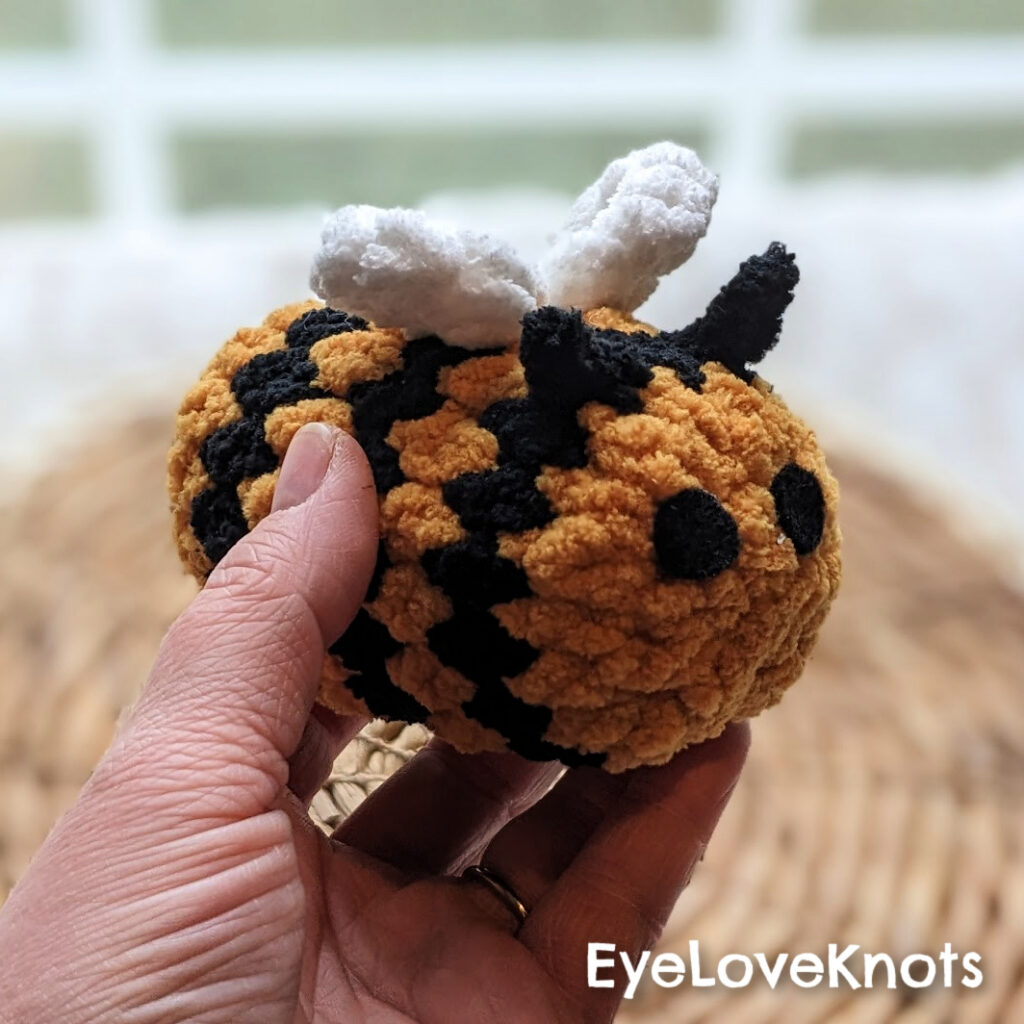
Within the pattern, the designer not only provides very detailed pictures for making the bee, but she also provides a video tutorial for making the bees. If you want to get an idea of what the beehive pattern will be like, I would definitely recommend checking out the free pattern for the bumble bees to see how the designer writes.
Making the Beehive
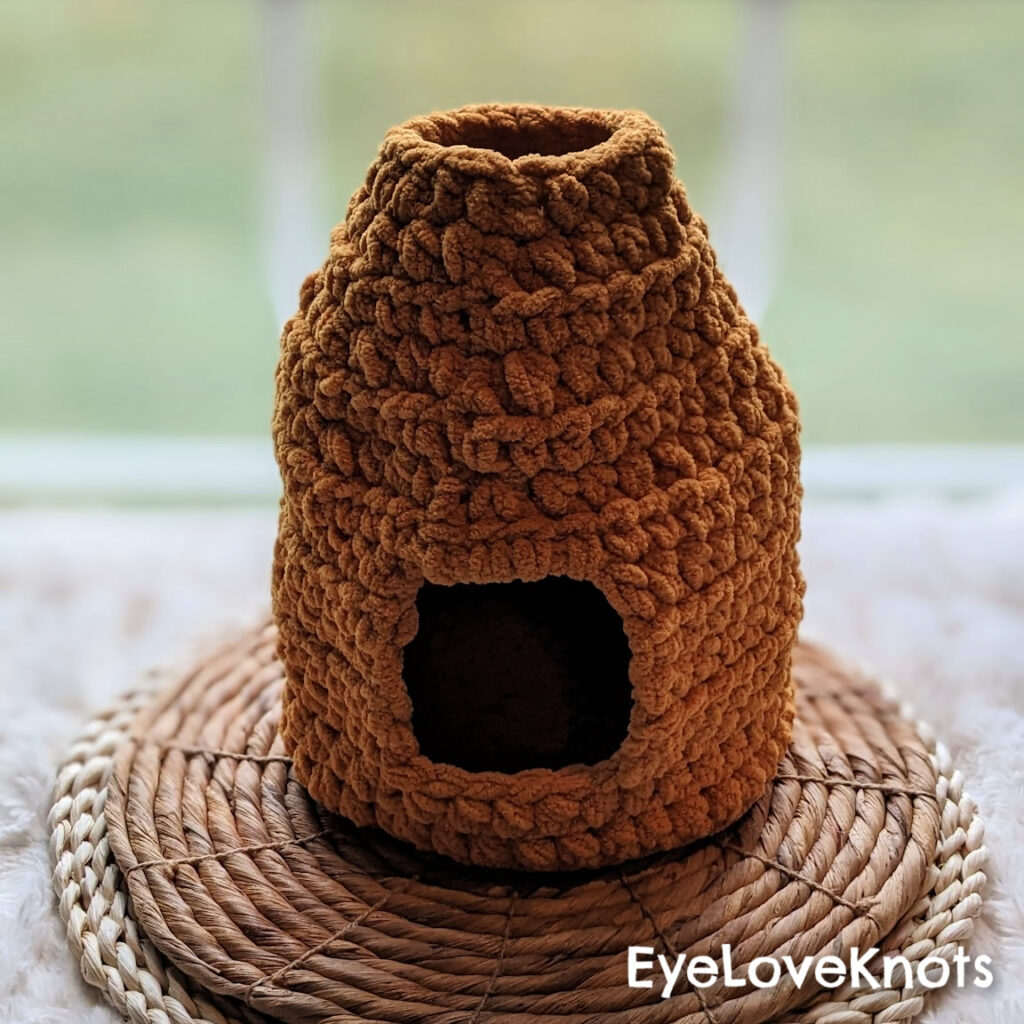
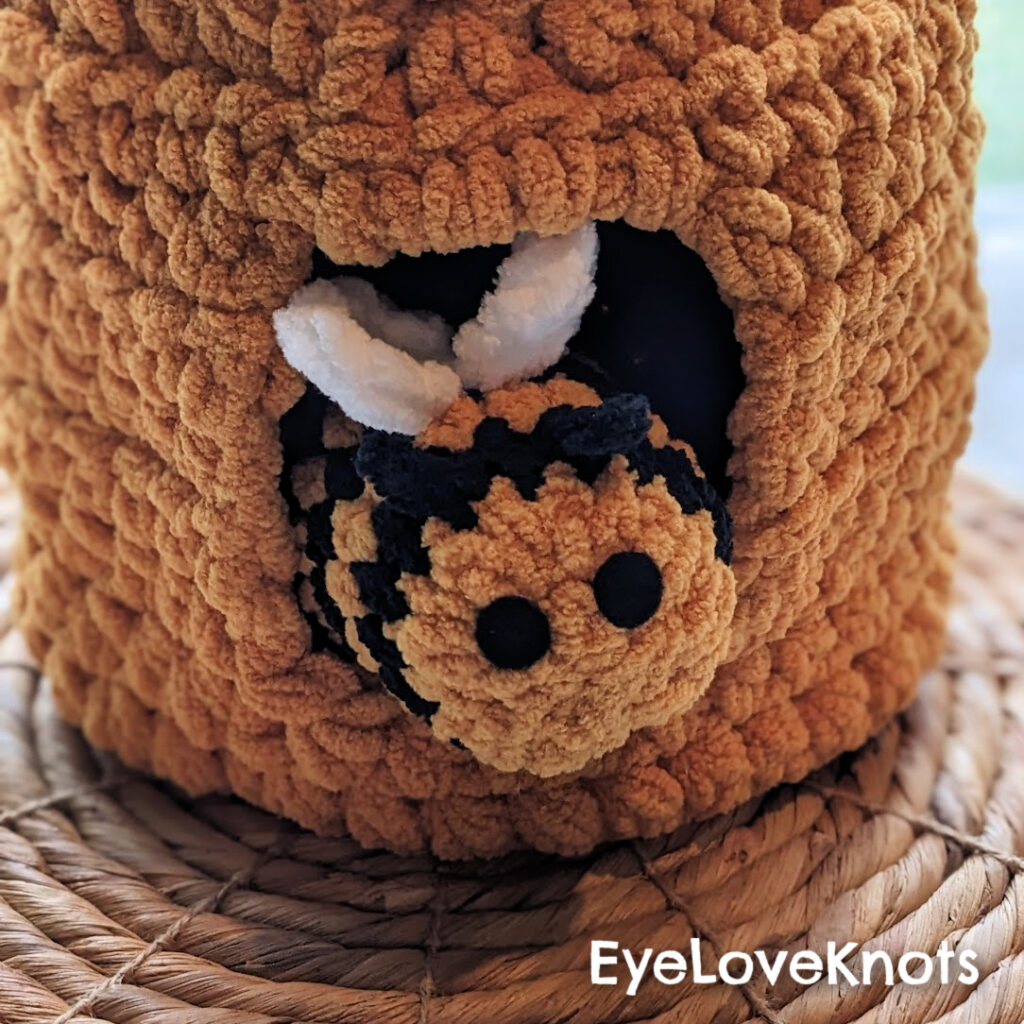
The beehive is worked with double strands of bulky yarn, which makes it work up very quickly. It starts with a round base, and using a process similar to making a basket it is worked up vertically. The process of making the opening in the front is very easy, as it only involves leaving a few stitches un-worked and reconnecting the round later on in the pattern. With just a few decreases, the beehive tapers closed, while leaving an opening at the top at the very end.
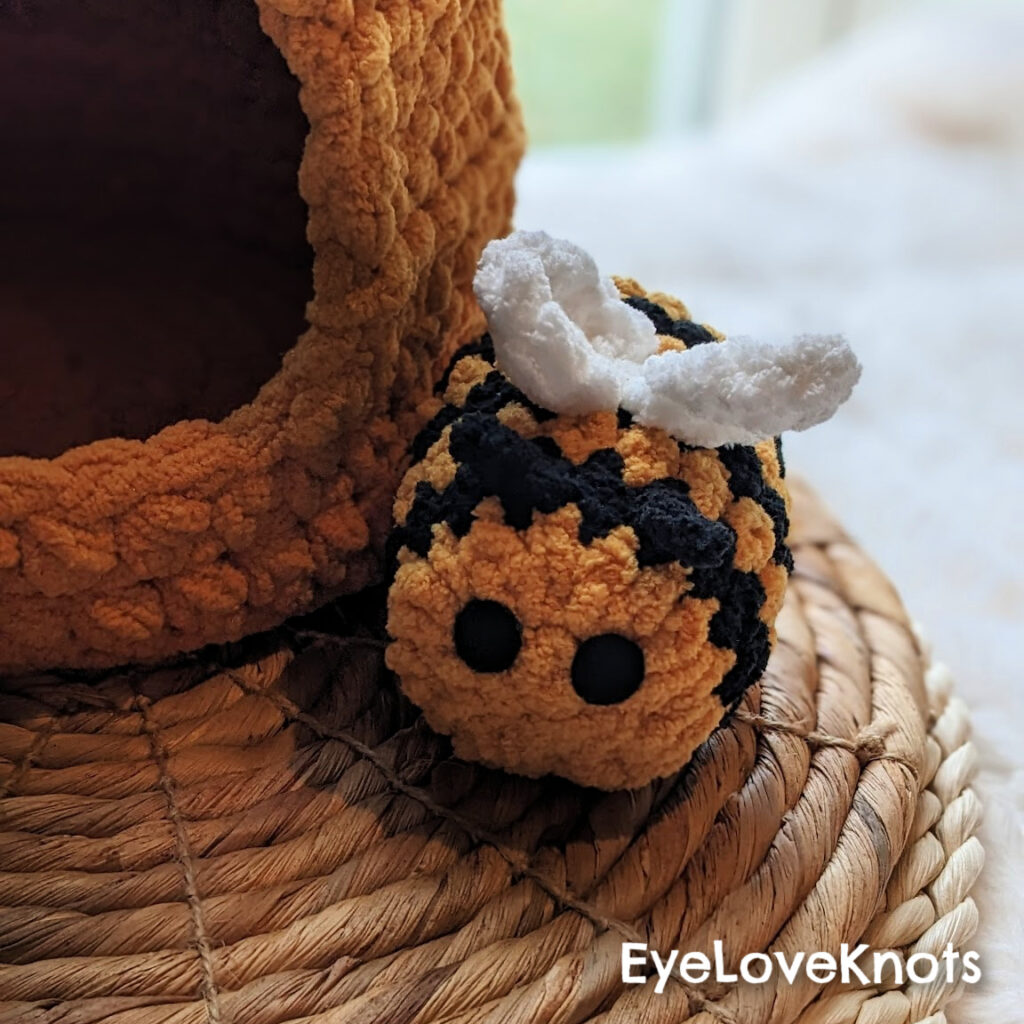
The use of double strands of bulky yarn allows for the finished beehive to stand upright and maintain structure, while still being soft and flexible for a child to use. Both of the bees fit comfortably inside the beehive through both openings, making this gift perfect for a young child that may not have all the dexterity of an older child. You could easily fit several more bees inside the beehive if you wanted to make a full swarm of bees.
I definitely recommend this pattern to anyone that is looking for a fun gift for a kiddo or a great seller at their next market! This is a great sensory toy for young kids, and it will last for years to come! If you decide to make a bumble bee and beehive set, I would love to see your finished set! Be sure to tag me, the designer, and EyeLoveKnots on social media so we can see your finished make!
Don’t forget to visit with me on Instagram for all kinds of awesome crochet makes and inspiration.
Join one of our awesome Facebook groups to share your creations, and see what others are up to!
– Yarn Crafts & Coffee Community
– DIY Home On Rockwood Lane
– Alexandra Lane Lifestyle
Linked Up To…
All About Home #178 – Common Ground Blog
Beautifully Made Home Decor Link Party 245 – Across the Boulevard
Tuesday Turn About #184 – My Wee Abode
Vintage Charm Party #371 – My Thrift Store Addiction
Home Matters Linky Party #412 – Modern on Monticello
Farmhouse Friday 282 – County Road 407
You’re the Star Blog Hop – Decor Craft Design
Happiness is Homemade – Decor Craft Design
Sundays on Silverado #127 – The House on Silverado
Handmade Monday #309 – Sum of their Stories
Craftastic Monday – Sew Can Do
Hello Monday – Pink Lady
Anything Goes Linky 360 – My Random Musings
669th Inspire Me Tuesday – A Stroll Thru Life
Fabulous Party 458 – Lou Lou Girls
The Happy Now Blog Link-Up #355 – JENerally Informed
Linky Ladies Party #232 – The Purple Poncho
The Wednesday Link Party 485 – Oombawka Design Crochet
Team Creative Crafts Link Party #128 – Artsy-Fartsy Mama
Wonderful Wednesday Blog Hop – My Life Abundant
Wednesday Link Party #330 – To Grandma’s House We Go
The Loop Scoop 53 – Moogly Blog
Thursday Favorite Things #574 – An Artful Mom
Creatively Crafty Link Party #362 – Try It – Like It – Create It
Encouraging Hearts and Home Blog Hop – My Slices of Life
Linky Party – Karins Kottage
Crafty Creators Link Party #51 – Life as a LEO Wife
Create, Bake, Grow & Gather Party #554 – Shabby Art Boutique
Funtastic Friday Link Party #419 – Simply Beautiful by Angela
A Morning Cup of Joe – The Cottage Market
Saturday Sparks Link Party 548 – Pieced Pastimes
Pink Saturday – How Sweet the Sound
Share Your Crafts Link Party #2 – White House Crafts
Oh that is so lovely! Not only for kids! Happy 2023!
Thank you so much! Yeah, it would make a cute decor piece as well! Happy New Year to you as well!
What an adorable play set.
Thank you so much! It is so fun for kids to play with!
This is super cute! It’ll be a feature at this week’s Handmade Monday.
Thank you so much! That’s so great to hear! Yay!
OH my goodness; this is just the cutest!!
Your crochet project is so adorable! I’m featuring you tonight at the #HomeMattersParty. Thanks for sharing.
This is such a unique gift idea for small children, I love it!