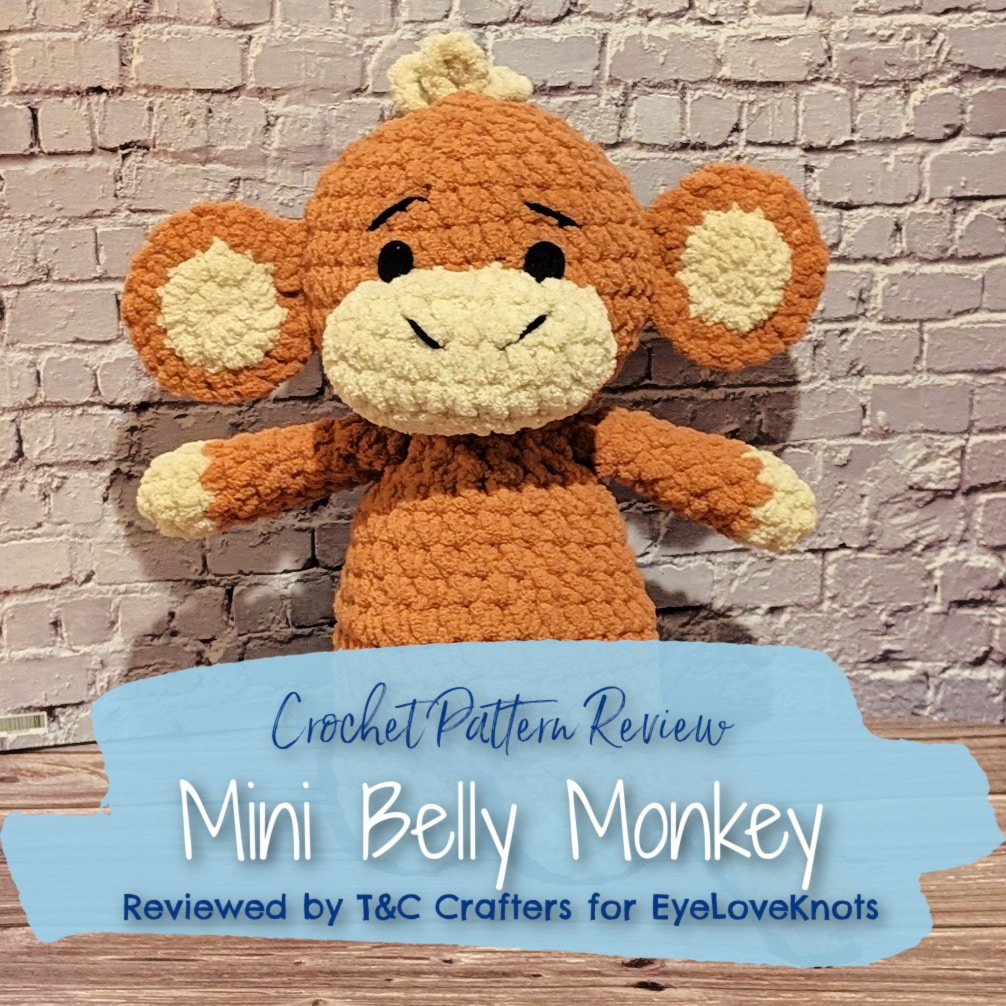
This is a crochet pattern review of the Mini Belly Monkey designed by Madeline Spence of Madeline Mae Co. Review done by Candace of T&C Crafters for EyeLoveKnots.
This post contains affiliate links for Etsy and Amazon. If you make a purchase by clicking on them, I make a small commission at no extra cost to you. Thanks for your support!
Find the crochet pattern review below, or click here to purchase the pattern from Madeline Mae Co. on Etsy!
In a hurry? Pin this for later when you have time!
It’s me, Candace with T&C Crafters.
Visit with me on Facebook and Instagram for all kinds of awesome crochet makes and inspiration.
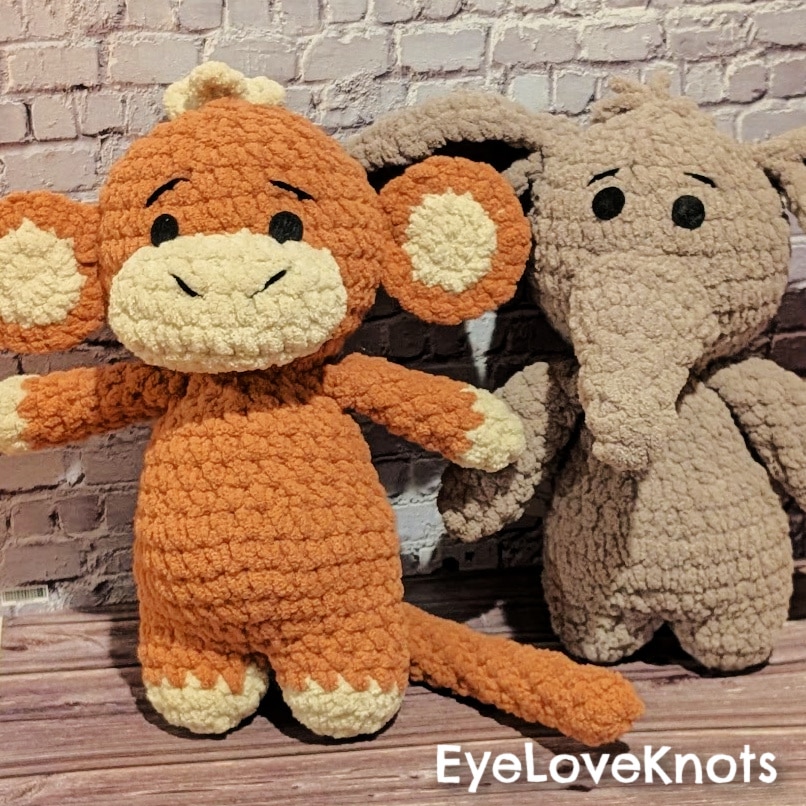
I have spent a lot of time over the last month brainstorming my ideal inventory for 2025. I have been consistently making a lot of sea creatures and farm animals for my shows, but I also want to branch out and add some new items to my other animal collections. Since the belly elephant and giraffes I make have been so incredibly popular, I thought it would be best to add another belly-style safari animal.
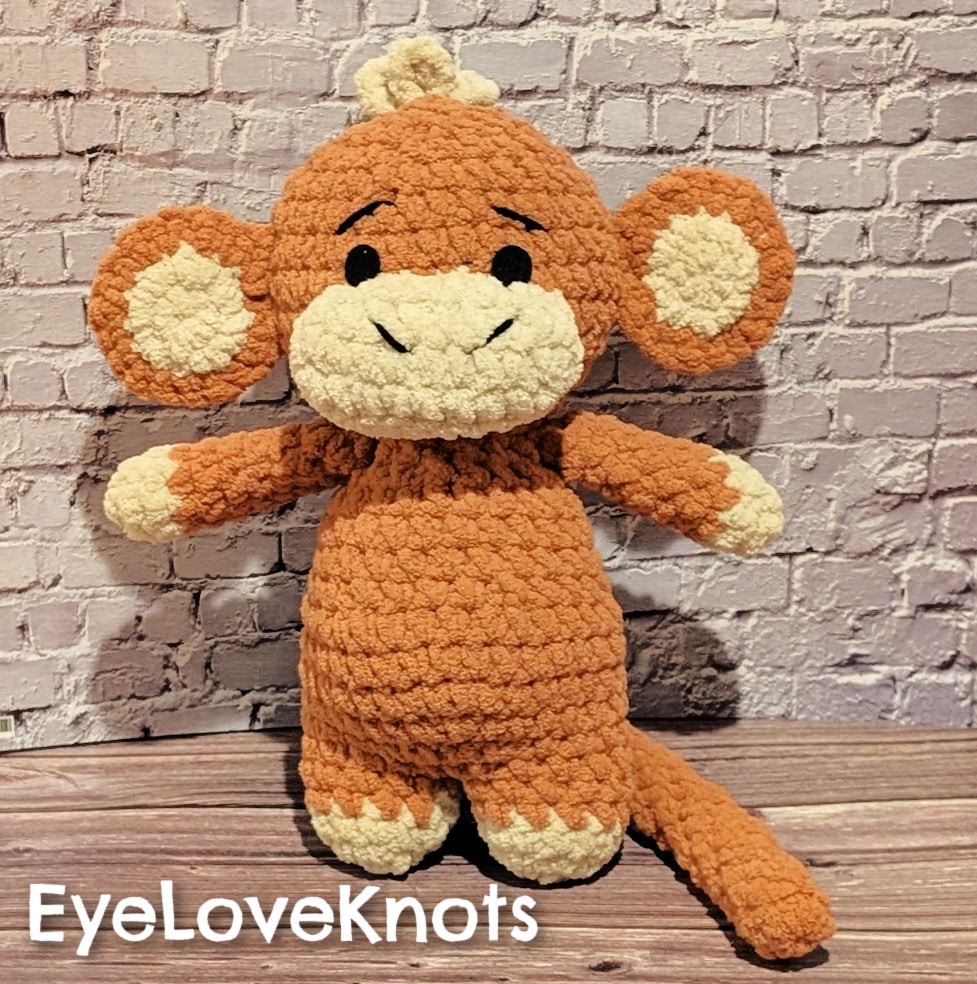
Like all of Madeline Mae Co.’s patterns, the Mini Belly Monkey does not disappoint! This easy monkey pattern works up really quickly with minimal sewing involved. The pattern is really clear and easy to follow with pictures included for all the important parts. The finished monkey is absolutely adorable, and I’m sure it’s going to sell out quickly at all my 2025 markets! I am so excited to add this monkey to my inventory, and I hope you want to try this pattern out too!
What Do You Need to Crochet a Mini Belly Monkey?
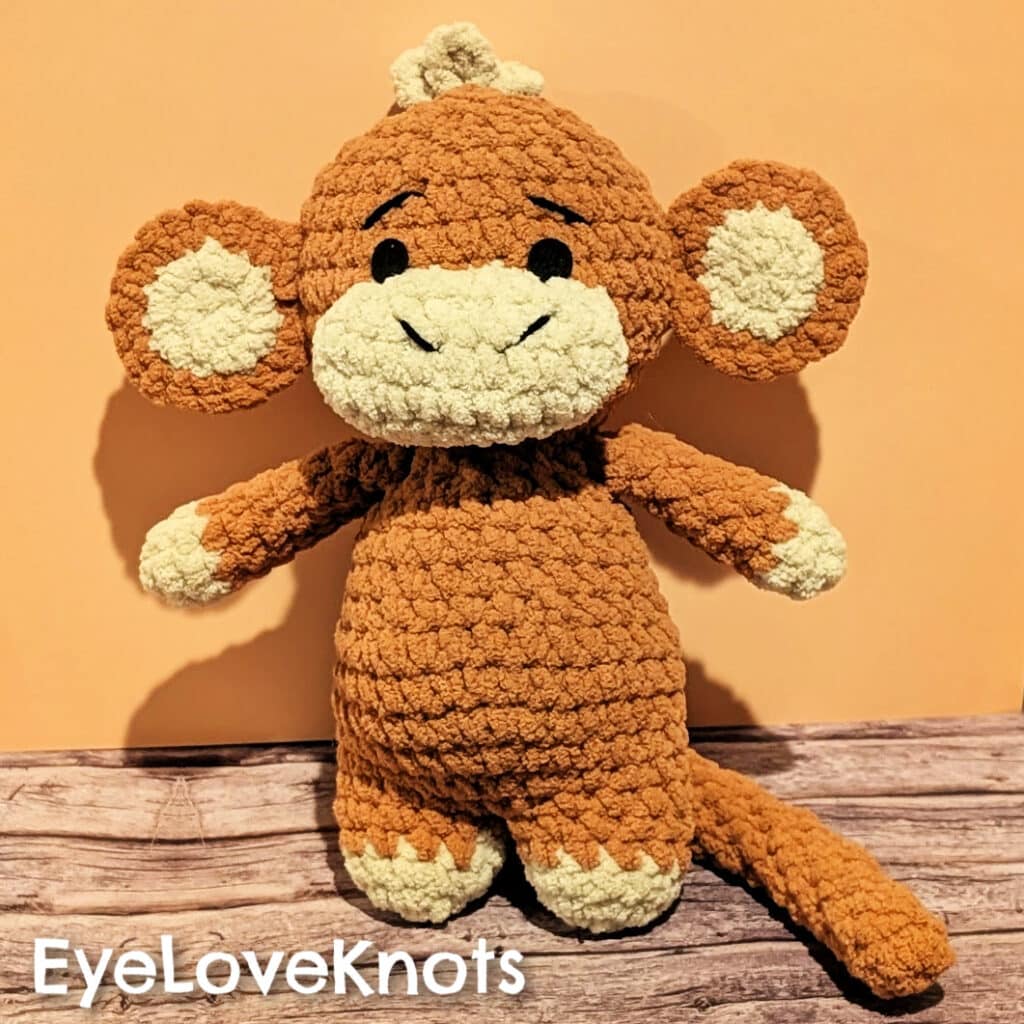
- Bernat Blanket Yarn in Sienna (Body) and Almond (Muzzle and Other Details)
- K10.5/6.5mm Crochet Hook – I used my Clover Amour Ergonomic Crochet Hook
- 15 mm Black Felt Eyes
- Stuffing
- Small Amount of Black Worsted Weight Yarn
- Yarn Needle
- Mini Belly Monkey, paid crochet pattern by Madeline Mae Co. via Etsy
Material Notes:
In the pattern, the designer used Premier Yarns Parfait Chunky in the colors Toffee and Teddy Bear. I chose to work with Bernat Blanket Yarn instead because it is my personal favorite bulky weight 6 yarn. I also plan to make a smaller version of this monkey using a finer chenille yarn like Bernat Velvet to get a smaller monkey. You should be able to get a cute monkey with any weight of yarn ranging for worsted weight to bulky yarn.
The designer listed a 3.5 mm in the materials section of the pattern. I use a lot of tension when I crochet, so I opted to use my regular K10.5/6.5 mm hook that I usually use with bulky weight yarn. You can see my gauge listed later on in this review if you are unsure of sizing. I would just recommend using whatever hook works best for you particular tension and allows you to ensure you do not have gaps between your stitches.
In addition to your yarn and hook, you will also need stuffing and eyes for the monkey. I used 15 mm black felt eyes because I think they are safest for kids, but the pattern called for 16 mm safety eyes. You could also choose to embroider eyes if you would prefer. The details of the monkey are added with some black worsted weight yarn. I like to use a steel yarn needle to add the features onto my stuffed toys because it’s easier to get stitches in the right places.
I chose not to use stitch markers, but they could also be a valuable tool for you in making this cute little monkey.
How Long Does it Take to Crochet a Mini Belly Monkey?
The Mini Belly Monkey is a relatively quick make for a crocheted plush this size. It took me about 2 1/2 hours to complete the monkey from start to finish.
What Size is a Finished Mini Belly Monkey?
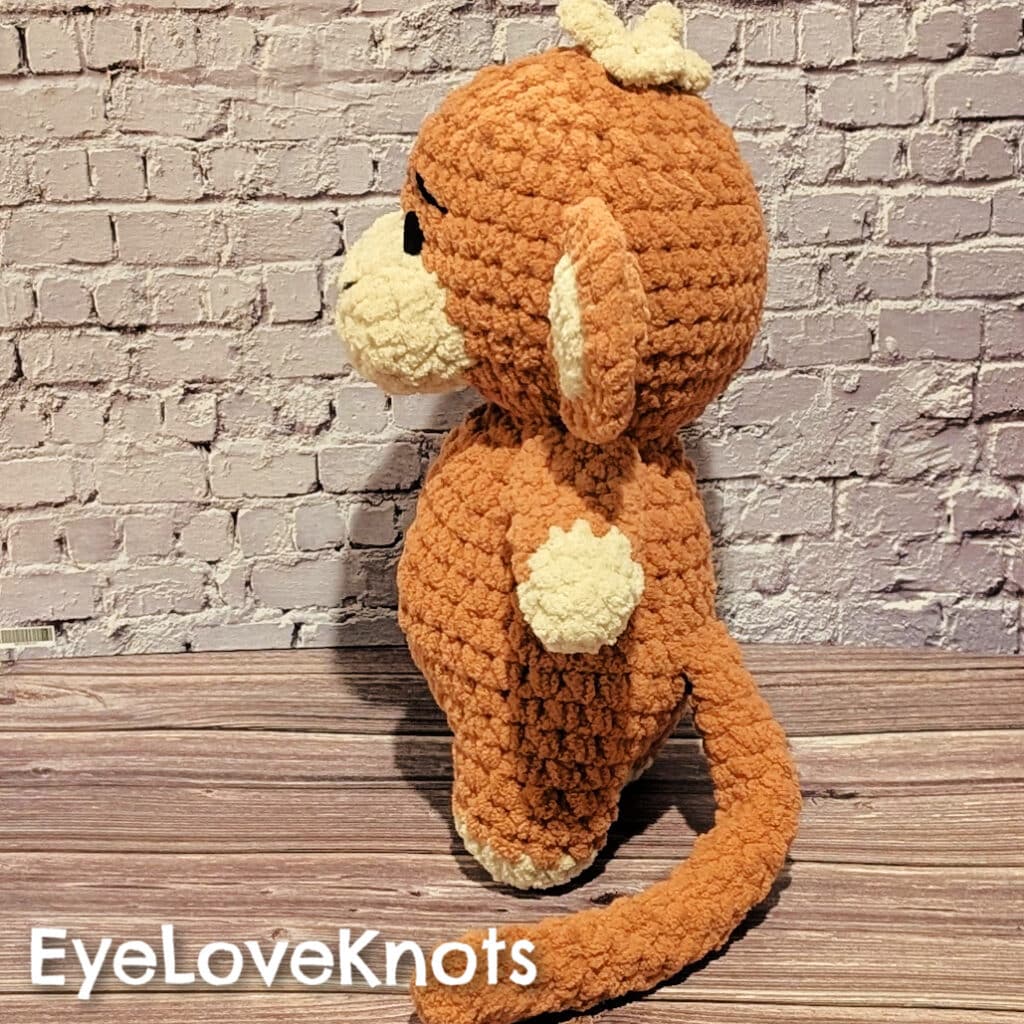
The finished Mini Belly Monkey measures approximately 11.5 inches tall, 9.5 inches wide from ear to ear, and 4.5 inches from the belly to the start of the tail. The tail is approximately 8.5 inches long.
Gauge:
I used a K10.5/6.5mm hook with blanket yarn. A magic circle with 4 single crochets measured approximately 1 inch in diameter.
Gauge is not critical in this type of project. You mainly just want to make sure that there are not gaps between stitches so that the stuffing does not come through. If you notice gaps, you will want to go down a hook size.
All About Making the Mini Belly Monkey
I am a huge fan of all of Madeline Mae Co.’s patterns! I think they are really easy to follow and are easy to assemble. While it is best to have some experience with amigurumi before diving into one of the patterns, they are relatively beginner-friendly and incorporate some no-sew features which makes them really easy to assemble.
You will begin with making the muzzle, arms, tail, and ears individually. I really enjoy that these pieces can all be made in larger quantities if you are market-prepping, which makes it easy to continue on and make a lot of these cute monkeys all at once.
The monkey’s body is made starting with the legs. The two legs are made separately and then crocheted together. The body is then worked from the legs up to the head with the tail and the arms crocheted right into the body. The steps for the body are really easy to follow and there are a lot of pictures included in the pattern to showcase important steps.
In case you aren’t a big fan of sewing on body parts, the only features that need to be attached at the end are the ears and the muzzle. It is easiest to attach these once the eyes are in place. Since I added my felt eyes at the end, I put pins where I planned to place the eyes when attaching the muzzle, which made it easier to place it correctly and then attach the ears.
Overall, I absolutely love how the Mini Belly Monkey turned out, and I will definitely be making many more! This pattern goes great with the Mini Belly Ellie and the Belly Friend Giraffe patterns that I have reviewed previously! I hope you try out this pattern, as well as some of Madeline Mae Co.’s other patterns! Be sure to let us know what you think of it by commenting!
Don’t forget to visit with me on Instagram for all kinds of awesome crochet makes and inspiration.
Join one of our awesome Facebook groups to share your creations, and see what others are up to!
– EyeLoveKnots Crochet & DIY Community
– DIY Home On Rockwood Lane
– Alexandra Lane Lifestyle
Linked Up To…
Leave a Reply