EyeLoveKnots

  • Home
  • Crochet
    • Free Crochet Patterns
    • Crochet Pattern Reviews
    • Crochet 101
  • Free File Library
  • Other Crafts
    • Plastic Canvas DIYs
    • Jewelry DIYs
    • Cross Stitching
    • Knitting
    • Nail Art
    • Recipes
    • Upcycling
    • Other DIYs
  • Patterns by Season
    • 4th of July DIYs
    • Back to School DIYs
    • Christmas DIYs
    • Easter DIYs
    • Fall DIYs
    • Halloween DIYs
    • Spring DIYs
    • St. Patrick’s Day DIYs
    • Summer DIYs
    • Thanksgiving DIYs
  • Round Ups by Season
    • Valentine’s Day
    • St. Patrick’s Day
    • Spring
    • Easter
    • Summer
    • 4th of July
    • Fall
    • Halloween
    • Thanksgiving
    • Christmas
    • Winter
  • DIYs by Room
    • In the Bathroom
    • In the Bedroom
    • In the Dining Room
    • In the Kitchen
    • In the Living Room
    • Kids Room
  • Fashion
  • Blogging World
  • Living the Dream
  • Fun Finds Around the Web
  • Linking Up To…
  • Privacy and Sharing Policies
  • About Our GREAT Team!
  • Work with EyeLoveKnots
  • Latest News & Links

Penguin Earrings – Free Plastic Canvas Pattern & Jewelry DIY

January 15, 2016

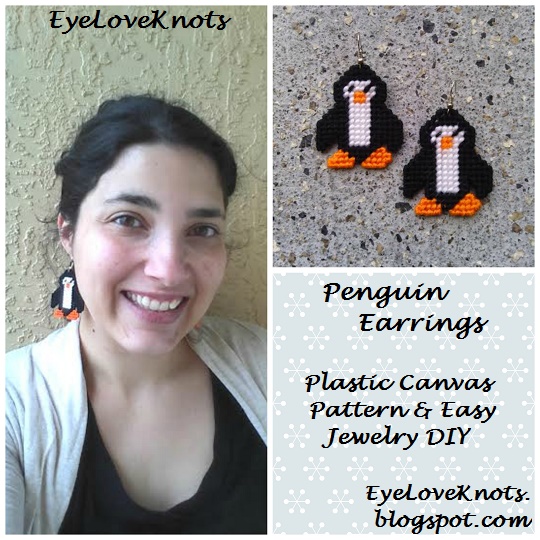
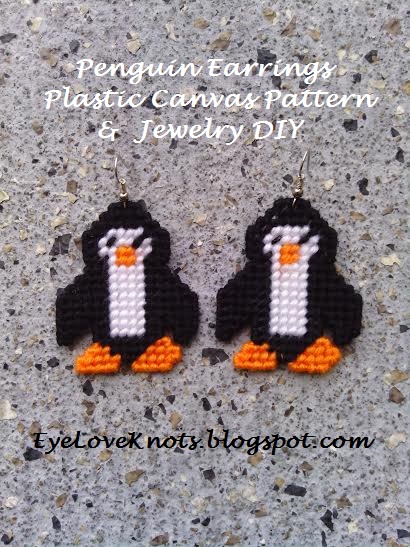
Though I am a day late, here is my latest jewelry design – some sweet little Penguin Earrings.

A few days ago I shared a post on Using Google Sheets to Create a Graph for Yarn Patterns. This penguin was the first thing I made using a Google Sheets Graph and wanted to share with you sooo bad because I was so proud of myself for figuring the Google Sheets out and the way that this all came together, but I had another cup of coffee and was able to control myself. Hehe.

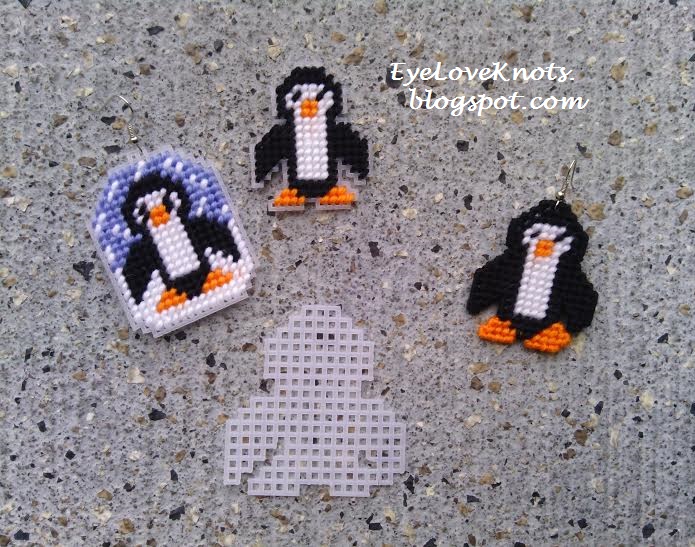
A little behind the scenes… It did take me a few tries stitching up the penguin to figure out exactly how I wanted it, and to make small adjustments here and there. Just look at this photo… I started on some 7 Mesh Canvas, but realized I had to make him a little taller so it would have been too large. Then, I made one on 10 Mesh Canvas, but my mistake here was stitching before cutting. I was having the hardest time cutting him out because of the direction of the stitches. I decided to then try a snowy scene in which I wouldn’t have to worry about the cutting so much, but after spending the time to stitch it up, I realized it was too wide and uncomfortable to wear as earrings… Back to my cutting. I took the rest of the day off from this project to clear my mind. The very next morning, I woke up early and got to work. The break was all I needed because it came together so quick and easy. I had a pair of earrings done in time to wear to work 🙂 

I’ll be sharing the graph with you a little later in another project I have on my list to do, but haven’t found the time yet.

Materials:
     – Small Amounts of Light Weight/Sport Weight Yarn – I used Hobby Lobby’s I Love This Sport Weight Yarn in Black, White and Orange
     – Small Piece of 10-Count Clear Plastic Canvas
     – #20 Tapestry Needle
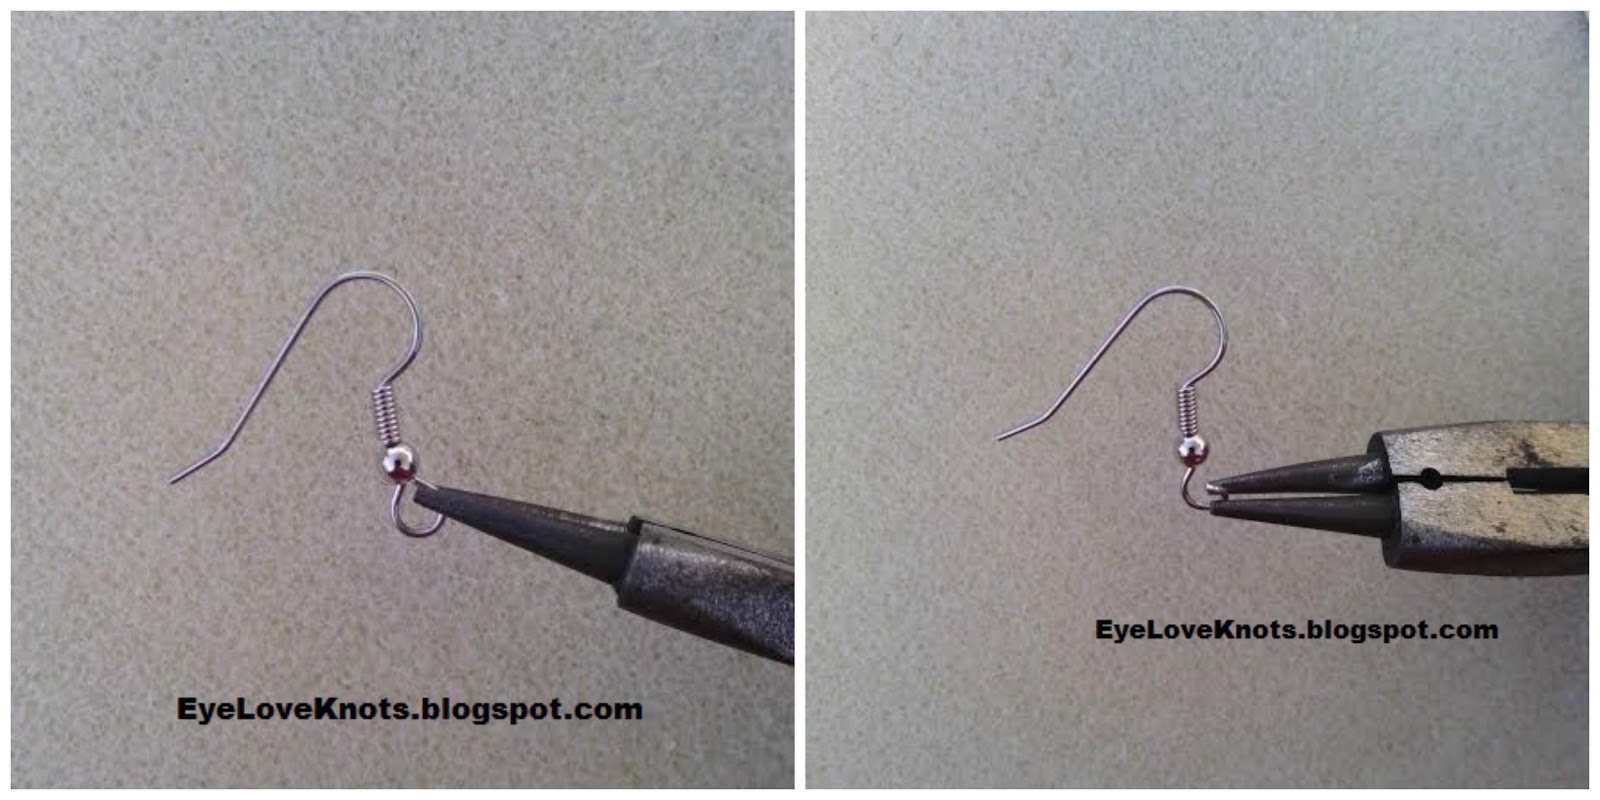
     – 2 Earrings Wires – I used the 20mm Stainless Steel Ear Wires from AliCsSupplyShop
     – Jewelry Pliers – I use two (one in each hand) but one will suffice.

Material Notes:
     When I say “small amounts of…”, I used about 20″ of White, 6.5″ of Orange and 23.5″ of Black.

I did attempt these earrings with some 7 Mesh Plastic Canvas, which is what you are probably more familiar with. The penguins will come out too large to be earrings, but would make a cute magnet, pin or hair clip. If you do use 7 Mesh, use Worsted Weight Yarn with it.

Time Spent:
     It took me about an hour and 45 minutes to work up a pair of these. 

Measurments:
     These penguins measure 1 5/8″ across by 1 7/8″ tall.

Pattern Notes:
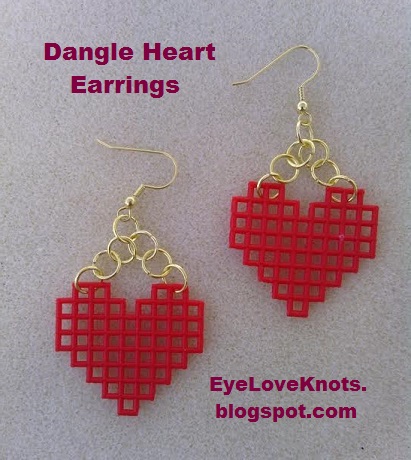
     If you need help with cutting or stitching, check out my Small Plastic Canvas Hearts post.

     If you don’t like the way your carried yarn looks on the back of your finished piece, you can add a piece of felt, just make sure you don’t glue it too high as you will still want to get the jump rings through the holes in the corner. I didn’t, as I like the way it looks and it isn’t really visible to anyone.

To Open an Earring Wire Loop:
Grab one end of your earring wires with your round nose pliers.
You will need to grab the other end with another pair of pliers or your fingers for leverage and stability.
Pull open the loops TOWARDS you, not side to side.
Close in the same manner.

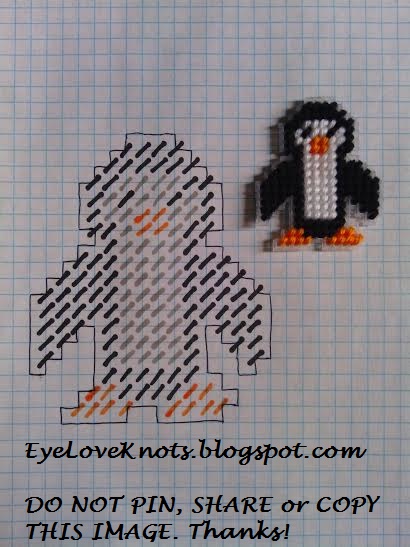
Plastic Canvas Pattern:

Click to View Larger.
 
Cut Penguin shape out.
Work the slashes as continental stitches. Whipstitch around the edges after.
 
I worked Orange first, followed by White and then finished off with Black.
This is my penguin pre-whipstitch.
Earring Tutorial:
     Open earring wire loop, and attach to the top center hole of the penguin head. Close loop. You can see a similar assembly in my Fox Earring DIY.
Please feel free to make and sell your own Plastic Canvas Penguin Earrings using this pattern, but please DO NOT claim this pattern as your own nor should you sell my pattern, and DO NOT re-publish my photos as your own. DO NOT copy and paste my pattern anywhere, link to it instead.

With so many color options, I would love to see them! Please share your photos on my EyeLoveKnots Facebook page!

Don’t miss out on new crochet patterns, reviews, jewelry tutorials and more! Subscribe to EyeLoveKnots by using the box on the right side toolbar, or follow me via Bloglovin!

You May Also Like…
Dangle Heart Earrings – Easy Jewelry DIY 
Plastic Canvas Fox Earrings – Free Plastic Canvas Pattern & Jewelry DIY
Round-ish Plastic Canvas Earrings in 3 Sizes – Free Plastic Canvas Pattern & Jewelry DIY

Filed Under: Jewelry DIYs, Plastic Canvas DIYs, Uncategorized Tagged With: AliCsSupplyShop, Black, Bling It Thursday, Earrings, Free Plastic Canvas Pattern, Hobby Lobby, I Love This Yarn, Jewelry DIY, Orange, Penguin, Plastic Canvas, Sport Weight, White, Winter

❮ PREVIOUS POST

Using Google Sheets to Create a Graph for Yarn Patterns – Photo Tutorial

NEXT POST ❯

Cowl Shoulder Cozy – Crochet Pattern Review – Red Heart/Salena Baca

Comments

  1. Margaret says

    January 16, 2016 at 10:12 am

    Your penguin earrings are so cute. Great idea and thanks for this tutorial to make them myself.

    Have a great weekend, Margaret

    Reply
    • knots1prime says

      January 16, 2016 at 7:06 pm

      🙂 Thanks to you Margaret! I would love to see your finished penguins when you get a chance to try this.

      Reply
  2. Purfylle says

    January 19, 2016 at 7:58 am

    I love your little embroidered earrings. Those little foxy ones are my favourites.

    Reply
    • knots1prime says

      February 5, 2016 at 3:54 am

      They are pretty darn cute! Thanks 🙂

      Reply
  3. Ashley says

    March 11, 2018 at 7:43 pm

    Just want to let you know that I came across this page from an image on Pinterest and since it said "do not pin share or copy this image" I figured I would let you know that it's out there getting pinned!
    Super cute though! 🙂

    Reply
  4. Linda Hall says

    September 7, 2021 at 12:34 pm

    I love these but wonder how you finish the back side. Do you see two the same and put together or some other way? Thanks

    Reply
    • Alexandra says

      September 7, 2021 at 2:03 pm

      The back of my earrings show the backside of the stitches.

      If you don’t want your stitches to be visible, you can glue on some felt, or cut a second identical piece of canvas and either stitch it in solid black or leave clear and then whipstitch together.

      Reply

Leave a Reply Cancel reply

Your email address will not be published. Required fields are marked *

This site uses Akismet to reduce spam. Learn how your comment data is processed.

Welcome!

Welcome!

Hey! I'm Alexandra, the blogger and designer behind EyeLoveKnots! Grab a cup of coffee, and let's crochet something awesome together!

Subscribe to My Newsletter

Subscribe to My Newsletter

Click on the image to subscribe to my newsletter list. A new window will open up for your name and email address, then just click the Subscribe button and check your email for a confirmation!

Meet the Team!

Meet the Team!

Abby, Candace, Maggie & Jessica help me bring awesome crochet projects to you! They are awesome, and so talented! Click the image to learn more about them, and get their Instagram links, where they are constantly sharing tons of crochet inspiration.

Granny Square Afghan

Granny Square Afghan

(Affiliate Link) I am so in love with the new Granny Square Afghan Kit Club from Annie's Kit Clubs! Granny squares have always held a special place in my heart, and I love the variety! In fact, there are over 90 unique granny squares in here! This club spans 12 months. Each month, you get a new set of instructions and yarn. There are also video tutorials to walk you through each step. Don't want to make an afghan? This is still a great kit to learn different granny stitch patterns, and the squares so versatile! Sew them together to make a scarf, tote bag, cardigan and so much more! Click this image to get more details and join this club!

Archives

Copyright © 2025 EyeLoveKnots · Custom site by Moonsteam Design