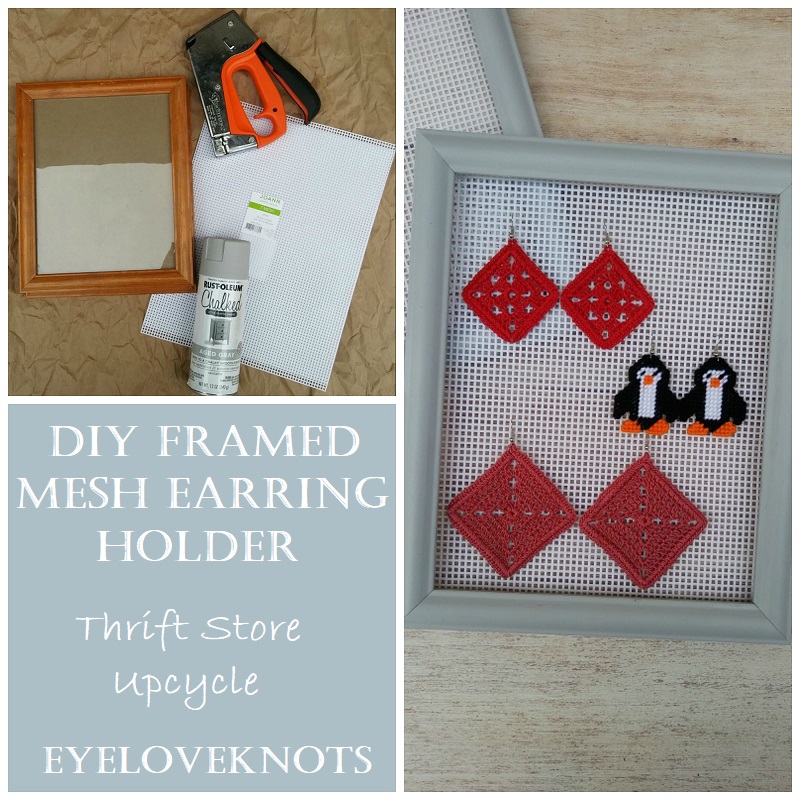
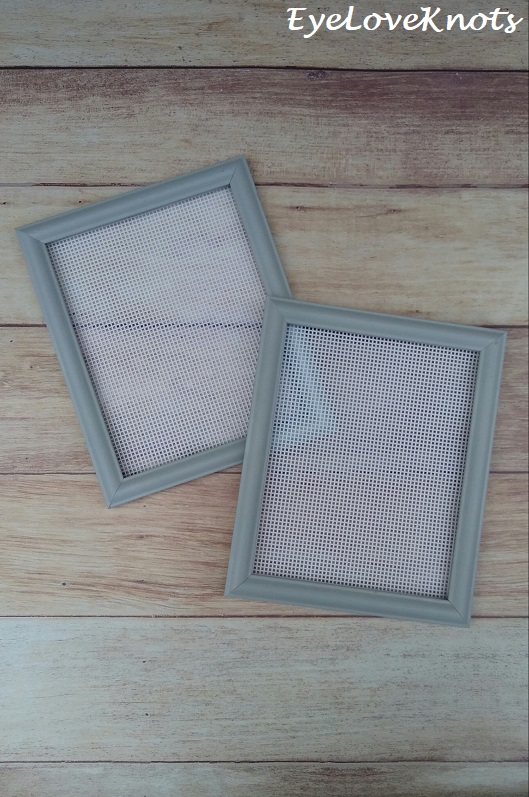
For a long time, I have used plastic canvas mesh to hold my earrings on, though it never looked this nice. Basically, I just thumb tacked a sheet onto the wall (haha!). Lately, I have been wanting to do something a little more, so I went to a few local thrift stores, and looked at their picture frames to see if I could get a good deal on one. I found two matching ones for only $2 each!
Materials:
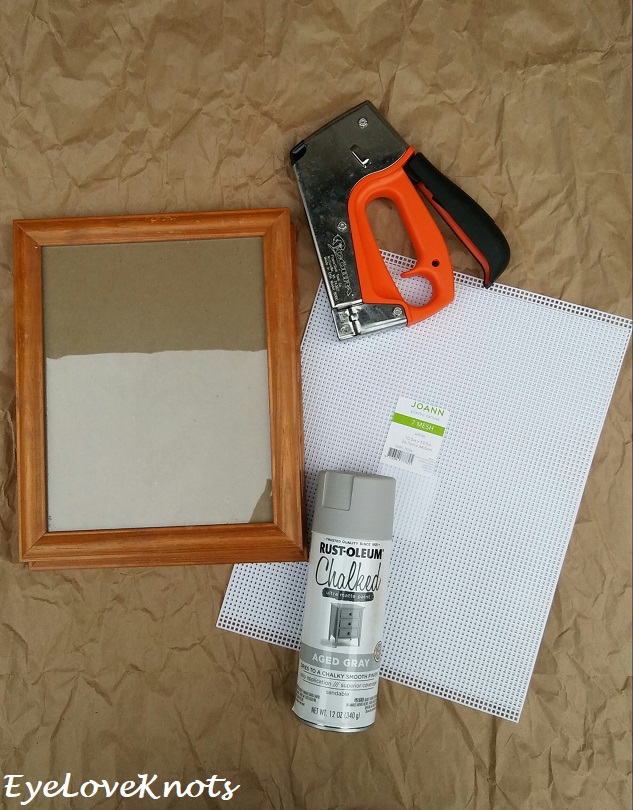
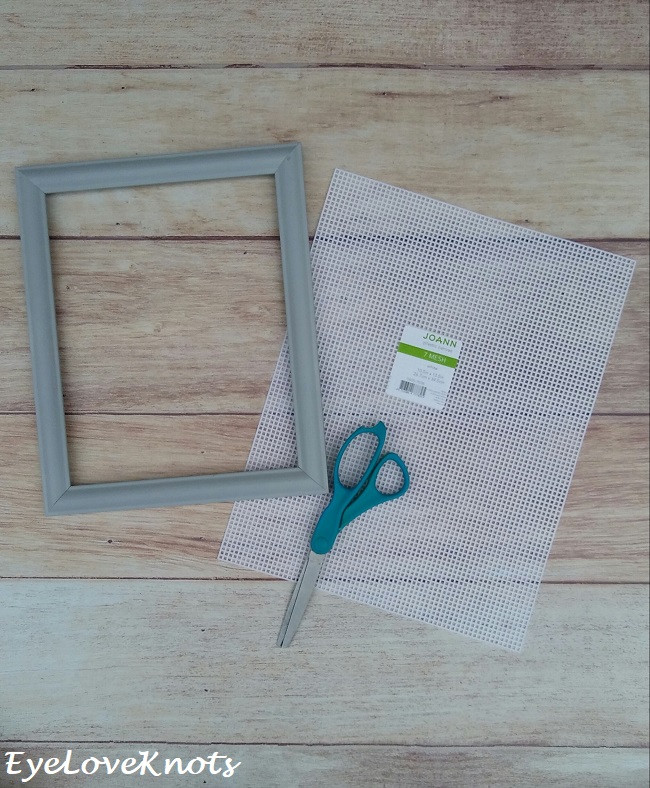
- Wood Photo Frames – I believe mine are 8 x 10’s
- Jewelry Pliers – I love Darice’s 3-in-1 Pliers
- Sheet of Plastic Canvas – I used less than a 10.5″ by 13.5″ sheet of White
- Scissors
- Staple Gun and Staples
- Scotch Tape
- Spray Paint – I used Rust-oleum Chalked in the Aged Gray colorway bought at JoAnn’s
- Cover for work space – I used some brown paper
- Optional, Sand Paper
Material Notes:
Frames: You will need your frames to fit your mesh. What do I mean? Well, colored plastic canvas is only 10.5″ by 13.5″ (with clear available in sheets that are a little larger), so if you intend on using colored plastic canvas, you will need a frame no bigger than about 10″ by 13″ (maybe a touch smaller). On the other hand, you could always use chicken wire as a larger mesh material.
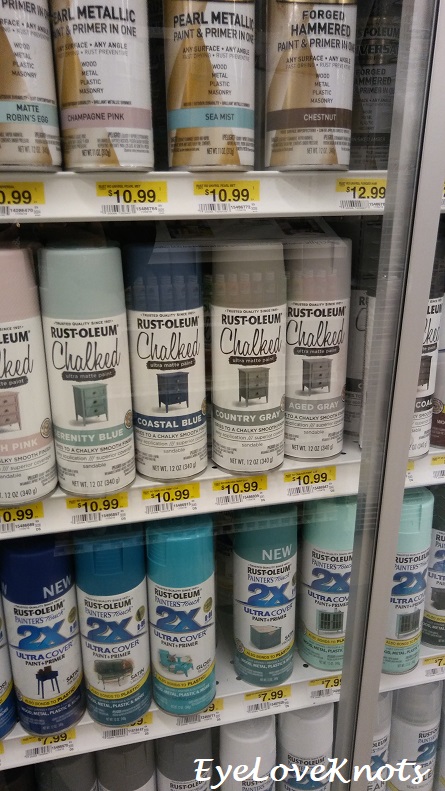
Paint: This was my first time ever painting furniture – believe that?! I reached out to one of my Facebook groups to ask whether spray paint, or regular paint and brush would be the best way to go, and it seemed like spray paint it was because it can easily be applied without chance of the streaks of a paint brush, goes on pretty even, and no brushes to clean afterwards.
Sand Paper: If your frames have a coating on them, or uneven wood, you may need to sand them down so 1.) you are painting an even surface; 2.) the paint sticks better to the surface. I did lightly sand mine down, but honestly, I don’t think I needed to.
Time Spent:
Other than drying time, this project really takes maybe 20 minutes. I will also add that the spray paint dries rather quickly, so multiple coats can be added quickly as well.
DIY:
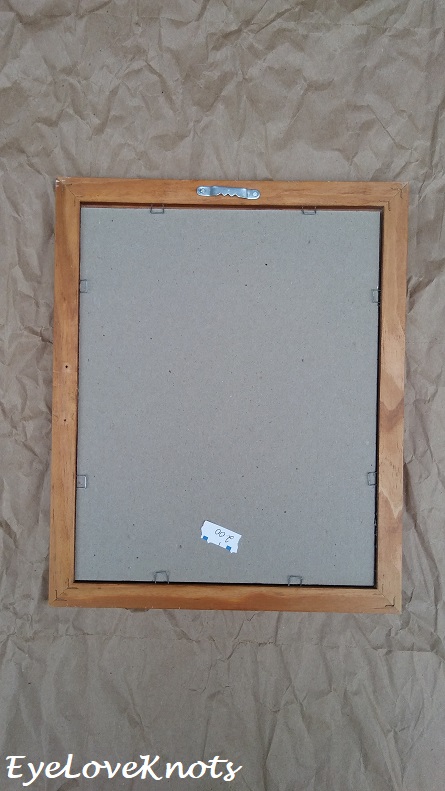
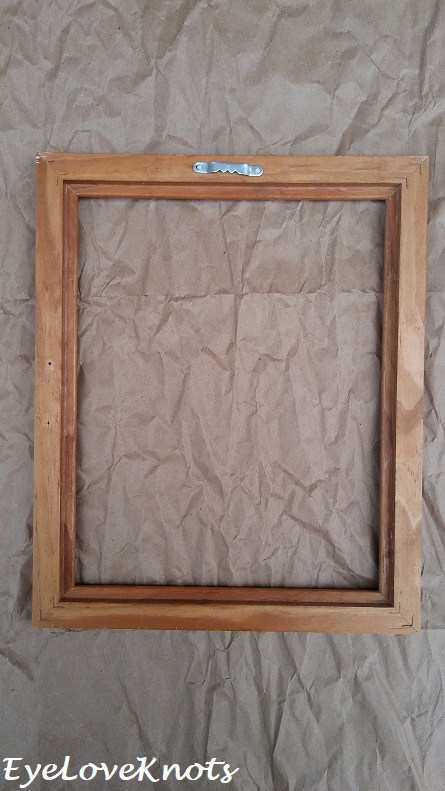
First thing I did with my frames was remove the backing, and glass.
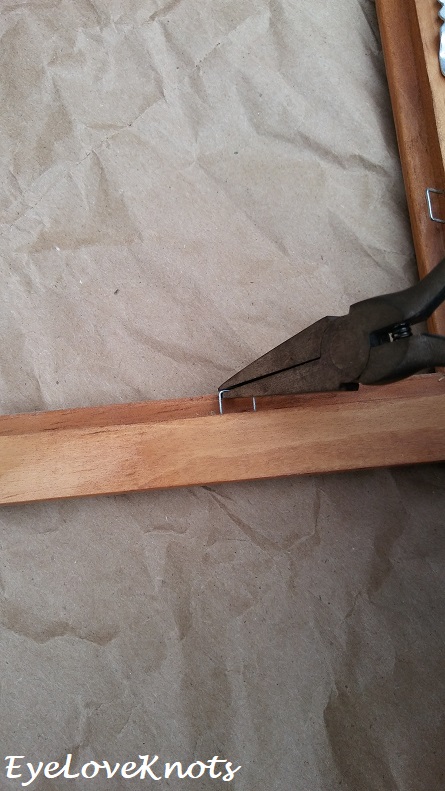
Then, I used my pliers to pull out that staples that held the backing in place – it was really simple!
I lightly sanded my frames.

Then I laid them right side up, and sprayed one coat on, making sure to get the sides as well. I waited about 20 minutes for it to dry to the touch, and then added a second coating, and then repeated for one more coat.
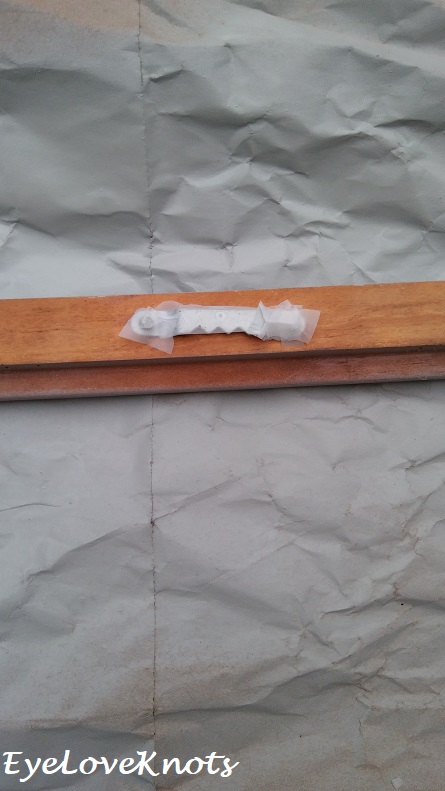
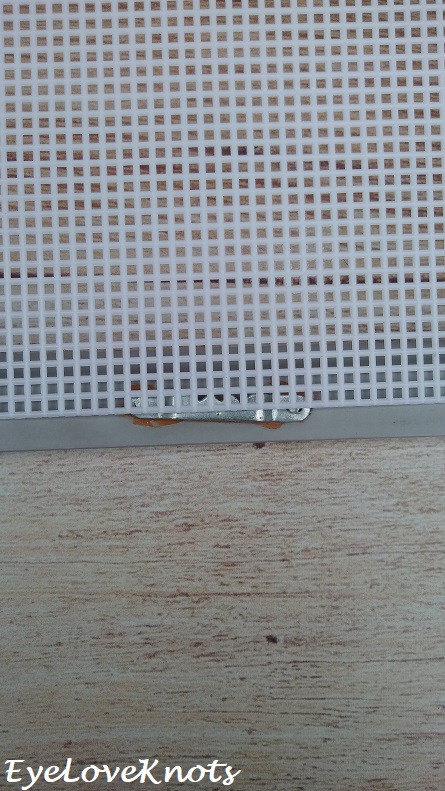
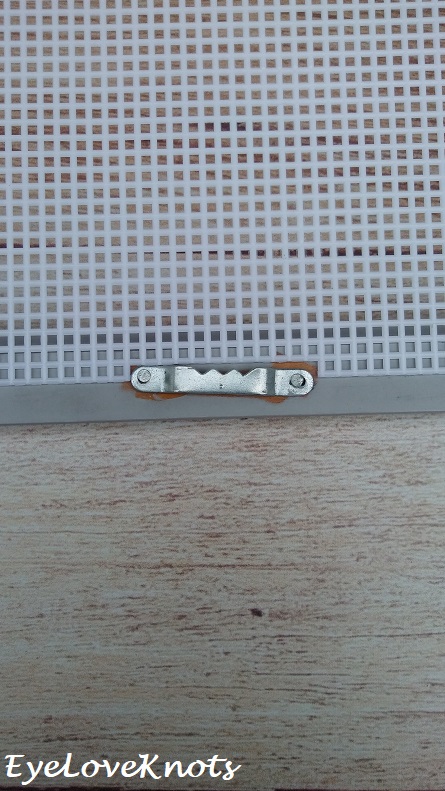
I have seen make overs where the hardware is removed, which I thought I would do, but when I looked closer, I saw these were nailed in, and I didn’t want to take the nails out, so I simply cut a small piece of scotch tape, and then cut it in half vertically, and used it to cover my hardware.
You will want to try and tuck the edge pieces under the hardware, or remove them because they will leave blank spaces on the wood.
I did three coats on the back as well.
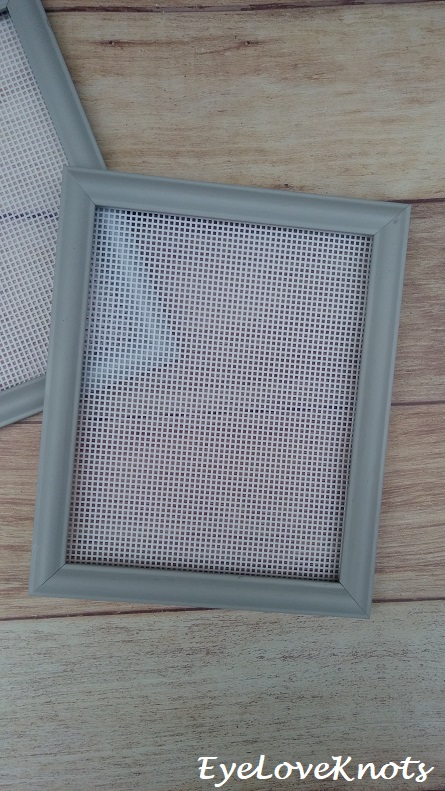
Mesh time!
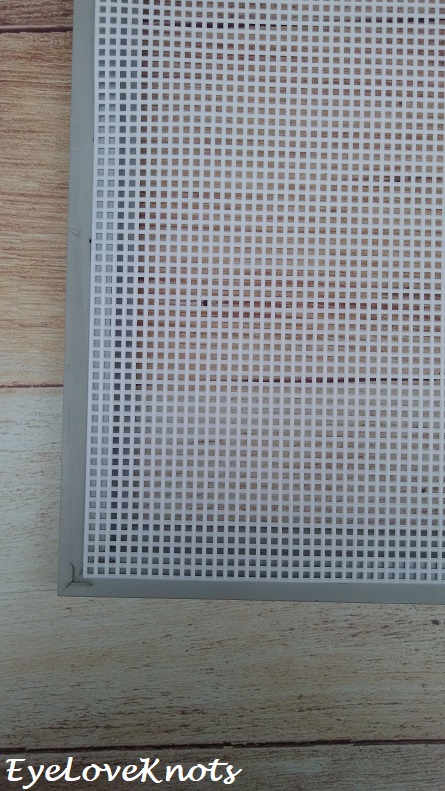
Originally, I wanted to attach the mesh to the inside lip of the frame, but 1.) the staples would have gone through; 2.) it was hard to angle the staple gun in. I ended up cutting my mesh two holes larger than the back of the frame all around.
After cutting two rows larger all the way around, I laid the piece evenly…
… and carefully cut out the space for the hanger.

Then I used my staple gun to staple the mesh in place, starting with the top, then the bottom, and then the sides for an even tension.
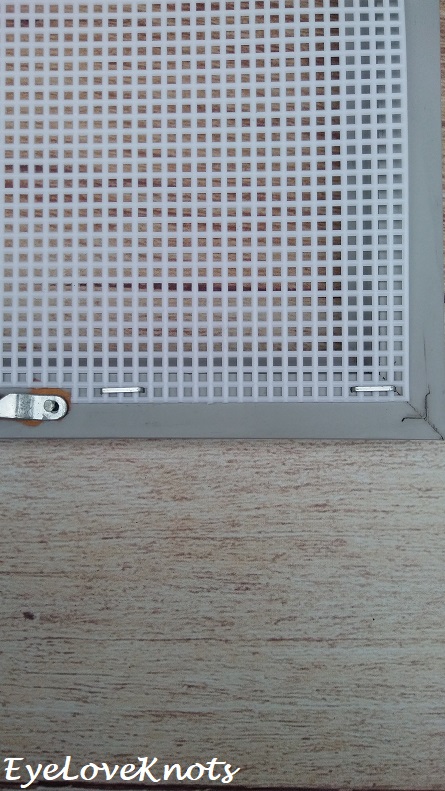
I found I had to place the nose of my gun at the top of the second row in to get the right placement on the bottom row.
Voila!
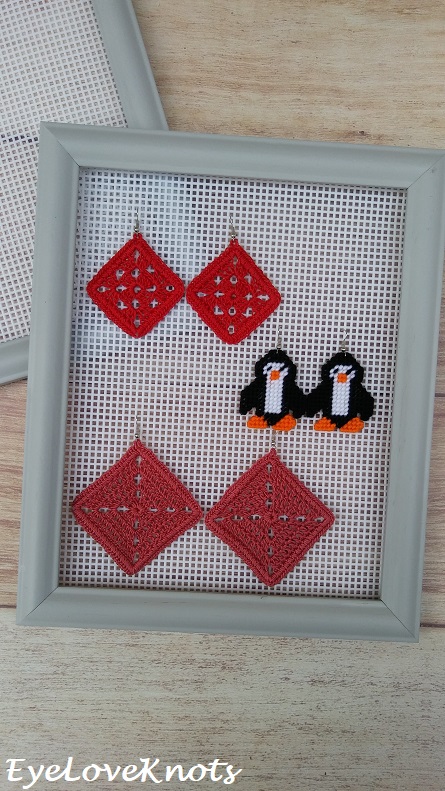
And with some of my earrings!
I have free patterns for these earrings: Framed Granny Square Earrings, Penguin Earrings, Framed Solid Granny Square Earrings.
DO NOT claim this tutorial as your own, and DO NOT re-publish my photos as your own. DO NOT copy and paste my tutorial anywhere, link to it instead using ONLY the title photo – none of my process.
Join the EyeLoveKnots Crafting Community on Facebook to share your creations, and see what others are up to!
Linked Up To…
Craft Schooling Sunday – Creative Jewish Mom
Sundays at Home #239 – Celebrating Everyday Life
Inspiration Monday – i should be mopping the floor
Creative Mondays Link Up – Claire Justine
Handmade Monday #113 – Sum of their Stories
Merry Monday #241 Link Party – A Wonderful Thought
The Really Crafty Link Party #156 – Keeping it Real
Craftastic Monday Link Party – Sew Can Do
Weekday Wear Linkup – Away from the Blue
The Scoop Link Party #364 – Worthing Court Blog
Tutorials & Tips Link Party 383 – Home Stories A to Z
488th Inspire Me Tuesday – A Stroll Thru Life
Fabulous Party #254 – Lou Lou Girls
Talk of the Town 161 – My Repurposed Life
Totally Terrific Tuesday #215 – Sweet Parrish Place
Make it Pretty Monday – Week 283 – The Dedicated House
Turning Heads Linkup – Elegantly Dressed and Stylish
Confident Twosday Linkup – I do deClaire
{Wow Me} Wednesday #390 – Ginger Snap Crafts
Your Whims Wednesday #394 – My Girlish Whims
Wednesday Link Party #282 – The Stitchin’ Mommy
Wall to Wall DIY Wednesday Week 35 – Dabbling and Decorating
DIY, Crafts, Recipes and More Link Party #126 – Hazel and Gold Designs
Crafty Love Link Party #42 – Jessie at Home
Style Me Wednesday – Shopping my Closet
Snickerdoodle Create Bake Make Link Party #271 – Across the Boulevard
Oh my goodness, this turned out so cute and how perfect it is for those crocheted earrings!!! Have a good weekend!
Carrie
curlycraftymom.com
Yes, I am quite proud of how it turned out! And my painting experience was positive, so I have all these ideas turning in my head now.
This is such an amazing DIY! I would love to make one, I’m sure it’d stop me losing jewellery xx
Gemma • Gemma Etc . ❤️
Thank you so much! It helped me, and so I could see everything at once.
It turned out great, you did a wonderful job! Where did you get the plastic canvas? At the craft store or online? I’ve been searching for this at craft stores around here, but it seems it’s not available anywhere and I wanted it for a few stitching projects…
Thank you for sharing at The Really Crafty Link Party. Pinned.
Here, my local Walmart, JoAnn’s and Hobby Lobby all carry it. I usually just pick some up when I go to JoAnn’s or Hobby Lobby, but I know they also sell it online, and places like Consumer Crafts. Let me know if you still have trouble, I would be happy to mail you some!
I need something like this for all my earrings! What a fun DIY! Thanks for sharing 🙂
Thanks so much for linking up with me at #AThemedLinkup 19 for Cleaning and Organizing, open June 15 to 25. All party entries shared if social media buttons installed.