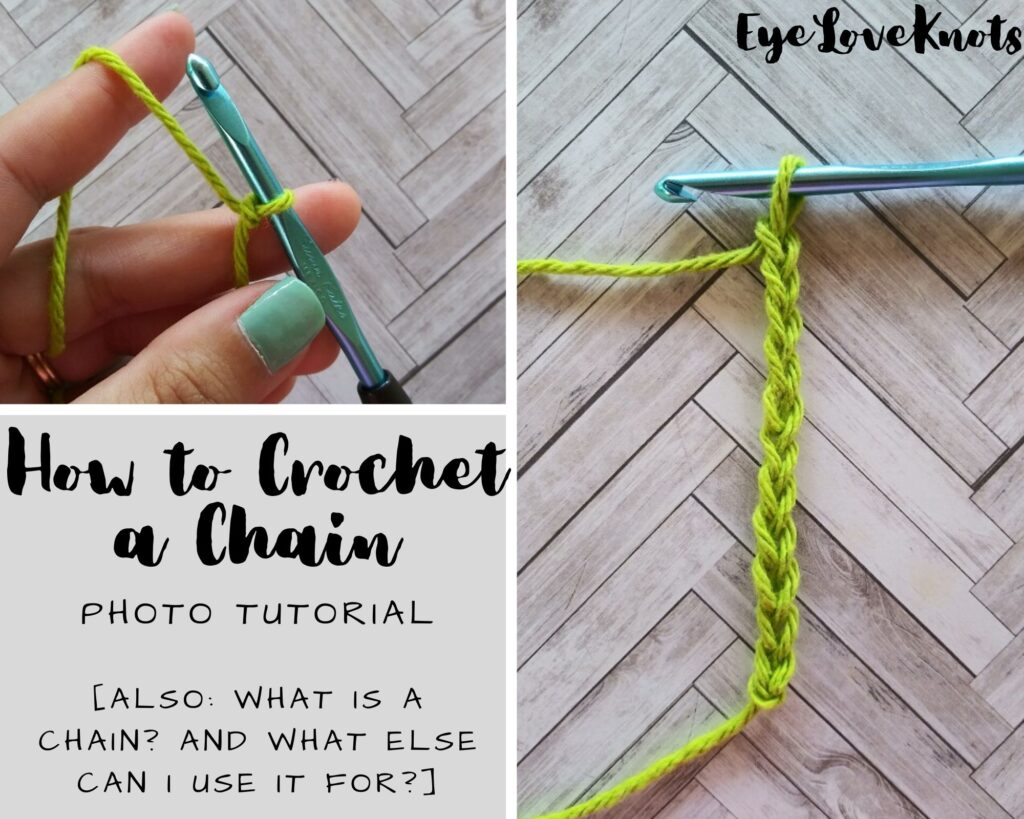
How to Crochet a Chain with Photo Tutorial – a very easy, beginner crochet tutorial. Also, what is a crochet chain? And what else can I use a crocheted chain for?
This post contains affiliate links for LoveCrafts. If you make a purchase by clicking on them, I make a small commission at no extra cost to you. Thanks for your support!
I’ve been wanting to put together a beginner crochet series for A LONG TIME now, so when a friend recently reached out about learning to crochet, I told her to gather her supplies, and I would put together a photo tutorial for her to follow along with.
I already have a photo tutorial for How to Make a Slip Knot, and the next step is this – How to Crochet a Chain.
For this tutorial, I am using Lily Sugar n Cream in Hot Green, and an H8/5mm hook. My nails are Color Street in Oslo and Steady.
I am not creating anything new here, but I did take the time to take the photos, edit them, and put this tutorial together, so please respect my work. Do not pin or share any of the tutorial images – just the main photo. Provide the link for others to find my page (help out me and my blog with the traffic). Do not copy and paste my work anywhere. Thank you!
What is a Chain in Crochet?
Crocheted chains (abbreviated as CH) are the foundation stitches to any crochet project. It’s a simple 2-step crochet stitch involving a yarn over and pull through.
You work into the beginning chain/s to build your crochet piece, and sometimes, chains can also be used in a project as a design element, like when working a granny square, lace or filet pattern, or as placeholders in stitch patterns that work into rows below the current row, like when using the mosaic crochet technique, or spike stitch.
What is the Abbreviation for a Chain in Crochet?
The standard abbreviation for a crocheted chain is “ch” or “chs”. For example: ch 5 – this would be chain 5.
How Do I Crochet a Chain?
After making a slip knot, hold it in between your middle finger and thumb (so it doesn’t move on you), yarn over and pull through to complete one chain. This forms a stitch that has a v-shape.
How to Crochet a Chain Photo Tutorial:
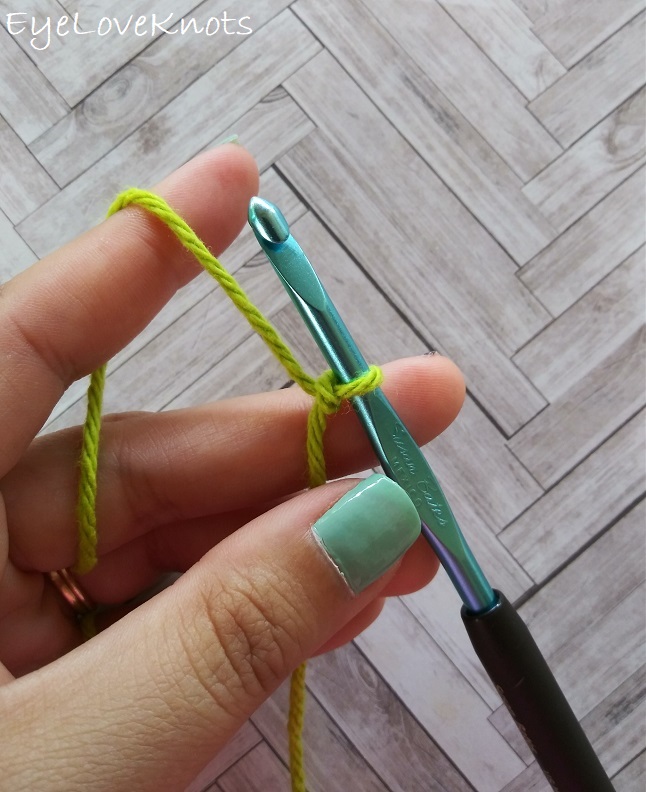
You will need to first start with a slip knot on your hook – check out my How to Make a Slip Knot (Photo Tutorial), then…
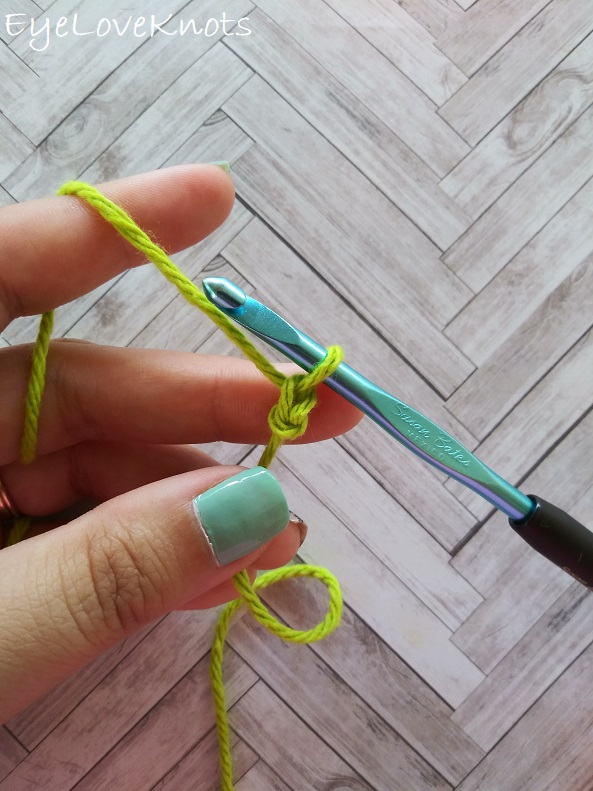
Holding the slip knot in between your middle finger and thumb (so it doesn’t move on you), use your index finger to swing the working yarn around the outside of the hook…
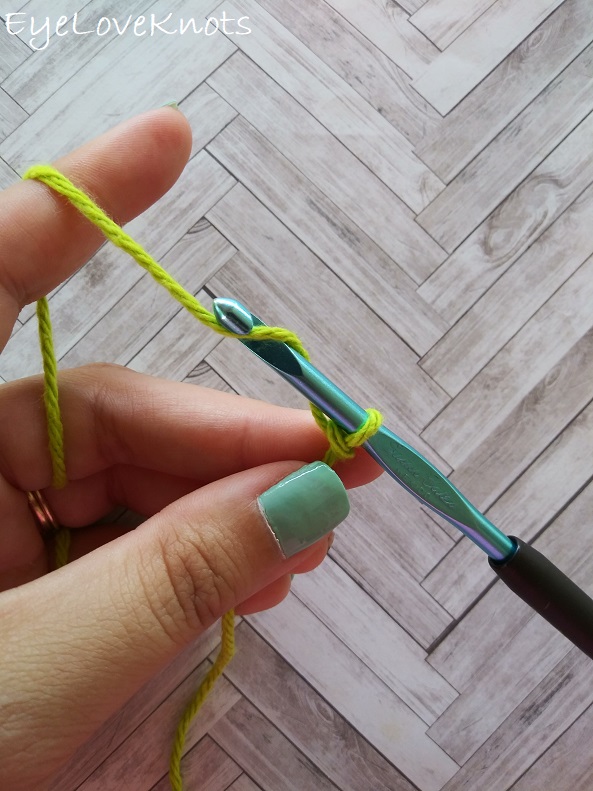
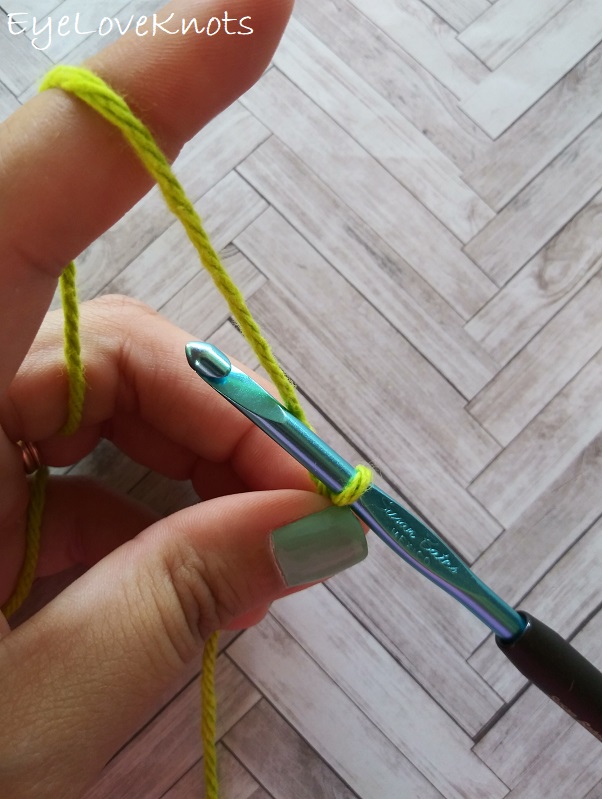
…and catch it in the mouth of your crochet hook – this process is called a “yarn over”.
Keep holding the slip knot (not the initial tail like I am doing in the photo), and pull the crochet hook with yarn in it’s mouth through the loop that is currently on the hook.
If you don’t hold onto the slip knot, it will get really tight, and be hard to work with – may even require starting over with a new slip knot.
Voila! One chain (we do not count the slip knot, or the loop that is currently on our hook).
Continue repeating the process: grab the growing chain in between middle finger and thumb, yarn over, and pull through.
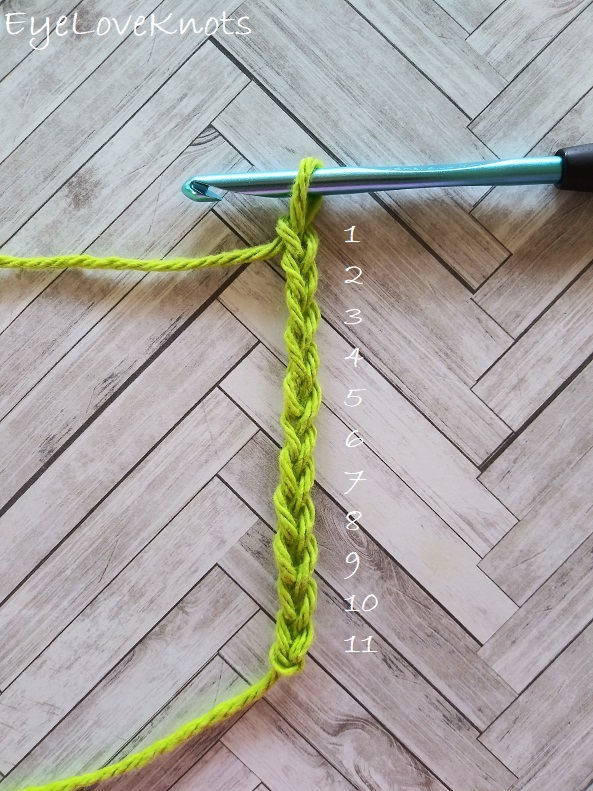
This is what 11 chains look like from the front – remember, we don’t count the slip knot or the loop currently on the hook.
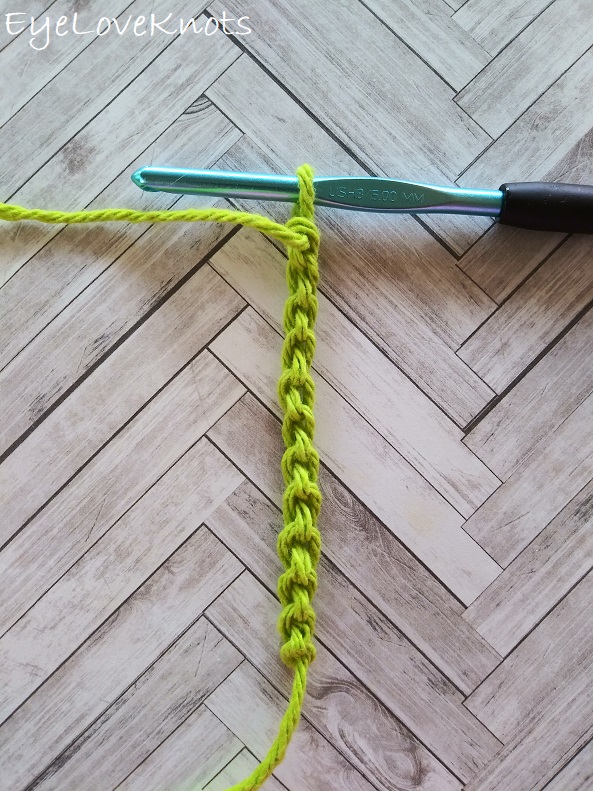
This is what the same 11 chains look like from the back.
When working into the chain, you can work into either the front or back, and I will cover that next!
What Can I Do With a Crocheted Chain, Other than Work into It?
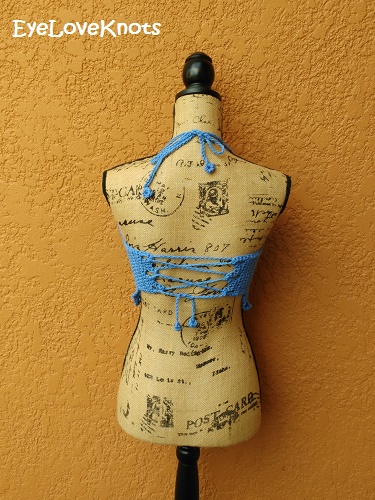
Crocheted chains work great as ties for garments (check out my Ceres Top Review to get the pattern for this top)…
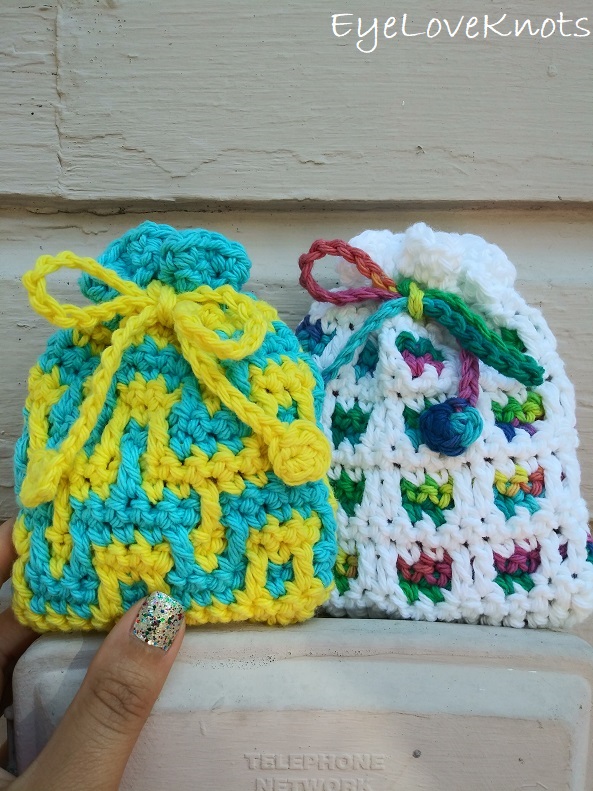
… and accessories! These are my Amaze Me Mosaic Soap Cozy (or Small Gift Bag), and Through the Window Soap Cozy (or Small Gift Bag).
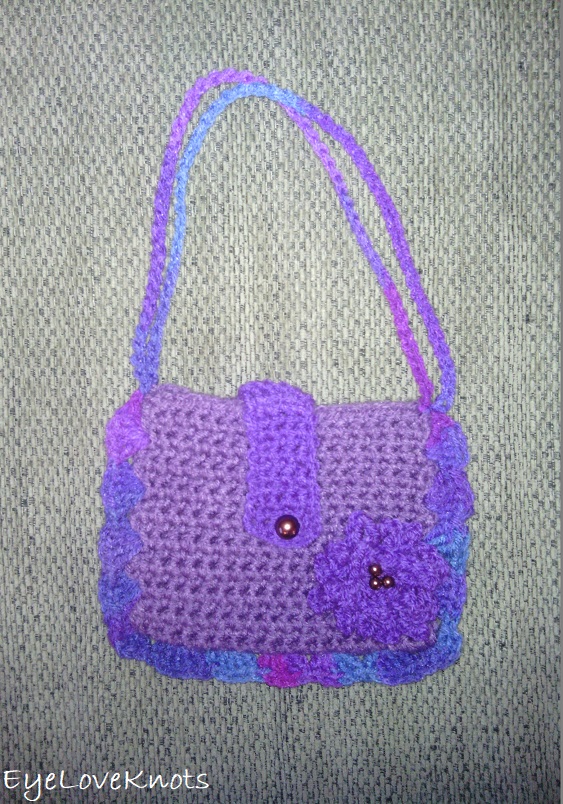
Forgive the poor photo quality, but this is one of my firsts from 2014. You can use chains to make lightweight purse handles – it is very stretchy, but for a little girls purse, it’s great! You can see more of this purse in my Pretty Purple Set, but I don’t have a pattern for it.
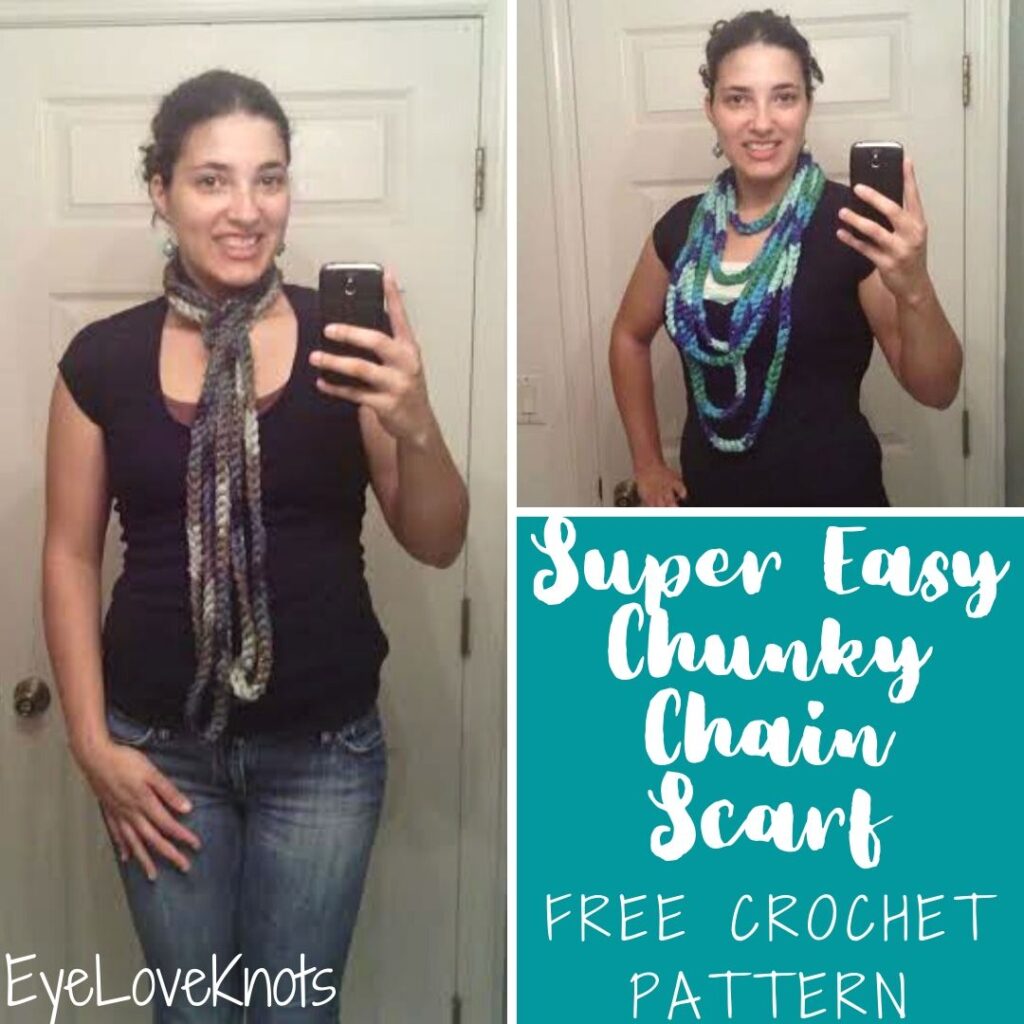
Another one of my earlier projects – you can work a chain to desired length, then tie the ends together to create a bracelet, necklace or scarf.
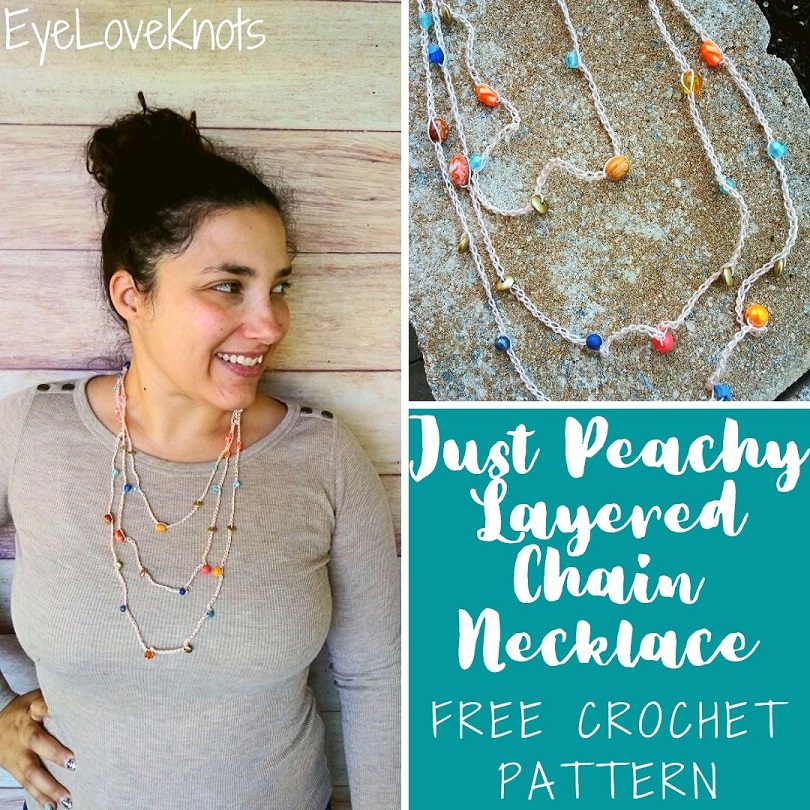
It’s really fun if you string beads onto the working yarn first, and work them into each chain. Check out my Super Easy Chunky Chain Scarf and Just Peachy Layered Chain Necklace.
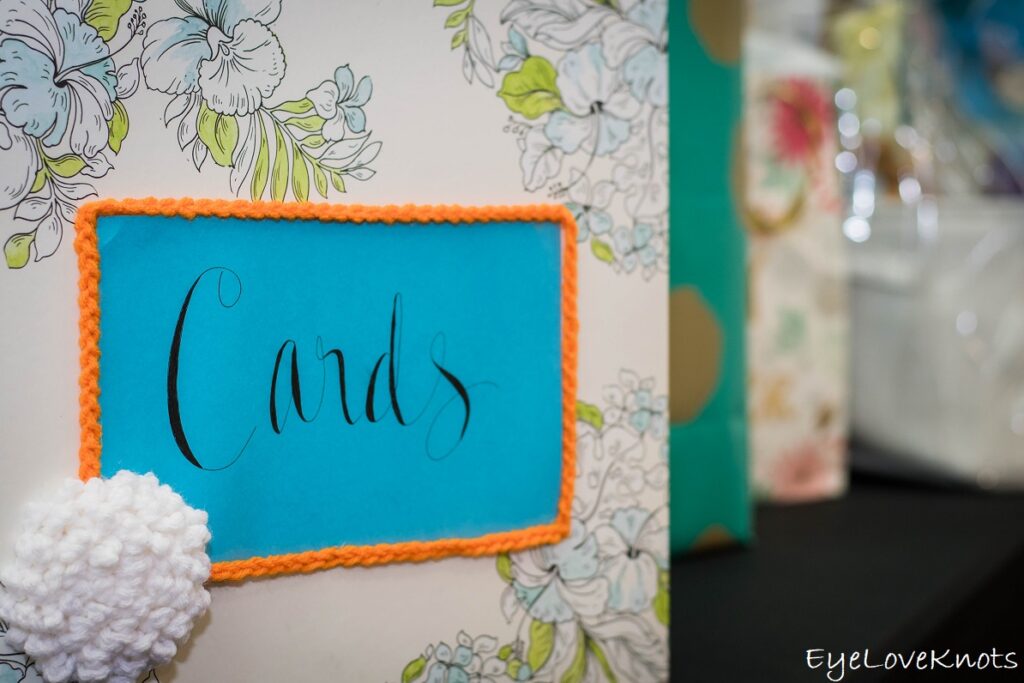
You can also create a chain, and use it to create a design – by sewing or gluing it onto fabric (crochet or otherwise), canvas or anything else you can think of! Shown is the card box my sister-in-law and I made for my wedding.
- Here’s an idea: write your last name in cursive on a piece of canvas, then glue a crocheted chain over it, tracing your writing.
- Another idea: use a crocheted chain to create a swirly pattern, and sew it onto a clutch.
- One more? Crochet a chain, and add it to a handmade card in place of ribbon.
Join one of our awesome Facebook groups to share your creations, and see what others are up to!
– Yarn Crafts & Coffee Community
– DIY Home On Rockwood Lane
– Alexandra Lane Lifestyle
Linked Up To…
Craft Schooling Sunday – Creative Jewish Mom
Happiness is Homemade Link Party #322 – Design Morsels
Ginx Woolly Linx Party May – Ginx Craft
Handmade Monday #175 – Sum of their Stories
Craftastic Monday Link Party – Sew Can Do
Little Cottage Link Party #51 – Love my Little Cottage
547th Inspire Me Tuesday – A Stroll Thru Life
Fabulous Party #319 – Lou Lou Girls
Hookin’ on Hump Day #214 – Moogly
Linky Ladies Party #184 – The Purple Poncho
{Wow Me} Wednesday #454 – Ginger Snap Crafts
Your Whims Wednesday #459 – My Girlish Whims
The Wednesday Link Party #347 – The Stitchin’ Mommy
To Grandma’s House We Go Link Party 192 – Chas’ Crazy Creations
Waste Not Wednesday Link Party 205 – Faeries and Fauna
Tuesday Turn About #48 – My Wee Abode
All About Home Link Party #39 – Follow the Yellow Brick Home
Scrappy Stitchers Link Party #63 – Stitches n Scraps
Thursday Favorite Things #439 – An Artful Mom
Creatively Crafty Link Party #223 – Life Beyond the Kitchen
Creative Compulsions Linky Party #59 – My Bijou Life
Pin Party #368 – The Pin Junkie
May 2020 Best of the Month – Calypso in the Country
Create, Bake, Grow & Gather Party #419 – Shabby Art Boutique
Home Matters Linky Party #282 – Modern on Monticello
Traffic Jam Weekend Linky Party #233 – My Bijou Life
Handmade & Otherwise Weekly Link Up Week 49 – Petals, Pies and Otherwise
Link Your Stuff – Annemarie’s Haakblog
Snickerdoodle Create Bake Make Link Party 335 – EyeLoveKnots
Unlimited Monthly Link Party 13 – Grammy’s Grid
I’ve always wanted to learn how to crochet. This looks like something I could actually do! Thank you for sharing your tutorial!
Jill – Doused in Pink
Yes, definitely! Let me know if I can help in any way 🙂
Pinned this to my popular knit & crochet board on Pinterest because I’m sure it’ll be helpful for the newbies that visit the board.
I really appreciate that, Marie!
I loved this post. I know it will be evergreen! I’m featuring it on the Little Cottage Link Party tomorrow!
Thank you so much, Kristie! I appreciate you sharing.
Thanks so much for linking up with me at my #UnlimitedMonthlyLinkParty 13, open June 1 to 26. All party entries shared if social media buttons installed.