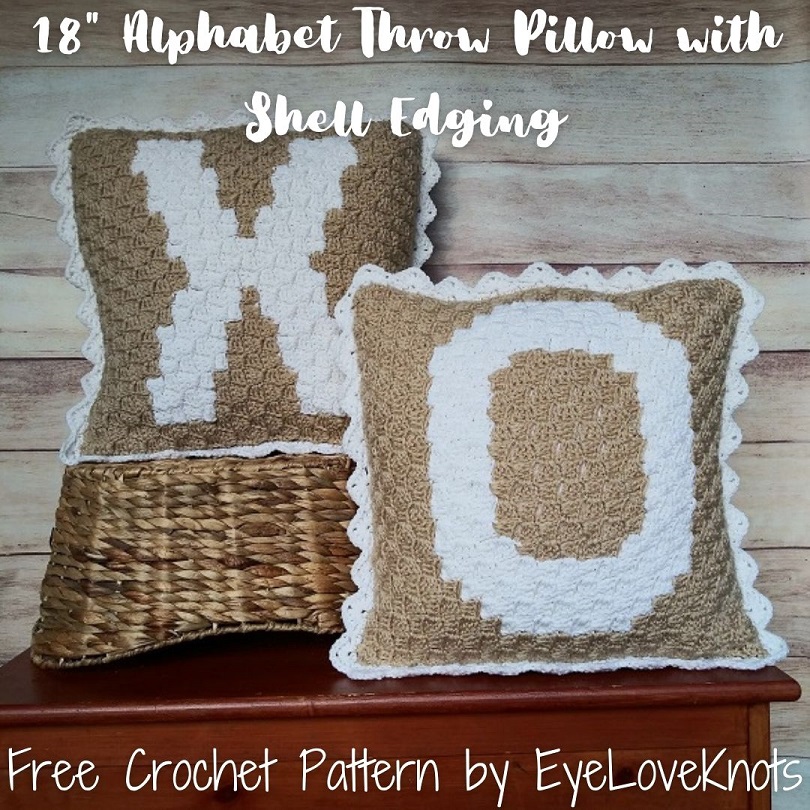
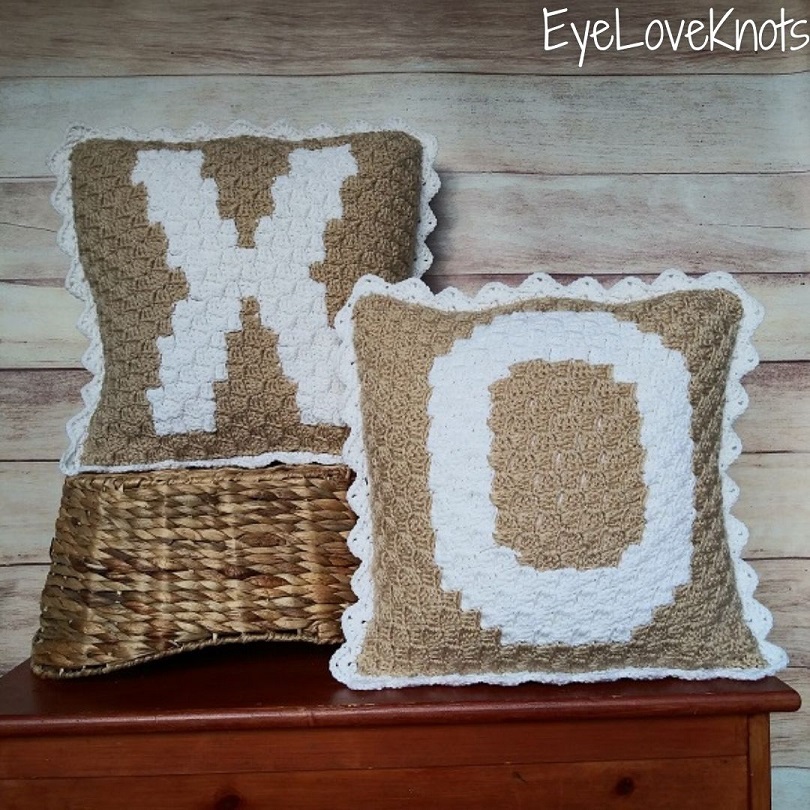
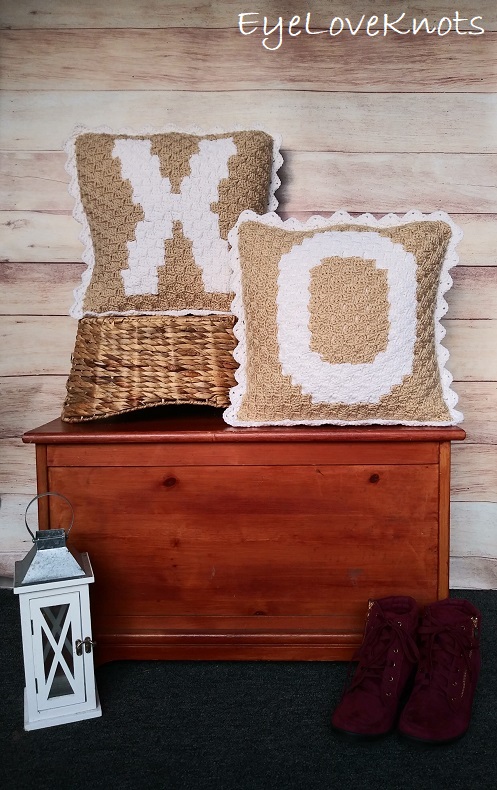
How to crochet envelope style farmhouse X & O throw pillows with a beautiful shell edging.
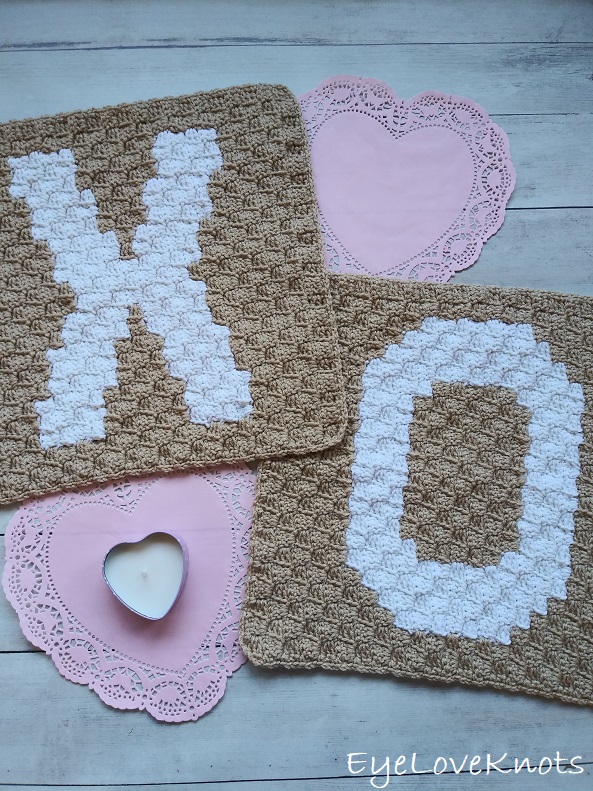
I’ve had this pattern in the works for a while, and had full intentions of sharing some “JOY” throw pillows this past holiday season, but I never actually finished making the pillow backs, so with Valentine’s Day on the horizon, I decided to work up some fun “X” and “O” pillows.
While I have all types of colors and patterns for decorating, I have been trying to narrow down my decor style, and go with more of a farmhouse theme for my home so I went with neutral colors. The Buff colorway reminds me of burlap, and I just love it – perfect shade.
While I made an X and O for Valentine’s Day, a letter throw pillow would make an excellent wedding gift or personalized decor piece for your own couch or bed, or worked in some fun colors, could be a nice personalized decor piece for a child’s room.
AD-FREE, PRINTER FRIENDLY PDF:
If you would like a PDF version of this post, you may get one through either my EyeLoveKnots Etsy Shop, Ravelry or LoveCrafts Shop for a small fee. This fee is to compensate for the views lost when you no longer need to return to the blog to for the information, as you will have your own copy. Plus! It helps fund supplies for new projects to share with you!
Shop EyeLoveKnots Etsy: 18″ C2C Alphabet Throw Pillow
Shop EyeLoveKnots LoveCrafts: 18″ C2C Alphabet Throw Pillow.
Share your version of this project on Ravelry – 18″ C2C Alphabet Throw Pillow.
Save this to your Favorites: AllFreeCrochet, FaveCrafts, AllFreeHolidayCrafts, Cheap Thrifty Living, Crochet Pattern Bonanza
Materials:
- 650ish Yards Total of Worsted Weight Yarn – I used Red Heart’s Super Saver in Buff and Soft White
- H8/5mm Crochet Hook
- Tapestry Needle
- 18″ Pillow Form
Material Notes:
Yarn Alternatives: Caron’s One Pound, Bernat’s Super Value. I like these and Red Heart Super Saver for my home projects because it’s durable, and machine washes and dries well.
Red Heart Super Saver is an inconsistent yarn. While the overall gauge isn’t important, it is important that the gauge for both yarns that you use are the same. I had to use an H8/5mm for my Soft White, and I9/5.5mm for my Buff.
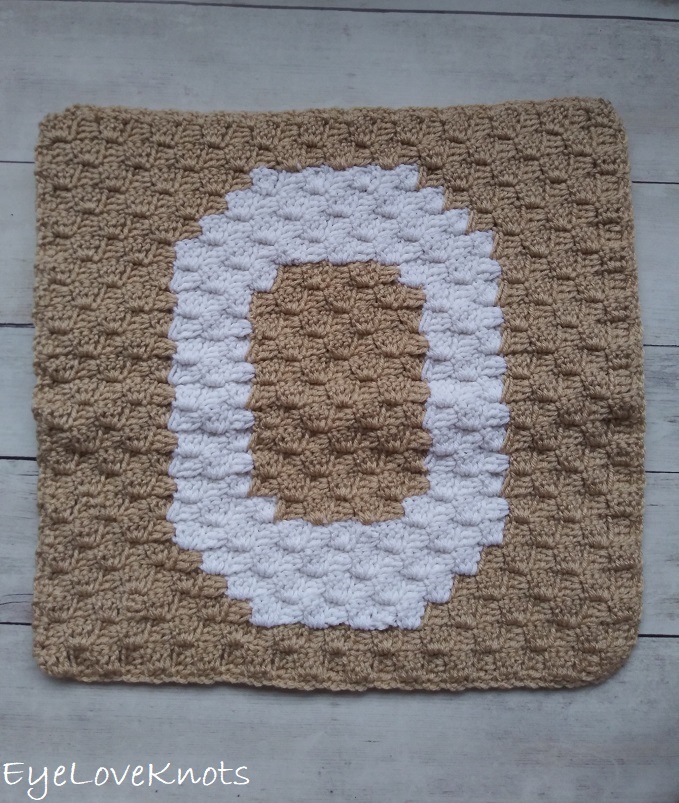
My samples were an “O” and an “X”. When I weighed them out, I found the “O” took 600 yards in total, and the “X” took 629 yards in total.
Time Spent:
The “X” throw pillow took me 8 hours to complete.
Gauge:
5 Boxes = 4.25″ Wide by 4.13″ Tall
Abbreviations for Shell Edging (US Terms):
- SC – Single Crochet (Photo Tutorial)
- DC – Double Crochet (Photo Tutorial)
- Shell – (3 DC, chain 2, 3 DC) all into the indicated stitch
How to Make Throw Pillow:
First thing you’ll need to do is make the front piece with your letter on it. Go to my 18″ C2C Alphabet Square (free crochet pattern), and complete your choice.
Then, you’ll need to make two panels for the back – a larger top piece and a smaller bottom piece. Go to my Basic C2C Throw Pillow (free crochet pattern), and complete these pieces following instructions for the 18″ size (which is 23 boxes wide).
How to Assemble the Throw Pillow:
I like to start at the bottom of the pillow so the starting/stopping point is hardly noticeable.

First, lay the smaller back piece down with the wrong side facing you.
Then, lay the front piece down with the right side facing you. Remember that this is the bottom so your letter should be upside down.
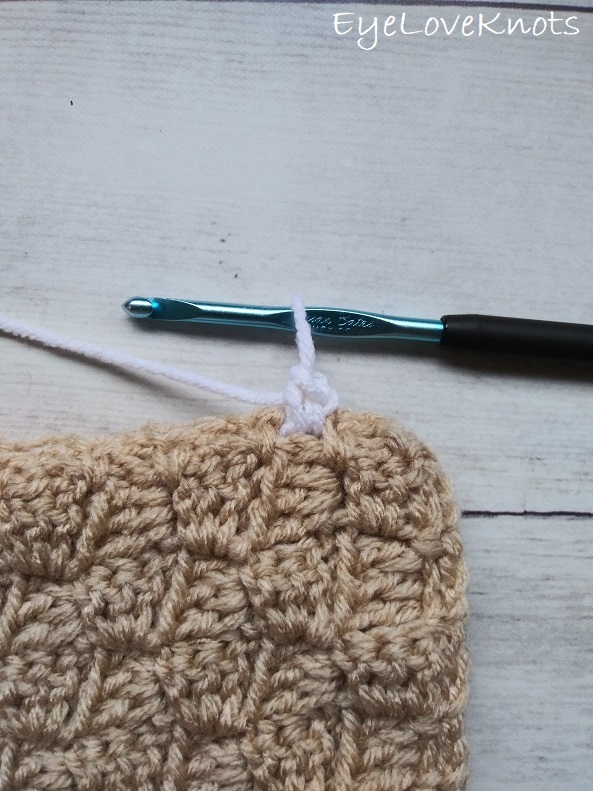
Take notice to the right corner single crochet – skip this single crochet, the next chain space, and the next single crochet. Join yarn in the next chain space working through both layers of the pillow, chain 1 (does not count as a stitch here or throughout) and then work 1 single crochet into this chain space.
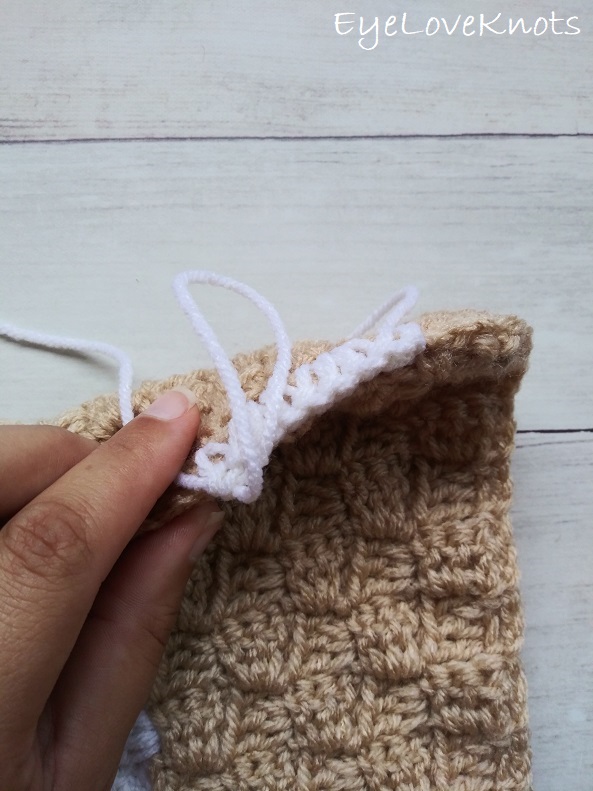
You will single crochet around the entire pillow joining all three layers working 1 single crochet into each single crochet, 2 single crochets into each chain space, and (1 single crochet, chain 1, 1 single crochet) in each corner stitch. When back to the beginning, join to the first single crochet.
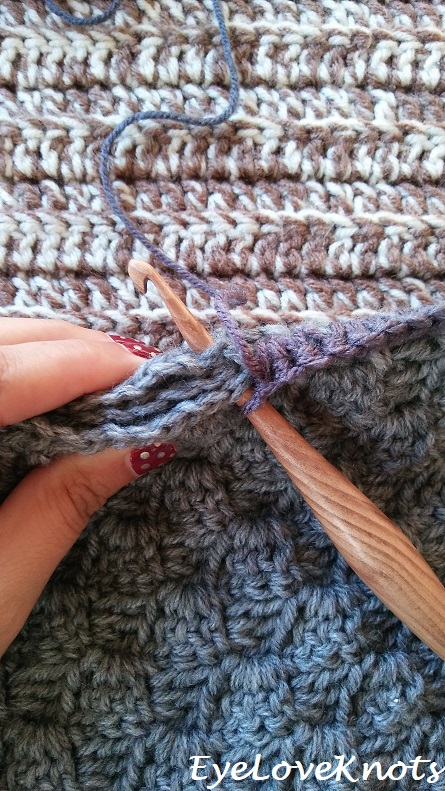
This is what it looks like on the side where the three layers meet (shown from my Basic C2C Throw Pillow pattern). Make sure when you work the second side that the opening lines up – you will be able to look across when it’s laying flat to see if it’s even.
Border Round 2 – Shell Edging:
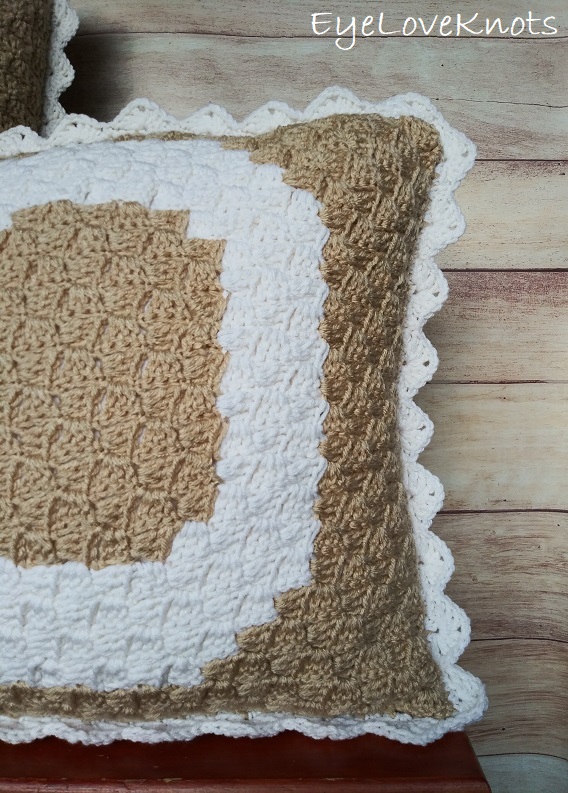
Chain 1. SC into the 1st stitch, skip the next 3 stitches, (shell into the next stitch, skip the next 3 stitches, SC into the next stitch, skip the next 3 stitches) 34x, (SC into the next stitch, skip the next 2 stitches, shell into the next stitch, skip the next 2 stitches) 2x. Join to the first stitch. Fasten off, and weave in ends, then insert your pillow form.
Please feel free to make and sell your own 18″ C2C Alphabet Throw Pillow project using this pattern, but please DO NOT claim this pattern as your own nor should you sell my pattern, and DO NOT re-publish my photos as your own. DO NOT copy and paste my pattern anywhere, link to it instead.
Join one of our awesome Facebook groups to share your creations, and see what others are up to!
– EyeLoveKnots Crochet & DIY Community
– DIY Home On Rockwood Lane
– Alexandra Lane Lifestyle
Linked Up To…
Linky Ladies Party #203 – The Purple Poncho
The Loop Scoop #7 – Moogly
Farmhouse Friday Link Party #190 – County Road 407
Ginx Woolly Linx Party February – Ginx Craft
Craftastic Monday Link Party – Sew Can Do
Tuesday Turn About #85 – My Wee Abode
{Wow Me} Wednesday #490 – Ginger Snap Crafts
The Wednesday Link Party 384 – Oombawka Design Crochet
Creative Crafts Linky Party #27 – Creatively Beth
Handmade Monday #213 – Sum of their Stories
The Really Crafty Link Party #252 – Keeping it Real
Little Cottage Link Party #88 – Love my Little Cottage
All About Home #77 – Common Ground
Waste Not Wednesday 240 – Pretty DIY Home
Charming Homes & Gardens Week 45 – White Arrows Home
Creatively Crafty Link Party #261 – Life Beyond the Kitchen
Artsy-Fartsy Link Party #240 – Artsy-Fartsy Mama
Home Matters Linky Party #317 – Modern on Monticello
Create, Bake, Grow & Gather Party #456 – Shabby Art Boutique
Embracing Home and Family Link Party #26 – The Everyday Farmhouse
Link Your Stuff – Annemarie’s Haakblog
Decor Craft Design – Happiness is Homemade Link Party 360
Hearth and Soul Link Party – April, the 21st Century Housewife
Decor Craft Design – You’re the Star
Over the Moon #262 – Marilyn’s Treats
577th Inspire Me Tuesday – A Stroll Thru Life
Fabulous Party #357 – Lou Lou Girls
Party in Your PJs #344 – The Apple Street Cottage
Your Whims Wednesday #496 – My Girlish Whims
Thursday Favorite Things #475 – An Artful Mom
Encouraging Hearts & Home Blog Hop – Apron Strings & Other Things
Traffic Jam Weekend Linky Party #268 – My Bijou Life
Friday Favorites – Busy Being Jennifer
A Morning Cup of Joe – The Cottage Market
Unlimited Monthly Link Party 21 – Grammy’s Grid
Snickerdoodle Create Bake Make Link Party 371 – EyeLoveKnots
Tuesday Turn About #86 – My Wee Abode
Craft Schooling Sunday – Creative Jewish Mom
Party in Your PJs #345 – The Apple Street Cottage
Embracing Home and Family Link Party – The Everyday Farmhouse
Link Your Stuff – Annemarie’s Haakblog
Hello!
I come to visit you from Linky Ladies Party #203 where I also participate.
I like your artwork.
Thanks for sharing.
Greetings from Spain
These are lovely! Thanks so much for sharing with us at Encouraging Hearts and Home. Pinned.
Thank YOU, Joanne! I enjoy partying with you 🙂
Adorable !!!
Anna
Thanks so much, Anna!
These are such fun. I think I would leave them out all year. Thanks for sharing them this week at #HomeMattersParty
I am seriously considering it! I have been trying to tone my designs down, and be more farmhouse-y. The good thing is it makes it more neutral for year round decorating.
Oh, I love these, Alexandra! A perfect personalized handmade house warming, shower, birthday, mother’s day, Christmas gift idea.
Yes!! Perfect for so many occasions.
Even though I am no longer hosting the link party, I am still doing a weekly round-up. I am featuring this post tomorrow!
I appreciate that! I made sure to subscribe to your blog so I don’t miss out on your posts.