How to Double Crochet with Photo Tutorial – a very easy, beginner crochet tutorial for a versatile stitch pattern that can be used for many projects!
This post contains affiliate links for LoveCrafts. If you make a purchase by clicking on them, I make a small commission at no extra cost to you. Thanks for your support!
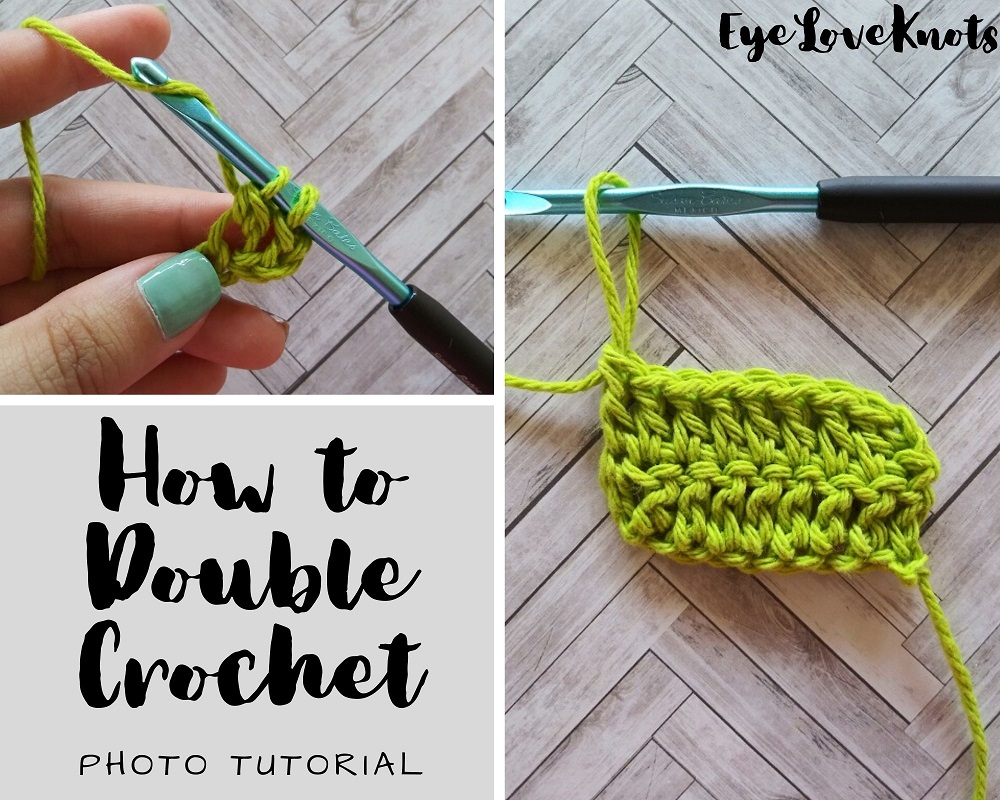
I remember learning to crochet. Many of the patterns I tried used single crochet – I guess because it is a few less steps? I also remember the frustration of crocheting slowly because I was new at it, and it taking forever to get anywhere (because single crochet is a short stitch). So, I think the double crochet is a nice place to start, and extremely versatile! Plus, if you can do a double crochet, you can easily do a single and half double crochet.
For this tutorial, I am using Lily Sugar n Cream in Hot Green, and an H8/5mm hook.
My nails are Color Street in Oslo and Steady.
I am not creating anything new here, but I did take the time to take the photos, edit them, and put this tutorial together, so please respect my work. Do not pin or share any of the tutorial images – just the main photo. Provide the link for others to find my page (help out me and my blog with the traffic). Do not copy and paste my work anywhere. Thank you!
What is a Double Crochet?
A double crochet (abbreviated as DC) is a simple crochet stitch that involves an initial yarn over, and a three step process of “pulling through”. It’s about equal in height to two single crochet stitches, which makes projects work up quicker, but it produces a fabric that is more breathable and flexible.
I also want to add that this double crochet tutorial is in US terms. What does that mean? There is also a double crochet in UK terms, which is a different stitch! Usually, the patterns specify which one it is – my blog is in all US terms.
What is the Right Side and Wrong Side?
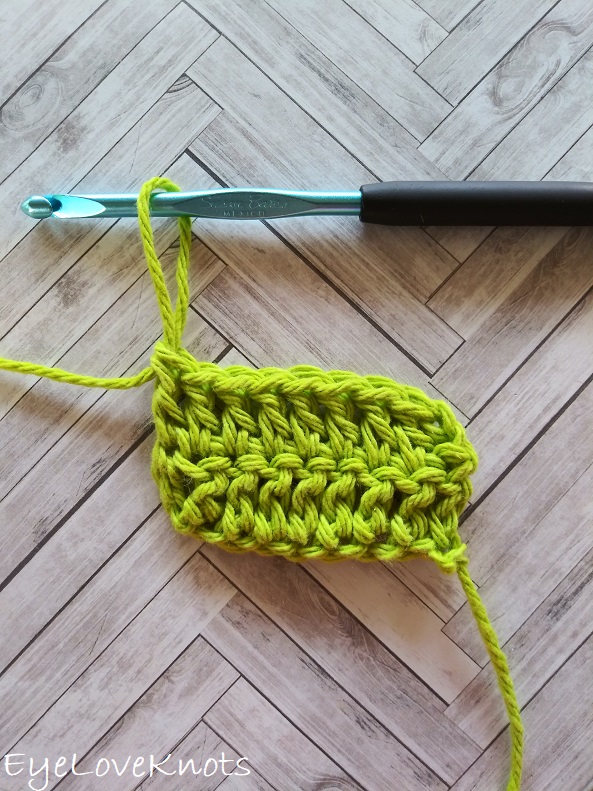
The right side is the front side of the fabric, which may look prettier than the wrong side, and the wrong side is the back of the fabric. I think they’re both pretty, but after you turn your work to begin on Row 3, you will see the difference in appearance from Row 1 and Row 2. Row 1 is considered the right side, and Row 2 is considered the wrong side. In the photo above, we have just finished working across Row 2, and about to turn and work Row 3. Do you notice the difference between the look of Row 1 and Row 2?
How To Double Crochet Row 1
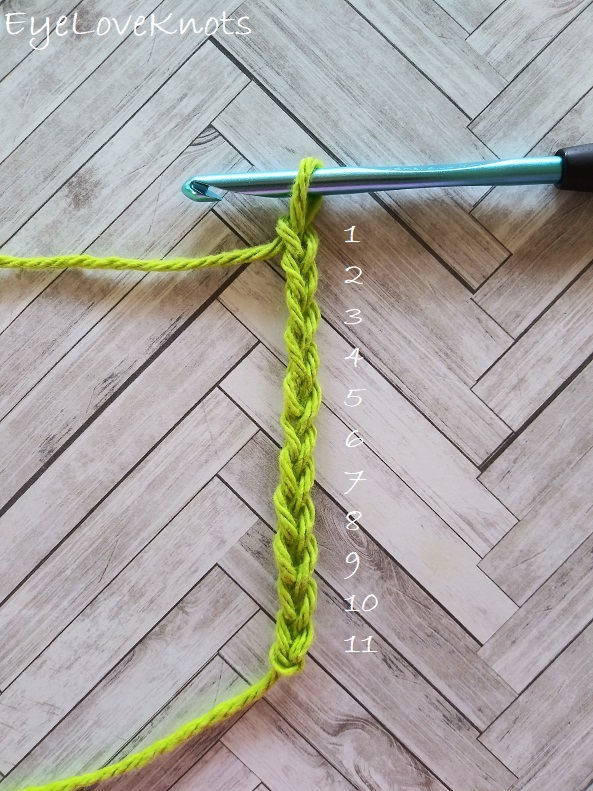
If you’ve haven’t yet, make a slip knot (photo tutorial), then work a foundation chain (photo tutorial) of 11.
If this was an actual pattern, you would see it written like this: “Chain 11” OR “Ch 11”
It most likely will not tell you to make the slip knot, but you always start with one.
Next, we will double crochet across the chain. Together, this will read in one of these ways:
- Chain 11, DC into the 4th chain from the hook, and each chain across.
- Ch 11, DC into the 4th ch from the hk, and ea ch across.
- Ch 11, DC into the 4th ch, and across.
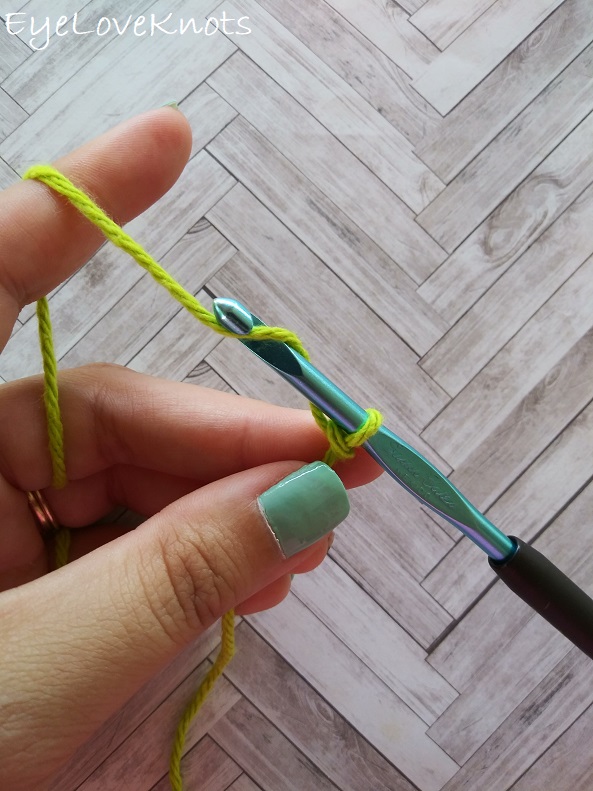
Yarn over (shown from the chain tutorial – yours will have many chains under your thumb)…
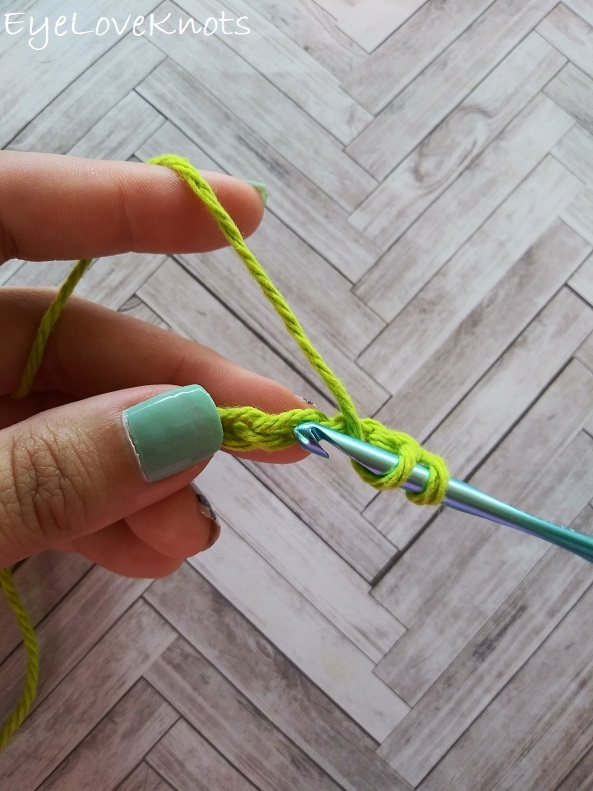
…Skip the first three chains on your hook, insert your hook into the fourth chain, yarn over again…
*In case you needed a refresher on How to Work into the Foundation Chain (Photo Tutorial).
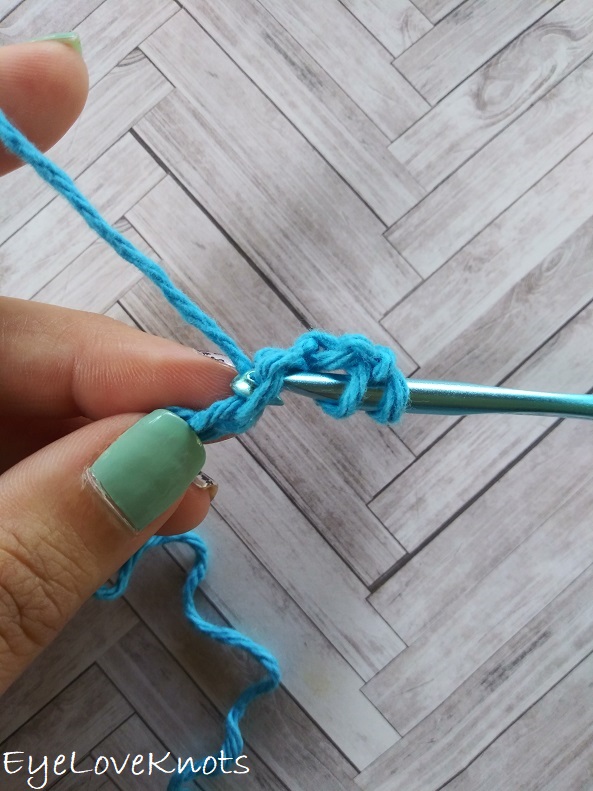
…and pull your hook towards you through the foundation chain…
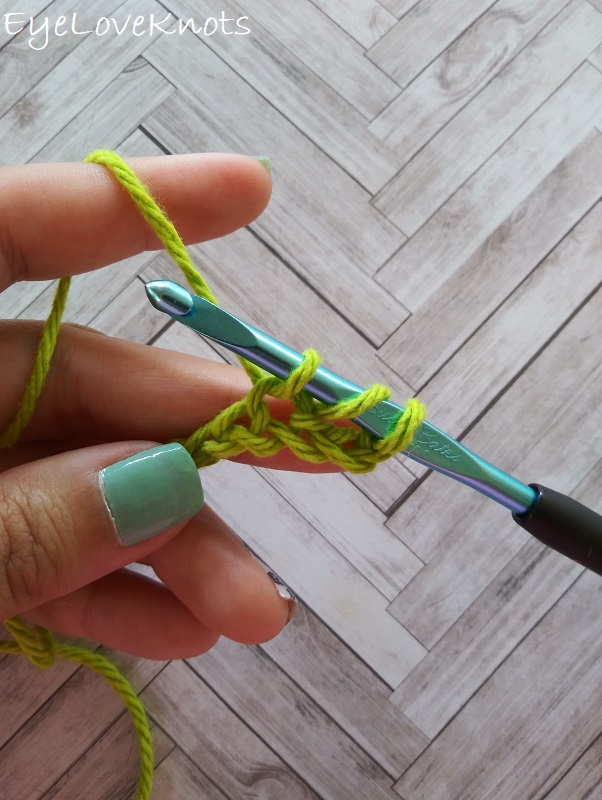
…You now have three loops on your hook…
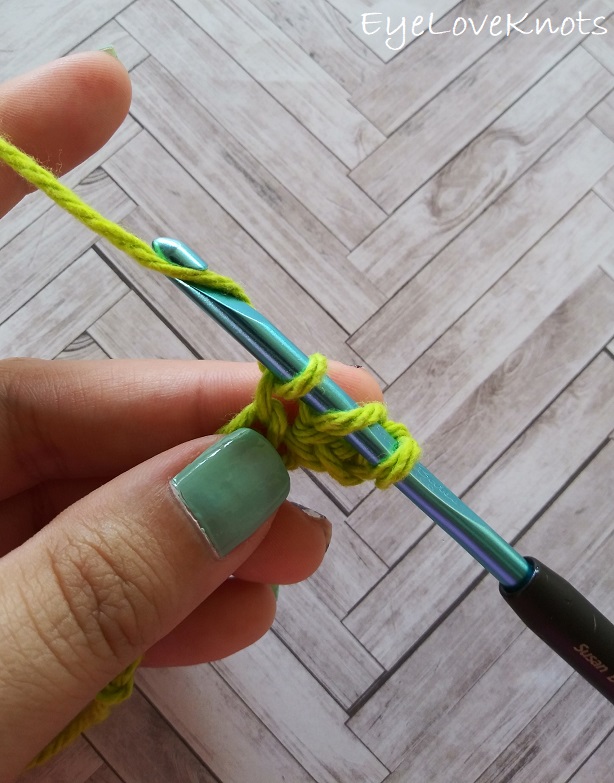
…Yarn over, and pull through the first two loops on your hook…
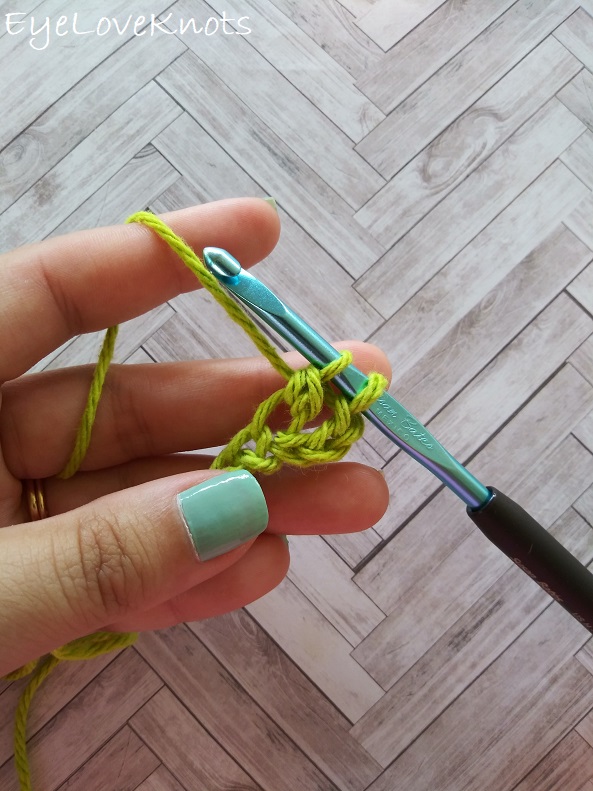
…Now you have 2 loops left on your hook…
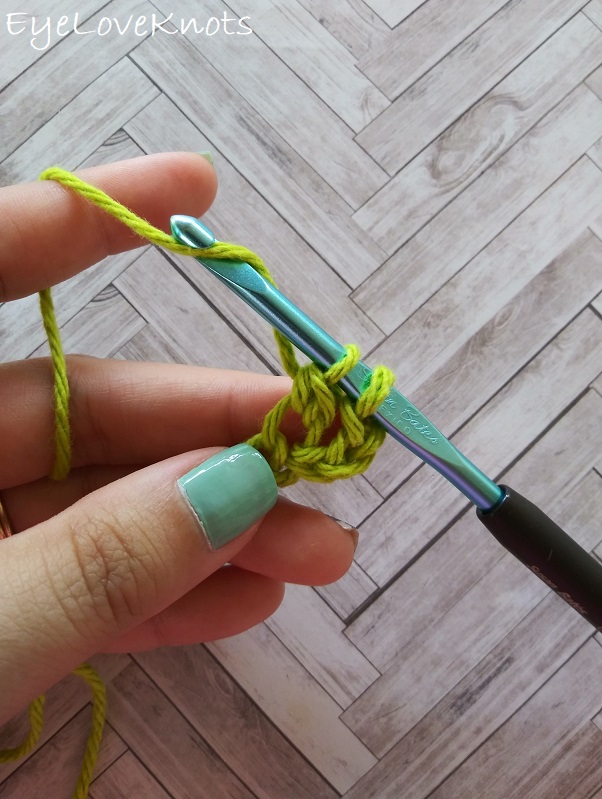
…Yarn over…
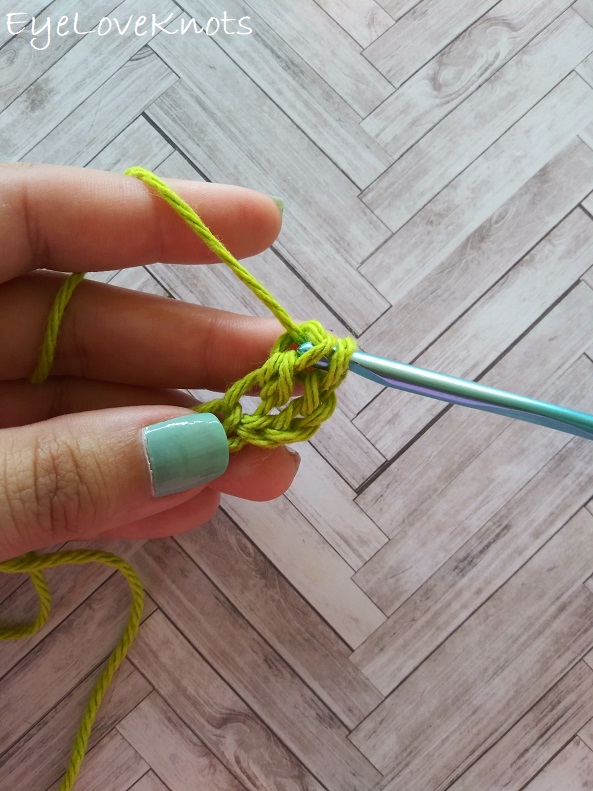
…And pull through the remaining two loops…
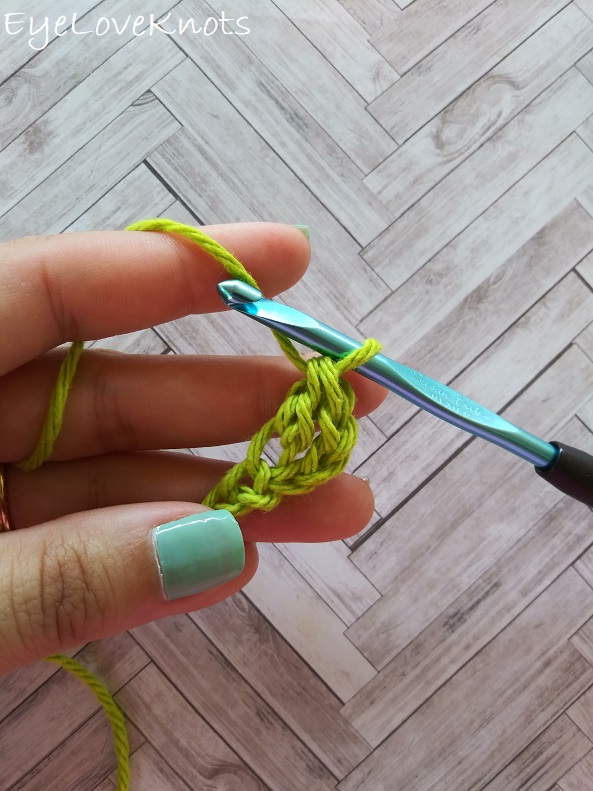
You have completed one double crochet!
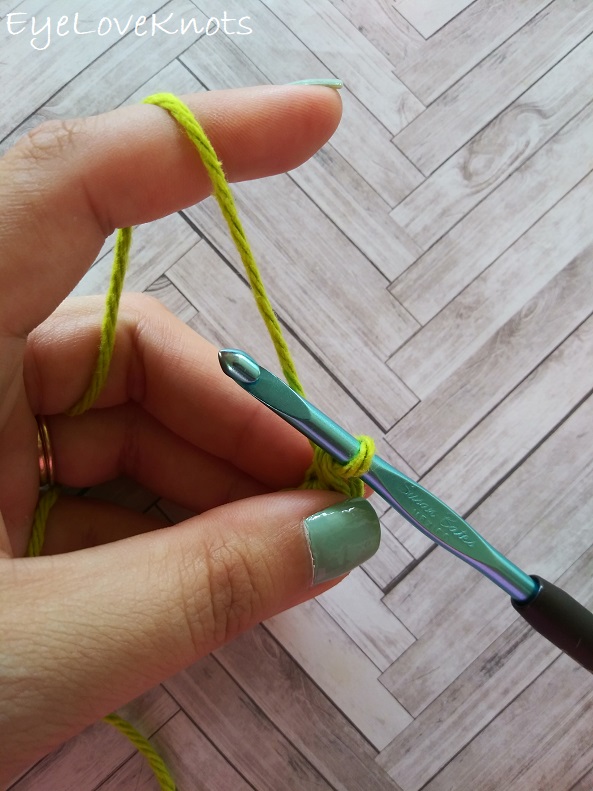
For the next double, yarn over…
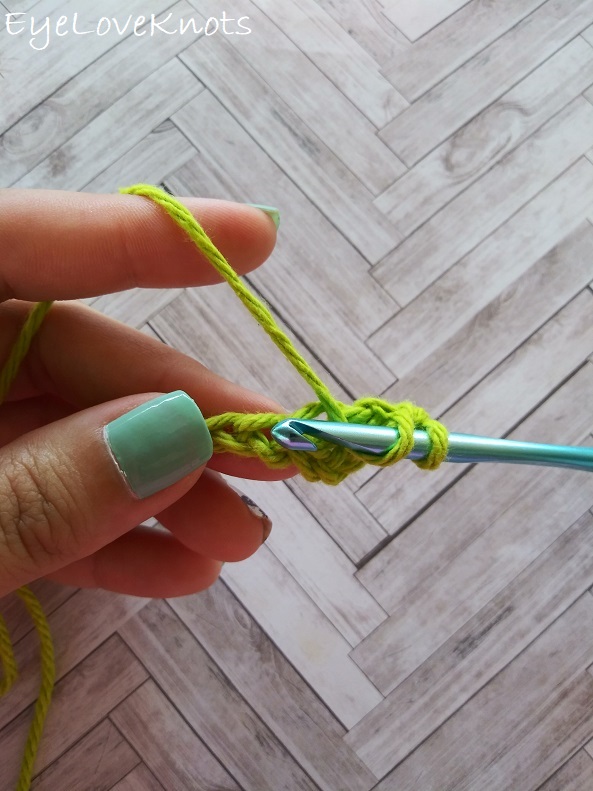
…Insert hook into the next chain. Yarn over, pull through (3 loops on hook), yarn over, pull through two loops on hook (2 loops left on hook), yarn over, pull through remaining two loops on hook.
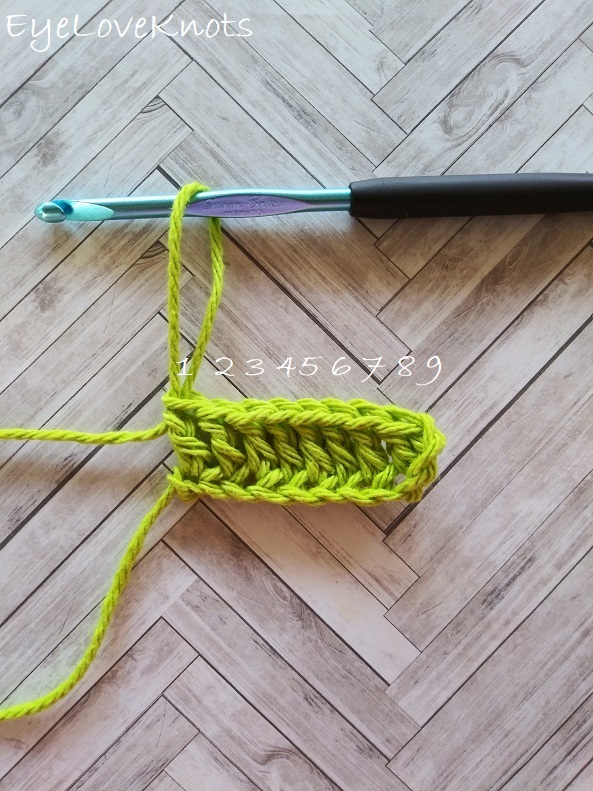
Continue working in this manner all the way to the end, and it will look like this. In total, we have 9 double crochets – that’s 8 that you worked + the skipped chains from the very beginning.
How to Double Crochet Row 2 & Remaining Rows
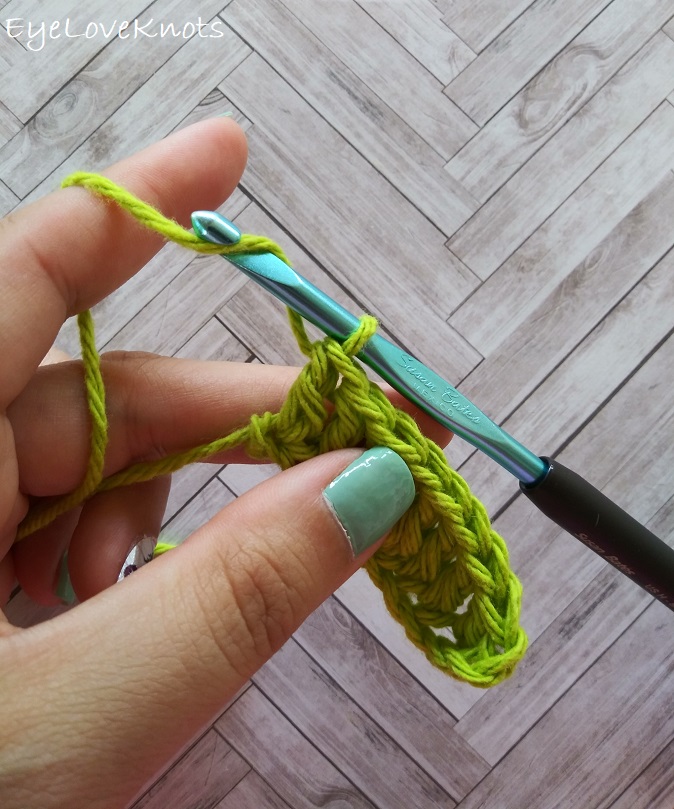
To begin each new row of double crochet, we will yarn over…
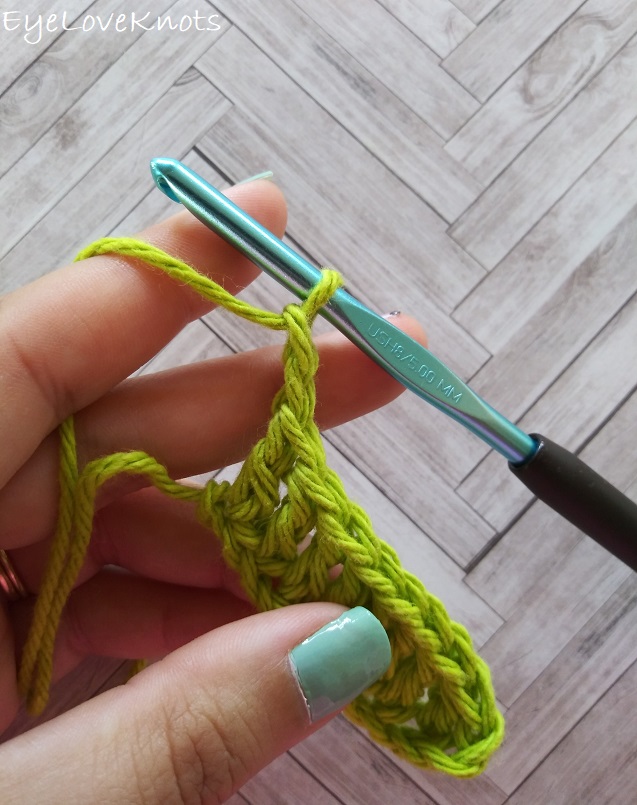
…And complete two chains – this is what is called a turning chain, and with double crochet, it is equal to the first double crochet of the row…
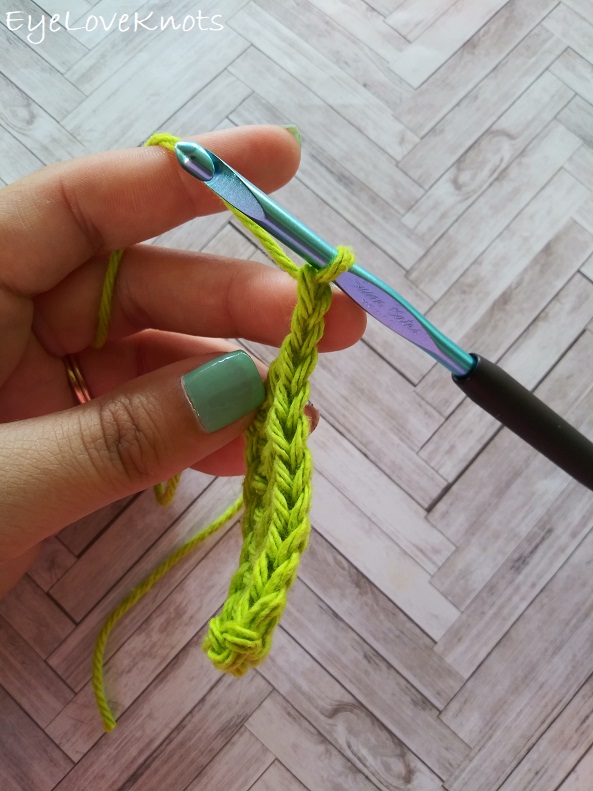
…Then begin turning the work towards you…
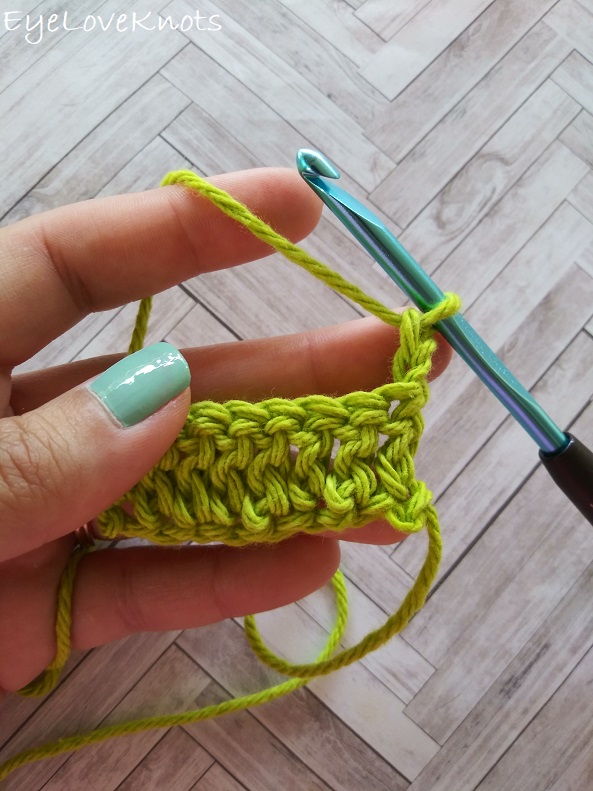
…And completely around so it’s mirrored.
So for rows 2 and above, it’s written as one of these (all mean the same):
- Chain 2, turn. DC into the 2nd stitch, and each stitch across.
- Ch 2, turn. DC in 2nd st, and ea st across.
- Ch 2, turn. DC across.
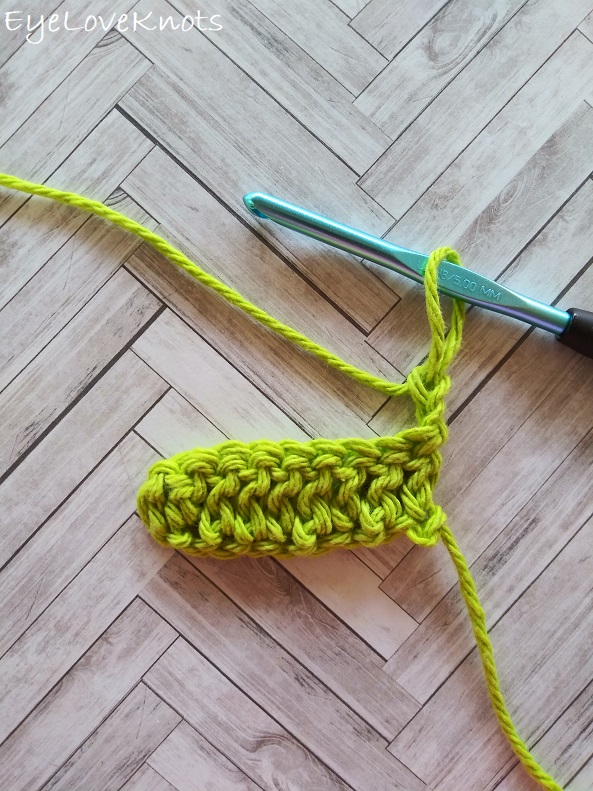
Now, we’re going to work across the row…
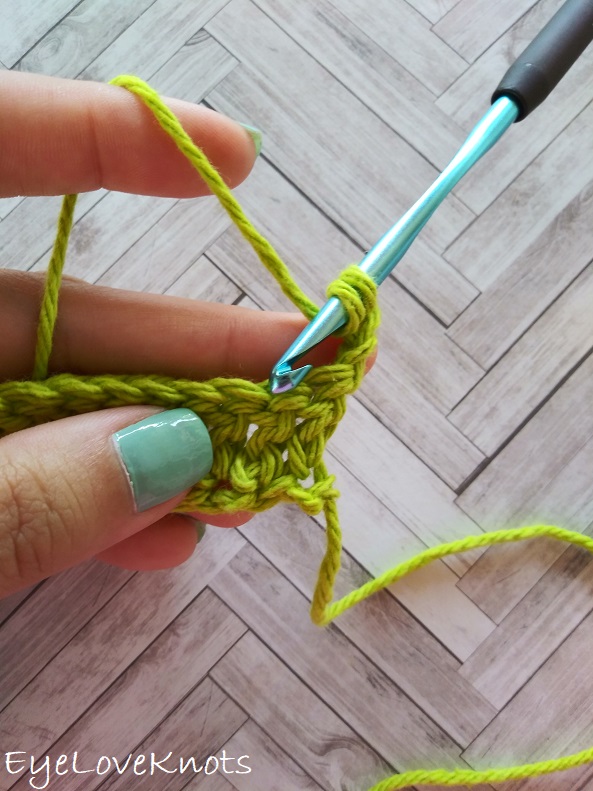
…Yarn over, insert hook into the second stitch…
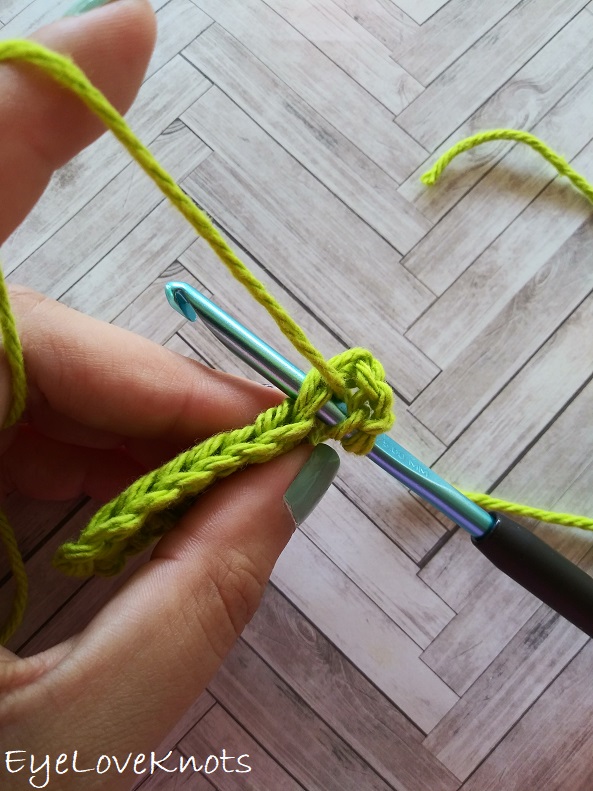
…under both loops of the stitch…
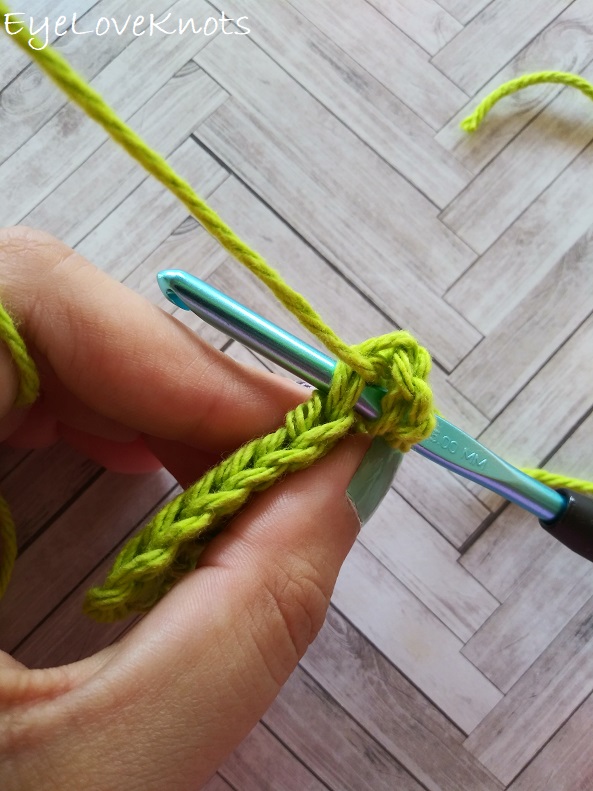
…Yarn over swinging the working yarn around to the left (as opposed to the right as we have been doing), then pull through…
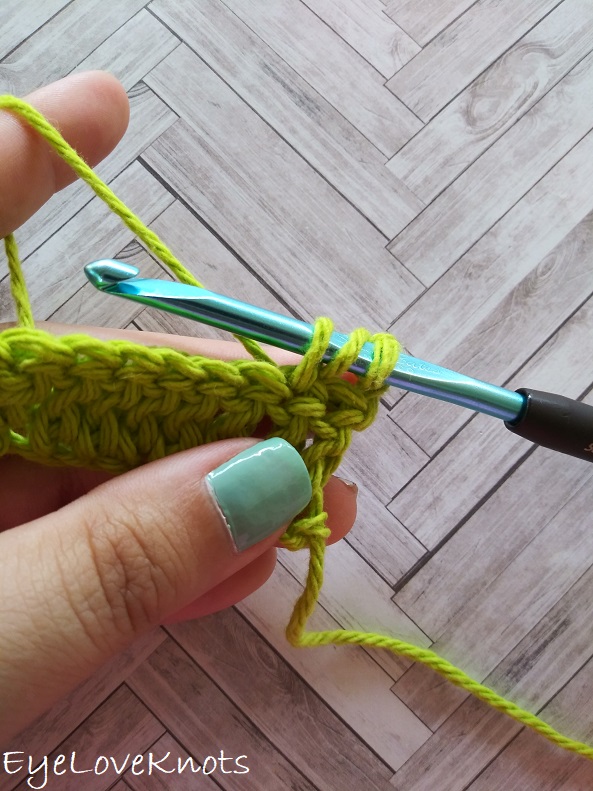
…You know have 3 loops on your hook…
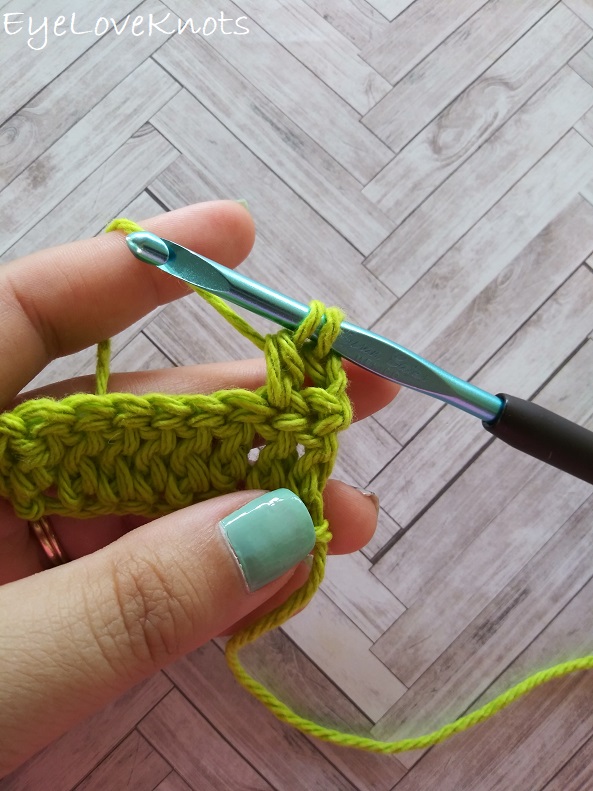
…Yarn over, and pull through two loops on hook…
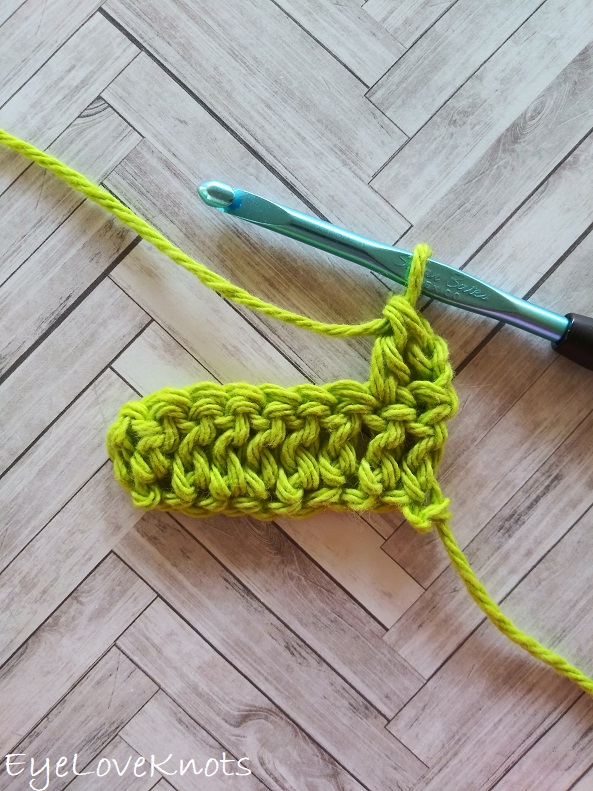
…Yarn over, and pull through remaining two loops. Double crochet complete!
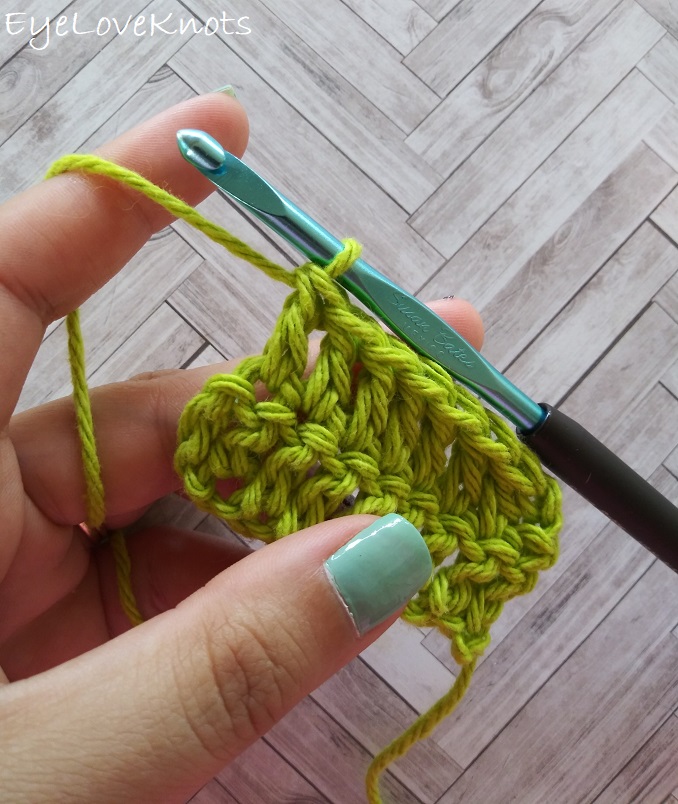
Continue working double crochets in the same manner across the row.
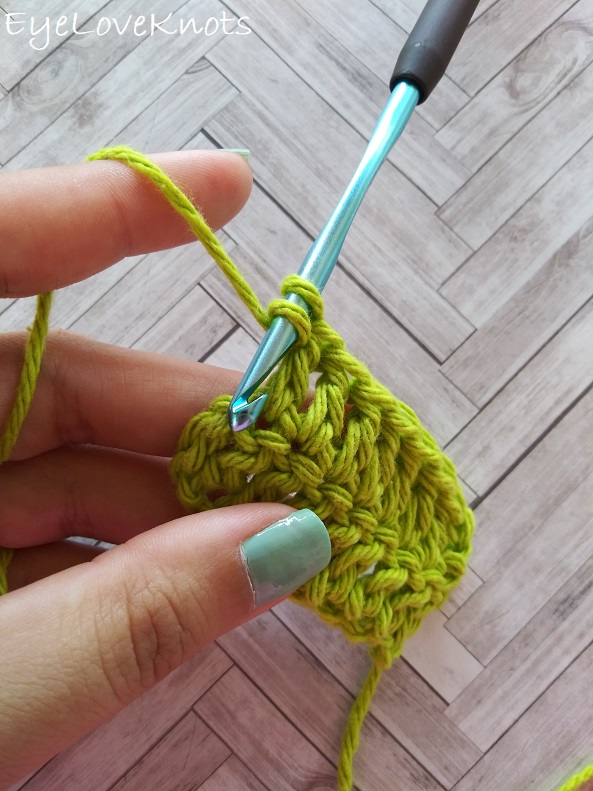
When you get to the end, we can’t forget this last one.
What we’re actually working into here is the skipped chains from the very beginning. In rows 3 and above, you’ll be working into what we called the “turning chain”, but it looks a lot like this.
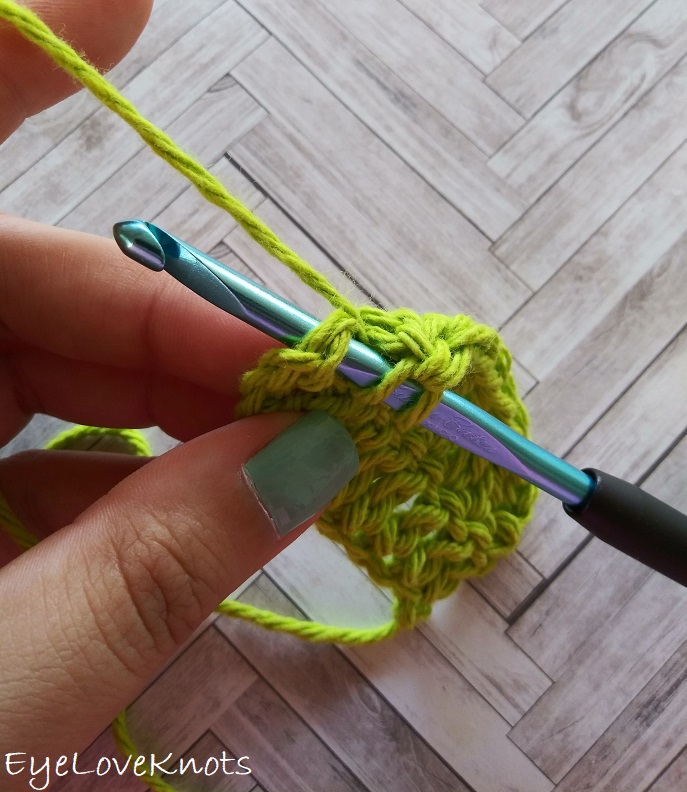
Yarn over as normal, insert into the stitch under both of the top loops (as shown), then complete the last double crochet the same as the rest.

And now you have two finished double crochet rows! In this sample, we have 9 double crochets (the same as what we counted at the end of Row 1). In future rows, it’s good practice to periodically check your stitch count to make sure you haven’t missed one.

Join the EyeLoveKnots Crafting Community on Facebook to share your creations, and see what others are up to!
Linked Up To…
Handmade Monday #178 – Sum of their Stories
The Really Crafty Link Party #220 – Keeping it Real
Craftastic Monday Link Party – Sew Can Do
Little Cottage Link Party #53 – Love my Little Cottage
Craft Schooling Sunday – Creative Jewish Mom
Happiness is Homemade Link Party #325 – Design Morsels
Ginx Woolly Linx Party June – Ginx Craft
Unlimited Monthly Link Party 13 – Grammy’s Grid
550th Inspire Me Tuesday – A Stroll Thru Life
Fabulous Party #322 – Lou Lou Girls
All About Home #42 – Common Ground
Linky Ladies Party #186 – The Purple Poncho
{Wow Me} Wednesday #457 – Ginger Snap Crafts
Your Whims Wednesday #462 – My Girlish Whims
To Grandma’s House We Go Link Party #195 – Chas’ Crazy Creations
Waste Not Wednesday 208 – Faeires and Fauna
Tuesday Turn About #51 – My Wee Abode
The Wednesday Link Party 350 – The Stitchin Mommy
Hookin’ on Hump Day #216 – Moogly Blog
Thursday Favorite Things #442 – An Artful Mom
Creatively Crafty Link Party #226 – Life Beyond the Kitchen
Traffic Jam Weekend Linky Party #236 – My Bijou Life
Pin Party #371 – The Pin Junkie
Creative Compulsions Linky Party #62 – My Bijou Life
June 2020 Best of the Month – Calypso in the Country
Home Matters Linky Party #285 – Modern on Monticello
Handmade & Otherwise Weekly Link Up Week 52 – Petals, Pies and Otherwise
Create, Bake, Grow & Gather Party #422 – Shabby Art Boutique
Snickerdoodle Create, Bake, Make Link Party 338 – EyeLoveKnots
Link Your Stuff – Annemarie’s Haakblog
If I have to choose a favourite stitch, this is it! Thank you for sharing!
Mine too! Thank you, Maya!
This is such a thorough tutorial! Thanks for sharing! You are so talented!!
Carrie
curlycraftymom.com
You are so kind – thank YOU!
Great tutorial!
Thank you for sharing with Creative Compulsions!
Michelle
https://mybijoulifeonline.com
Thanks so much, Michelle!
I am so impressed with your skills. My late mother in law used to crochet all the time and I wish I had her teach me…I am so clueless that I would confuse crocheting with knitting! Ha! That probably makes you cringe, right? Anyway, thanks for linking up to Best of the Month in June. Even though we are on summer break, I posted the features on my blog today. I will also be pinning and sharing on IG stories this weekend. Thanks again for joining us and have a happy and healthy weekend! (possible dupe comment – the first one didn’t seem to take).
Shelley
Hehe. I suppose you’ve seen some of the memes about “it’s not knit, it’s crochet!”? Funny. I do have photo tutorials for learning how to crochet under my “crochet” tab if you’re interested in learning.
I understand the need for a break, especially since Summers are kind of slow for everyone, and off routine. I enjoy seeing your decor posts though, and will definitely be stopping by to check those out. Thank you so much for stopping by to drop me a line!
When crocheting most stitches, if not all, the tail would always be on the left (for right-handed crocheter) for the front side of the fabric. I guess it wouldn’t apply for foundation stitches, but it’s true of a chain beginning row. Great tutorial!