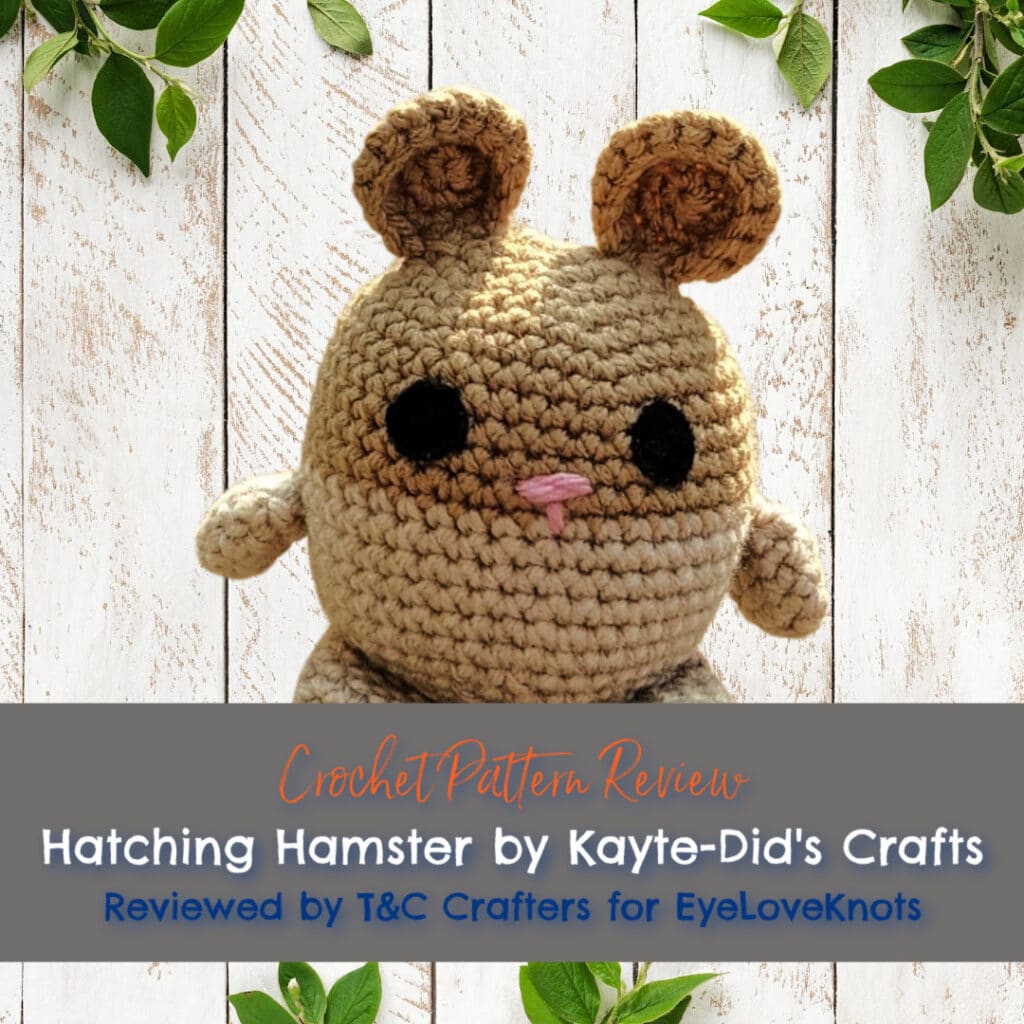
This is a crochet pattern review of the Hatching Hamster designed by Kayte Marchese from Kayte-Did’s Crafts. Review done by Candace of T&C Crafters for EyeLoveKnots.
This post contains affiliate links for Etsy and Amazon. If you make a purchase by clicking on them, I make a small commission at no extra cost to you. Thanks for your support!
It’s me, Candace with T&C Crafters.
Visit with me on Facebook or Instagram for all kinds of awesome crochet makes and inspiration.
I can remember my sister telling me she was going to have a baby like it was yesterday. But just like that, my niece is turning seven next week! Man, how time flies by! She has always been one of the biggest fans of my crocheting, so I always try to make her something special for her birthday and Christmas each year.
For this year’s present, I knew what I wanted to make her the day that I saw Kayte-Did’s release her Hatching Hamster pattern. My niece is OBSESSED with opening packages and loves all the toys that involve opening up little eggs to see what surprises are inside. She also got a hamster earlier this year and has been begging for hamster stuffed toys every time she sees them in the store. Choosing this pattern for her gift was really a no-brainer!
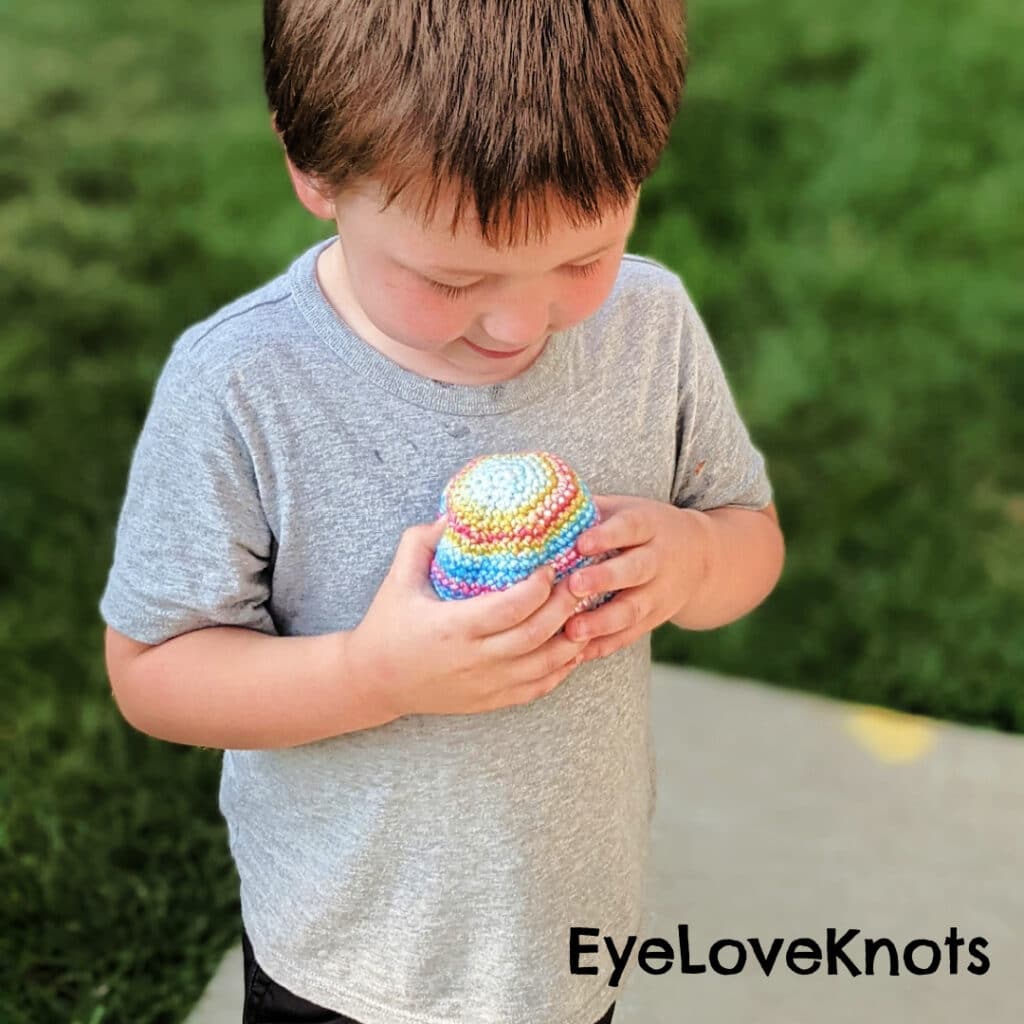
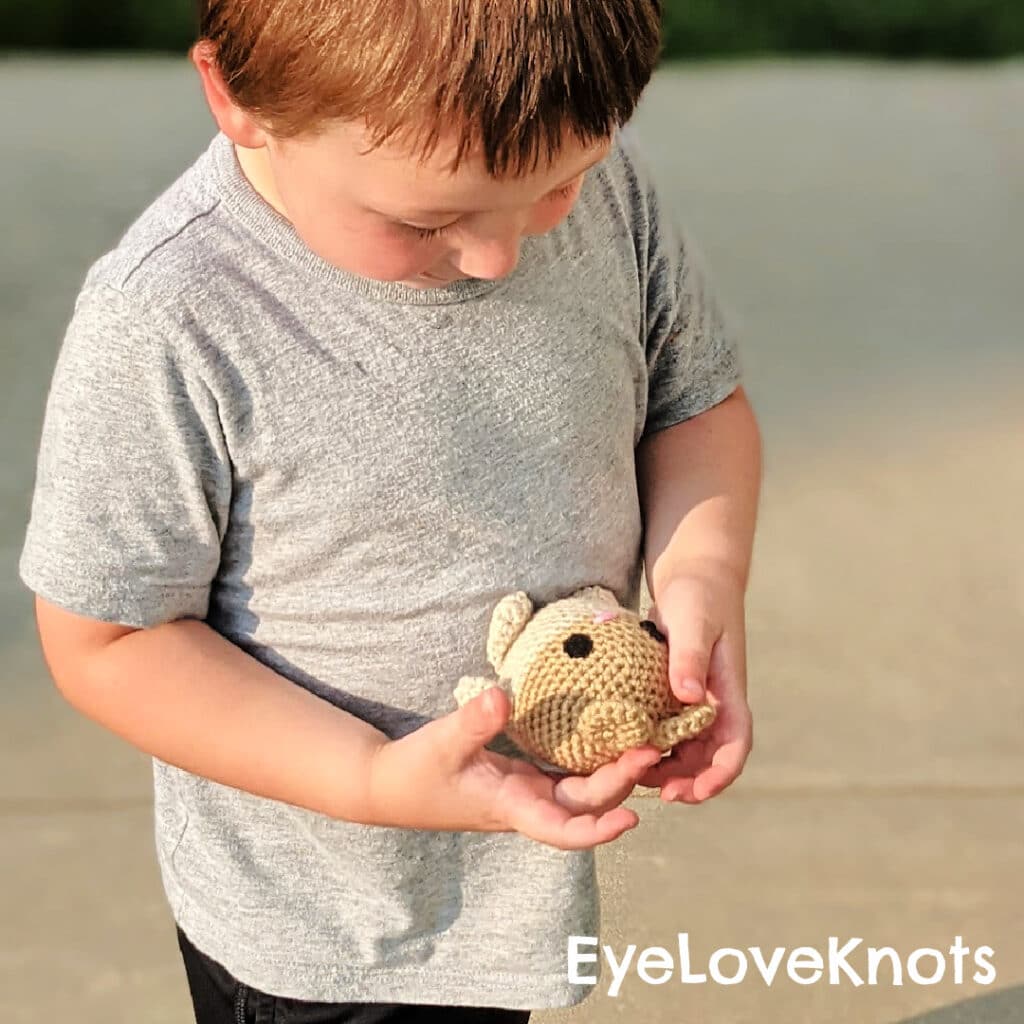
My little guy helped me test out my finished hamster, and he agrees that they are an excellent choice for little kids that love surprises!
As a former hamster-owner, I think hamsters are adorable, and this pattern is no different. The colors can easily be customized for either a natural or super fun look. If you follow the pattern, you get a super cute little hamster, but you can easily switch out the worsted weight yarn for bulky yarn and get a big hamster plushie! These make cute gifts and great stock for markets!
Materials I Used:
- I Love This Yarn in Light Taupe, Pink, and Flapper Girl and Yarn ID in Oats
- G6/4.0 mm and H8/5.0 mm Crochet Hooks (I used Clover Amour)
- Black Felt
- Yarn Needle
- Sewing Needle and Black Thread
- Polyester Fiber Fill Stuffing
- Small Button
- Stitch Marker or Pin
- Hatching Hamster, Paid Crochet Pattern by Kayte-Did’s Crafts via Etsy
Material Notes:
When choosing yarn, you will need two colors for the actual hamster, and one color for the egg. I chose to go with natural colors to match my niece’s pet hamster, but Kayte-Did’s shows some samples of ones made with bright colors that are super adorable!
I get really nervous about using safety eyes in my crochet pieces, so I opted to go with felt eyes that I sewed on with a needle and black thread. When giving toys to children, I feel safer knowing the eyes are sewn on. The safety eyes that are suggested in the pattern are 15mm or 12mm. Kayte-Did’s uses Kawaii safety eyes with white dots that are really cute, especially on the bright-colored hamsters.
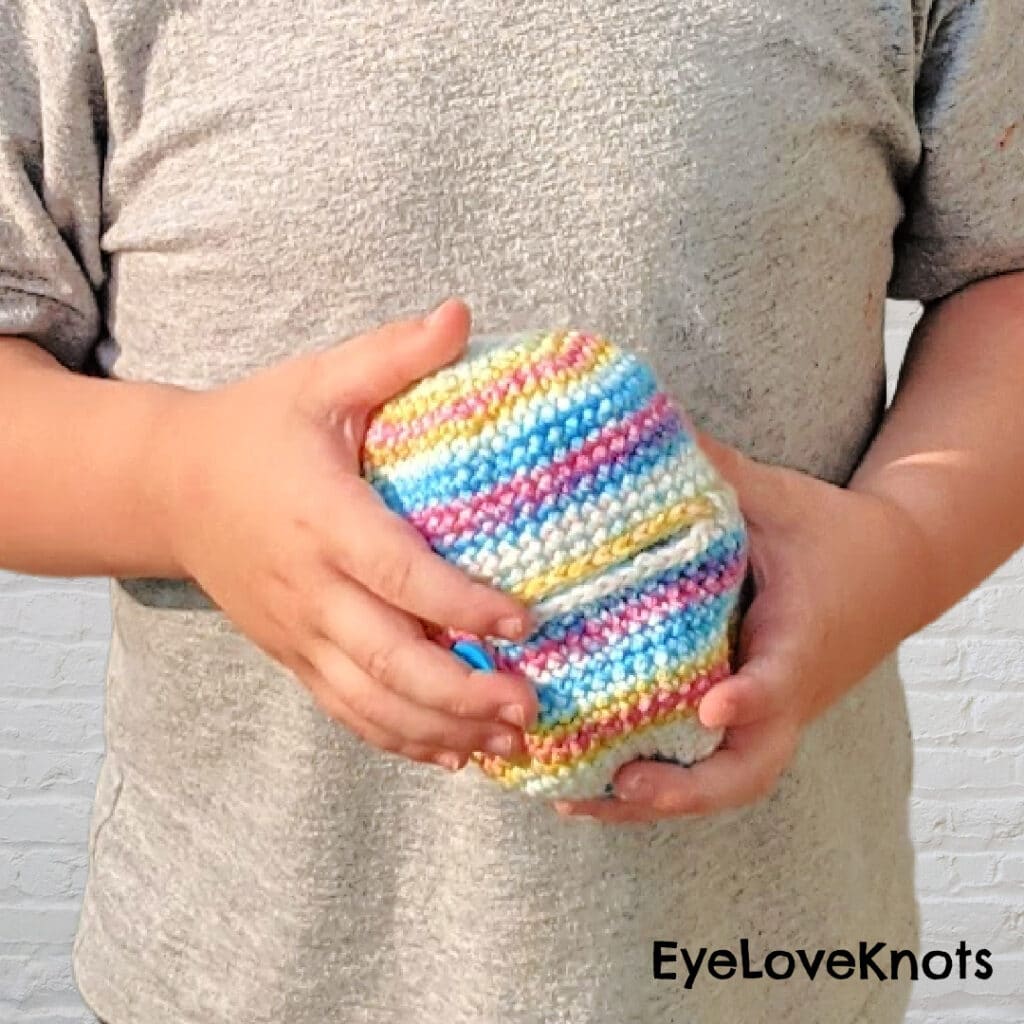
When making the egg, I used a printed yarn which made my finished piece have a striped look. If you are not a fan of the stripes, I would recommend going with a solid color or a specked yarn instead. I used a small button to hold the egg together, but you could also use a bead if you would prefer.
Time Spent:
The hamster itself took me about two and a half hours from start to finish, including sewing it together. The egg took me about one additional hour.
If you are planning to make these for markets, you can definitely save time by making the individual pieces in bulk, and sewing all the pieces together after you are done. The egg is also optional, so if you aren’t trying to appeal to a fan of hatching animals like I was, you can leave off the egg to save some time.
Measurements:
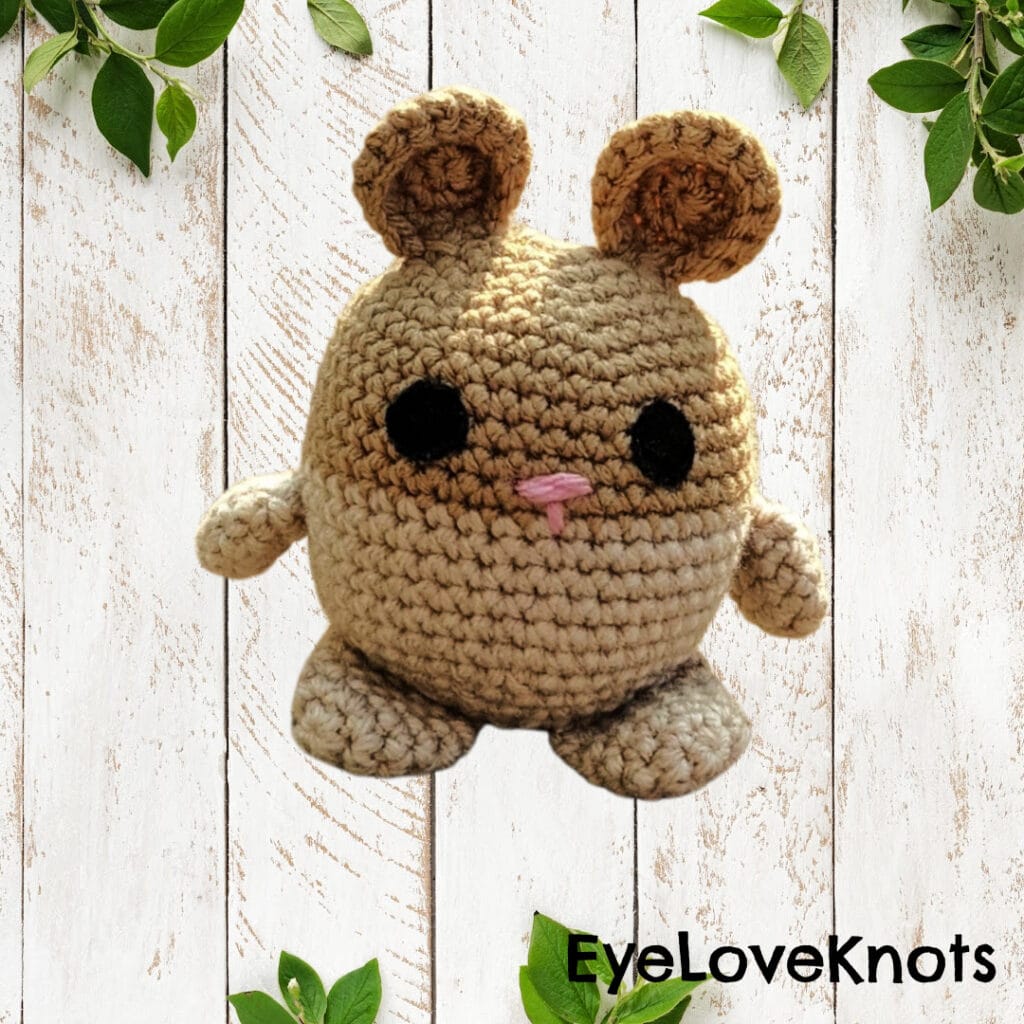
This hamster is cute and little. The pattern says the finished size should be 8 inches for the hamster and 10 inches for the egg. My hamster ended up being 4.5 inches tall and 4 inches wide, and the egg was 5.5 inches tall and 4.5 inches in diameter. I am a tense crocheter, and the author mentions in the pattern that tension will impact the finished size.
Gauge:
While gauge is not important for this project, it is important that your hook is small enough that you are not leaving large holes between stitches. Toys like this should be crocheted tightly so that the stuffing does not come out, so if you see big gaps between your stitches, it would be a good idea to reduce your hook size and/or increase your tension.
Pattern Notes:
If you are looking for a relatively quick and easy amigurumi to try out, this pattern is a great one to try! The directions are short and straight to the point. If you understand how to make a magic circle, single crochet, increase, decrease, and a few other crocheting methods, you can make this adorable hamster.
The author provided clear pictures to show what each finished piece should look like when creating the different parts of this hamster. While the body is the most time-consuming part, it still works up quickly with repeating stitch patterns that make it easy to follow. There is only one color change when making the body, so if you are concerned about changing colors, there is no need to worry!
I have heard a lot of people complain that they don’t like amigurumi because they don’t like having to attempt to correctly sew the pieces together. Kayte-Did’s provides super clear directions about where to place each part, how many stitches to make when connecting the pieces, and how to make sure it is lined up. There are only six small pieces to sew on to make this hamster – the two ears, the two arms, and the two feet. When I was making my hamster, I used a pin to keep track of where I needed to place each piece so everything stayed in line, and that really helped.
The egg part of this pattern is optional, but it makes a cute gift and carrying case for little kids! I went up a hook size when making the egg for my hamster because I didn’t want to squish its cute little ears, but you can make it more snug if you would like. The two halves of the egg are very similar to make. The egg is sewn together at the end. I recommend putting a stitch marker through the loops from both halves so you know how much to sew. While I was sewing mine up, I may have stitched a little too far and had to pull out some to keep it symmetric… oops!
I was really happy with how this hamster turned out, and I think my niece will absolutely love it! I can’t wait to see her reaction when she opens it up! As I prepare for my upcoming craft fairs, I think I’m definitely going to add these hamsters to my inventory. By making a bunch at once, I will be able to batch out pieces, which I think will make them super quick, and I’m sure they will sell great to all the hamster-lovers out there!
I definitely recommend this pattern! I hope you try it out, and I would love to see your finished pictures! Let us know in the comments if you plan to make one!
Don’t forget to visit with me on Instagram for all kinds of awesome crochet makes and inspiration.
Join one of our awesome Facebook groups to share your creations, and see what others are up to!
– EyeLoveKnots Crochet & DIY Community
– DIY Home On Rockwood Lane
– Alexandra Lane Lifestyle
Linked Up To…
Ginx Woolly Linx Party August – Ginx Craft
Saturday Sparks Link Party 436 – Pieced Pastimes
Craftastic Monday Link Party – Sew Can Do
Linky Ladies Party #215 – The Purple Poncho
{Wow Me} Wednesday #518 – Ginger Snap Crafts
The Wednesday Link Party 412 – Oombawka Design Crochet
Creative Crafts Linky Party #55 – Creatively Beth
The Loop Scoop #20 – Moogly Blog
Craft Schooling Sunday – Creative Jewish Mom
Happiness is Homemade Link Party #388 – Decor Craft Design
You’re the Star Blog Hop – Decor Craft Design
Unlimited Link Party 32 – Grammy’s Grid
Hearth and Soul Link Party – April, the 21st Century Housewife
Handmade Monday #241 – Sum of their Stories
602nd Inspire Me Tuesday – A Stroll Thru Life
Fabulous Party 385 – Lou Lou Girls
Party in Your PJs #372 – The Apple Street Cottage
Wonderful Wednesday – Oh My Heartsie Girl
Traffic Jam Weekend Link Party #290 – My Bijou Life
Friday Favorites – Busy Being Jennifer
Create, Bake, Grow & Gather Party #482 – Shabby Art Boutique
Funtastic Friday Link Party #346 – Simply Beautiful by Angela
Morning Cup of Joe – The Cottage Market
This hamster is the cutest!
xoxo
Lovely
http://www.mynameislovely.com
Thank you so much!!!
Oh that is such a cute hamster! the bright egg hiding the surprise is a lovely idea too! Such a sweet present for your niece 🙂
Hope you are having a good weekend 🙂
Thank you so much! It was so fun to make and she really loved it!