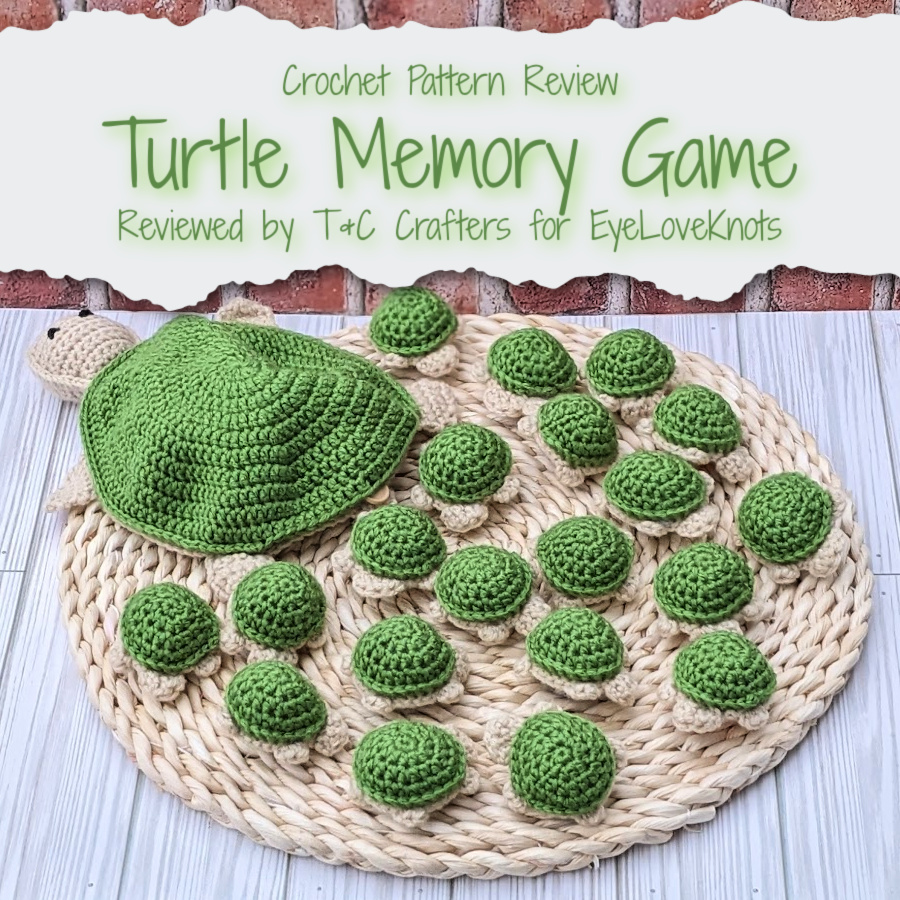
This is a crochet pattern review of the Turtle Memory Game designed by Stitched by Shari. Review done by Candace of T&C Crafters for EyeLoveKnots.
This post contains affiliate links for Amazon, WeCrochet, and Etsy. If you make a purchase by clicking on them, I make a small commission at no extra cost to you. Thanks for your support!
Find the crochet pattern review below, or click here to purchase the pattern from Stitched by Shari on Etsy!
In a hurry? Pin this for later when you have more time.
It’s me, Candace with T&C Crafters.
Visit with me on Facebook and Instagram for all kinds of awesome crochet makes and inspiration.
Back in March when the Turtle Memory Game was first released on social media, I feel like almost everyone I knew tagged me to show me the pattern. Going viral really seems like an understatement with this crochet pattern! I seriously felt like everywhere I looked online, I saw people sharing them, requesting them, or talking about making them. The crochet Facebook groups I’m in all blew up with comments about how much to charge and how many people had reached out asking about getting this pattern made.
It was no surprise to me when my mom told me her co-worker wanted me to make her “one of those turtle games” she saw online. I saved the pattern and planned to wait until I had some time to dive into this cute pattern. Thankfully, I found some time recently to work this set of mama and baby turtles up, and I’m so excited to share about my experience with you!
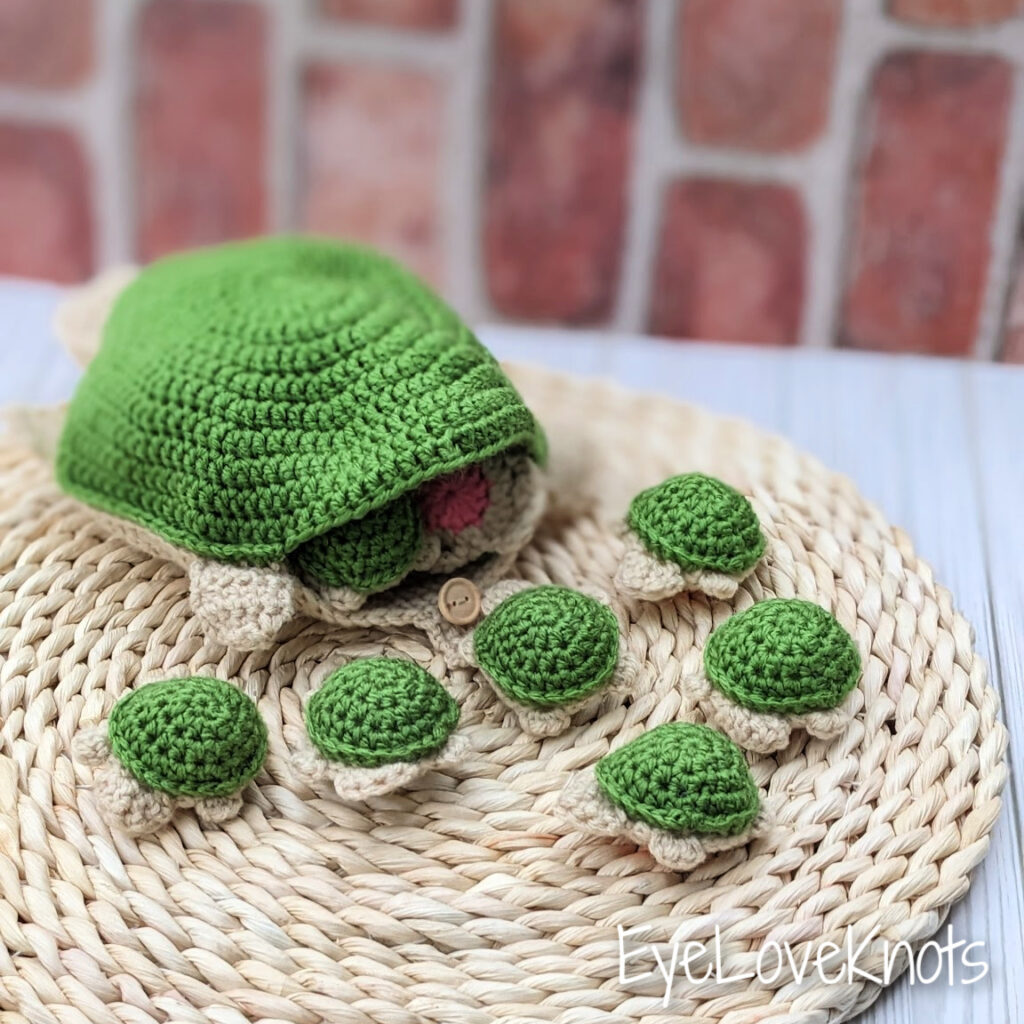
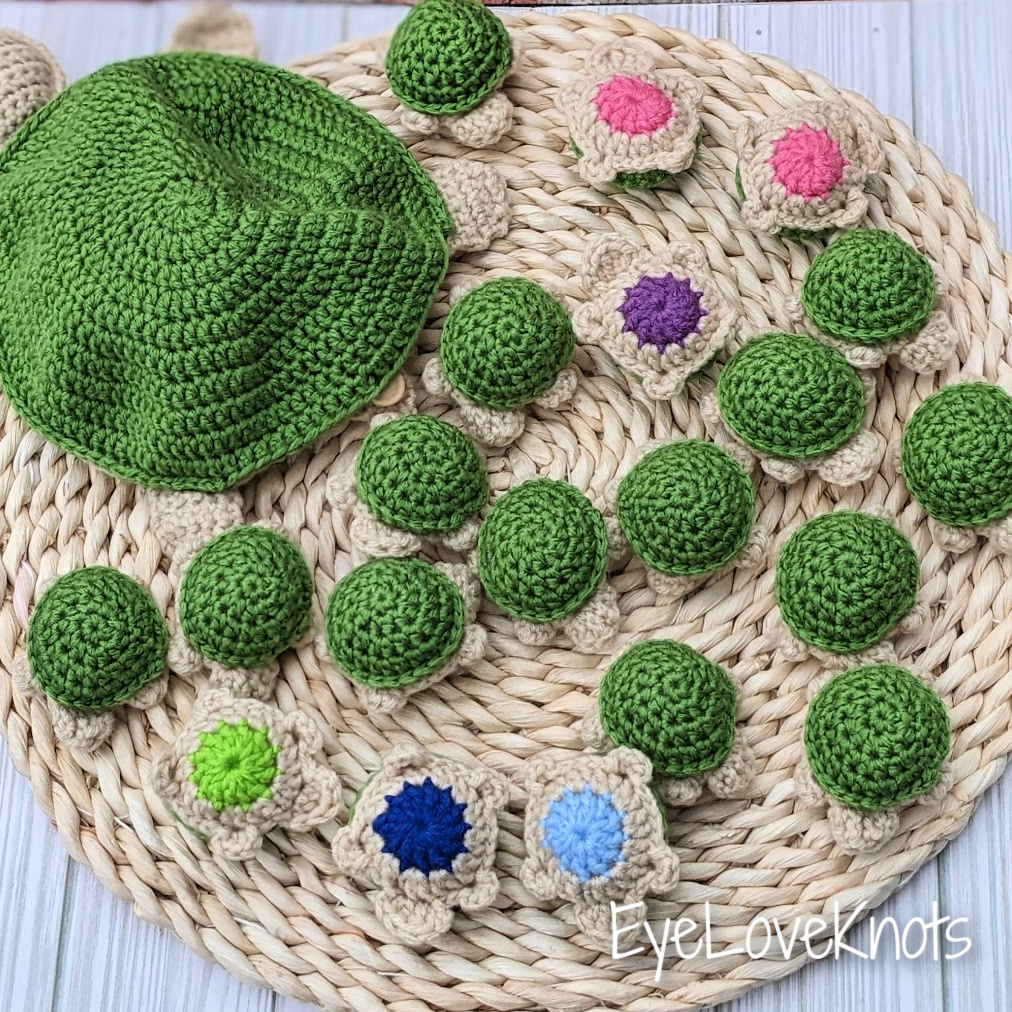
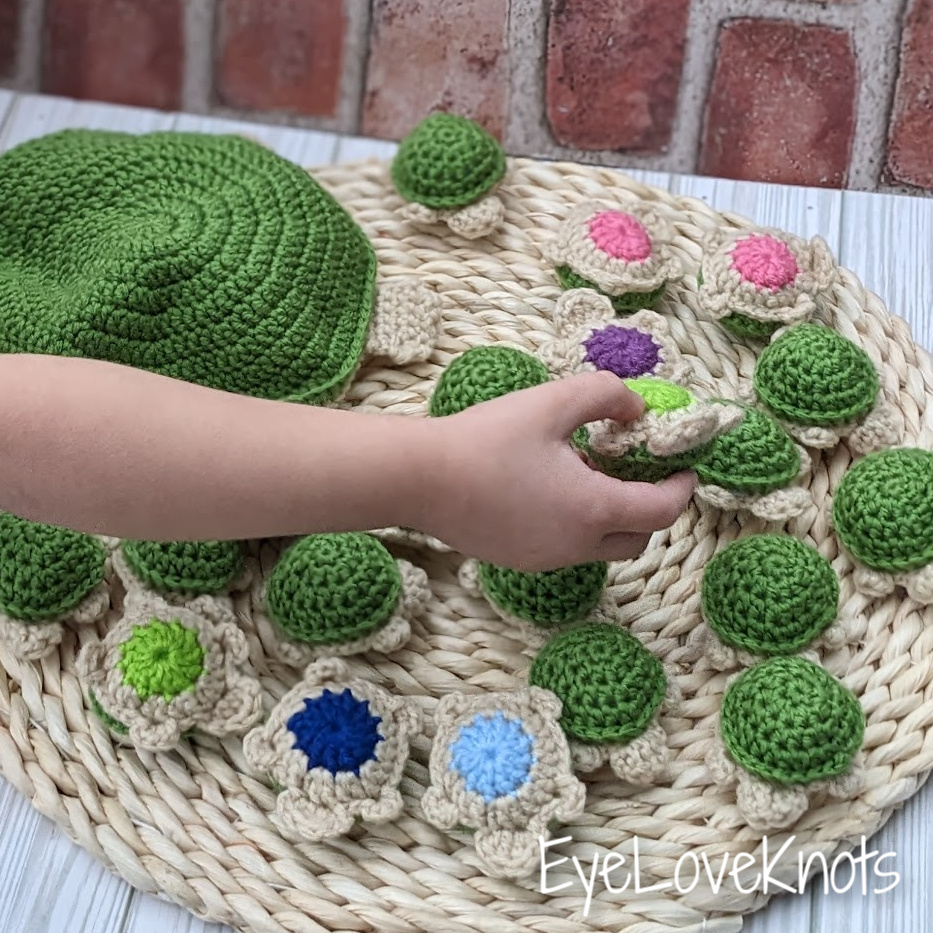
The Turtle Memory Game crochet pattern by Stitched by Shari includes directions to make a bag-like mama turtle that holds 12-20 baby turtles. Each of the babies has a colored circle on its belly, and the babies are made in pairs so kids of all ages can practice matching with them. This pattern is such an ingenious idea, that it is no wonder it has blown up in popularity!
What Do You Need to Crochet a Turtle Memory Game?
- Big Twist Value Yarn in Cream (Body) and Light Green (Shell)
- Small Amounts of Worsted Weight Yarn in 10 Different Bright Colors and Black
- G6/4 mm Crochet Hook – I used my WeCrochet Dots Hook
- E4/3.5 mm Crochet Hook – I also really like Clover Amour Hooks!
- Yarn Needle
- Small Button
- Sewing Needle and Tan Thread
- Polyester Fiber Fill
- Turtle Memory Game, Paid Crochet Pattern by Stitched by Shari via Etsy
Material Notes:
The Turtle Memory Game crochet pattern is a great scrap-busting pattern because it uses up a lot of different colors of yarn when creating the bellies of the babies. You will need to have plenty of the two main colors for the turtles – tan and green. For the belly colors, you only need a very small amount of each color. If you are using scraps, be mindful that your yarns are close enough in weight and are made with the same fiber so that there aren’t discrepancies in your gauge or the feel of the finished babies.
This pattern uses worsted weight yarn, but I think it would work up nicely in different fibers and weights as well. Chenille yarn or a thicker blanket-style yarn would make a larger, plushy set that I think kiddos would love. If you want to make your set really durable, it may also be a good idea to work up your set in 100% cotton.
You will only need a small amount of stuffing for the mama turtle and each baby. If you are planning on making a lot of babies, you will want to make sure you have an adequate amount of stuffing. For a small set, you can get away with not having a lot of stuffing on hand.
The pattern calls for safety eyes for the mama’s head. I chose to just sew eyes on with black worsted weight yarn. You could also use felt eyes or use puffy paint to add eyes. I also used some extra black yarn to add a mouth to the mama turtle’s head as well.
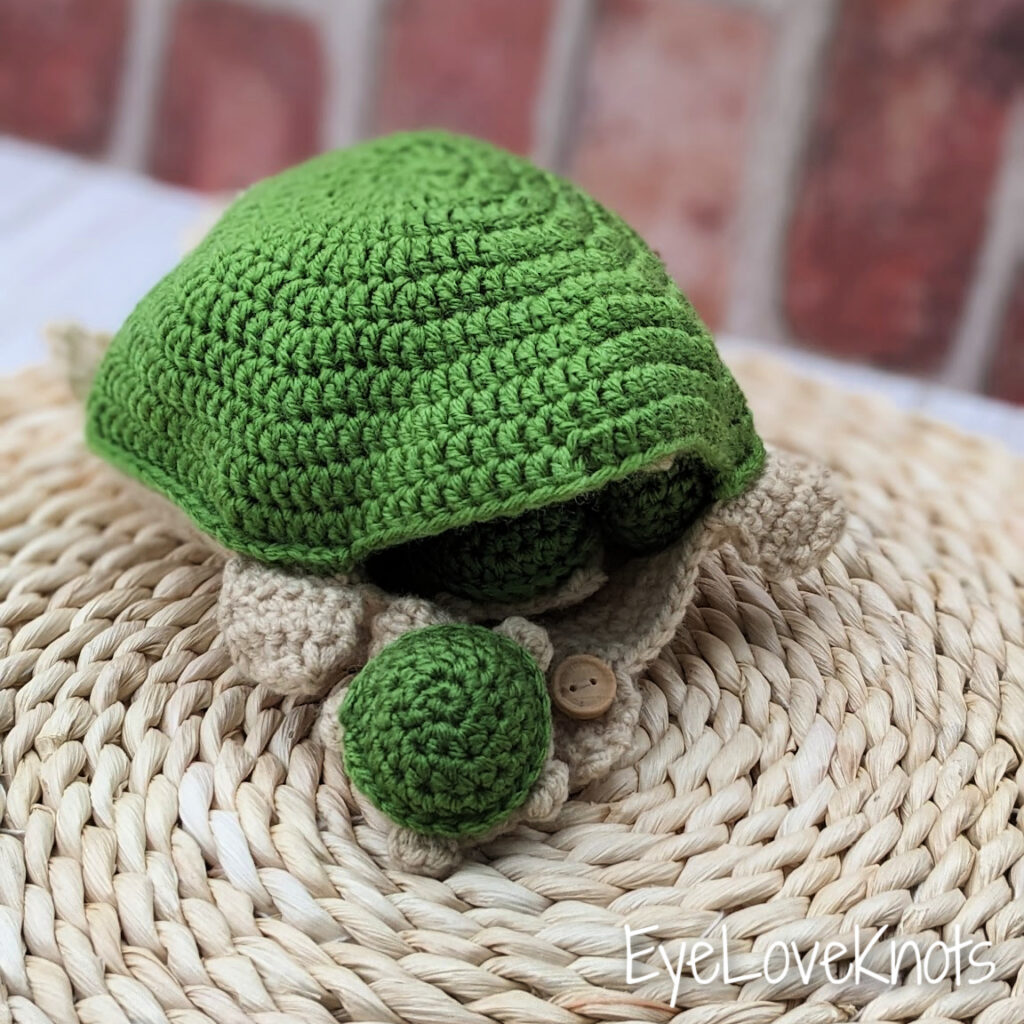
When making the mama turtle, you will also need to sew on a small button to hold the shell opening closed when the mama is stuffed with the babies. I used a small wooden button and a sewing needle and thread. You need to make sure that for whatever button you choose to use, you have a needle and thread or yarn that is thin enough to go through the button holes. You could also use a wire needle threader to pull yarn through the holes of the button instead of sewing it.
How Long Does it Take to Crochet a Turtle Memory Game?
The sheer number of pieces in this turtle memory game crochet pattern makes it a bit time consuming. The mama turtle only took me about 2 hours to make from start to finish. Each baby turtle took me about 20 minutes to make. However, since the whole project includes twenty babies plus the mama, my time spent added up to almost nine hours of work.
You can reduce the time you spend on this project by not making as many of the babies for the game. You can also batch out the pieces for the pattern to save some time if you are making them to sell.
Measurements:
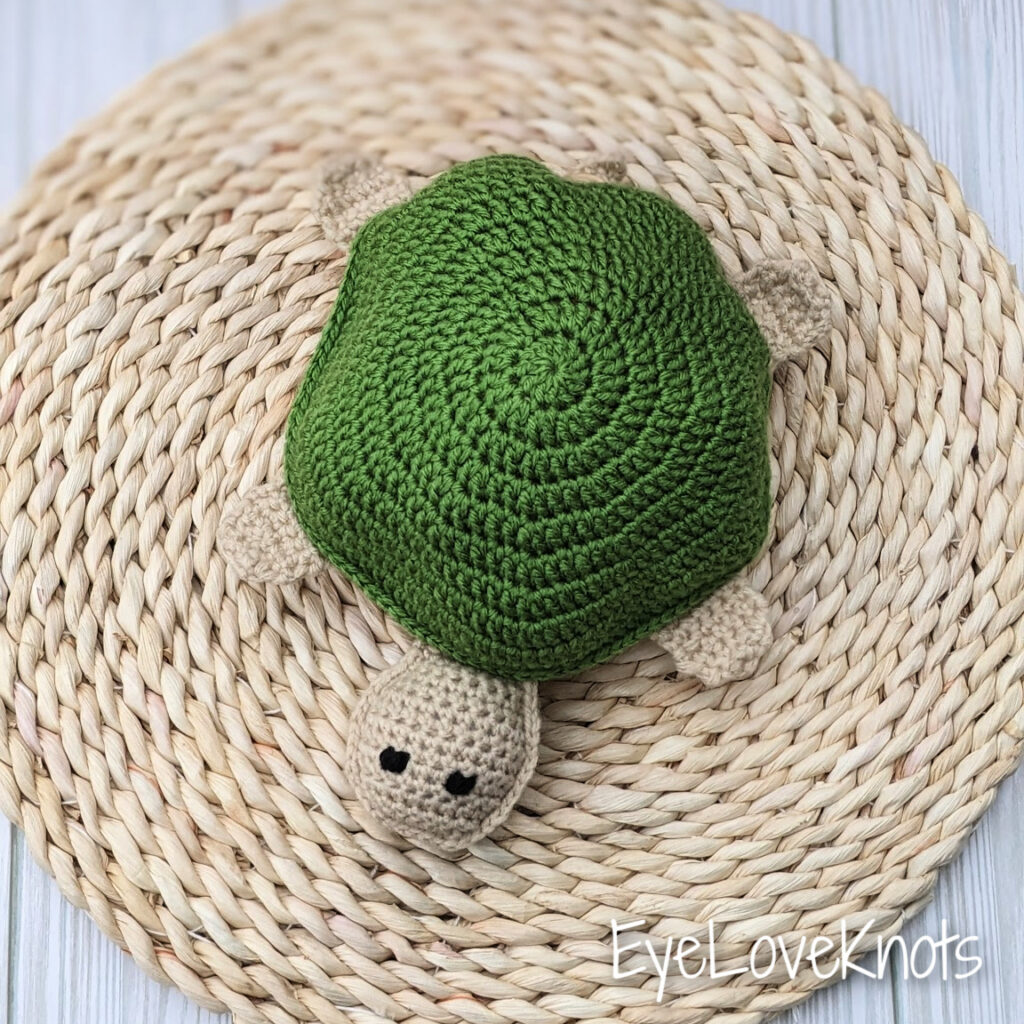
The mama turtle measured 6.5 inches wide, 9 inches long, and 4 inches tall when stuffed with all the babies.
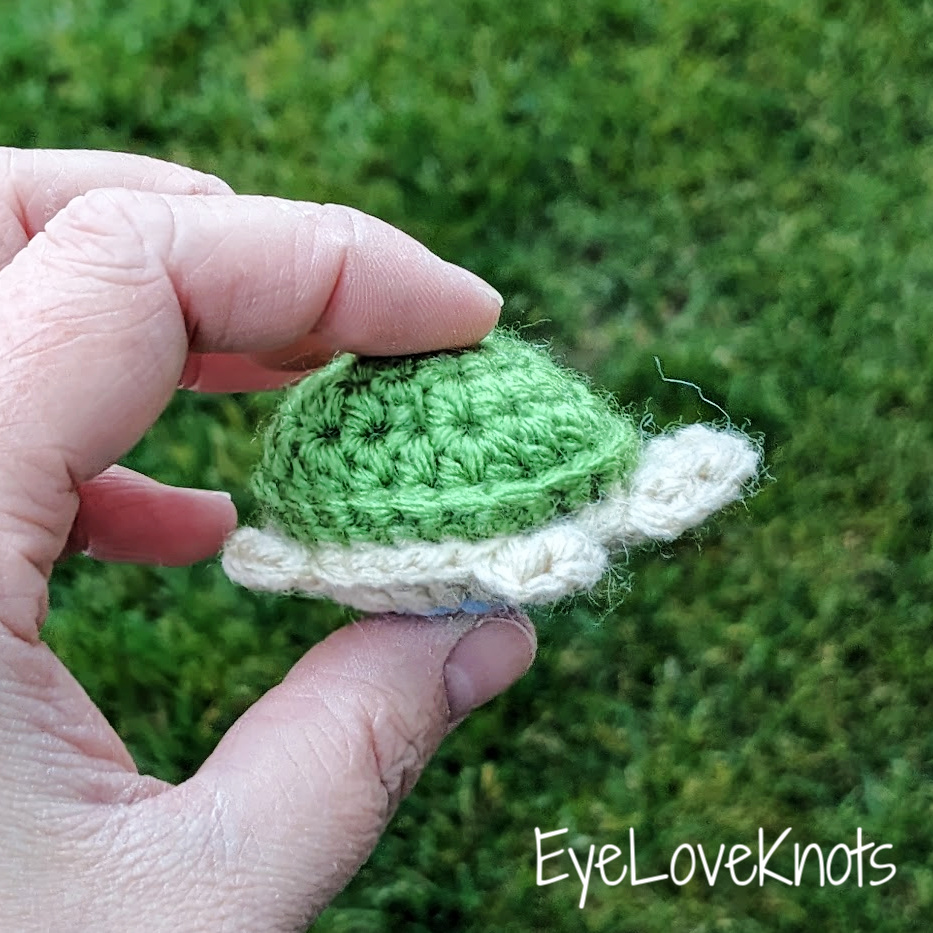
Each baby turtle measured 2 inches wide, 2.5 inches long, and 1 inch tall.
Gauge:
Gauge is not provided for this pattern and is not critical. You mainly want to make sure your stitches are close enough together that the stuffing in the mama’s head and the babies does not come out between your stitches.
If you are hoping for your turtle to be the same size as mine, a magic circle with 12 DC using worsted weight yarn and a G6/4 mm hook should measure 1.25 inches in diameter.
Making the Turtle Memory Game Crochet Pattern:
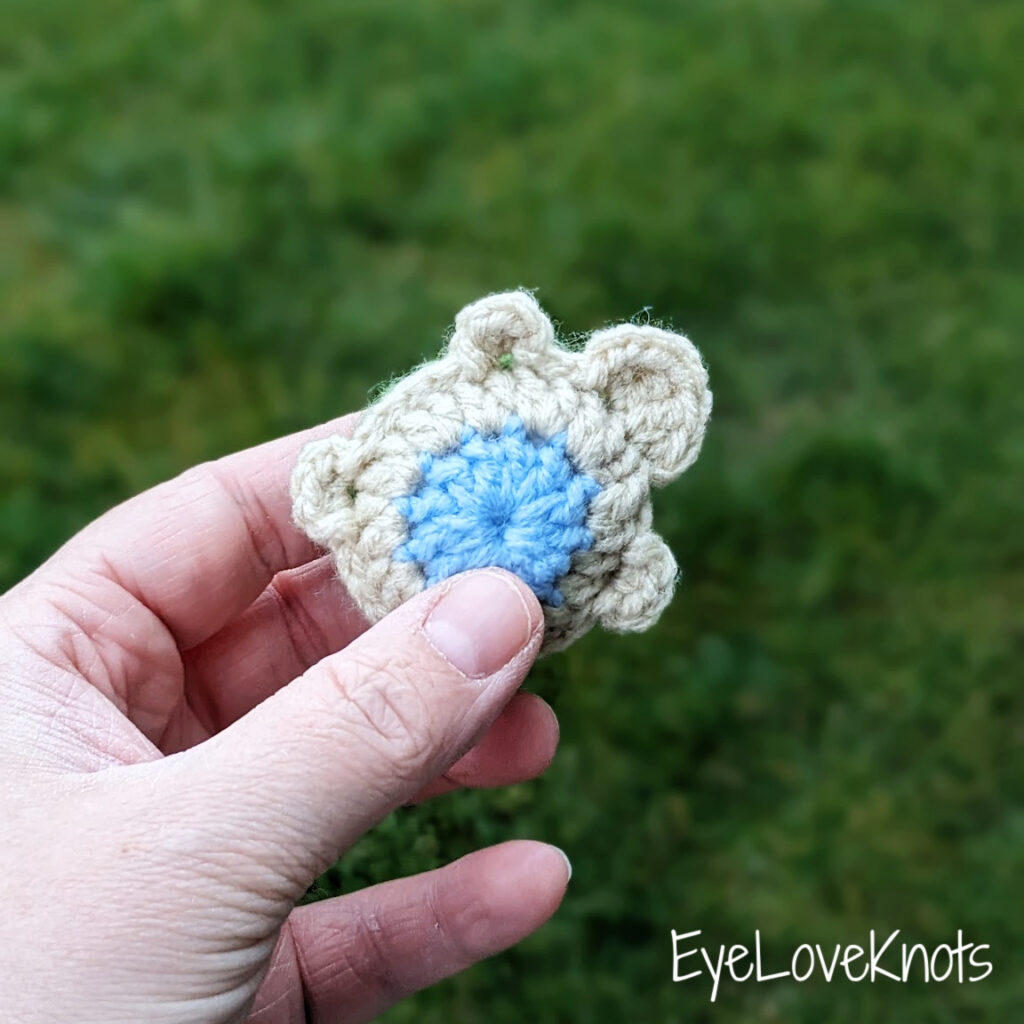
The Turtle Memory Game crochet pattern is a really beginner-friendly pattern. If you have the time to work it up, I highly recommend trying it out, as the finished product is such a fun little game for children. My daughter is three and she absolutely loved trying it out when I was done. You can see her little hand in one of the pictures!
I started by making the mama turtle first, which is out of order from the pattern. While it doesn’t hurt to go out of order between the mama and the babies, it is important to follow the pattern’s order for crocheting the pieces of the individual turtles. This is a no-sew style pattern, so the bottom of the mama needs to be made first. You then crochet the legs and tail right on to the bottom pieces.
The mama turtle’s head is made with two flat pieces that are stitched together to be stuffed. If you aren’t familiar with amigurumi, this makes this pattern really easy to work up since it doesn’t have the traditional rounded pieces for the head. After the head has been stuffed, you have to do some very minimal sewing to attach it to the body. The top shell is then made and crocheted right on to the bottom of the shell, so you don’t have to sew the pieces together (unless you want to!).
When I made the top shell for the mama turtle, I added the optional extra round to my shell since I knew I was going to be making all twenty of the babies. If you make a smaller set of babies, you can leave off the extra round.
The pattern for the mama turtle calls for safety eyes to be used before the head is stuffed and sewn on. I don’t like to use safety eyes, so I just stitched eyes on using black worsted weight yarn. I also added a small smile on the bottom of the mama’s head to add some character.
Once the mama is all constructed, you will need to sew a small button onto the tail so that the shell can be buttoned together to prevent the babies from falling out. I used a needle and thread to do this with a wood button, but you could use yarn and a small needle threader to attach it that way as well.
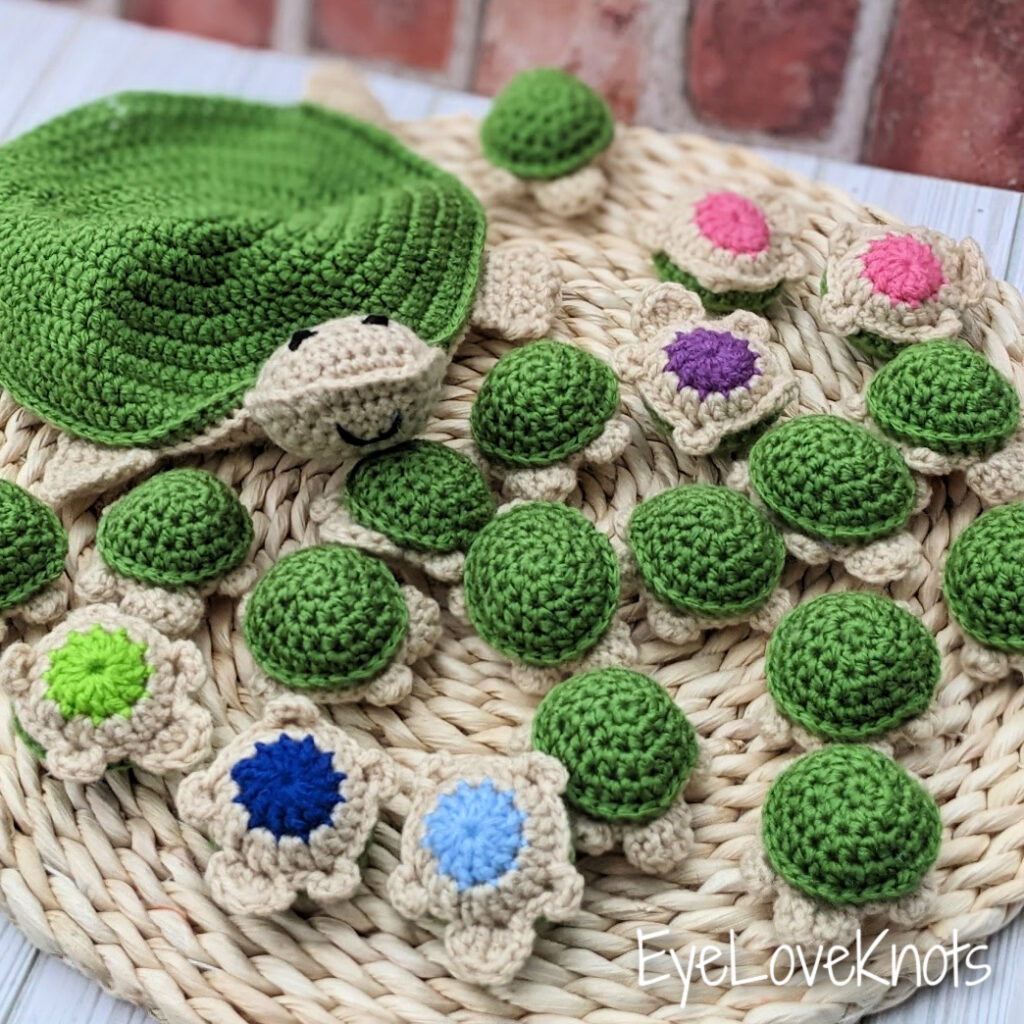
The pattern for the bottom of the babies starts with the colored circles. I went through my stash of scrap yarn and made the ten sets of circles for all the babies first. Once I finished all the circles, I used my tan yarn and worked through making the bottoms. These were really easy to make, and the pattern is easy to quickly memorize if you want to batch them out.
One thing about the baby turtles I found interesting was that they are a bit too small to add eyes. If this bothers you, you could probably use fabric paint and add two small black dots on the top of each of the heads to make them look like eyes. You could probably even add a little smile if you wanted using this same method. There is a great tutorial for using puff fabric paint to add eyes and other embellishments by A Crafty Concept if you are interested in trying this out!
The shell for the baby turtles is also no-sew, so after all the bottoms are made, you can make up all the green shells and crochet them right to the bottoms while stuffing them. There is only one end left out that just needs pulled into the body, so the babies are really quick makes! If you like the baby pattern, you could even leave the bellies all one color and make them for market prep.
Overall, I think this is a really fun pattern that makes a great gift for a little one! I highly recommend you try out this pattern. Just be careful that you purchase Stitched by Shari’s original pattern, because there have been a lot of sales channels trying to steal her pattern due to its popularity!
Stitched by Shari also has several other cute memory game crochet patterns available in her shop, including a mama and baby octopi, milk and cookies, hot cocoa and marshmallows, and a moon and stars. She also has several cute tic tac toe patterns with different themes as well!
If you enjoyed the turtles in this pattern, be sure to check out some of my other turtle crochet pattern reviews right here on the EyeLoveKnots blog, including Tank the Turtle and Petal the Sunflower Turtle.
Don’t forget to visit with me on Instagram for all kinds of awesome crochet makes and inspiration.
Join one of our awesome Facebook groups to share your creations, and see what others are up to!
– Yarn Crafts & Coffee Community
– DIY Home On Rockwood Lane
– Alexandra Lane Lifestyle
Linked Up To…
Leave a Reply