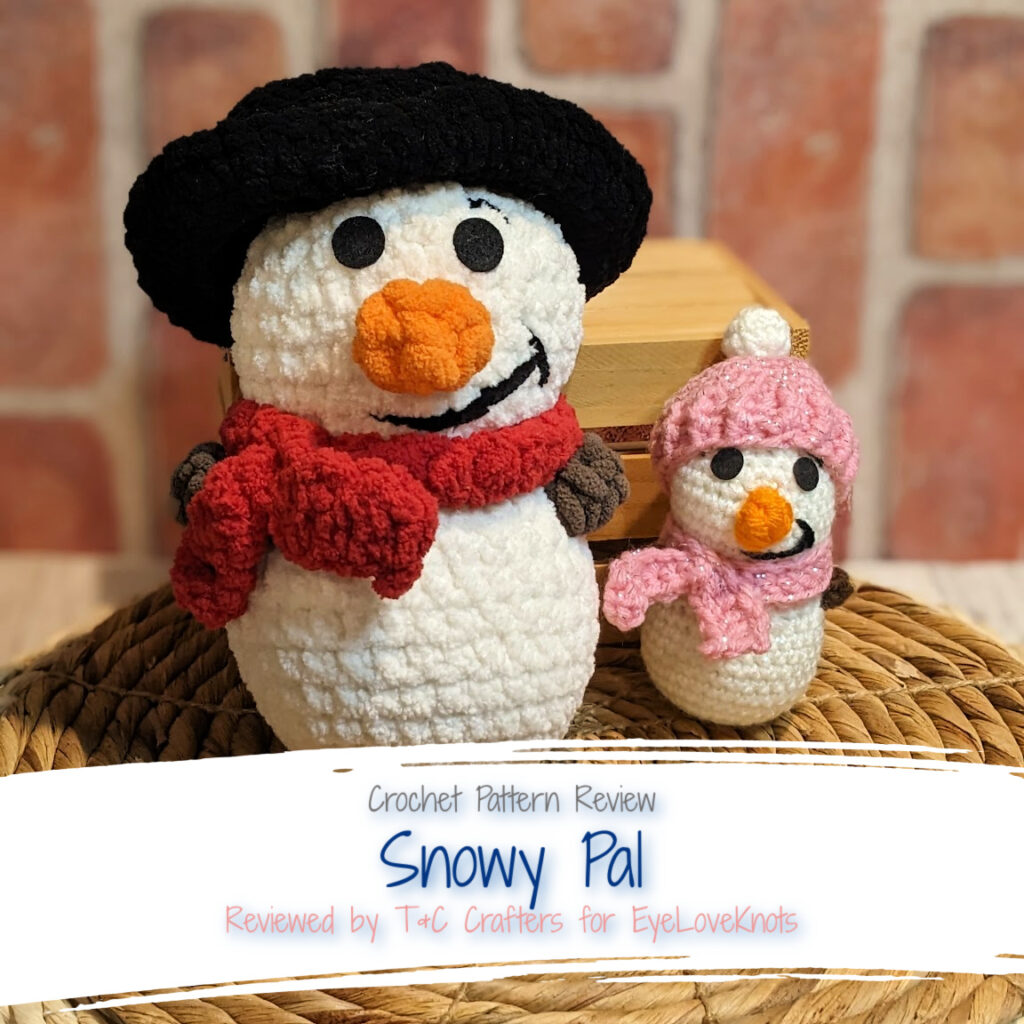
This is a crochet pattern review of the Snowy Pal designed by Melanie of Mel’s Crocheted Creations. Review done by Candace of T&C Crafters for EyeLoveKnots.
This post contains affiliate links for WeCrochet and Etsy. If you make a purchase by clicking on them, I make a small commission at no extra cost to you. Thanks for your support!
Find the crochet pattern review below, or click here to purchase the pattern from Mel’s Crocheted Creations on Etsy!
In a hurry? Pin this for later when you have more time.
It’s me, Candace with T&C Crafters.
Visit with me on Facebook and Instagram for all kinds of awesome crochet makes and inspiration.
If you aren’t quite ready to give up the winter and holiday makes, snowmen can be a great make that will last the rest of the season. By dressing up a snowman in neutral colors or reds and pinks for Valentine’s Day, they can make great decor and gifts!
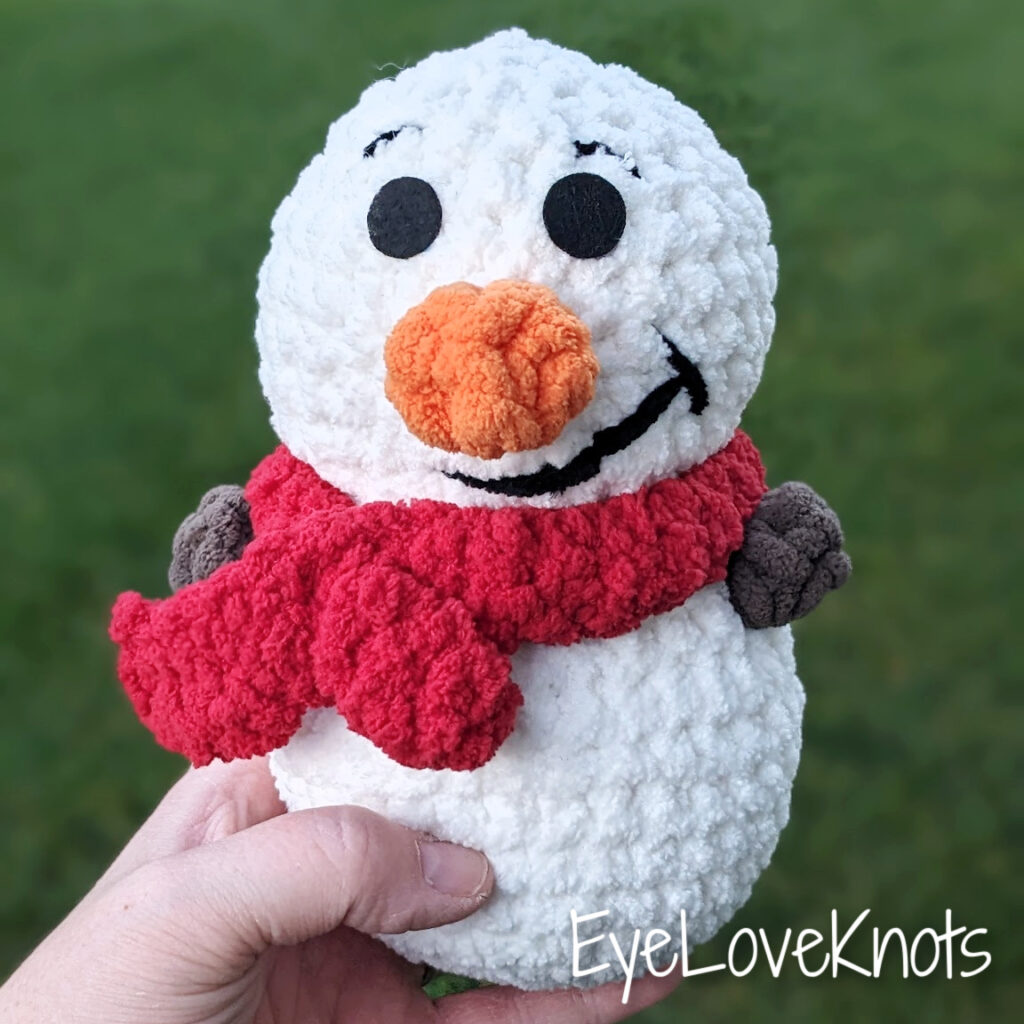
I had been on the lookout for a cute snowman pattern for quite some time, so when I was given the amazing chance to be a tester for Mel’s Crocheted Creations’ Snowy Pal, I was so excited! This pattern works up quickly, and because of some perfectly positioned stitches, it is entirely no sew. If that isn’t enough to win you over, this pattern is also very customizable! The pattern includes two different types of arms, a scarf pattern, and two different hat patterns.
Materials I Used:
- Large Snowman:
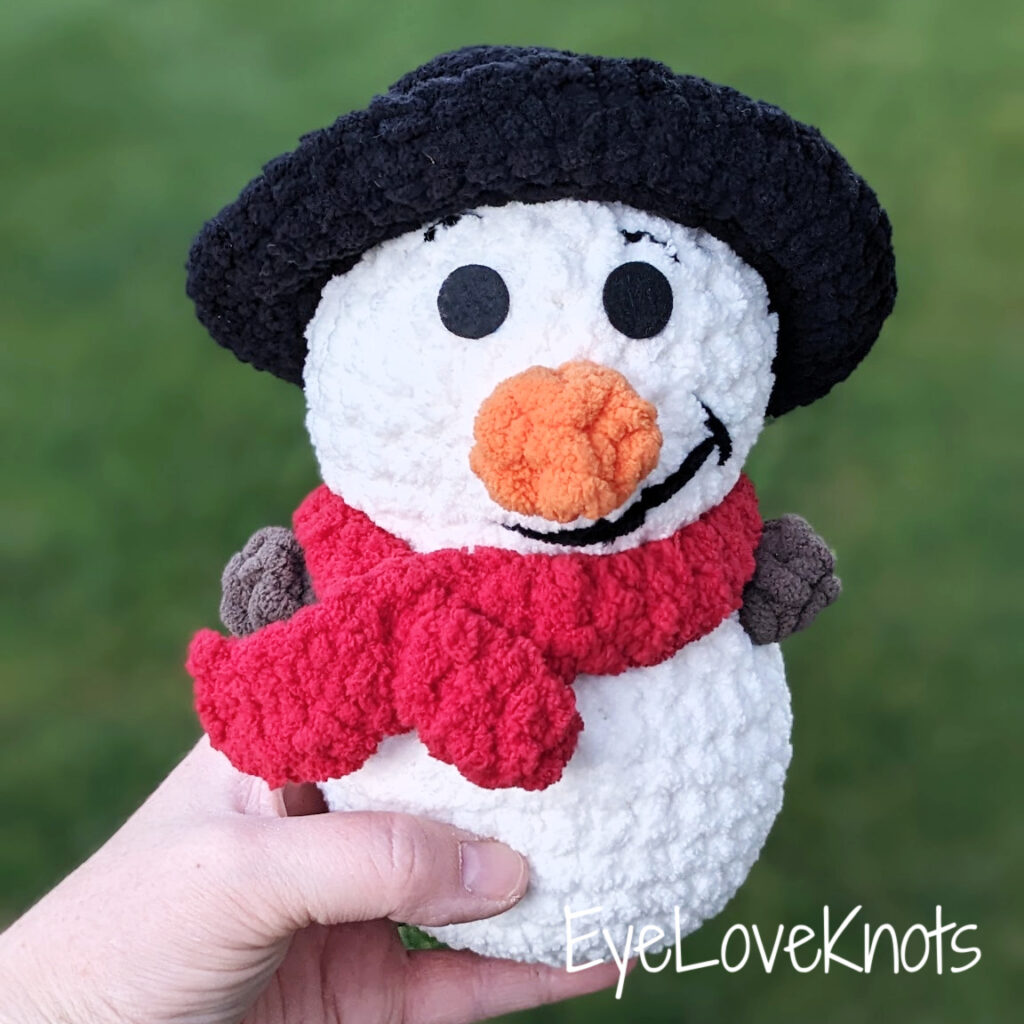
- Bernat Blanket Yarn in Vintage White, Taupe (Arms), Carrot (Nose), Cranberry (Scarf), and Coal (Hat)
- K10.5/6.5mm Crochet Hook – I used my Clover Amour ergonomic hook!
- Small Snowman:
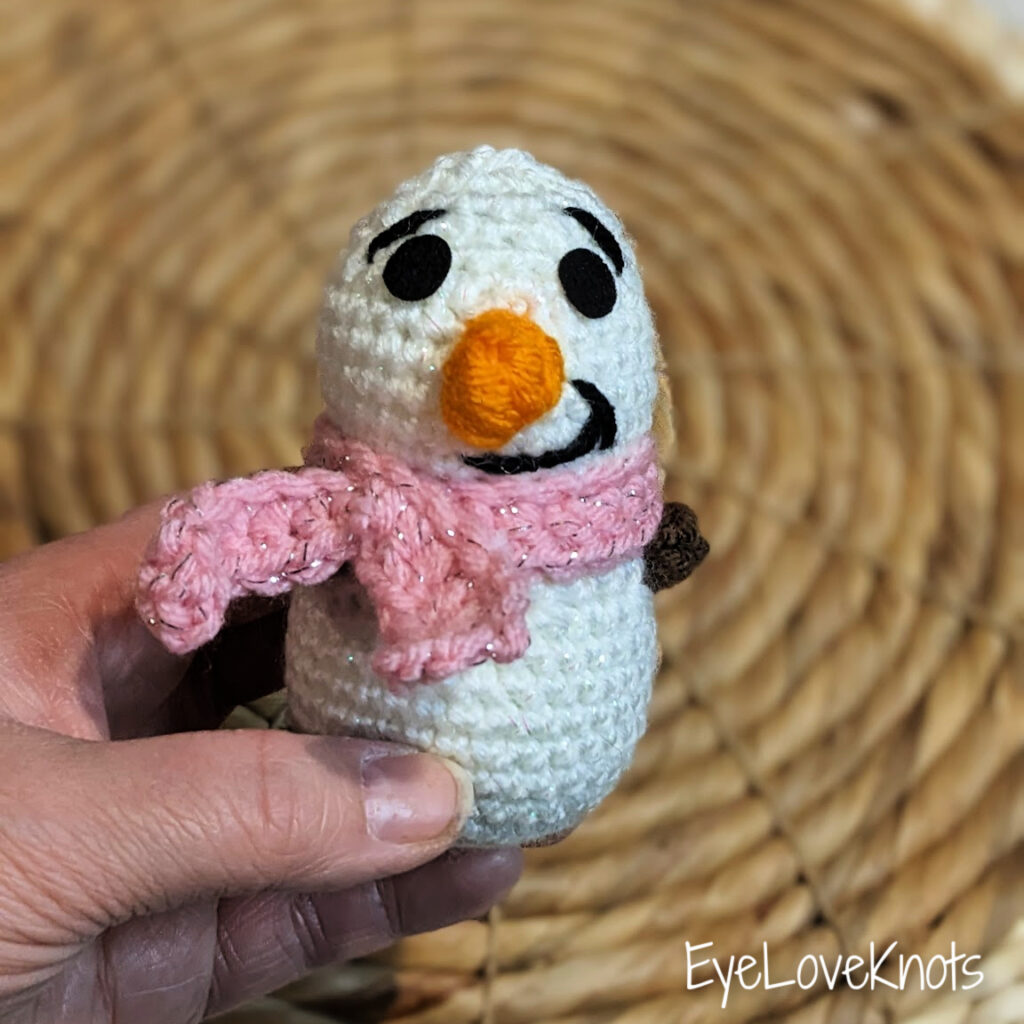
- Red Heart Super Saver Metallic in White, Red Heart Super Saver in Coffee (Arms) and Pumpkin (Nose), and I Love This Yarn Metallic in Pinkytoes
- G6/4mm Crochet Hook – I used my WeCrochet Dots hook.
- Yarn Needle
- Polyester Fiberfil
- Black Felt Eyes
- Snowy Pal, Paid crochet pattern by Mel’s Crocheted Creations via Etsy
Material Notes:
This pattern requires the use of several different colors of yarn, but white is the predominant color. This project is on the smaller side, so one snowman doesn’t make much of an impact on your stash of white yarn. You can likely get 3-4 snowmen out of one skein of blanket yarn. The brown yarn is only used for two stitches and the orange is only used for one stitch, so you can get away with a very small amount of each of those colors. For the hat and scarf, you can mix and match colors, but you will need enough for several rounds.
The pattern is written with chunky yarn in mind. In the pattern, the designer mentions the use of Parfait Chunky, Bernat Blanket, Sweet Snuggles Lite, Sweet Snuggles, or Chenille Home and provides corresponding hook recommendations for each. My favorite chunky yarn is Bernat Blanket, so that is what I chose to use for my larger snowman. The designer recommended a 6.5 mm hook, which is what I usually use for this weight of yarn, and it worked just right. I also wanted to try out a smaller snowman, so I used worsted weight yarn with a 4 mm hook. I love how tiny and cute that one turned out!
In addition to the yarn and hook, you will also need some polyester fiberfil to stuff the snowman, and a set of eyes to add to the snowman. I chose to use felt eyes, but you could also use safety eyes. I used 15 mm felt eyes for the larger snowman and 10 mm felt eyes for the smaller snowman. If you use safety eyes, the sizes would be similar. The designer mentions when to add safety eyes in the pattern so you don’t have to guess to find the perfect positioning.
To finish your snowman, you will need to embroider a small mouth and any other features you would like to add. I chose to sew on eyebrows to give mine character. You could also add little pink cheeks. You can chose to add a hat and scarf or leave it off. The pattern provides options for a beanie or a top hat, as well as a pom pom you can add to the top of the beanie. You could also embellish your beanie hat with a different pom pom, or add a ribbon or other details to the top hat. You have lots of options when it comes to decorating your snowy pal!
Time Spent:
This pattern works up relatively quickly. It took me about an hour and a half to make each of the snowmen. This is a great quick project to make for gifts or market prep!

Measurements:
The larger snowman made with blanket yarn measured 8 inches tall and 5 inches wide.
The tiny snowman made with worsted weight yarn measured 4 inches tall and 2.75 inches wide.
In the pattern, the designer provides measurements for several different weights of yarns as well.
Gauge:
When making the larger snowman, I used a K10.5/6.5mm hook with blanket yarn. A magic circle with 6 single crochets measured approximately 1 1/4 inches in diameter.
When making the tiny snowman, I used a G6/4mm hook with worsted weight yarn. A magic circle with 6 single crochets measured approximately 1/2 inch in diameter.
Gauge is not critical in this type of project. You mainly just want to make sure that there are not gaps between stitches so that the stuffing does not come through. If you notice gaps, you will want to go down a hook size.

Pattern Notes:
The Snowy Pal pattern is a relatively beginner-friendly pattern that uses some well-explained stitches to add features while keeping it no-sew. You begin by making the body and the head of the snowman all in one piece. The white portion of the body and the head uses all single crochets, increases, and decreases and is worked in continuous rounds.
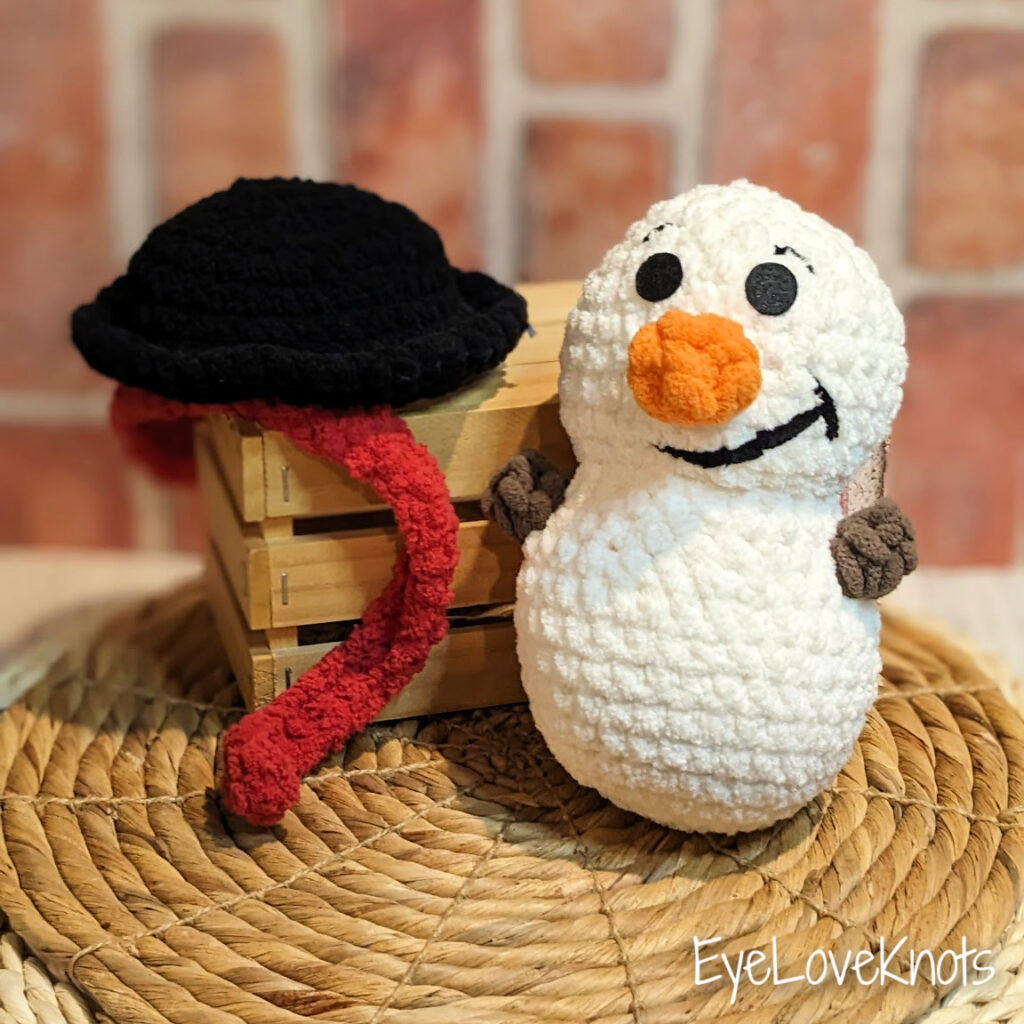
The arms and nose of this snowman are added using popcorn stitches. This process is really well-explained in the pattern, and provides the perfect amount of a bump for these features. If you are not comfortable adding the arms using the popcorn stitch, you can also just leave them out and add the optional stick arms that are explained in the pattern instead. I think the nose comes out super cute using the popcorn stitch. If you aren’t comfortable with that, however, you could likely just leave the nose out and add a nose using a button or a piece of orange felt when you are finished.
Once your snowman is stuffed and finished off, you will need to add facial features. The eyes can be added afterwards with felt circles like I did, or you can insert safety eyes while making the snowman. The pattern provides clear directions on where to place the eyes. I added a half smile and eyebrows on my snowman. You can add pink circles to the cheeks as well if you desire.
In addition to the facial features, you can further customize your snowman with accessories. The pattern includes directions for an optional top hat, a beanie, a scarf, and a pom pom or snowball. On my larger snowman, I made the top hat. This was really easy to make and fit nicely. I made a beanie with a pom pom for my smaller snowman. The beanie requires some knowledge of slightly more advanced stitches like front and back post half double crochet, but still works up quickly.
Overall, I really love how this pattern worked up! Mel’s Crocheted Creations took great suggestions from her group of testers and made this pattern extremely readable and clear. This pattern is definitely worth buying! I’m looking forward to making up a whole bunch of snowmen and accessories to create a Build-a-Snowman display at my winter markets next winter.
I hope you love this pattern as much as I do. If you decide to make your own Snowy Pal, be sure to share your pictures! We’d love to hear about your experience in the comments below! If you loved this snowman pattern, be sure to also check out some of the other snowman posts right here on EyeLoveKnots:
- Jessica’s Pattern Review of the Winter Wonderland Snowman
- Free Snowman Hat C2C Washcloth Crochet Pattern
Don’t forget to visit with me on Instagram for all kinds of awesome crochet makes and inspiration.
Join one of our awesome Facebook groups to share your creations, and see what others are up to!
– EyeLoveKnots Crochet & DIY Community
– DIY Home On Rockwood Lane
– Alexandra Lane Lifestyle
Linked Up To…
Leave a Reply