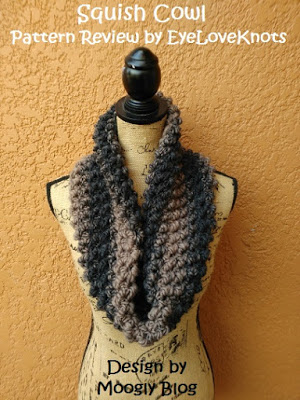
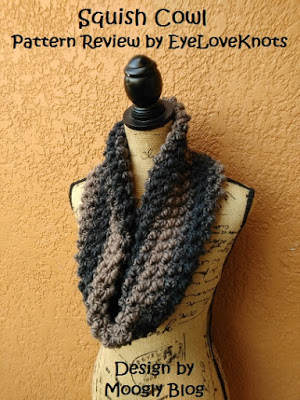
I found Scarfie Yarn on clearance at my local JoAnn’s, so I decided to pick up a skein, and try it out. I searched high and low for a free pattern that only used one skein, but couldn’t really find anything that caught my eye – then I remembered this Squish Cowl from Moogly Blog. It was so much fun to work up, and the finished project came out beautifully. Can’t wait to pick up some more and work up a couple others! I even found this Squish Slouch, Free Crochet Pattern on the Moogly Blog too!
Materials I Used:
– Less than 1 Skein of Lion Brand’s Scarfie Yarn in Charcoal and Taupe
– M13/9mm Crochet Hook
– #18 Tapestry Needle for Weaving in Ends
– Squish Cowl, Free Crochet Pattern from Moogly Blog
Material Notes:
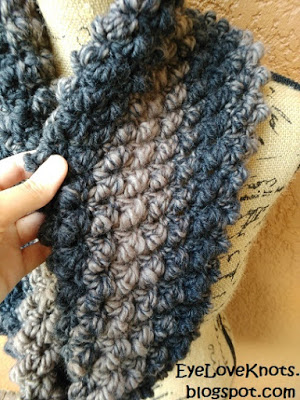
This was my first time using Scarfie Yarn. It is marked as a bulky #5 yarn, but I found it to be more like a heavyweight worsted weight yarn – I think similar yarns like Red Heart’s With Love would also probably work. If you haven’t used this yarn before, it is so soft and squishy – no lie. I found it to feel a little similar to Red Heart’s Boutique Treasure Yarn, but softer, and wears better.
Time Spent:
I had my cowl ready to go in about two and a half hours.
Measurements:
My cowl measured 34.5″ wide by 9.5″ tall – Original measures 40″ wide by 9″ tall.
My Gauge:
9 DC by 5 Rows = 3 7/8″ by 3 5/8″
Pattern Notes:
Though my cowl did not come out to the width as the original pattern, it came out to be a great size! I wouldn’t change anything.
Because my gauge did not match, and I did not want to go up to a bigger hook size, I opted to just add two chains to the beginning, and played the length by ear.
I’ve never worked a bullion stitch before this cowl, and was a little intimidated in the past, but it was so easy! Can’t wait to get started on some other bullion stitch projects, and have some of my own in the works.
I did not add a chain 1 at the end of Row 1 as the slip stitch creates a space equivalent to a chain 1. Chaining would create a larger, uneven space so I omitted.
I worked my cowl to 12 repeats, which left at 9″, then I worked the final row.
I worked the two single crochet rows on the wrong side of the piece.
The beginning chain and join makes it tight, which helps with the fold for wear, but not for flexibility – an alternative to this would be to begin with a foundation single crochet (FSC). It fits and sits well as is.
If you love to bake, craft and crochet too, I would love to see your photos and get your recommendations! Join the EyeLoveKnots Crafting Community to share your creations, and see what other’s are up to!
Don’t miss out on new crochet patterns, reviews, jewelry tutorials and more! Subscribe to EyeLoveKnots by using the box on the right side toolbar, or follow me via Bloglovin!
You May Also Like…

Leave a Reply